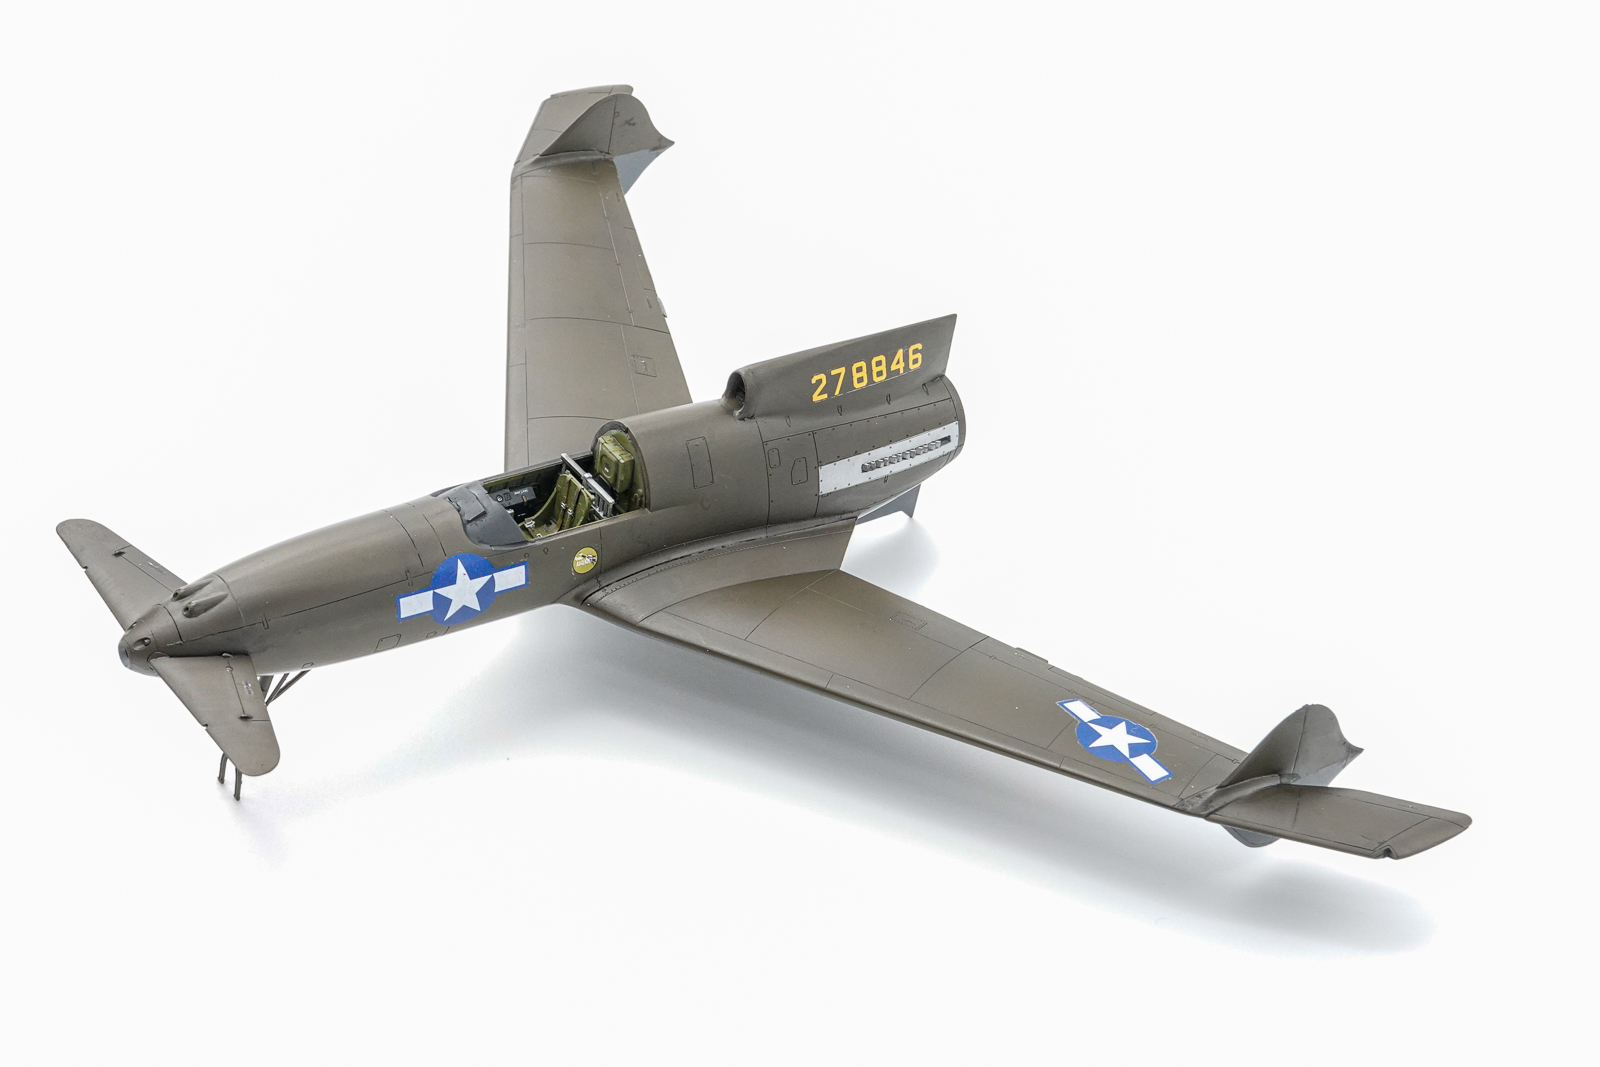
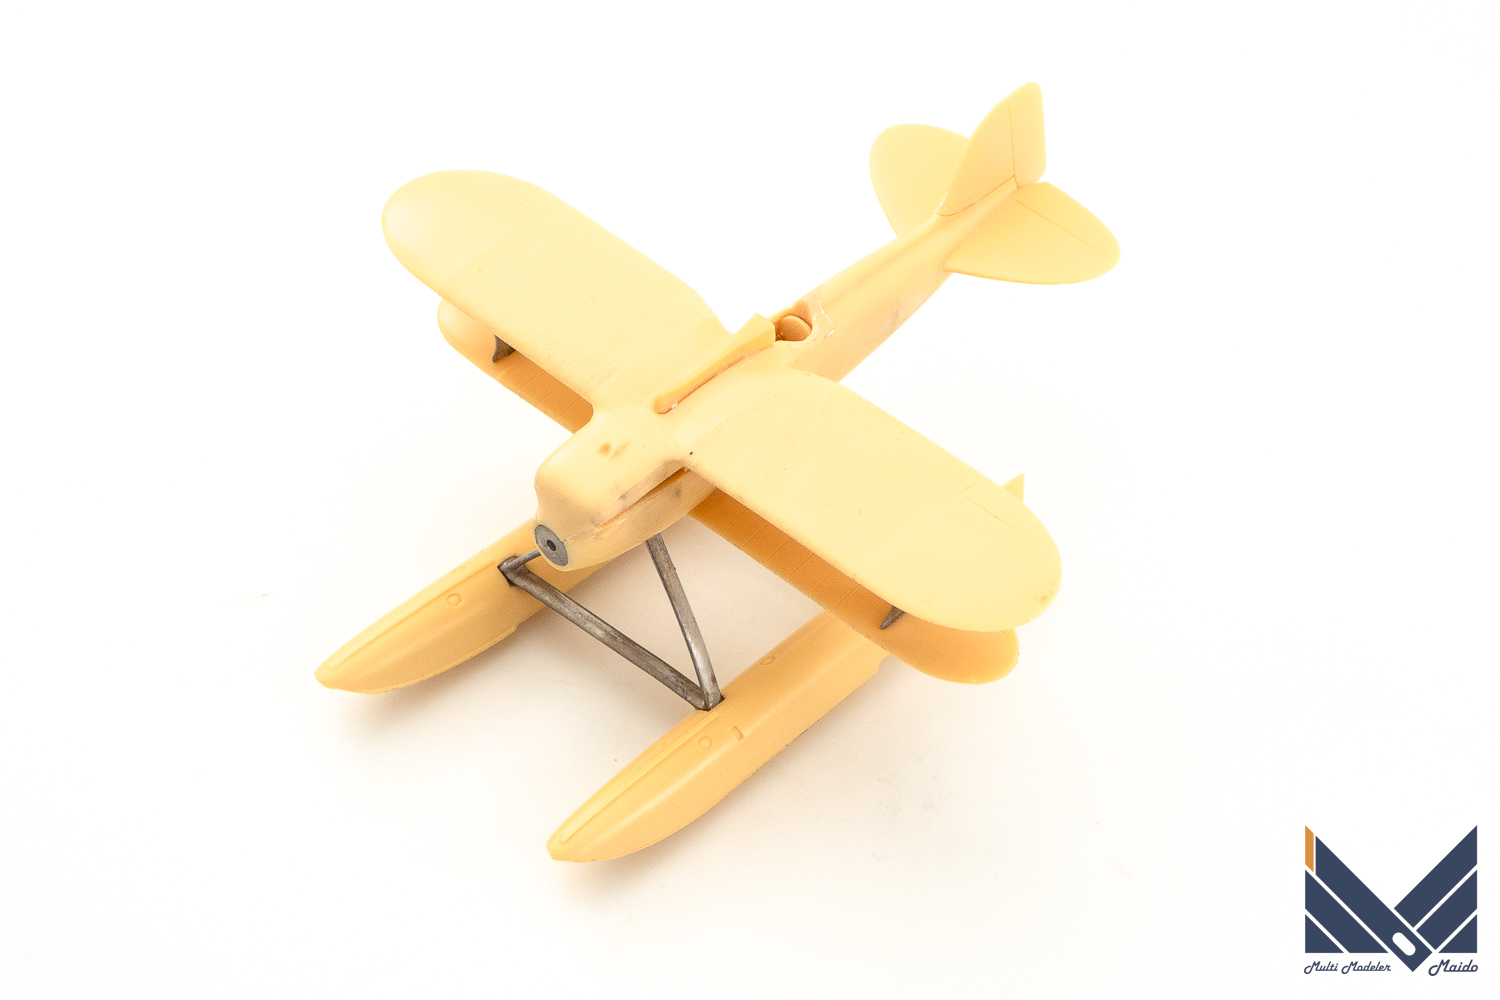
基本工作が完了したので、サーフェイサーを塗装し、表面状態をチェックしました
Since the basic work was completed, I painted the surfacer and checked the surface condition.
サーフェイサー塗装
レジン+メタルキットなので、プライマーの含まれたサーフェイサーを選択します
ガイアノーツのメカサフライトを使用しました
Since it is a resin + metal kit, select a surfacer that includes a primer
I used Gaianotes mechasa flight
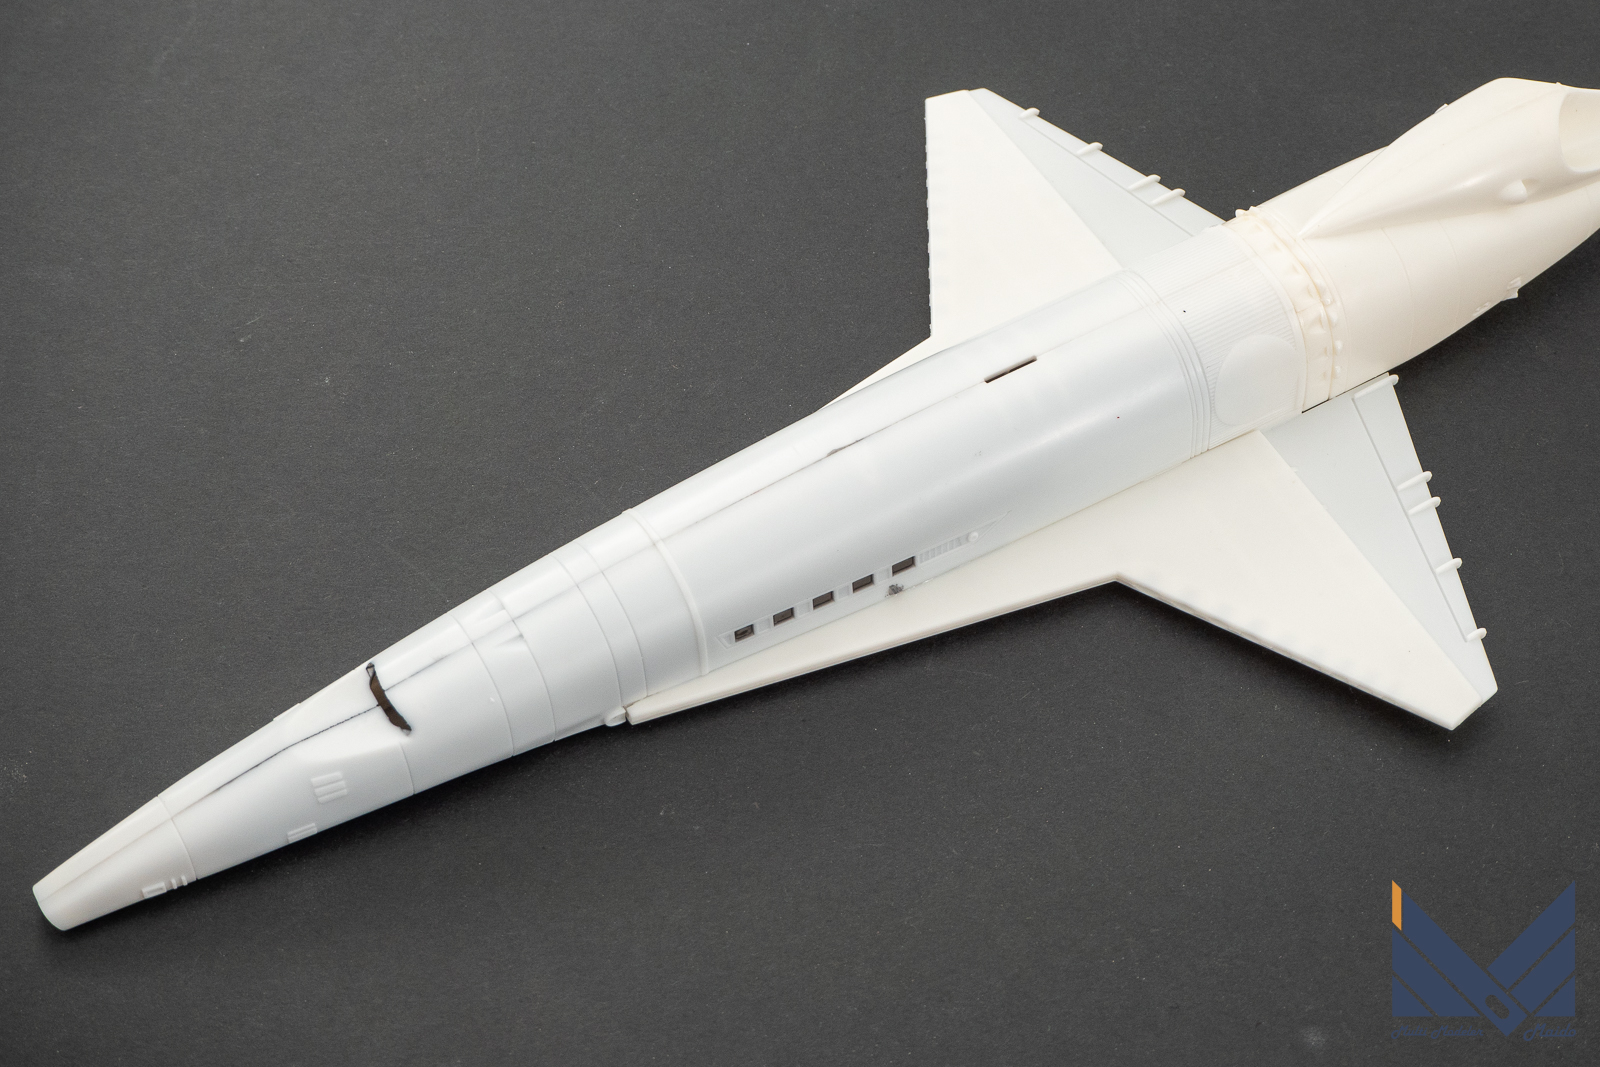
表面状態をチェック
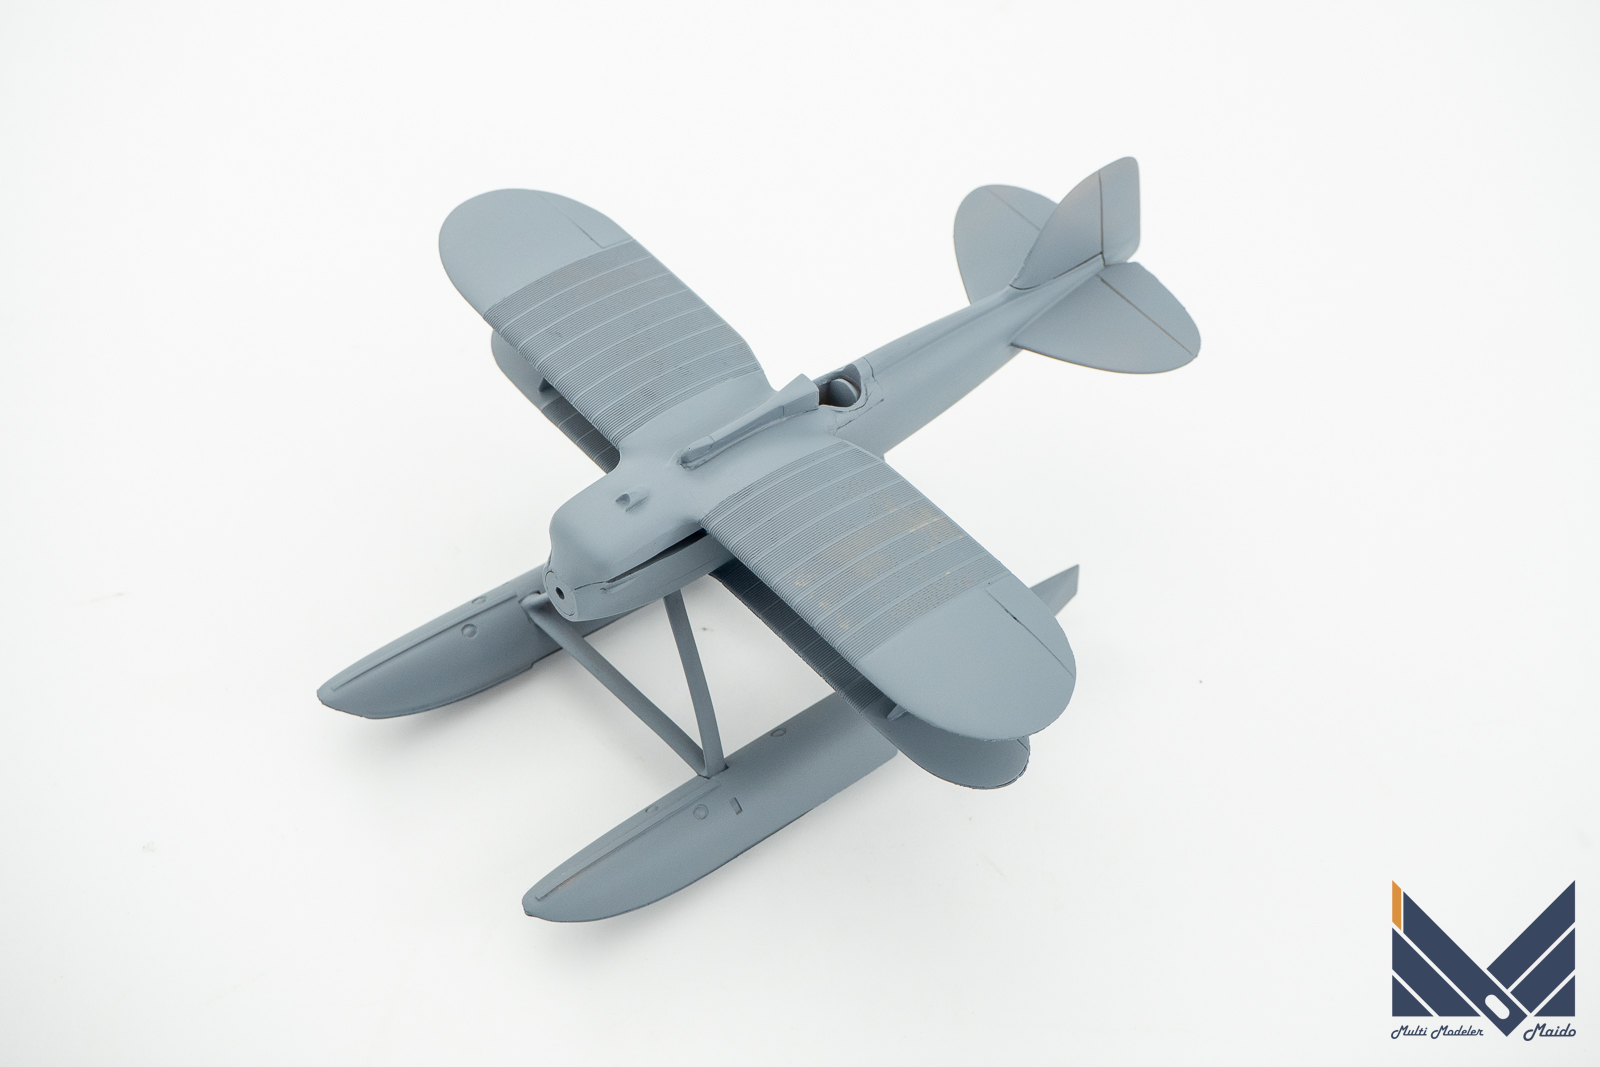
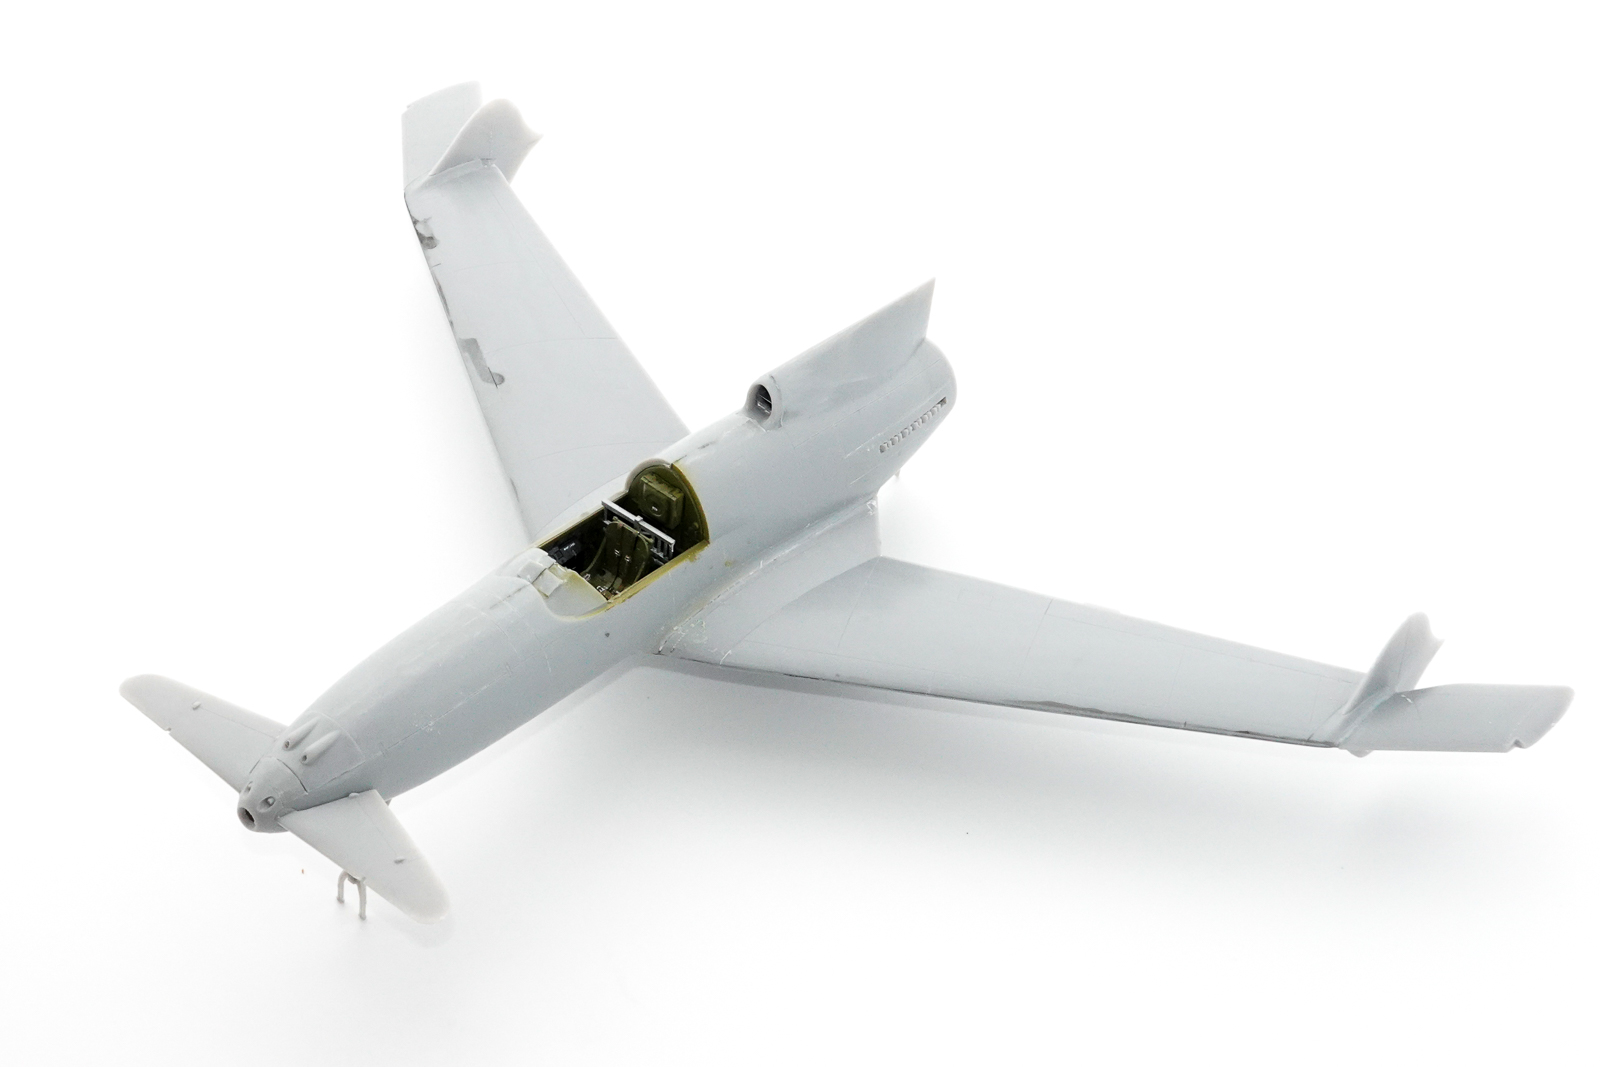
表面状態をチェックします。
Check surface condition.
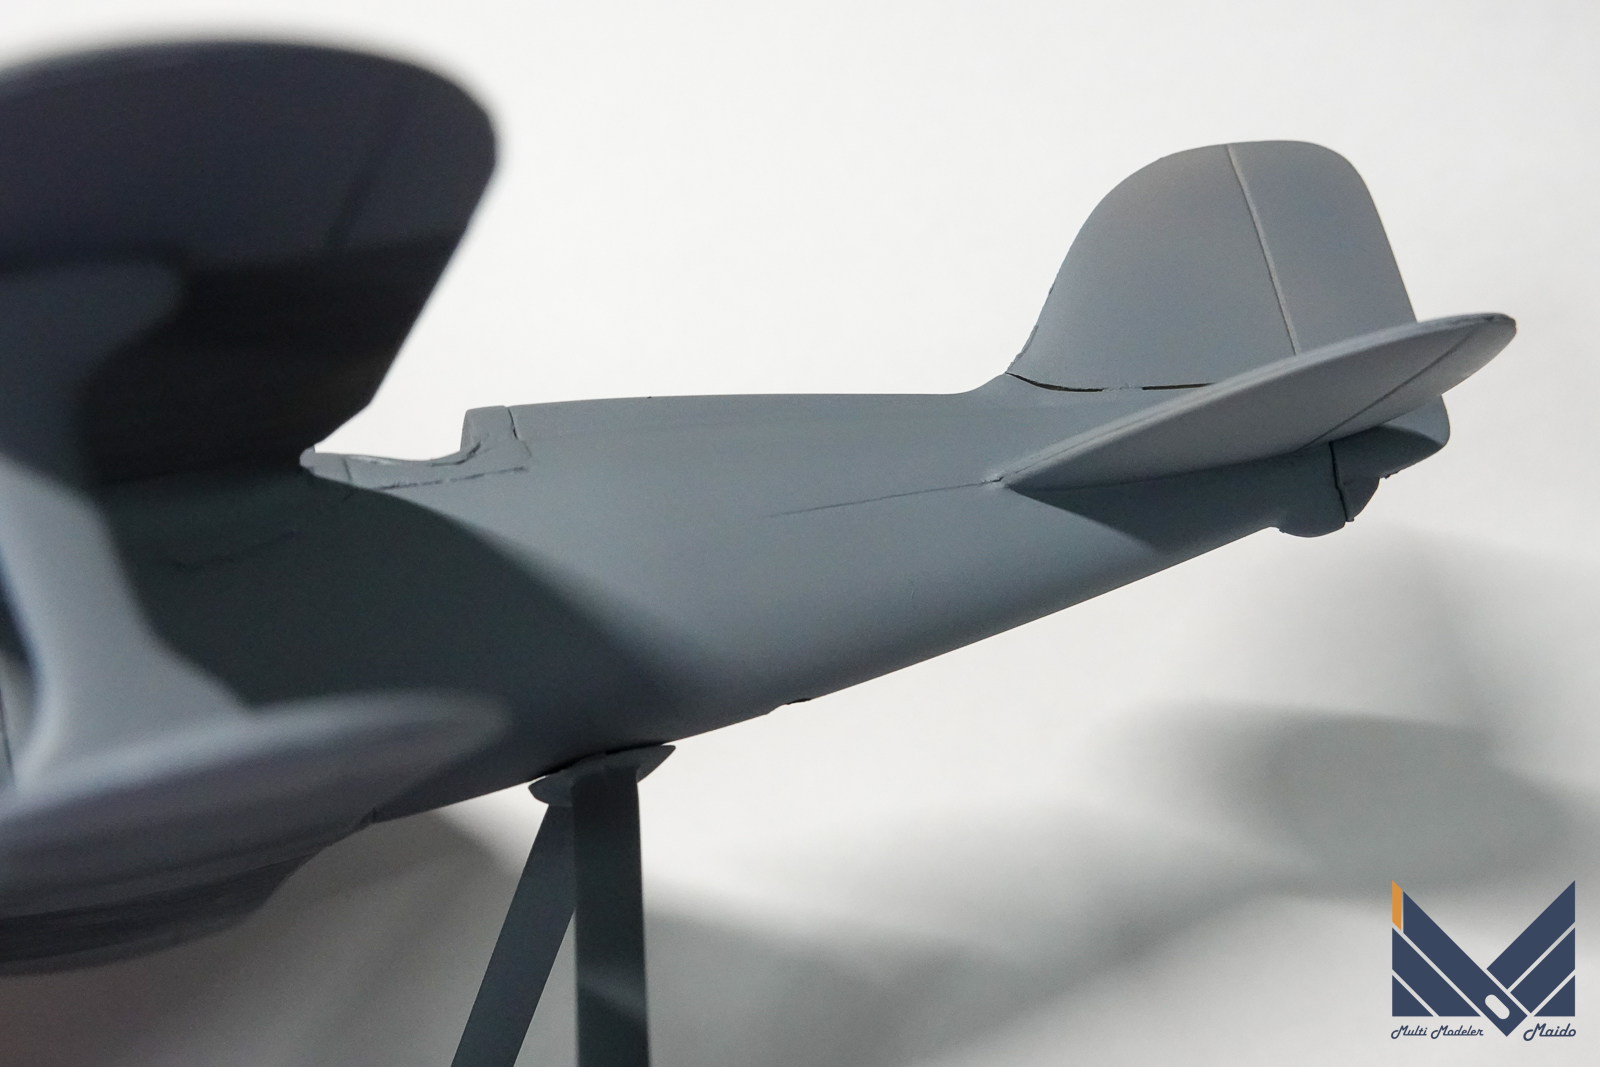
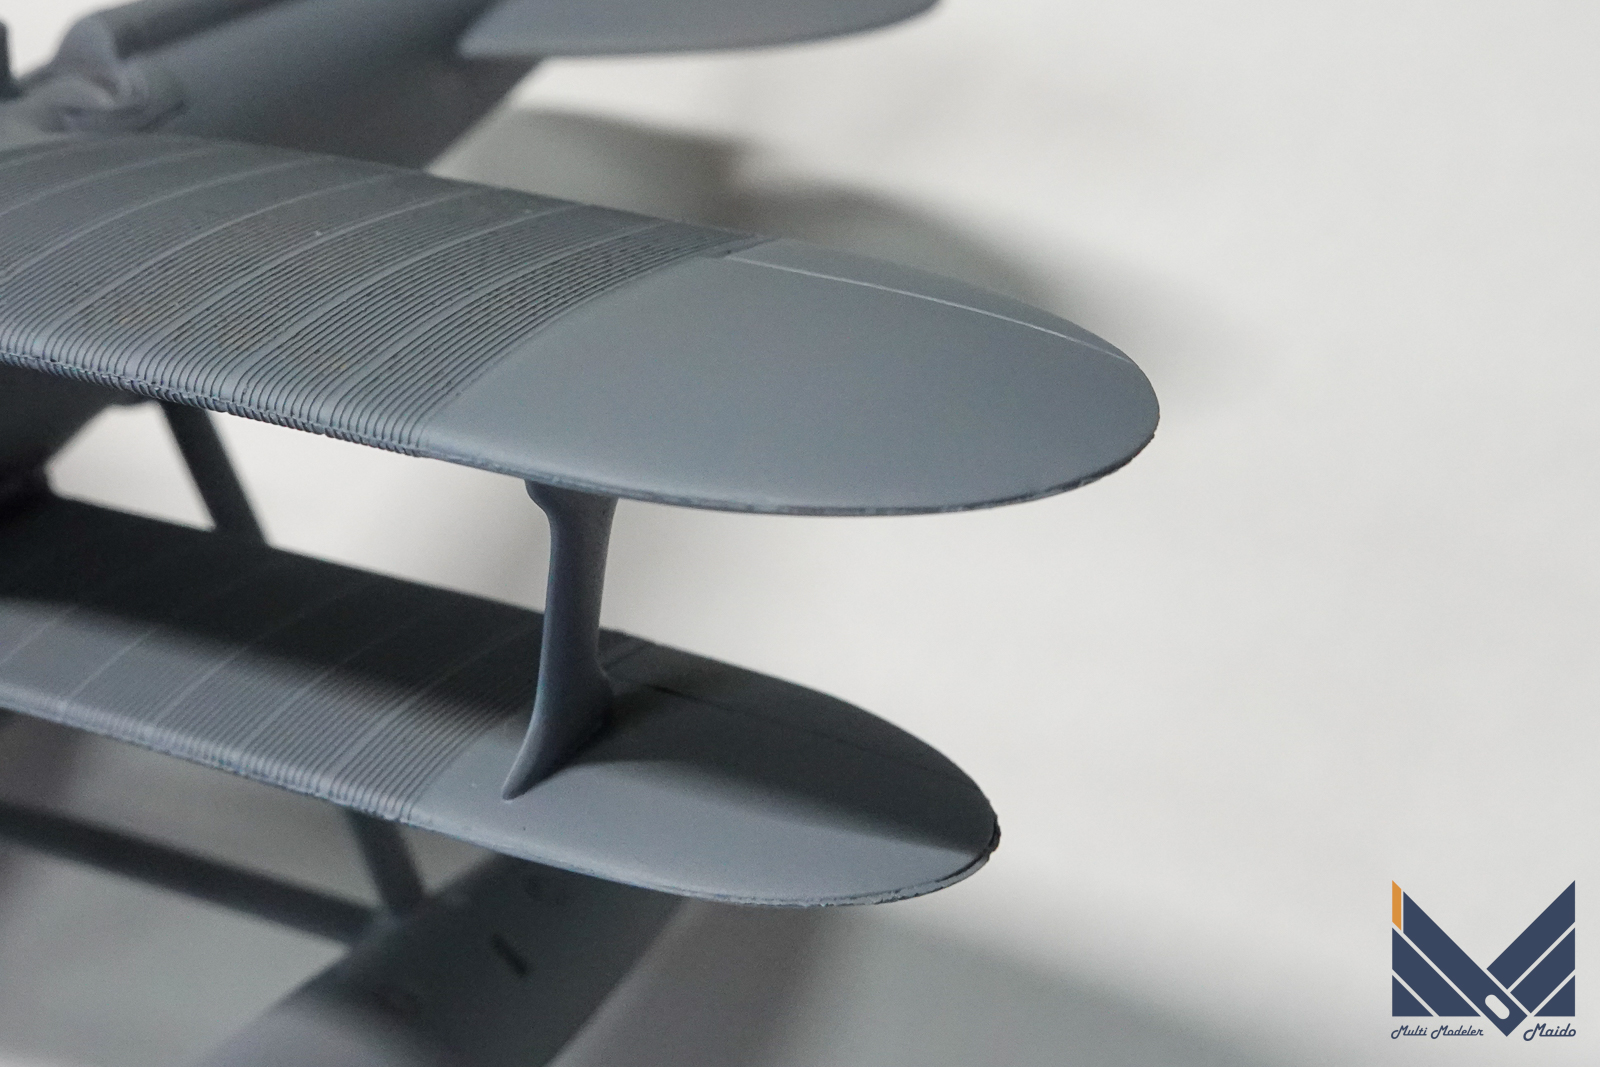
パーティングラインが残っていますね、サンディングして消します
There is still a parting line, sand it off
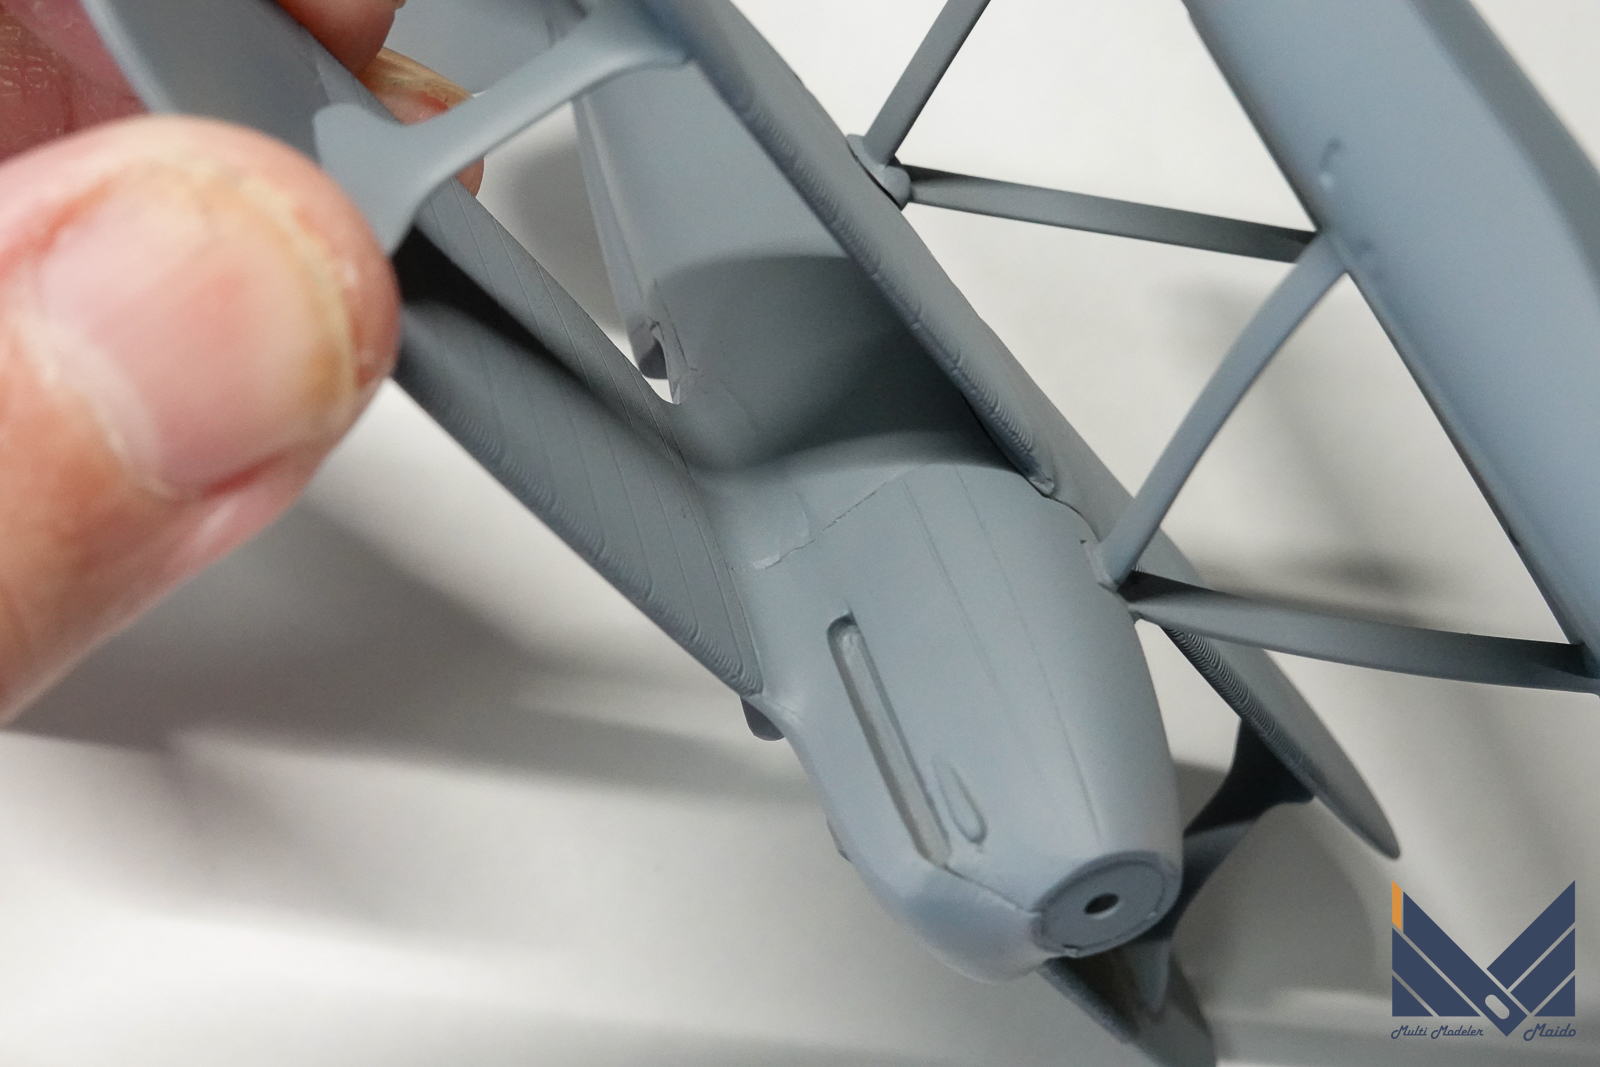
うまく合わせ目が消えていませんね。イージーサンディングを充填し硬化させてからサンディングして合わせ目を消します。
The seams have not disappeared well. Fill with Easy Sanding and let it harden before sanding to erase the seams.
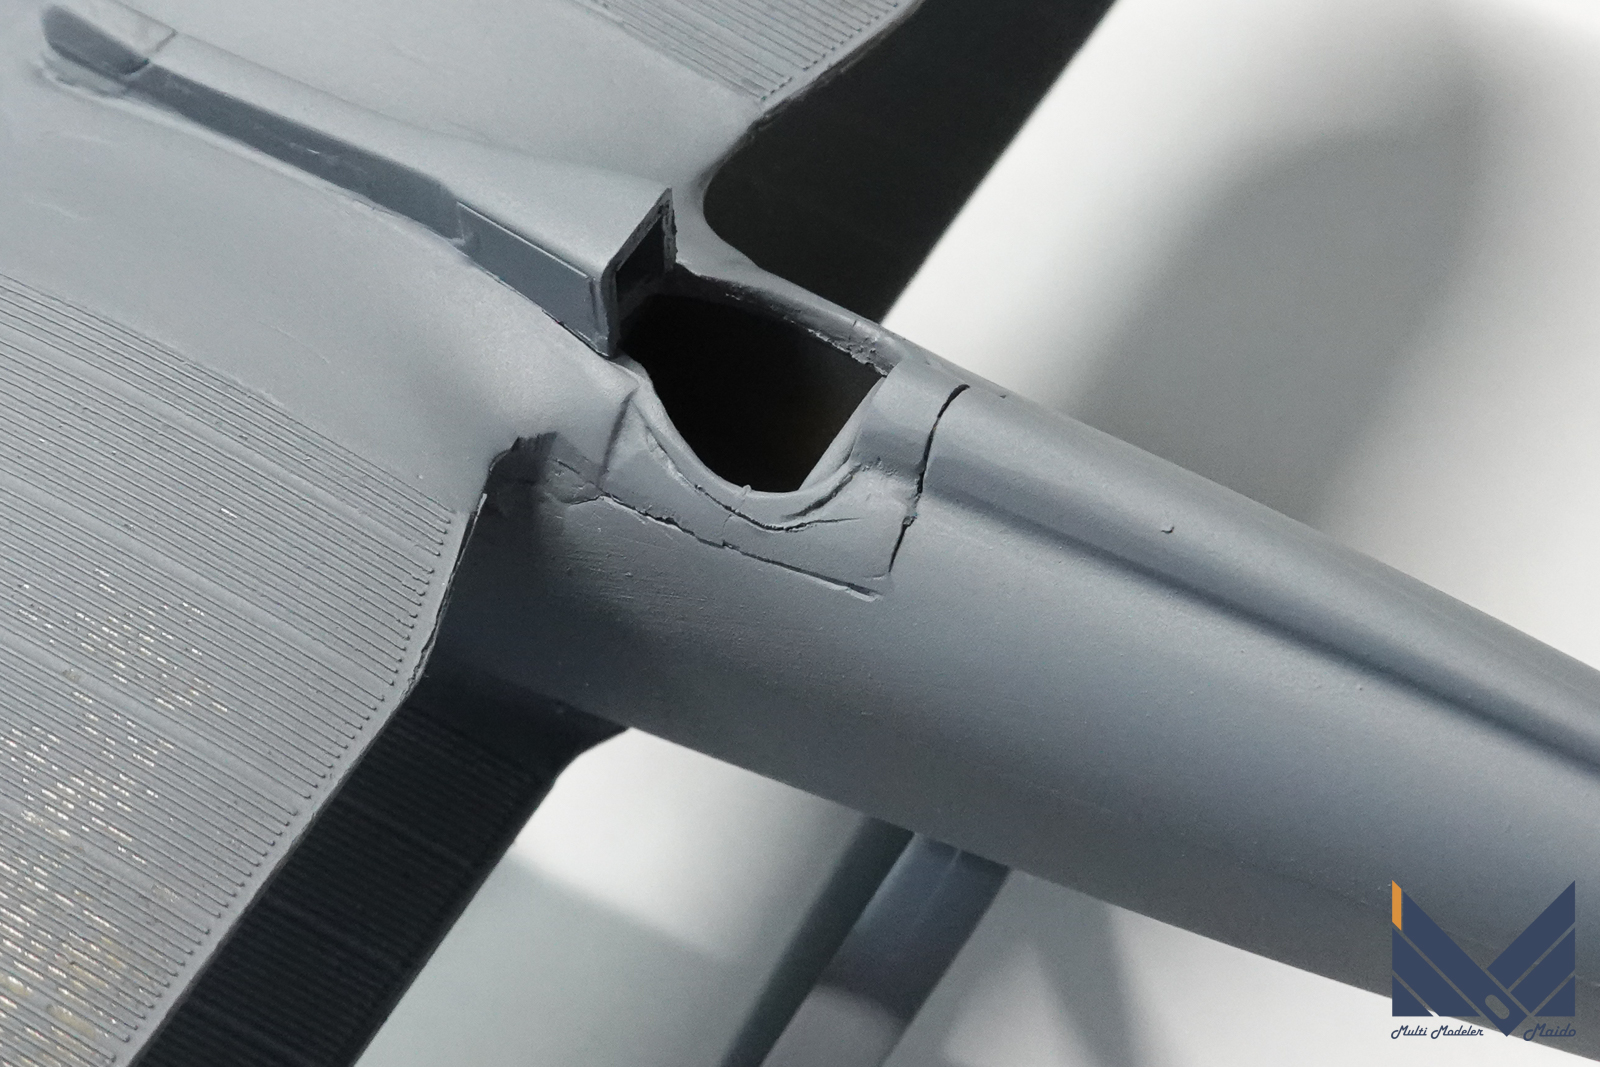
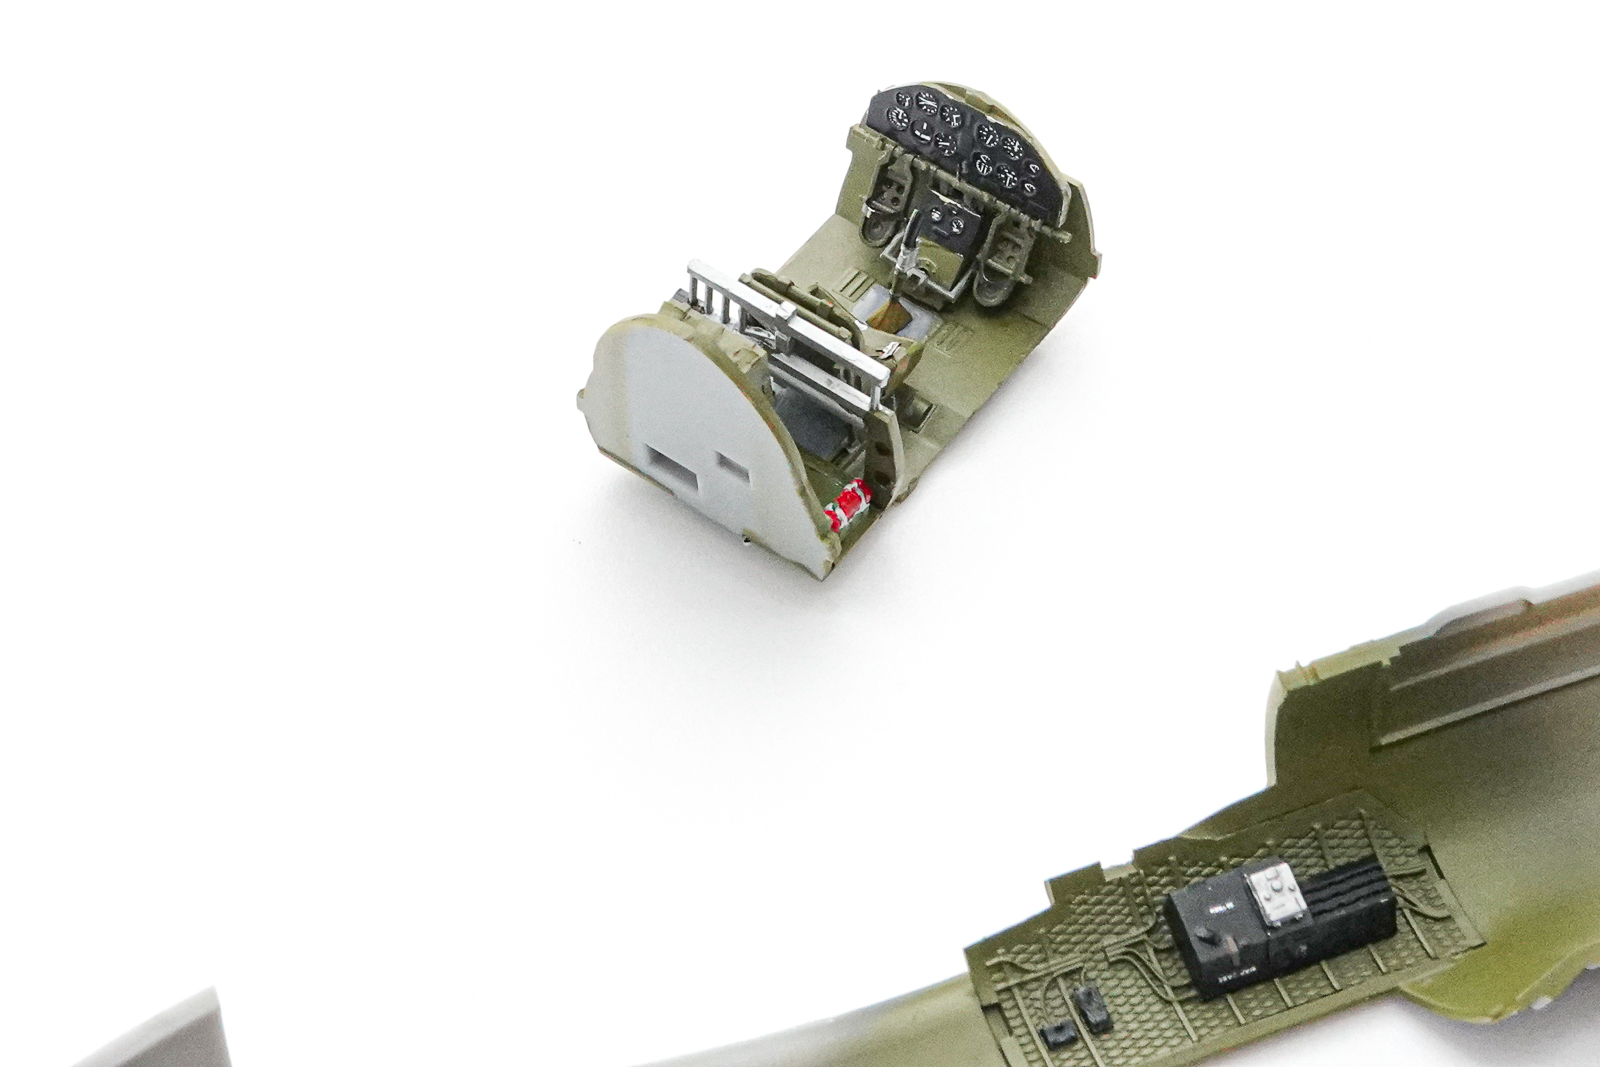
コクピット周りは別パーツです。パネルラインのようなものがあるかと思っていたのですが、実機には無いようです、イージーサンディングを充填し硬化させてからサンディングします。
いろいろサンディングして、粉だらけになったのでもう一度洗浄しておきます。
The cockpit area is a separate part. I thought there was something like a panel line, but it seems that it is not in the actual machine.
I sanded various things, and it was full of powder, so I washed it again.
投稿者プロフィール
-
模型好き。カメラ好き。各模型雑誌で掲載多数。
艦船模型、飛行機模型、AFV模型などプラモデル全般の制作代行も承っております。「お問い合わせ」からご連絡ください。製作代行ご案内のページは現在概要のみを公開しておりますが、2025年6月現在納期はご相談になりますが、制作代行可能です
 製作代行について(β版)2024年4月6日詳細な製作代行などはのちに追加しますが、お問い合わせのあった方の最初のご案内メールの定型文を記しておきます。製作依頼の流れ1 キットに入っているパーツのみでの制作は、定価×6を基本価格としております。 キットをお送りいただ...
最新の投稿
 キャラクター模型完成品2025年12月23日バンダイ 1/1700 EXモデル ジオン公国軽巡洋艦ムサイ 完成品
 お知らせ2025年11月8日プレオープン記念キャンペーンのお知らせ
 お知らせ2025年11月8日プリントサービス プレオープンのお知らせ
 製作記アーカイブ2025年11月5日製作記はYouTubeへ移行しました
コメント