船体の塗装に引き続いて、艦橋の組み立てと塗装を行います。船体と同じくマスキング作業がメインになります。
Following the painting of the hull, we will assemble and paint the bridge. As with the hull, masking work is the main work.
艦橋組立
水密扉のエッチングパーツなどを接着します。水密扉のエッチングパーツは三枚重ねるタイプです。私の見る限り水密扉のエッチングパーツの二枚目は裏表逆なので、もし水密扉を開けるなら加工が必要です。
Adhere the watertight doors of the etched parts. The etched parts of the watertight door are of the type that stacks three. As far as I can see, the second etched part of the watertight door is upside down, so if you want to open the watertight door, you need to process it.
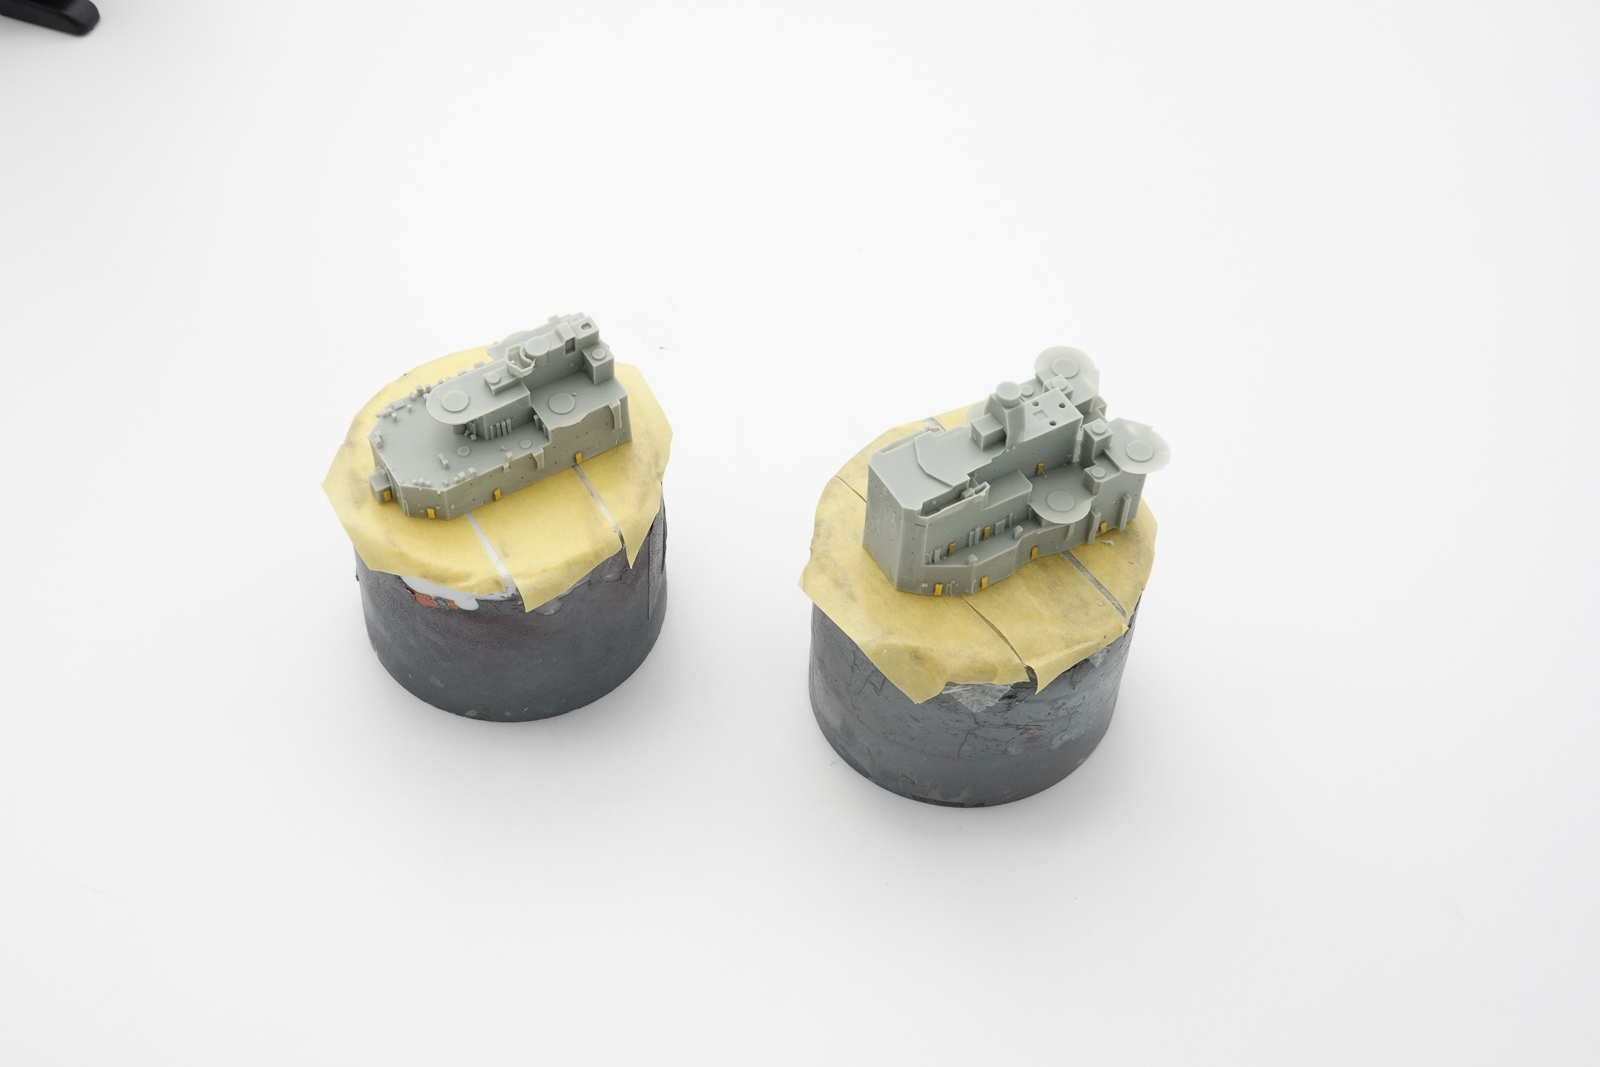
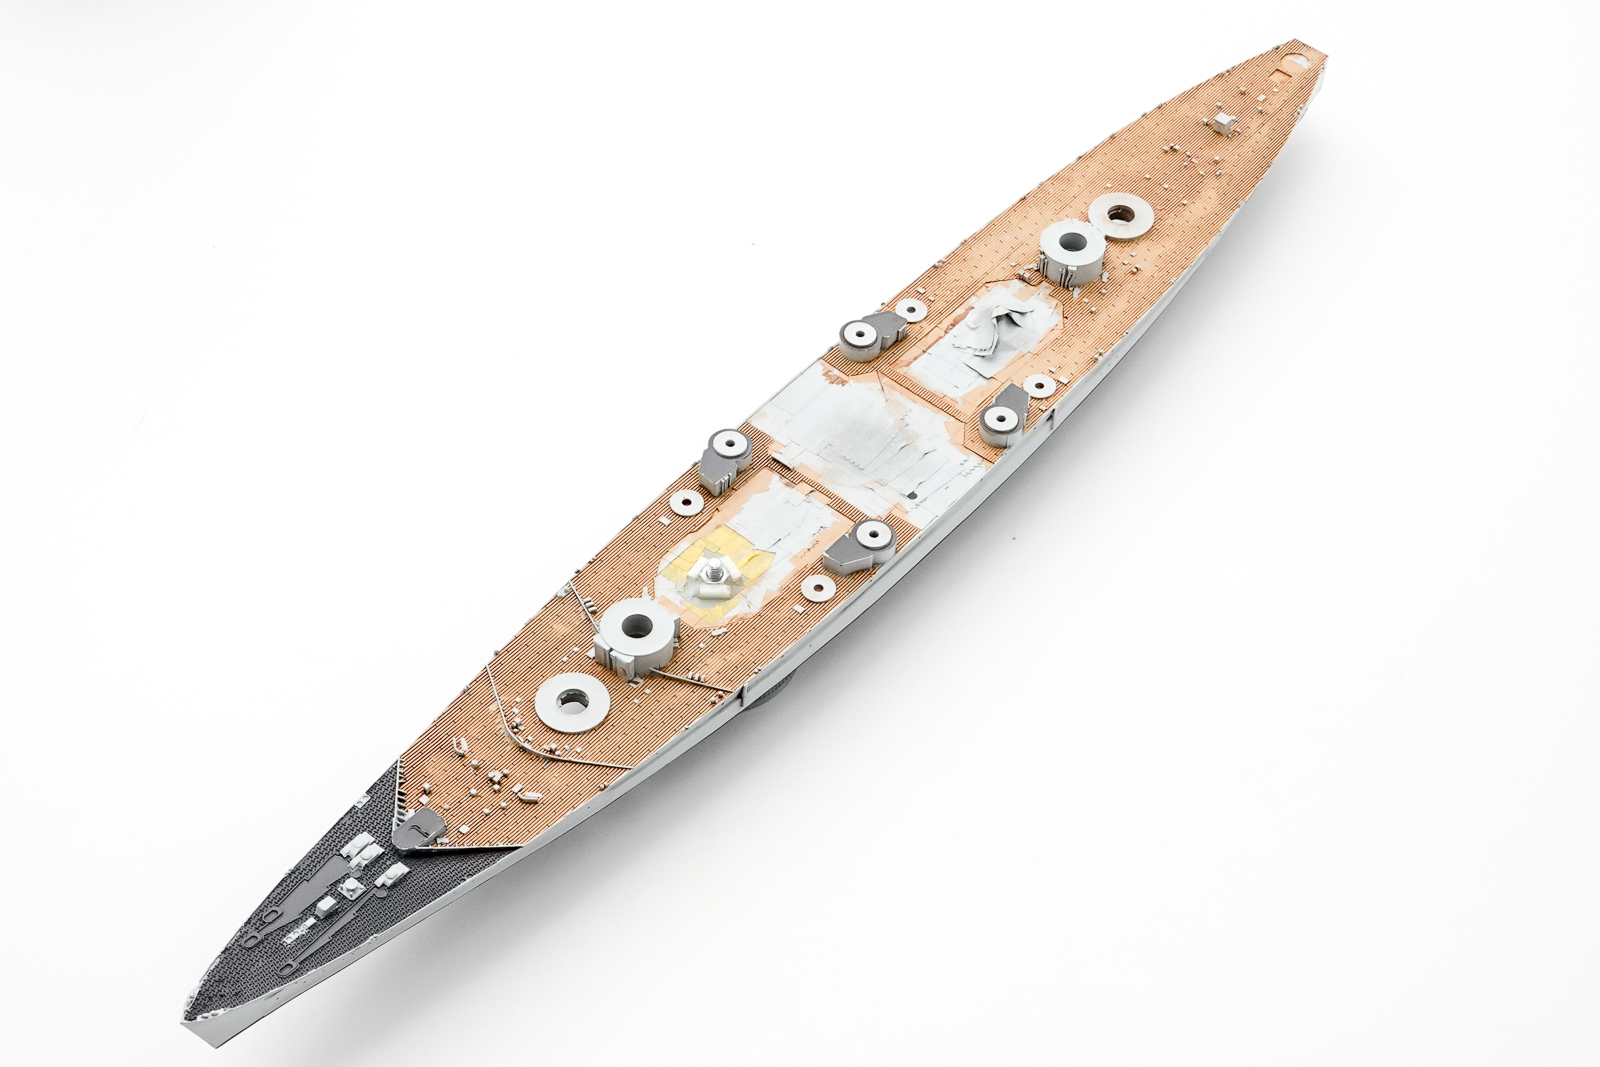
この後に、プライマー入りのサーフェイサーを下地として塗装します。その後基本塗装を行います。甲板はMrカラー331です。そして、マスキングテープを短冊状に切って甲板色部分をマスキングします。
After this, apply a surfacer containing a primer as a base. After that, basic painting is done. The deck is Mr color 331. Then, cut the masking tape into strips to mask the colored part of the deck.
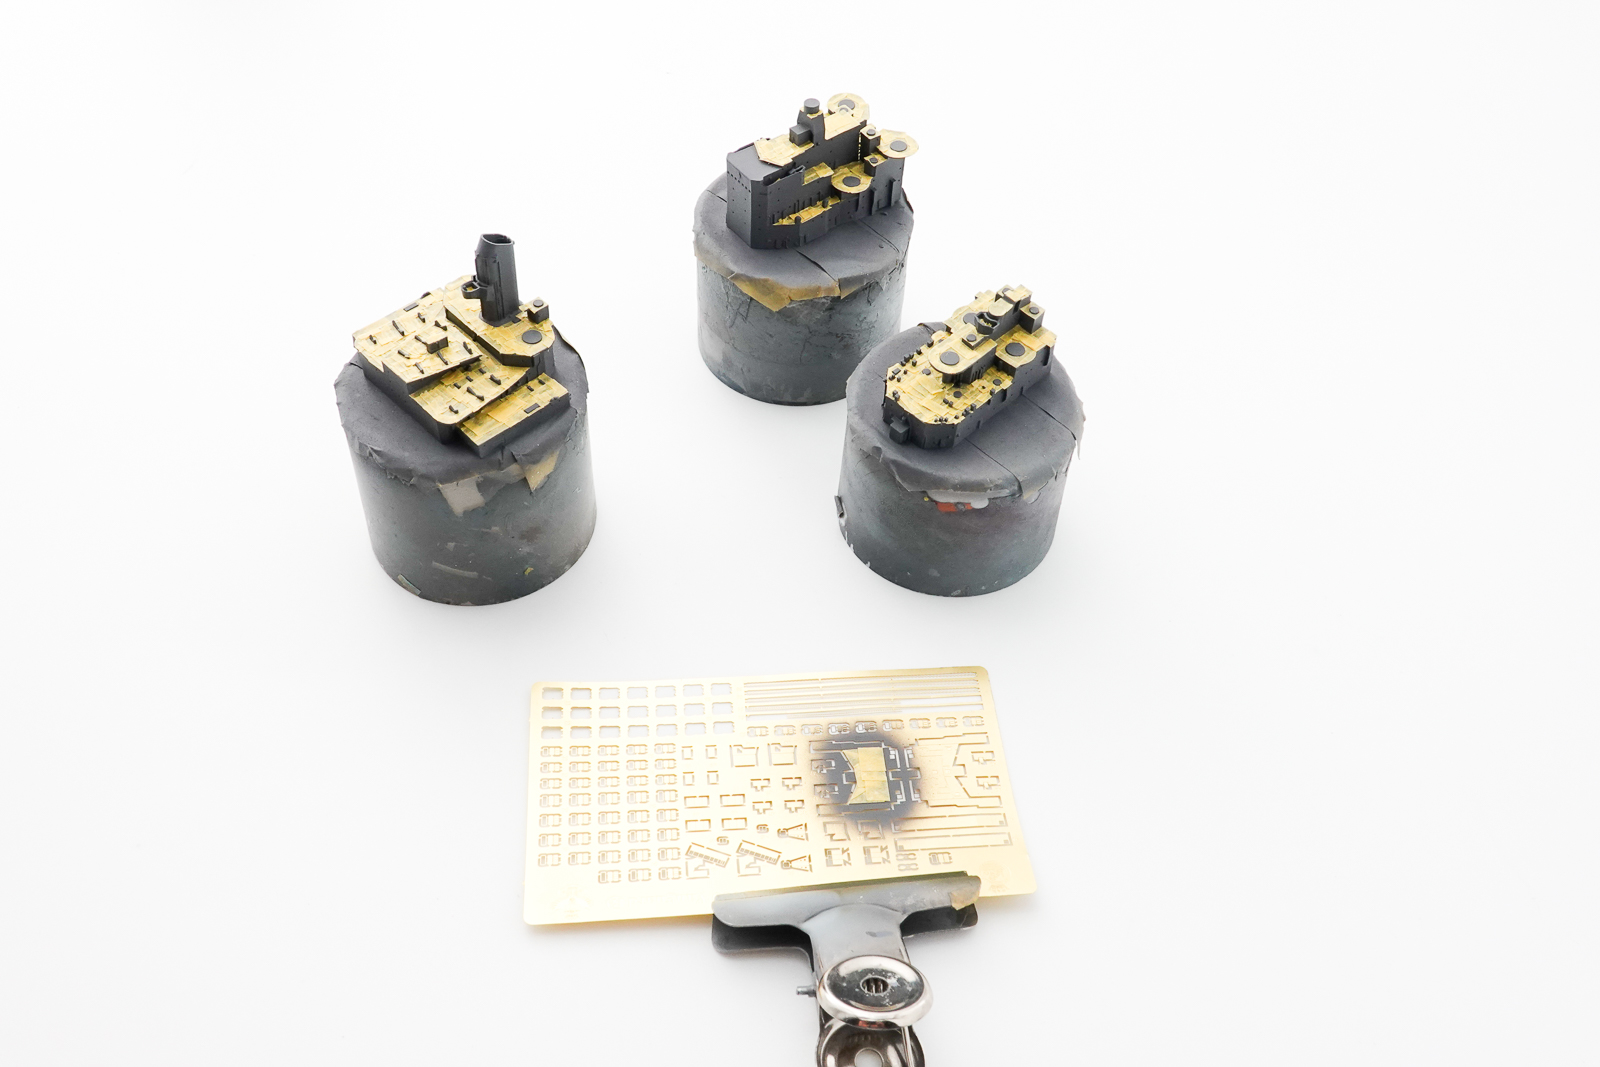
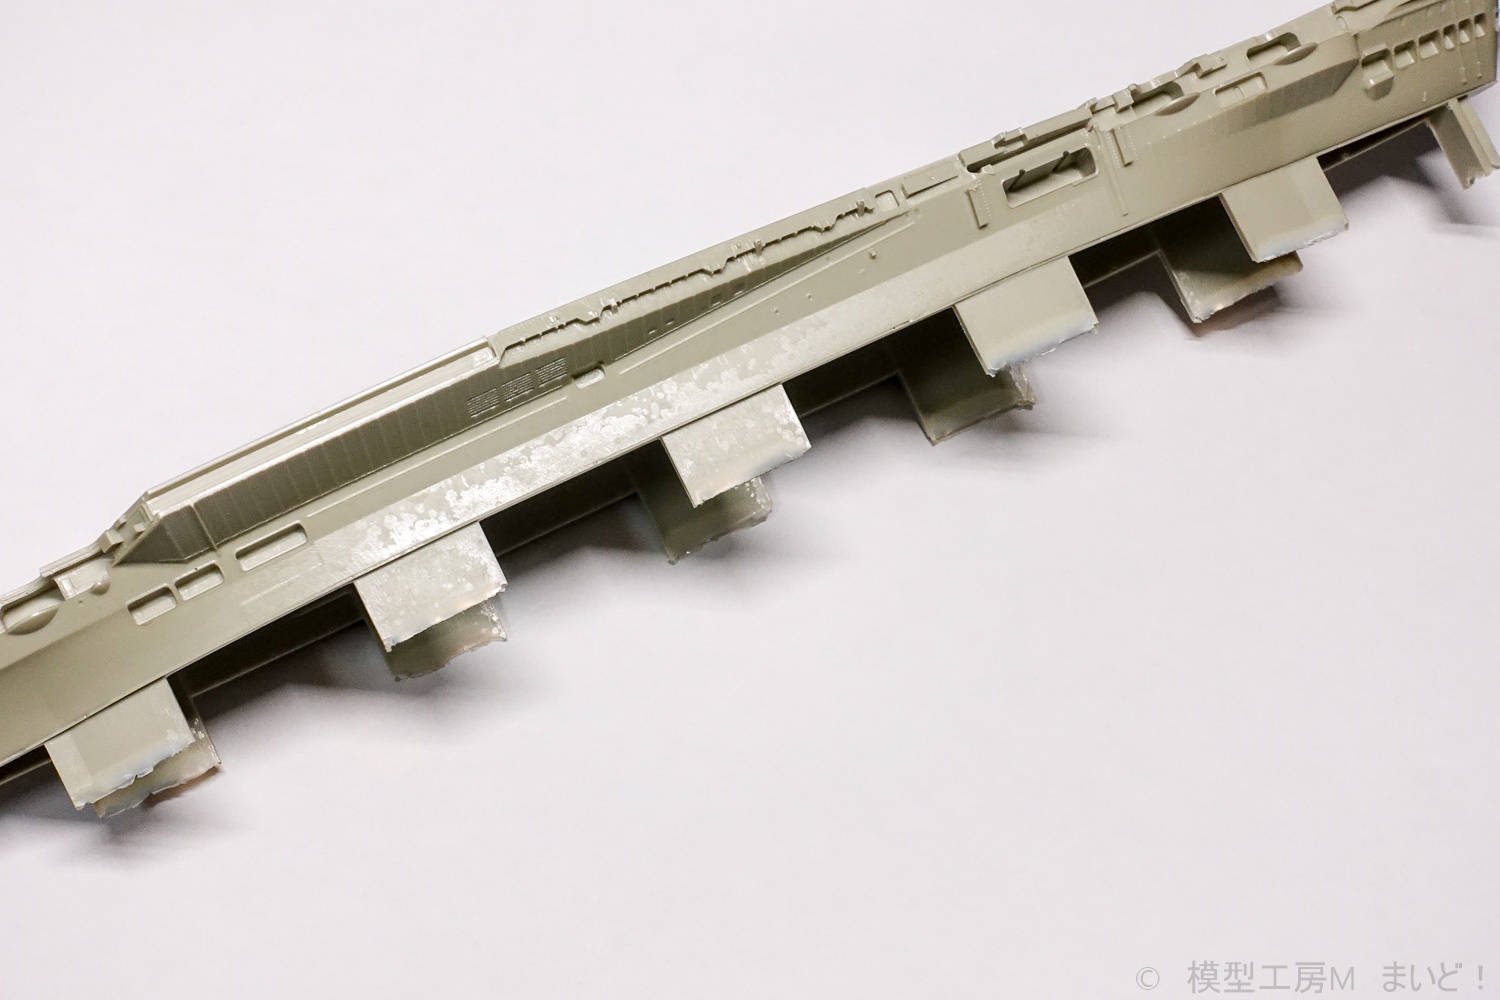
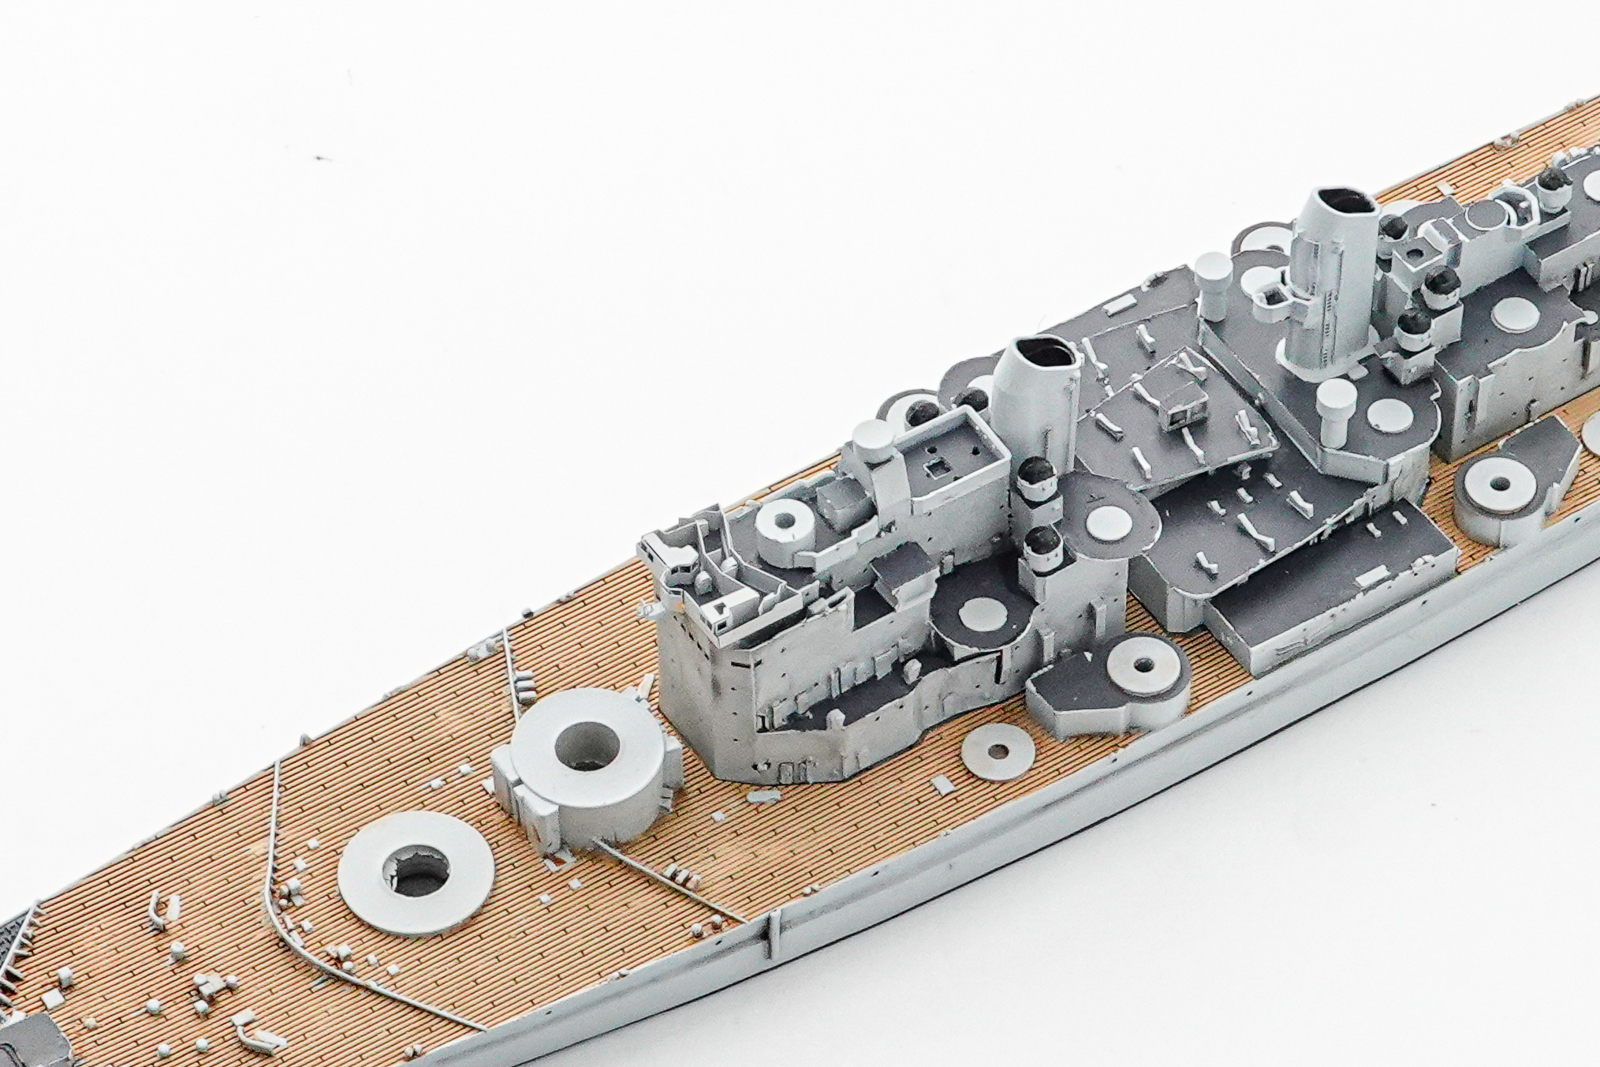
更にアップにしてみましょう。
Let’s zoom in further.
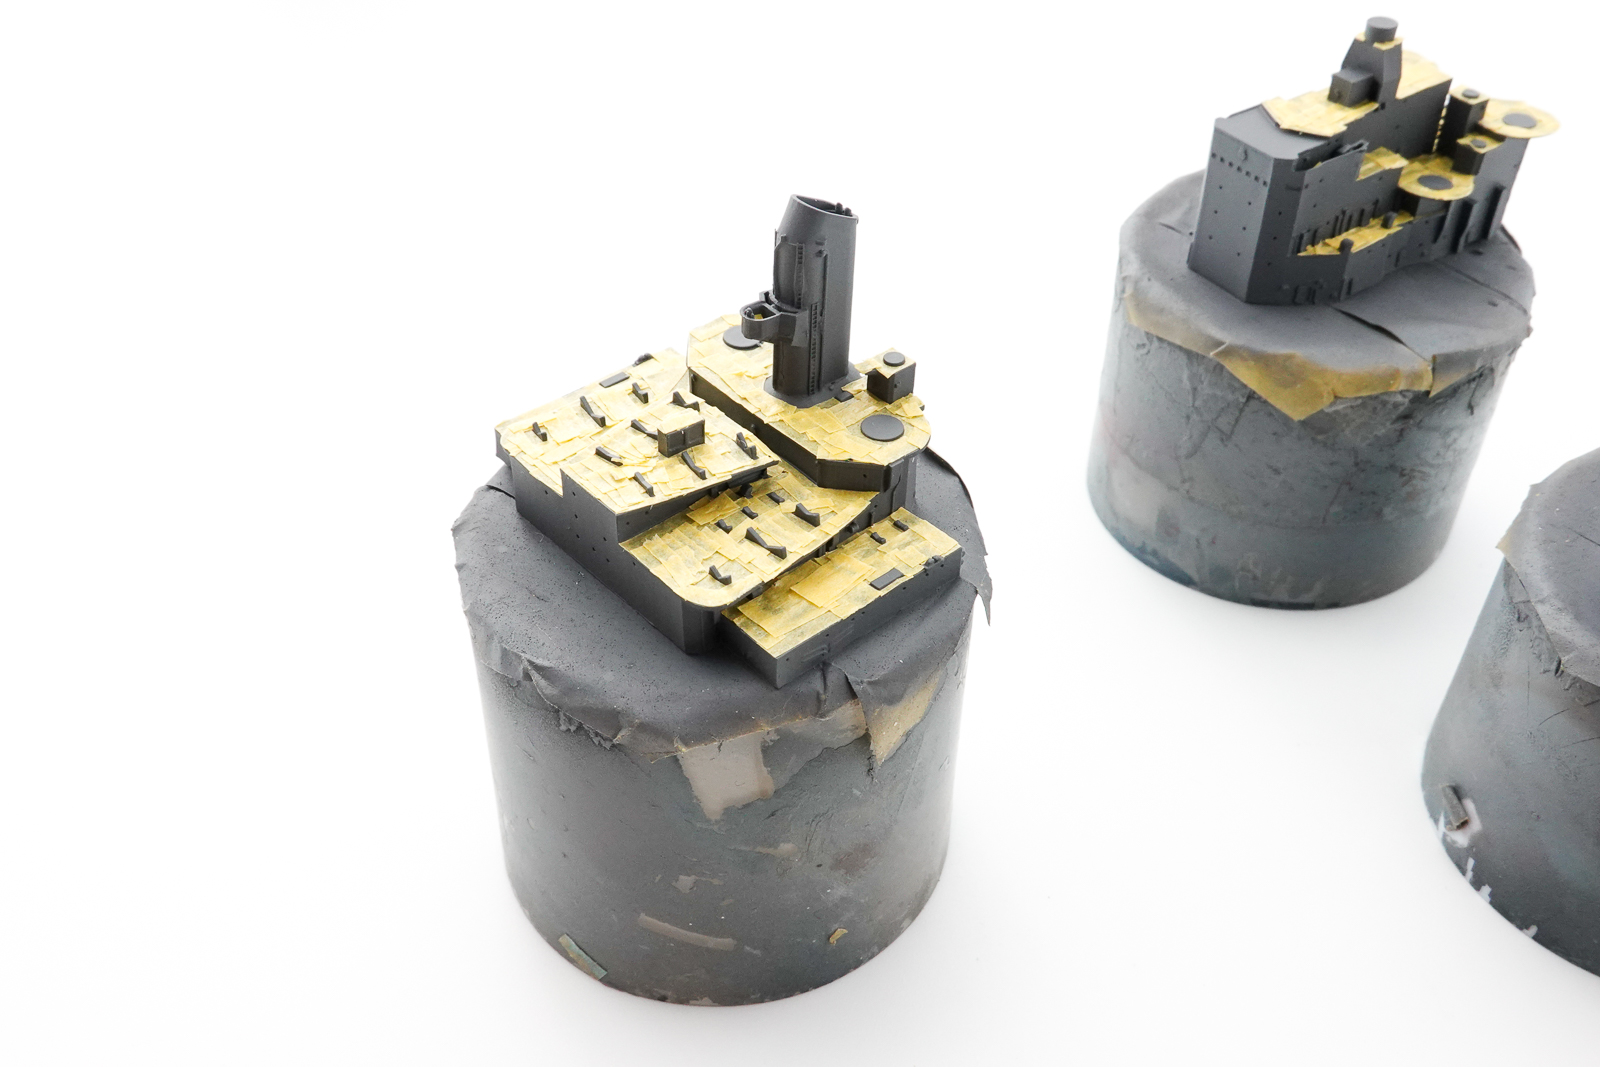
甲板よりも狭いですが、突起物が多いのと奥まった部分が多いので、手間がかかりました。
It’s narrower than the deck, but it took a lot of work because there are many protrusions and many deep parts.
染み込み防止のために再度Mrカラー331を吹いてから、煙突先端内部のブラック、船体色のMrカラー338の順番で塗装しました。
After blowing Mr color 331 again to prevent penetration, I painted black inside the tip of the chimney and Mr color 338 of the hull color in that order.
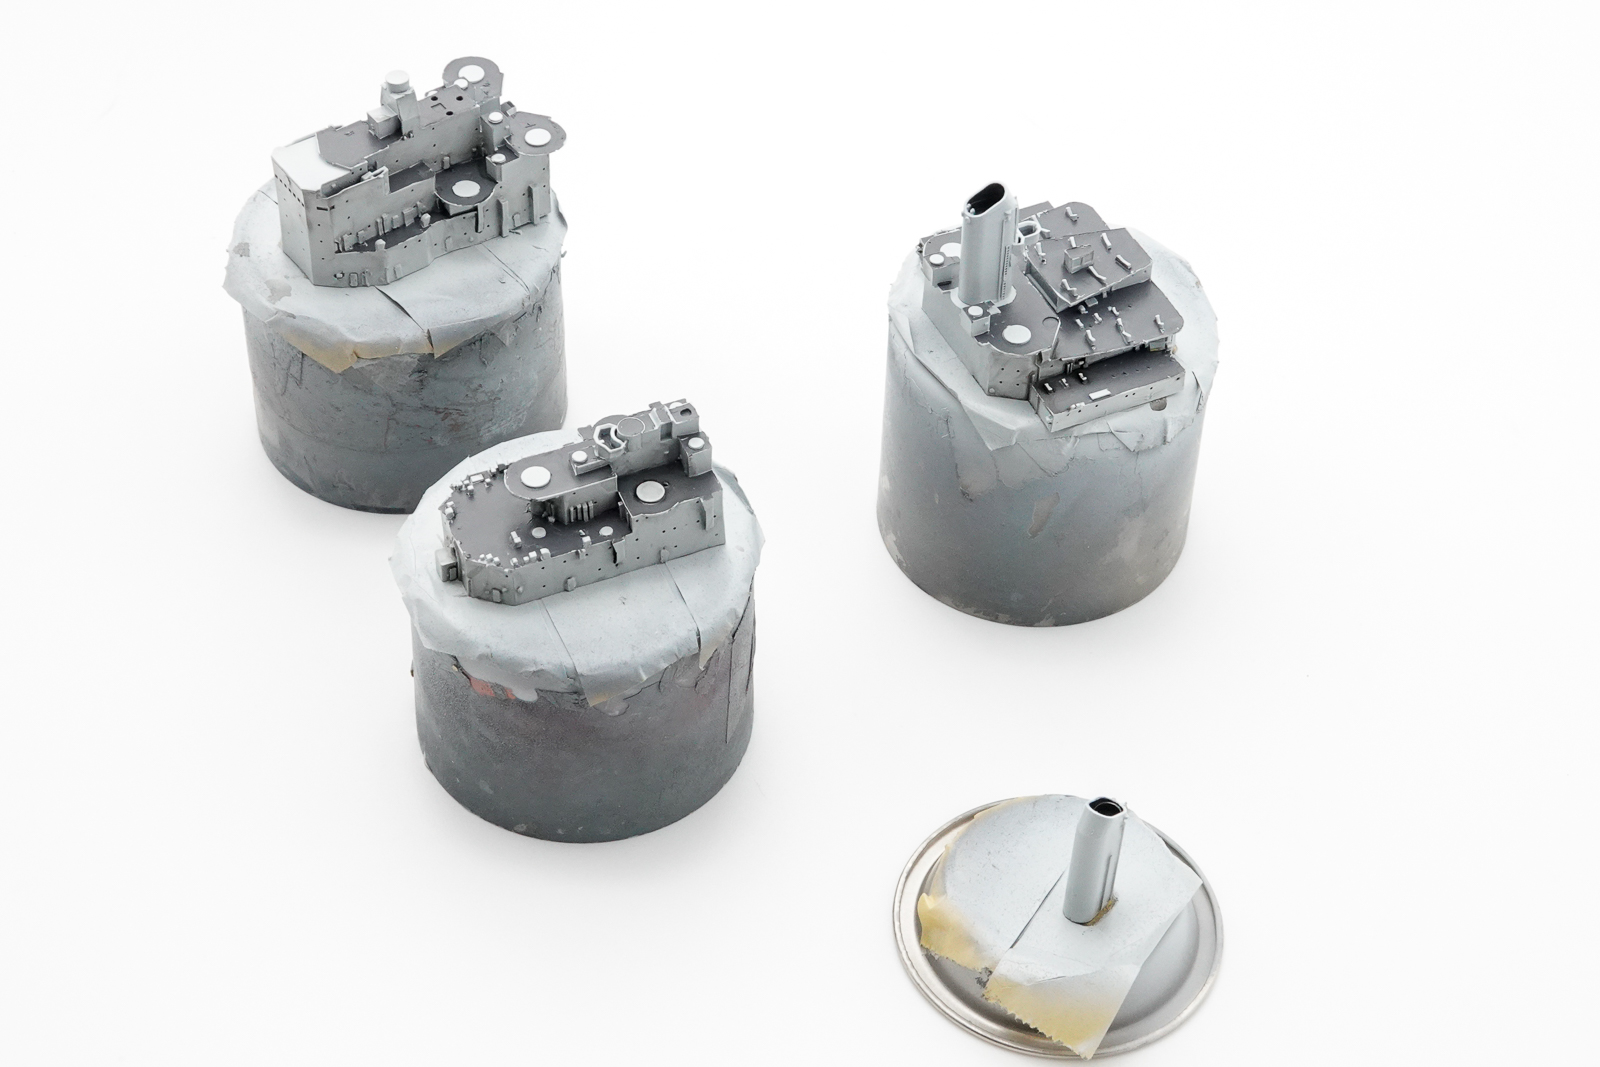
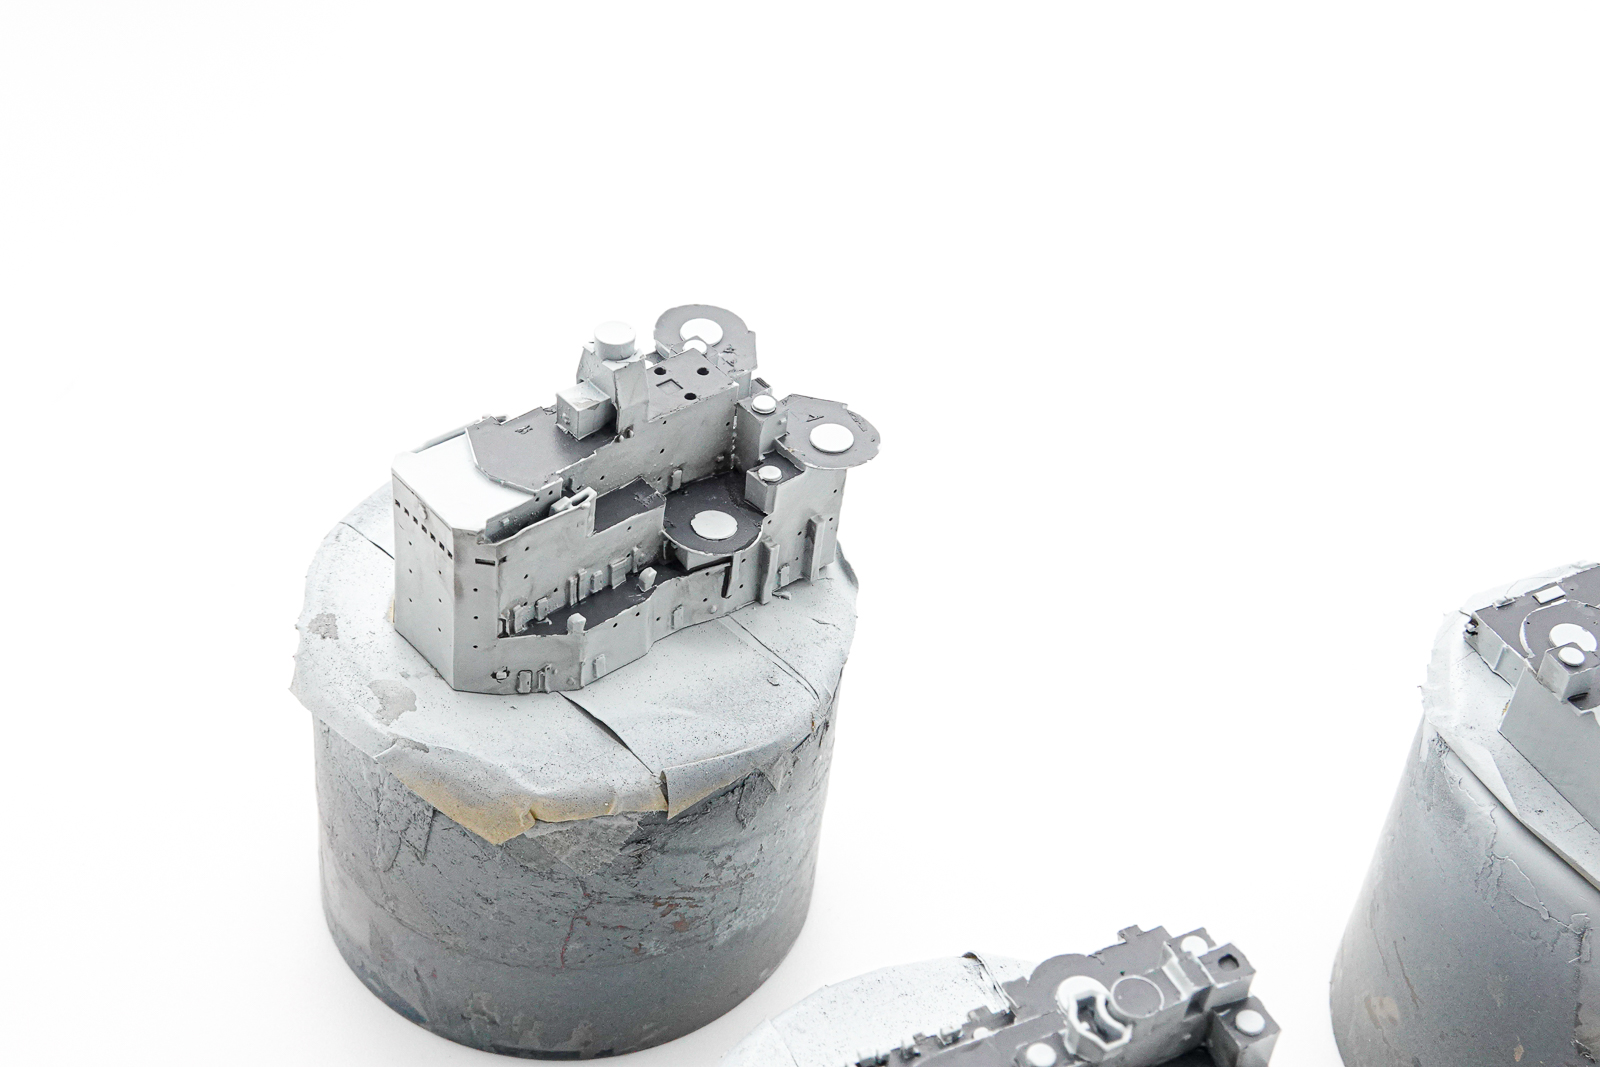
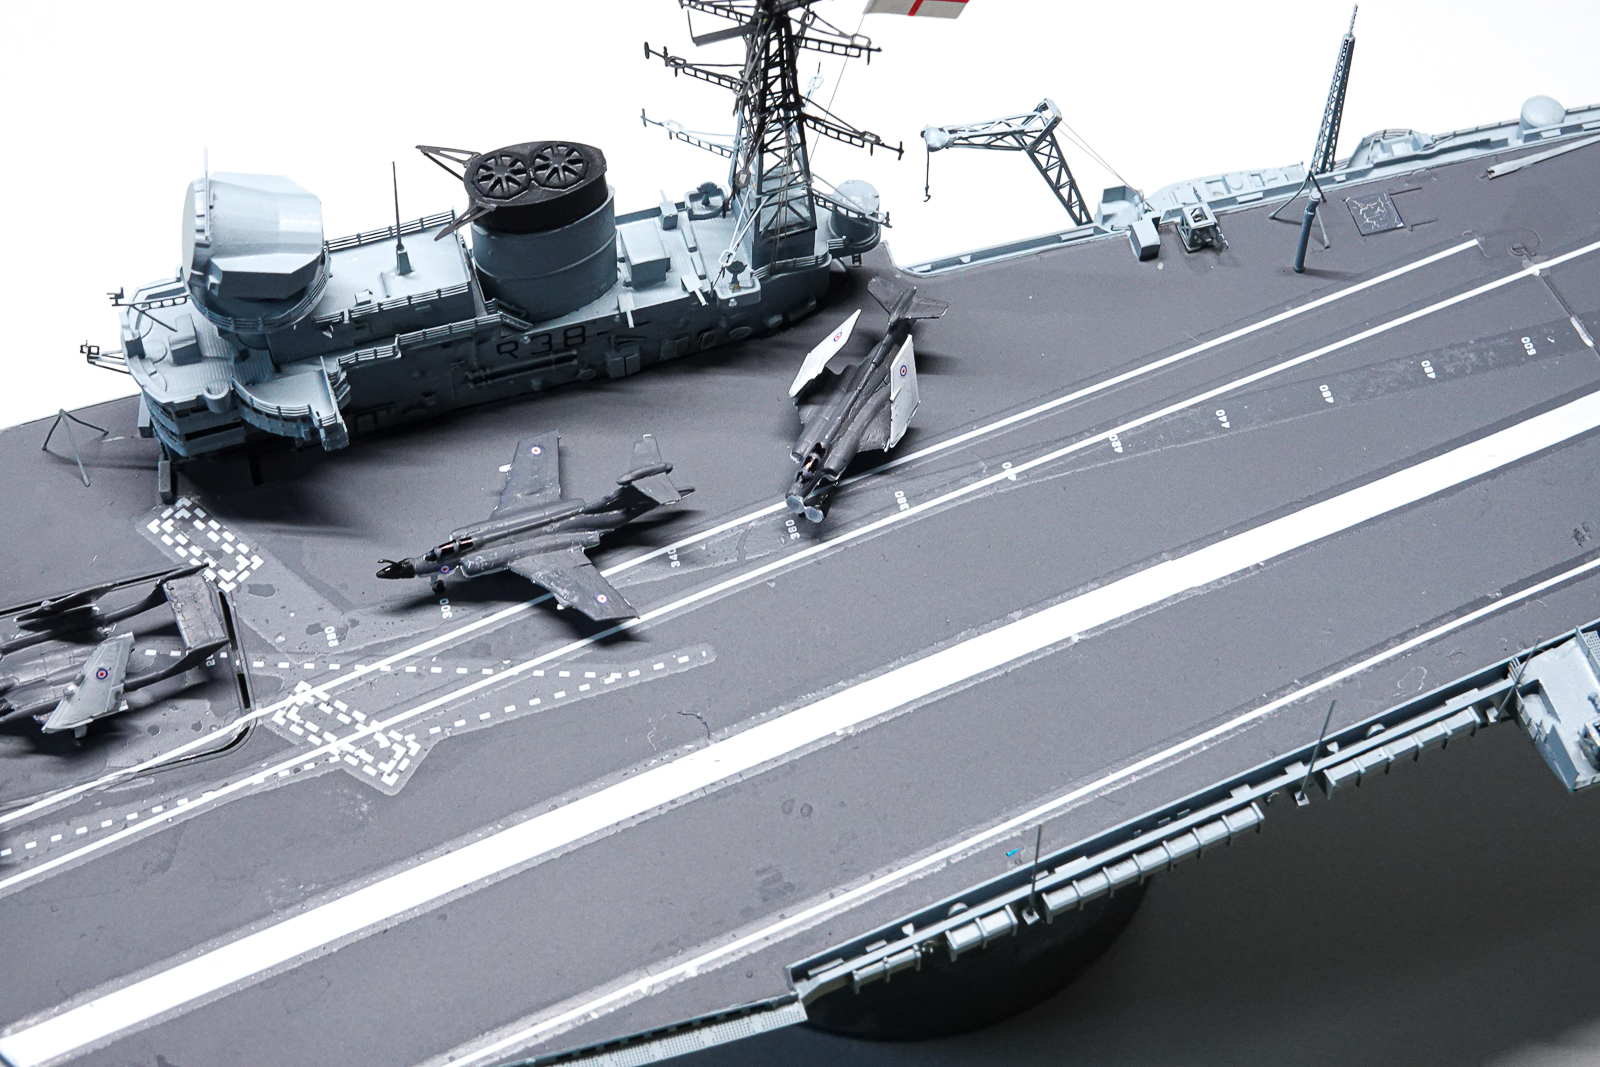
これで主要部が完成です。
This completes the main part.
投稿者プロフィール
-
模型好き。カメラ好き。各模型雑誌で掲載多数。
艦船模型、飛行機模型、AFV模型などプラモデル全般の制作代行も承っております。「お問い合わせ」からご連絡ください。製作代行ご案内のページは現在概要のみを公開しておりますが、2025年6月現在納期はご相談になりますが、制作代行可能です
 製作代行について(β版)2024年4月6日詳細な製作代行などはのちに追加しますが、お問い合わせのあった方の最初のご案内メールの定型文を記しておきます。製作依頼の流れ1 キットに入っているパーツのみでの制作は、定価×6を基本価格としております。 キットをお送りいただ...
最新の投稿
 キャラクター模型完成品2025年12月23日バンダイ 1/1700 EXモデル ジオン公国軽巡洋艦ムサイ 完成品
 お知らせ2025年11月8日プレオープン記念キャンペーンのお知らせ
 お知らせ2025年11月8日プリントサービス プレオープンのお知らせ
 製作記アーカイブ2025年11月5日製作記はYouTubeへ移行しました

コメント