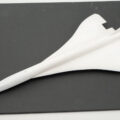
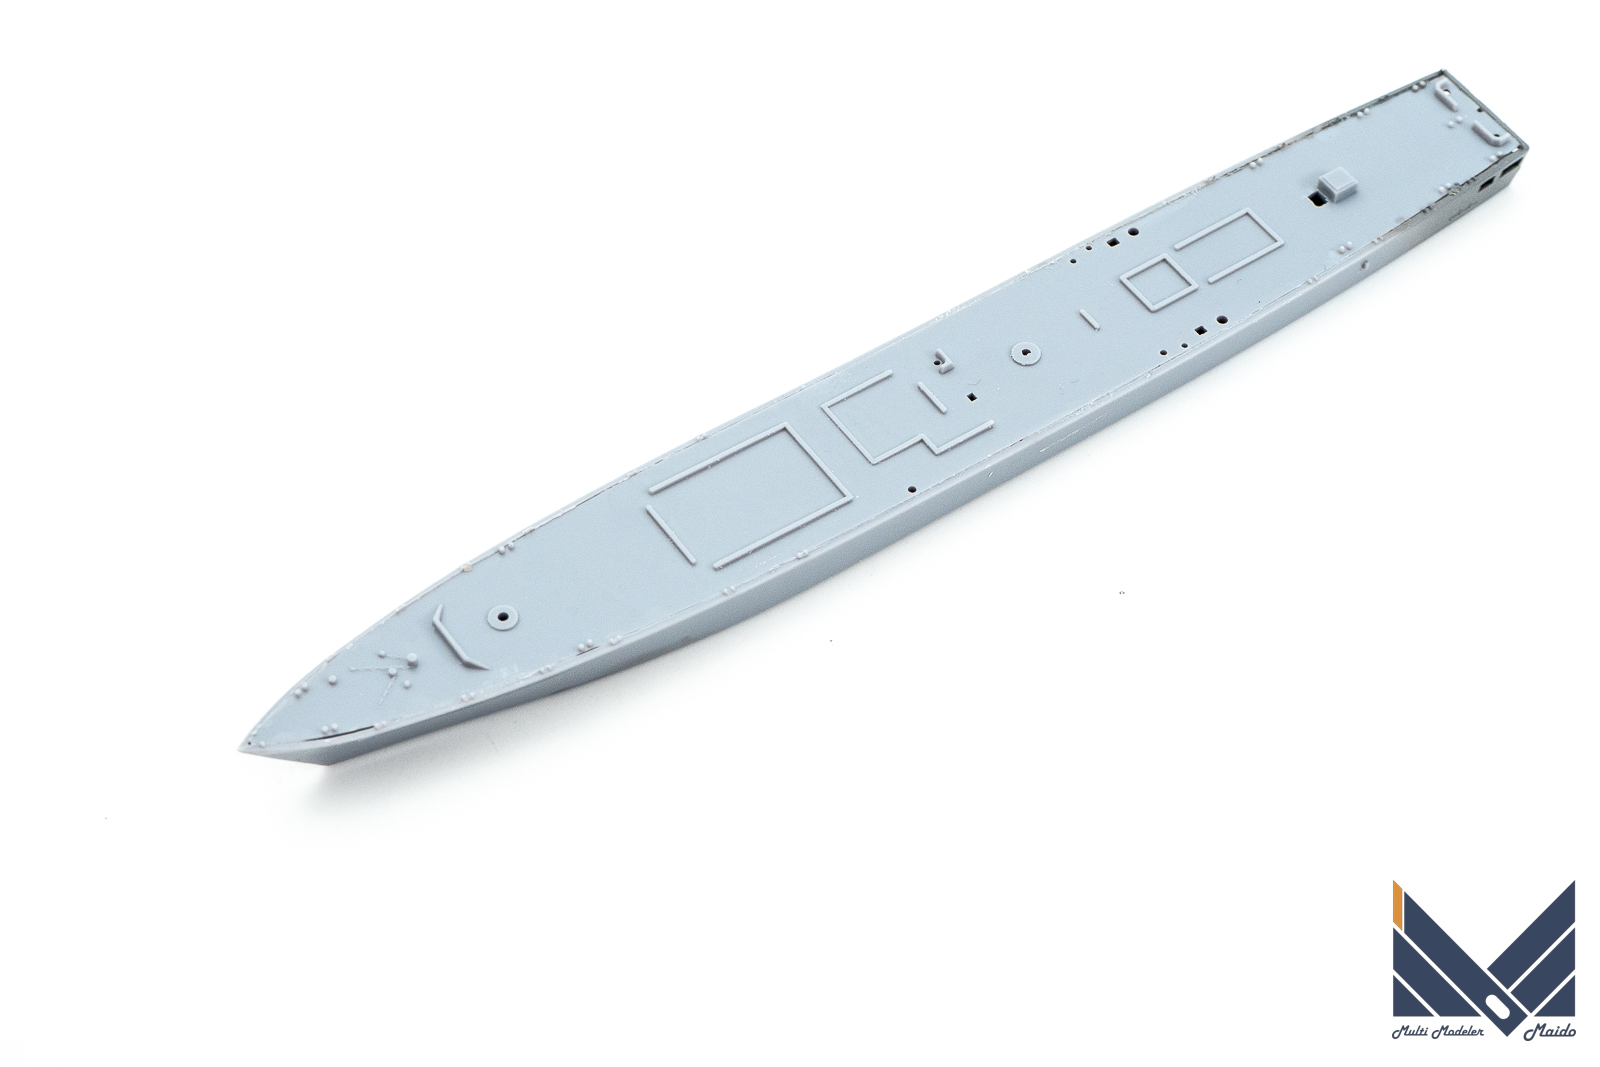
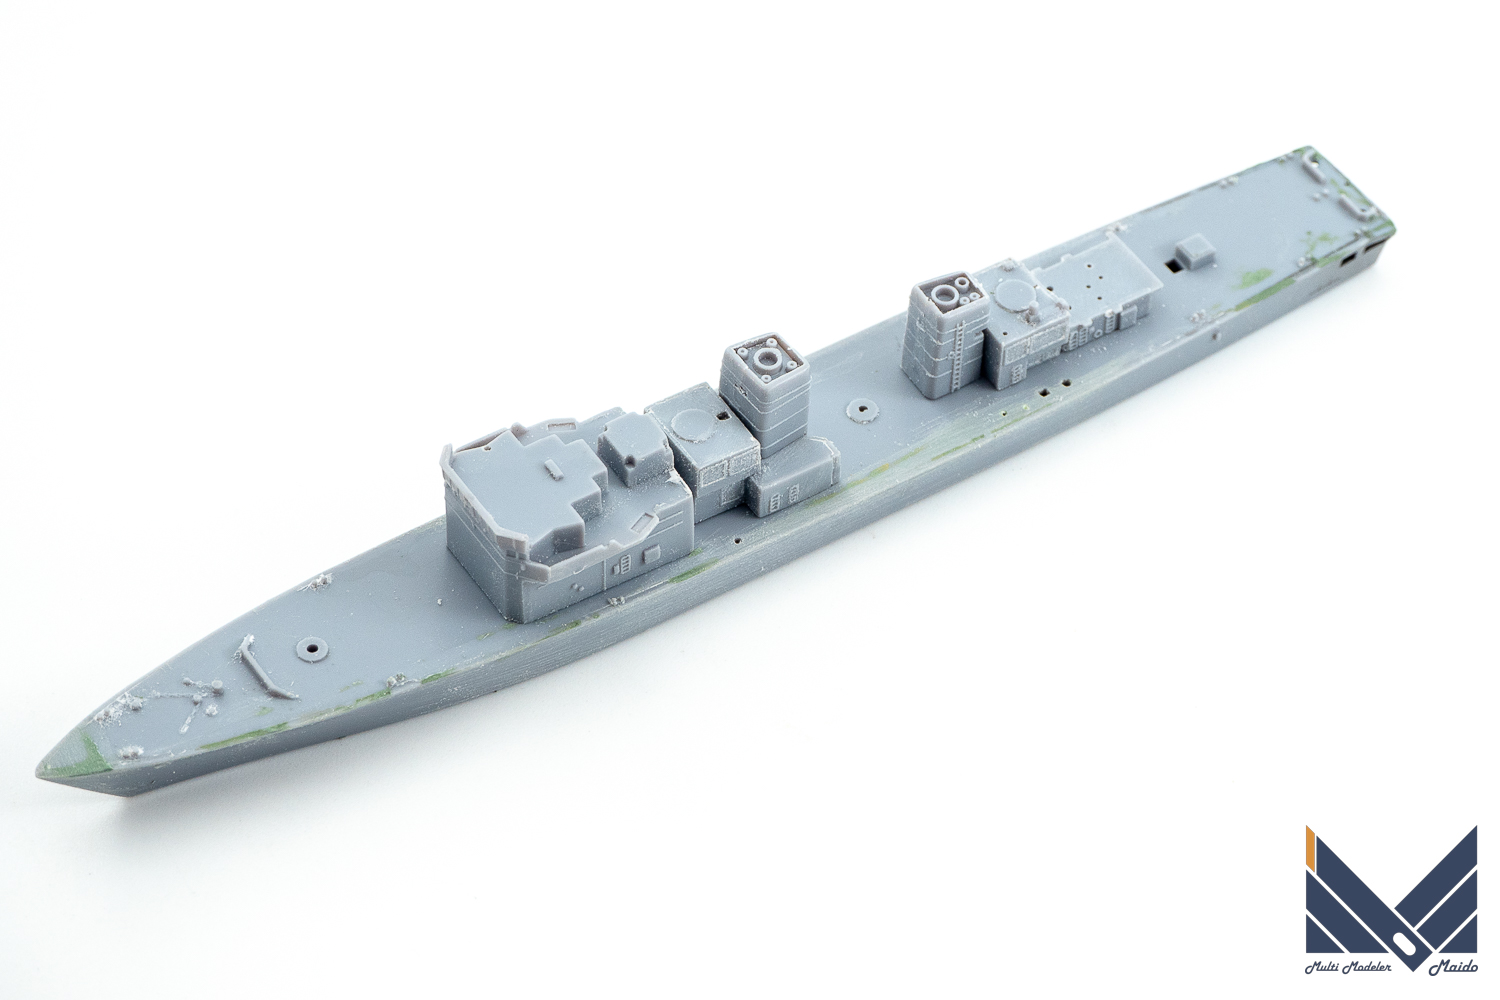
サーフェイサーを塗装して表面状態をチェックしてから基本塗装を行いました。
After painting the surfacer and checking the surface condition, I did the basic painting.
サーフェイサー塗装
細かい傷埋めと表面状態のチェックのためにサーフェイサーをエアブラシで塗装します。
Paint the surfacer with an airbrush to fill in fine scratches and check the surface condition.
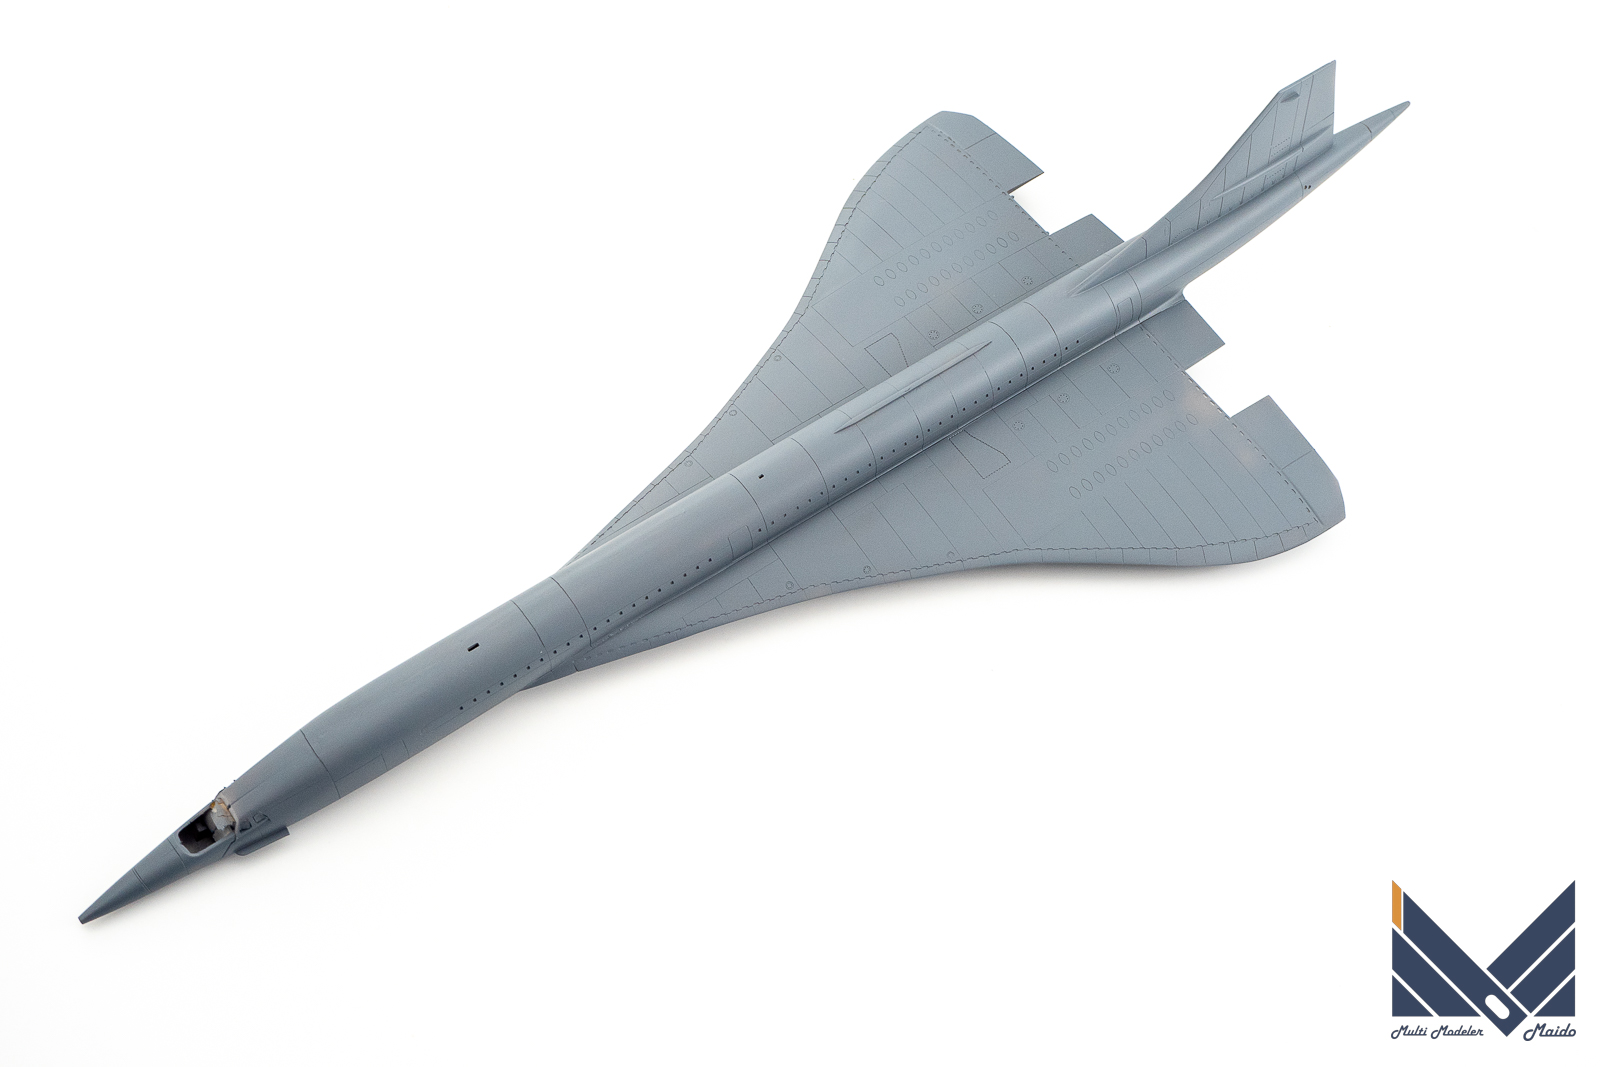
サーフェイサーはガイアノーツのメカサフライトを使用しました。
The surfacer used Gaianotes mecha saflight.
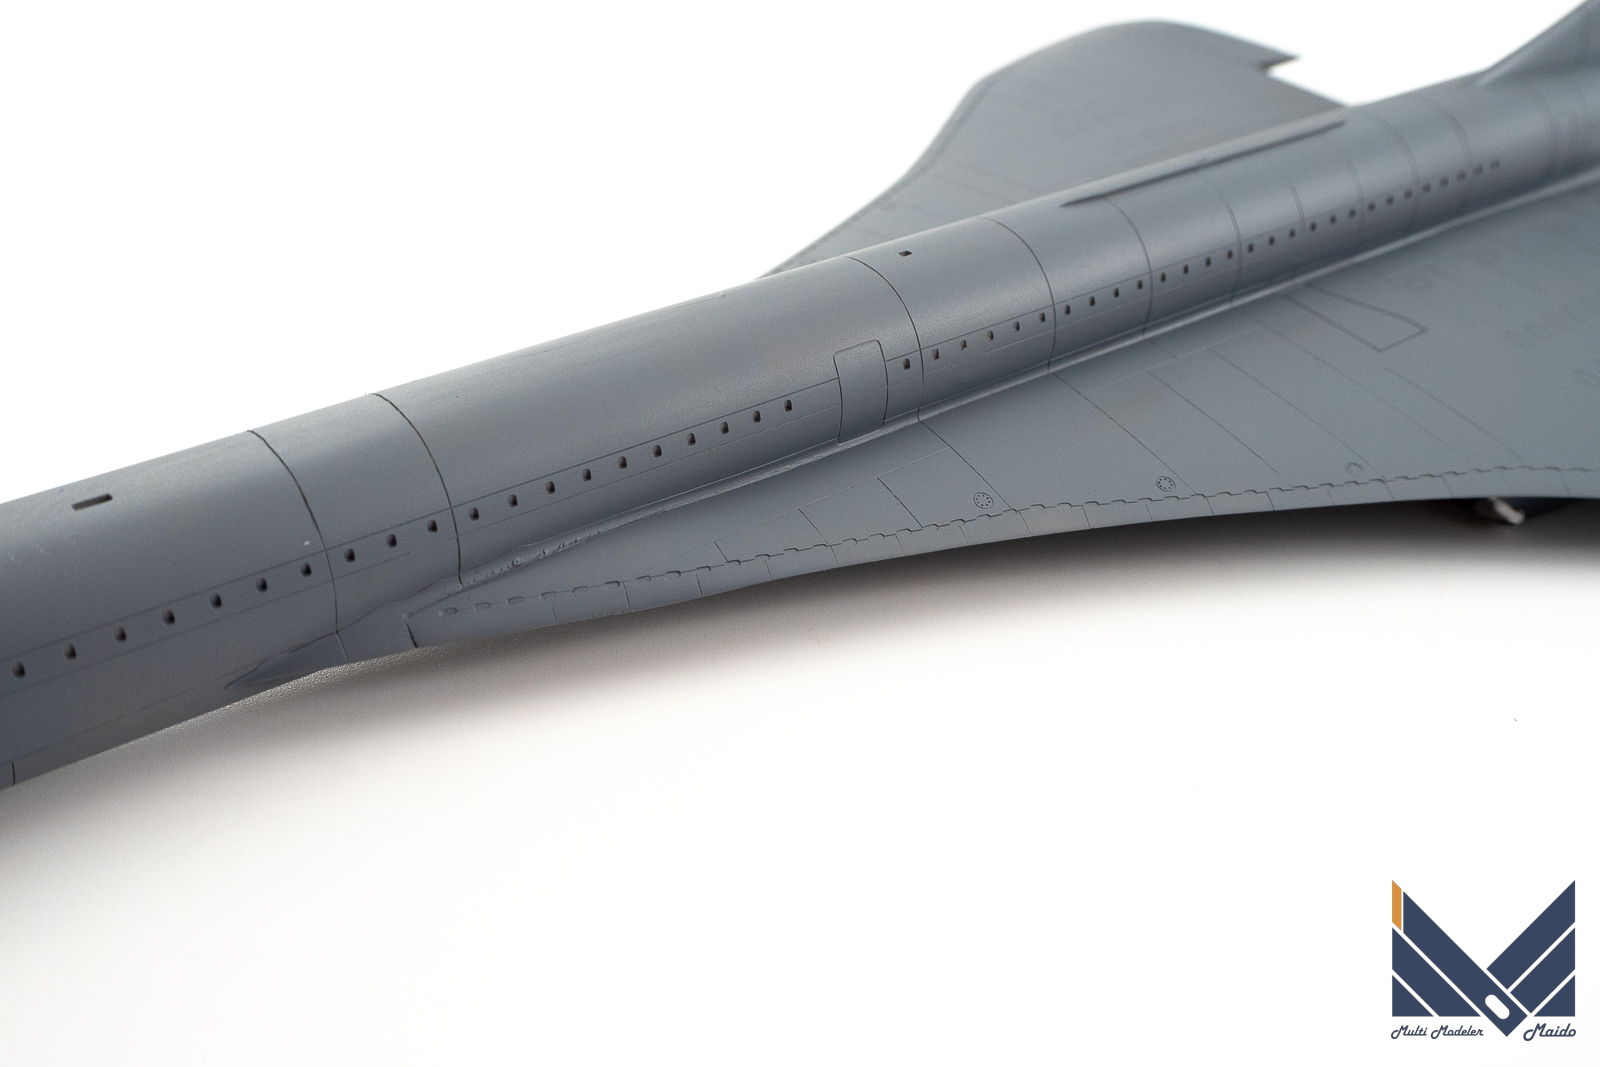
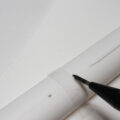
サーフェイサーを吹くとモールドがしっかり見えてきます。実にシャープです。
If you blow the surfacer, the mold will be clearly visible. Really sharp.
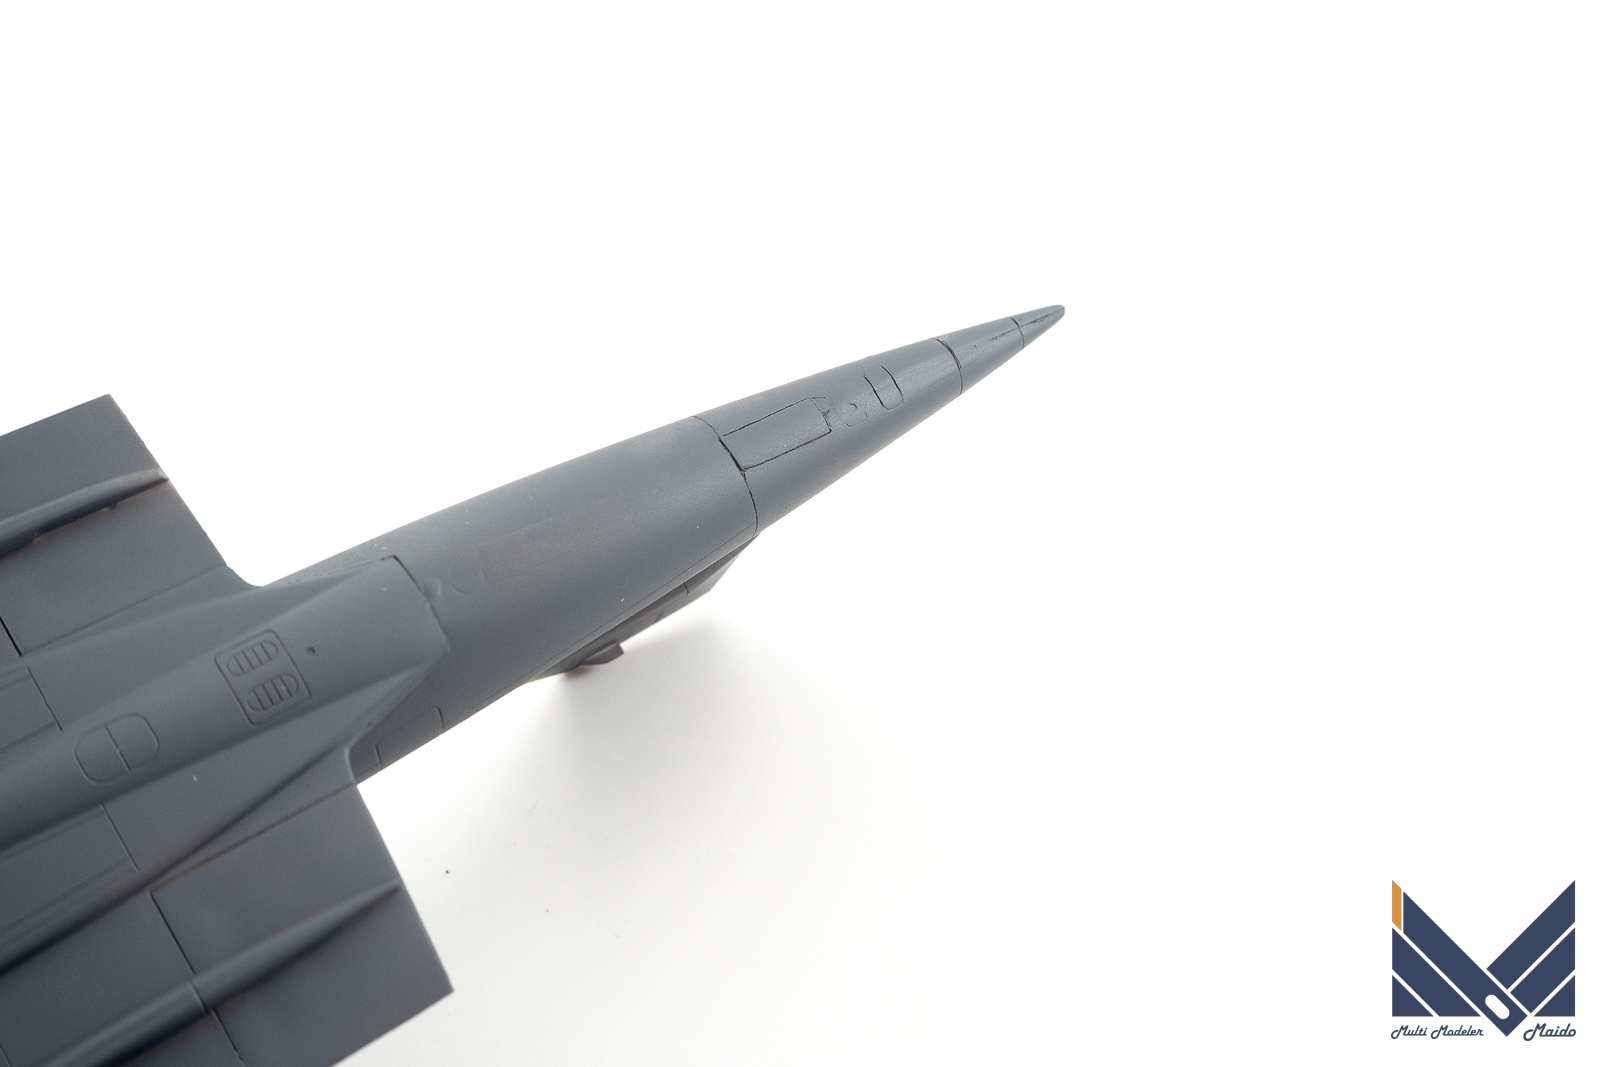
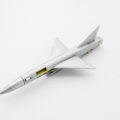
処理ミスを見つけたら再度サンディングしたり、パテで埋めたりします。
If you find a processing mistake, sand it again or fill it with putty.
基本塗装
サンディングしてサーフェイサー層がなくなった部分に再度サーフェイサーを塗装してから、基本塗装を行います。
ホワイト=EXホワイト+アルティメットホワイト(ガイアノーツ)
乾かしつつ4回くらいに分けて塗装します
Apply the surfacer again to the part where the surfacer layer has disappeared after sanding, and then apply the basic paint.
White = EX White + Ultimate White (Gaianotes)
Paint in about 4 coats while drying
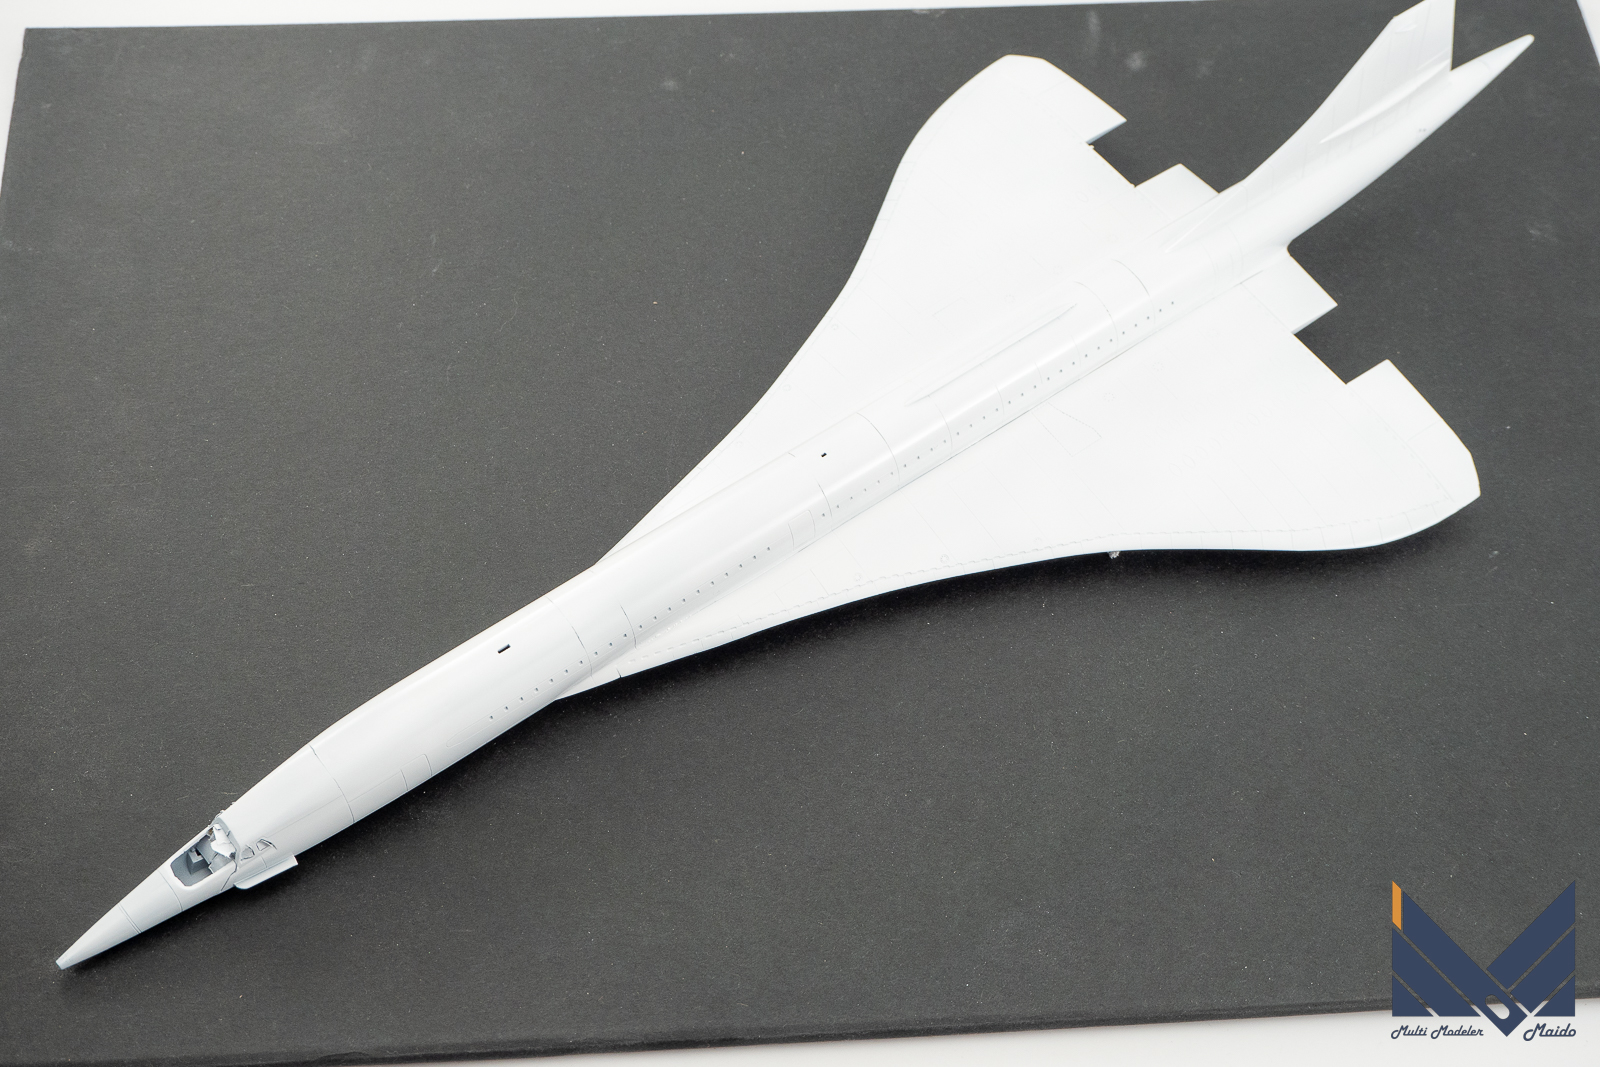
持ち手の付けられないホワイトの機体は塗装にかなり時間がかかります。中途半端な乾燥では触ったときに跡が残ってリカバリーに数倍の時間をかける事にもなるので、あわてず騒がす乾燥させつつ塗装していきます。
この後、パンナムブルーの帯を入れるマスキングを行います。マスキングテープも中途半端な乾燥はトラブルの元なので、ドライブースに入れて丸一日乾燥させます。
It takes time to paint the white fuselage that can not be attached to the handle. Incomplete drying will leave traces when touched, and it will take several times longer to recover, so paint while drying without rushing.
After this, perform masking to insert the Pan Am Blue band. Half-drying masking tape can cause trouble, so put it in a dry booth and let it dry for a whole day.
投稿者プロフィール
-
模型好き。カメラ好き。各模型雑誌で掲載多数。
艦船模型、飛行機模型、AFV模型などプラモデル全般の制作代行も承っております。「お問い合わせ」からご連絡ください。製作代行ご案内のページは現在概要のみを公開しておりますが、2025年6月現在納期はご相談になりますが、制作代行可能です
 製作代行について(β版)2024年4月6日詳細な製作代行などはのちに追加しますが、お問い合わせのあった方の最初のご案内メールの定型文を記しておきます。製作依頼の流れ1 キットに入っているパーツのみでの制作は、定価×6を基本価格としております。 キットをお送りいただ...
最新の投稿
 キャラクター模型完成品2025年12月23日バンダイ 1/1700 EXモデル ジオン公国軽巡洋艦ムサイ 完成品
 お知らせ2025年11月8日プレオープン記念キャンペーンのお知らせ
 お知らせ2025年11月8日プリントサービス プレオープンのお知らせ
 製作記アーカイブ2025年11月5日製作記はYouTubeへ移行しました

コメント