船体の工作を行い、本体の電飾を試験点灯してみました。
I worked on the hull and tried lighting the illumination of the main body.
船底工作
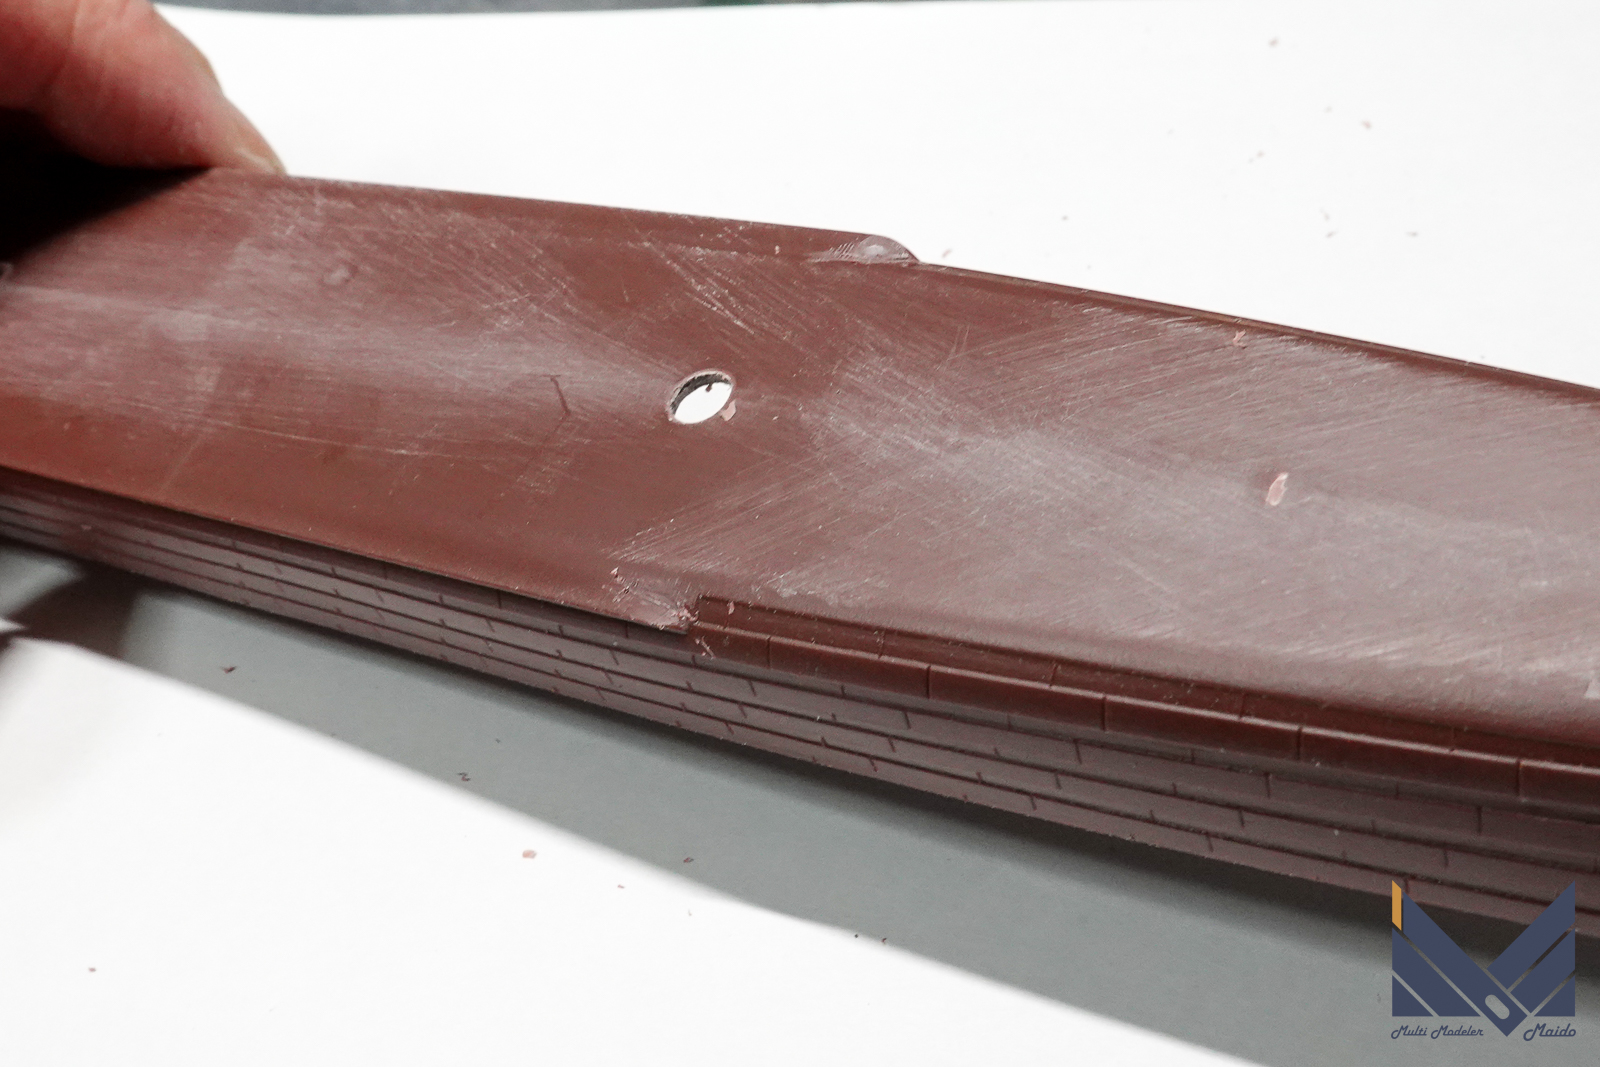
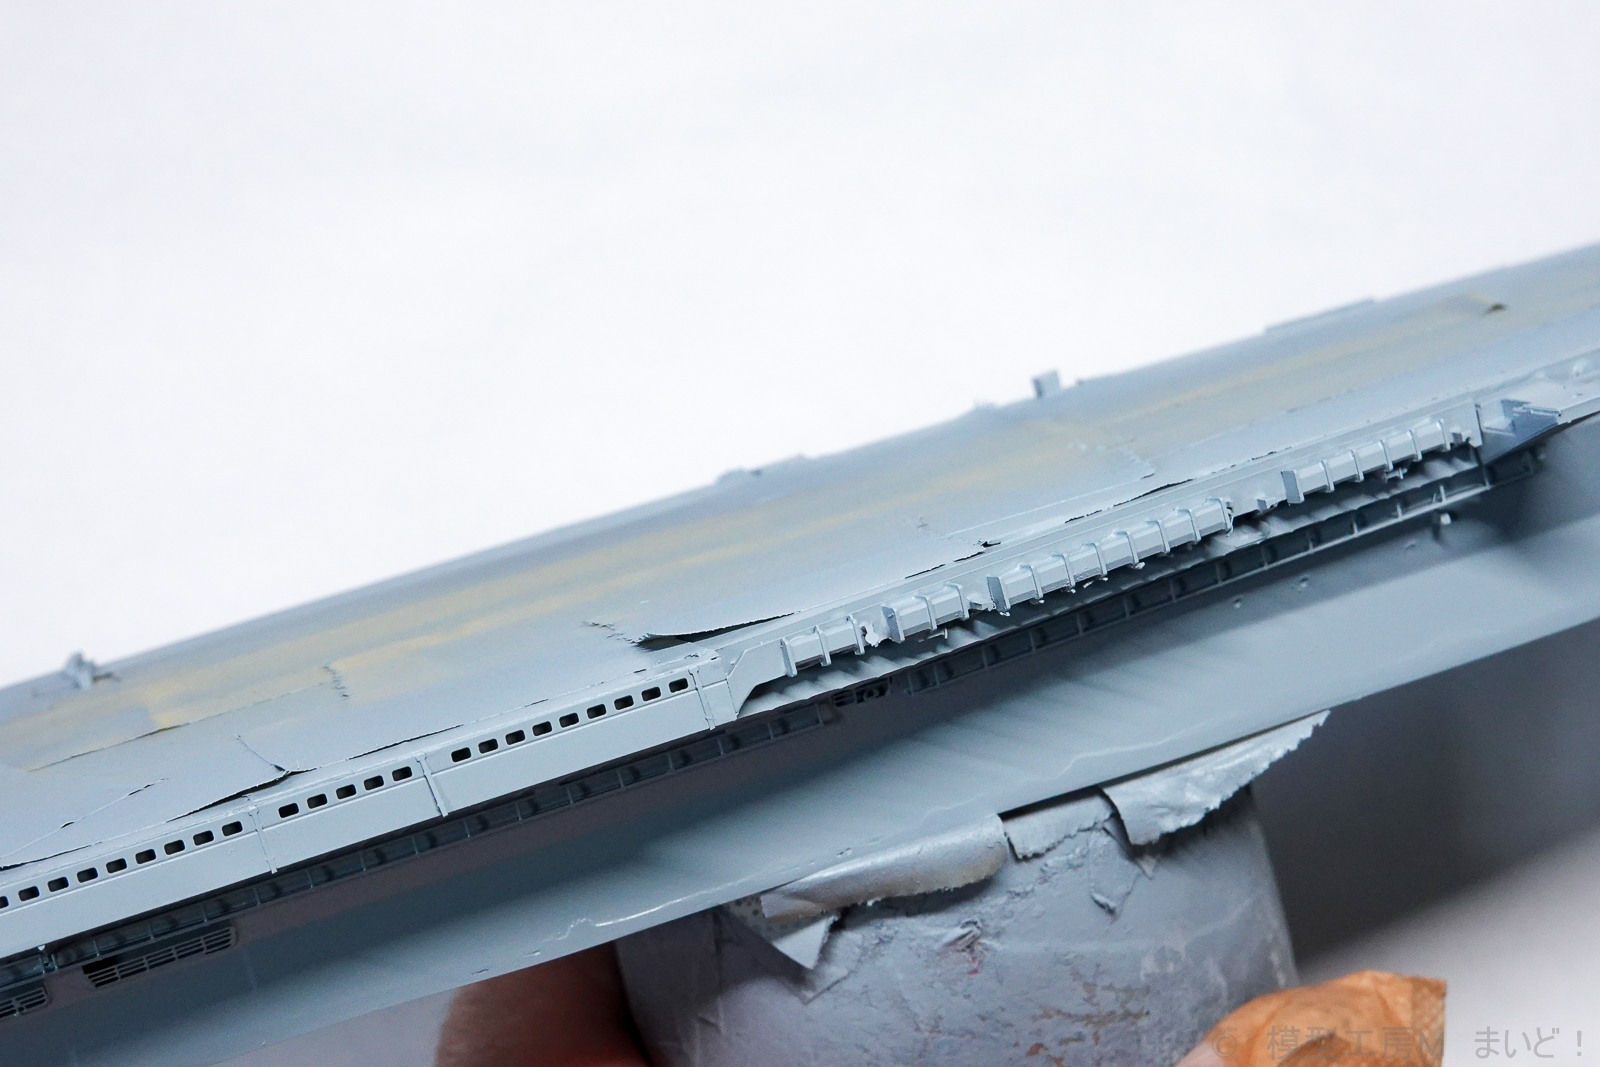
ビルジキールが船底と一体でなおかつスライド金型が使用されていないので、ビルジキールの断面が三角形になっています。
The cross section of the bilge keel is triangular because the bilge keel is integrated with the bottom of the ship and no slide mold is used.
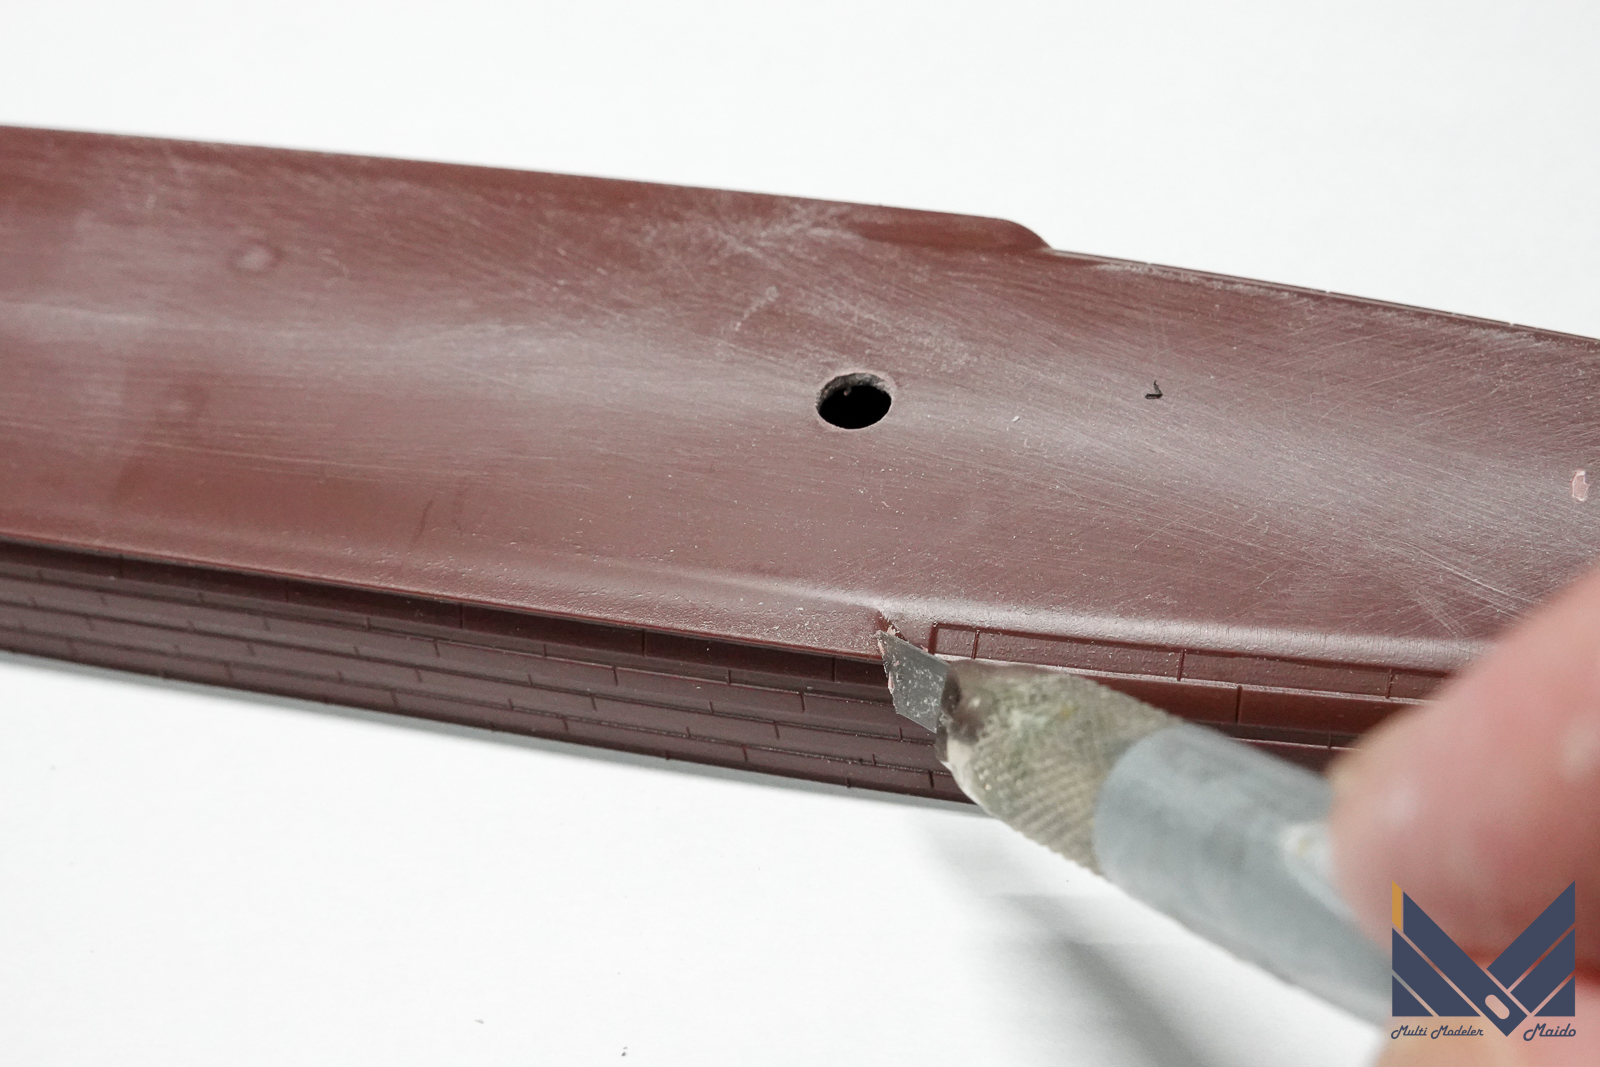
全てを作り替える方法もありますが、先端と後端を薄く削りこんで板のように見せます。
It is possible to remake everything, but the tip and the back end are thinly shaved to make it look like a board.

これで前後から見た時に板のように見えるわけです
This makes it look like a board when viewed from the front and back.
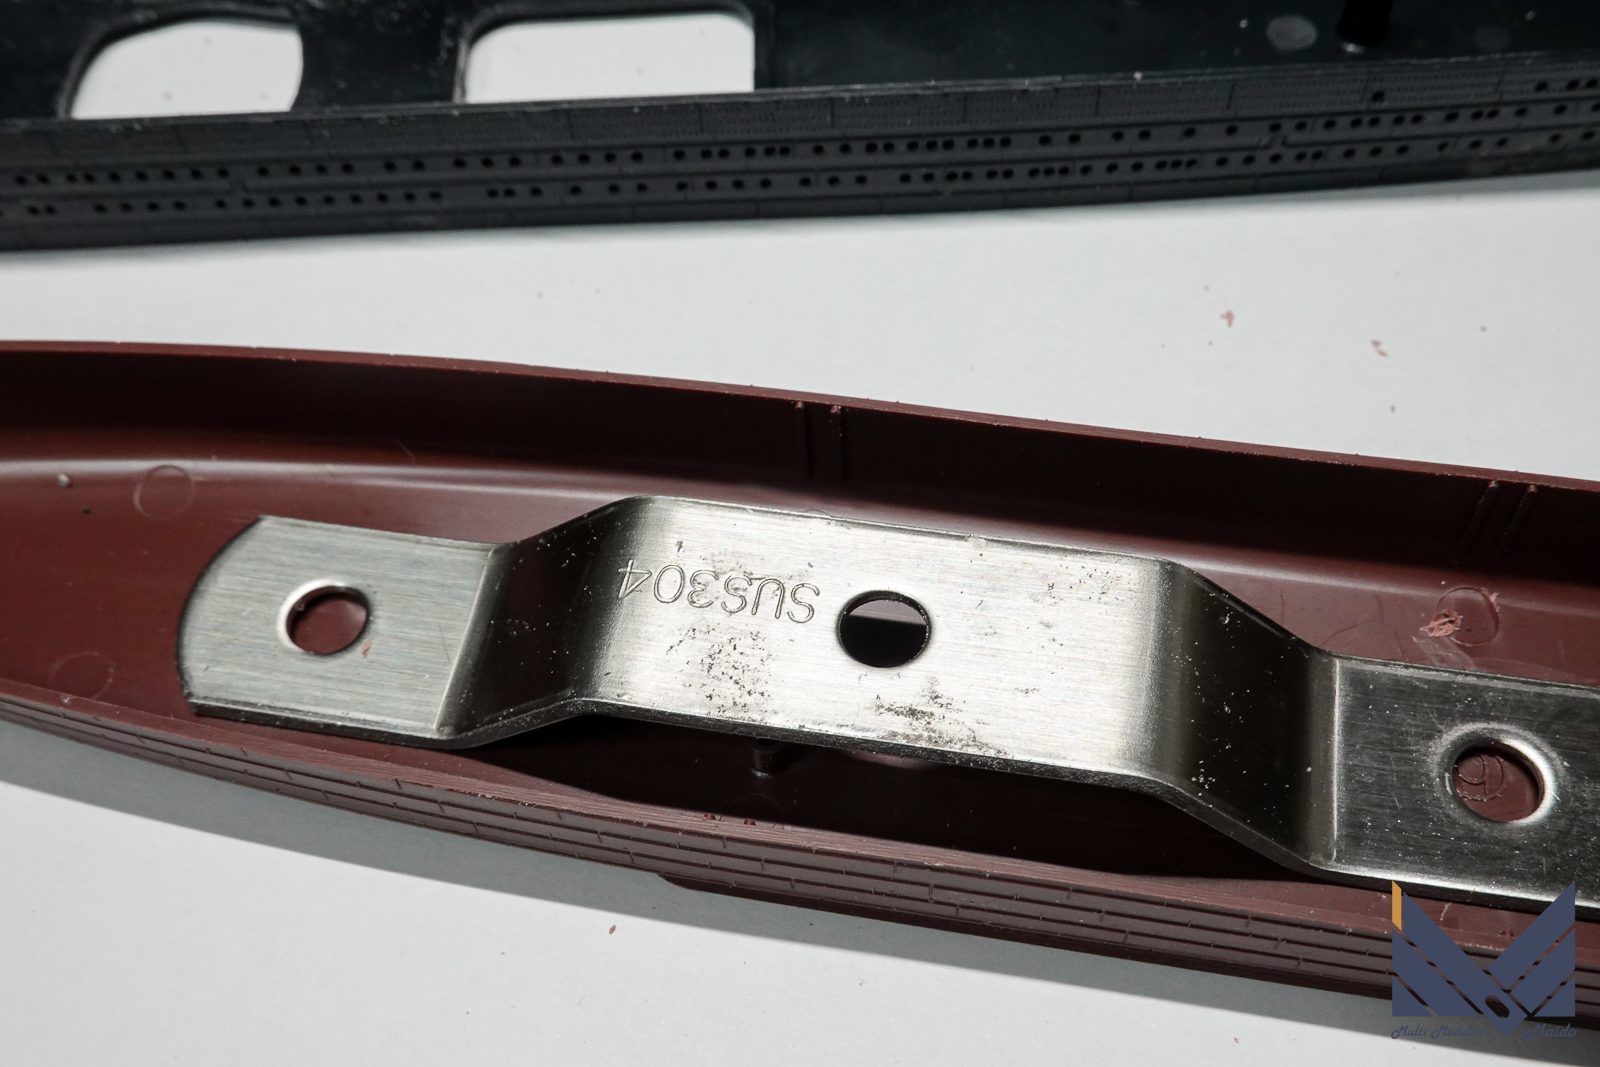
ネジは船底から一段上げて設置して、配線が通るスペースを確保します。この段階ではまだナットは固定していません。
Install the screw one step higher than the bottom of the ship to secure a space for the wiring to pass through. At this stage, the nut is not yet fixed.
配線用工作
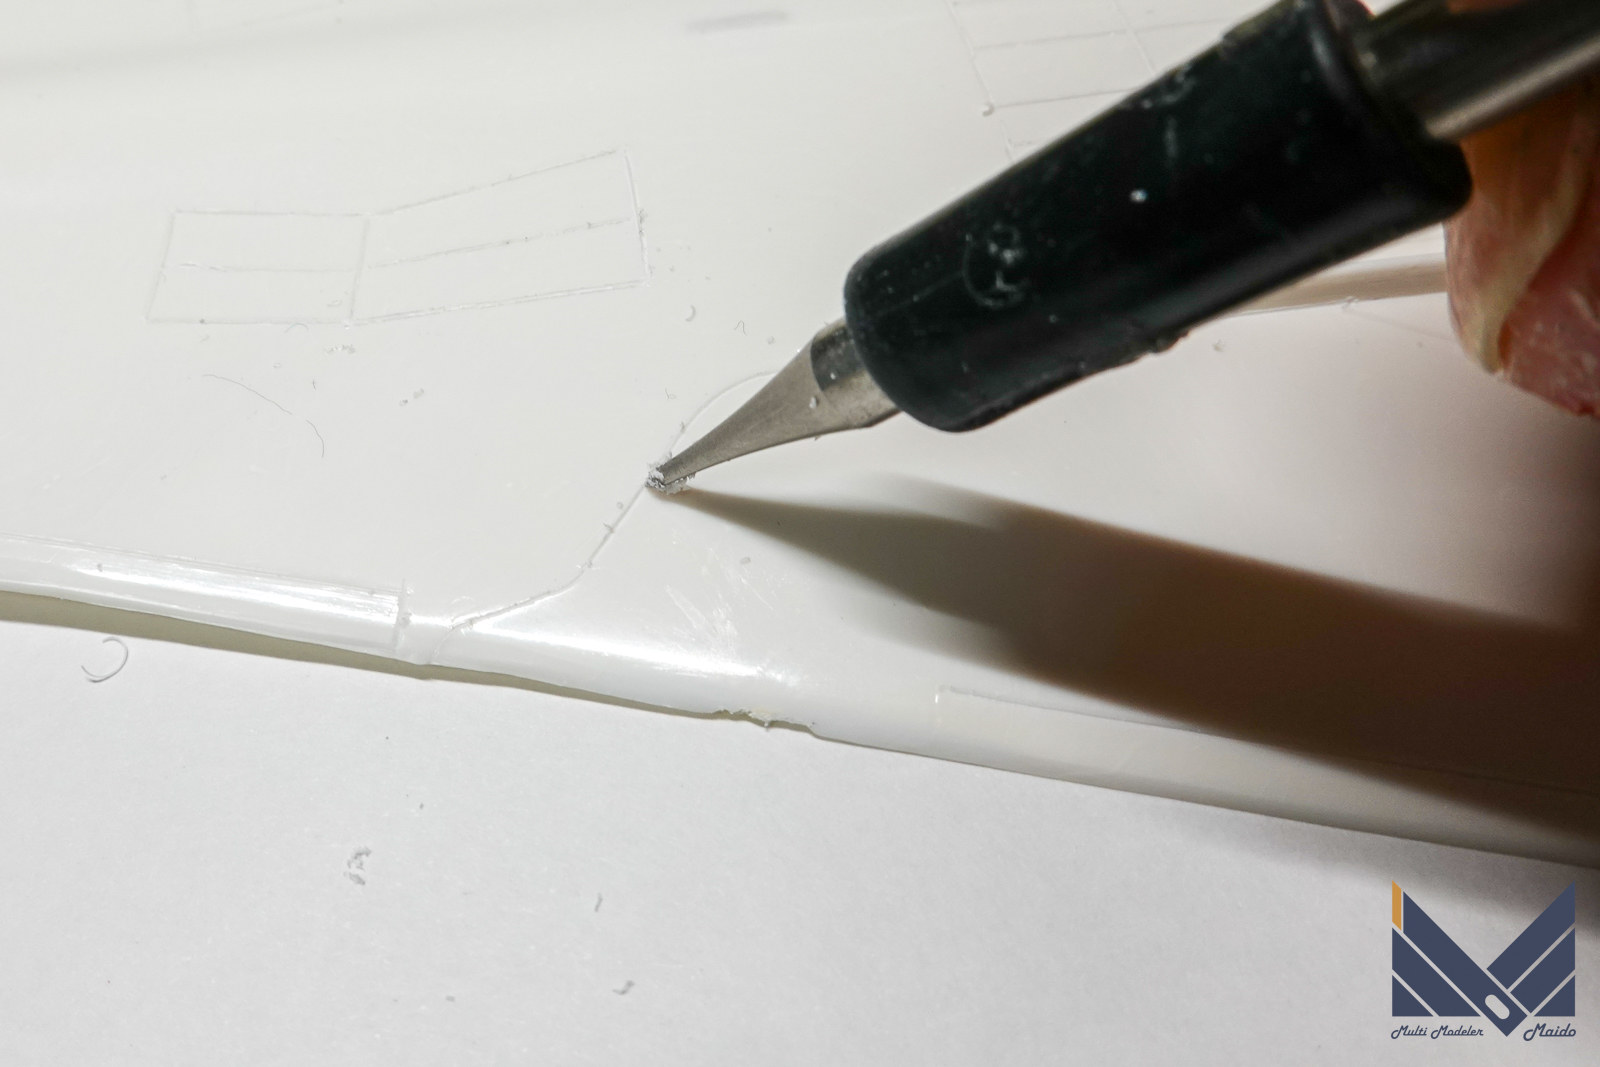
当初船体内部の水線付近のみにLEDを設置する予定だったのですが、フレキシブルLEDを使用するので、配線スペースの許す限り上部までLEDを設置できるようになりました。そこで、一部を開口してフレキシブルLEDが通るように加工しました。
At first, we planned to install the LEDs only near the waterline inside the hull, but since we used flexible LEDs, we were able to install the LEDs as high as the wiring space allowed. Therefore, I opened a part and processed it so that the flexible LED could pass through.
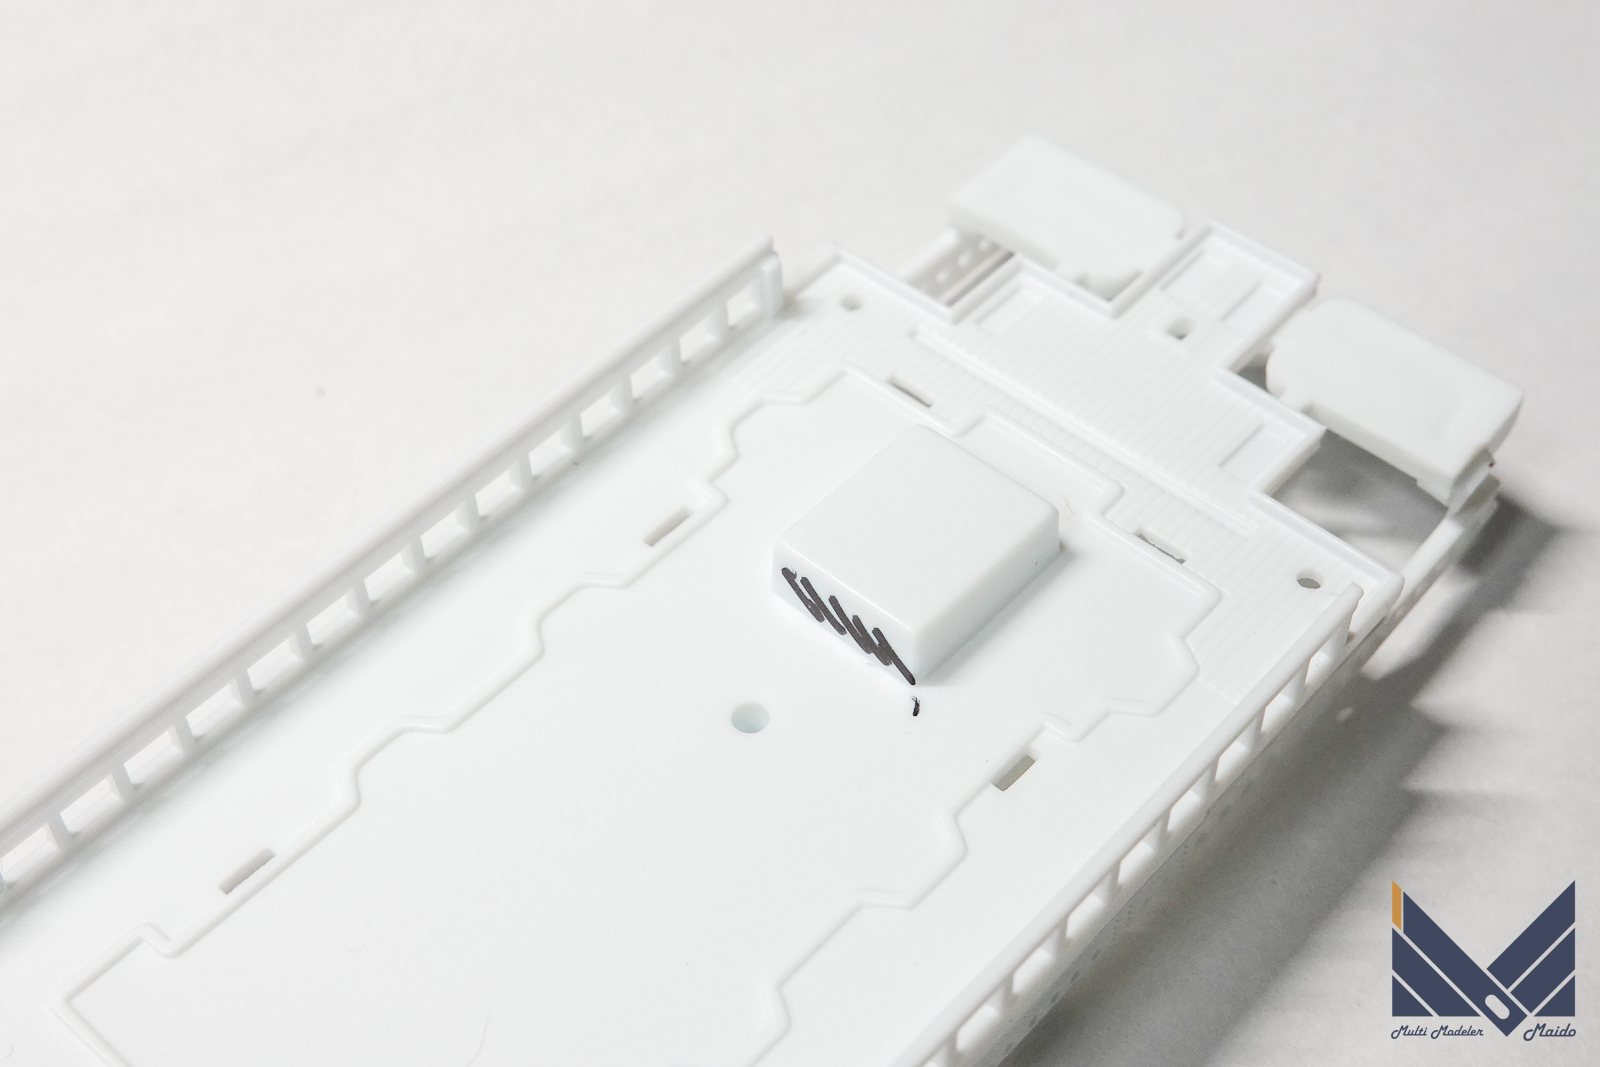
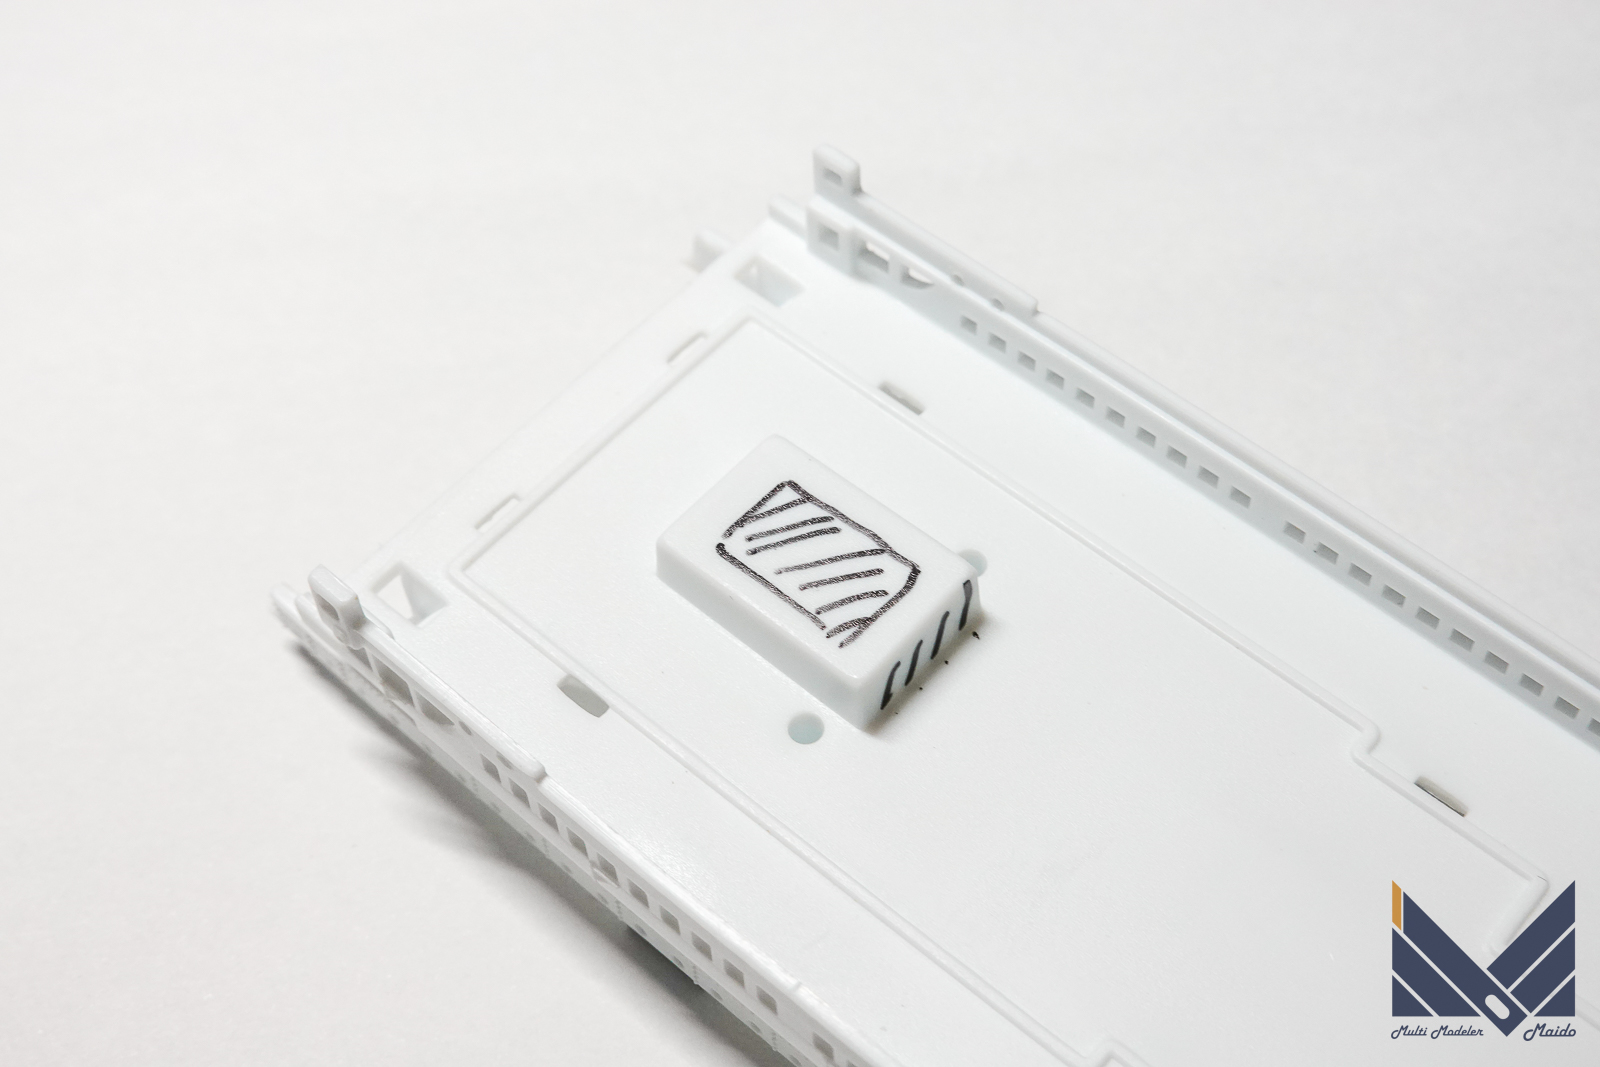
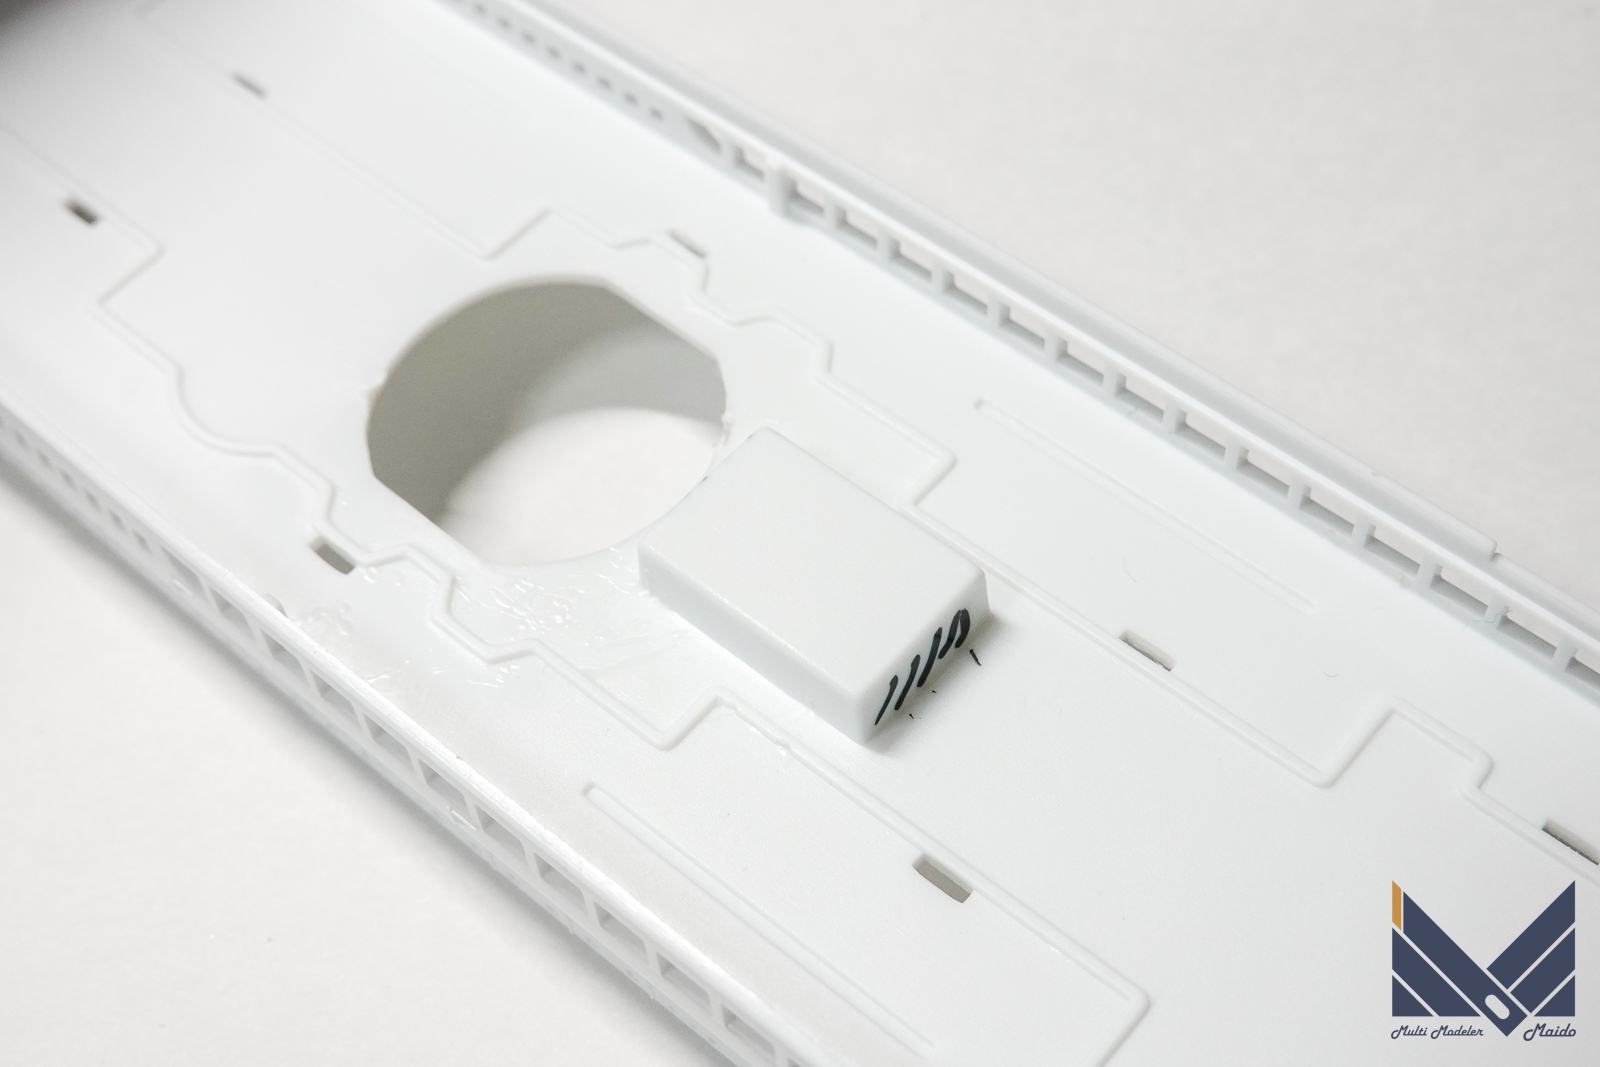
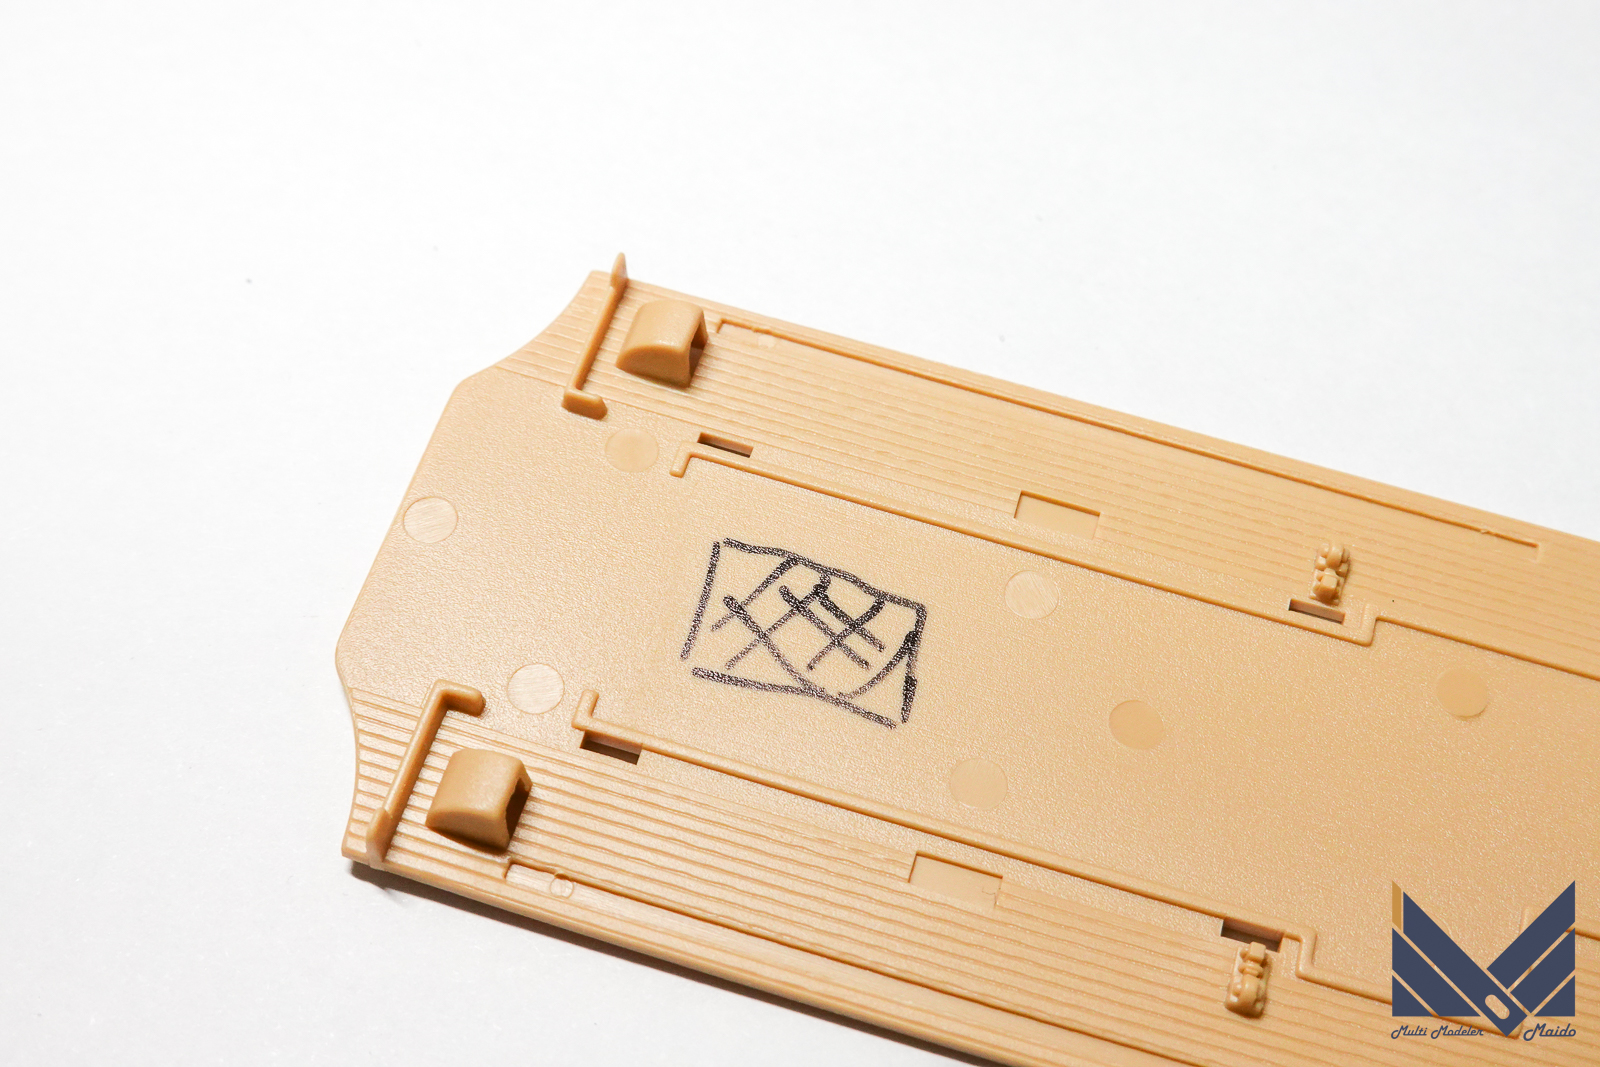
マーキングした個所を開口します。
Open the marked area.
試験点灯
その上で一度配線して試験点灯してみました。
I wired it once and tried to turn it on.
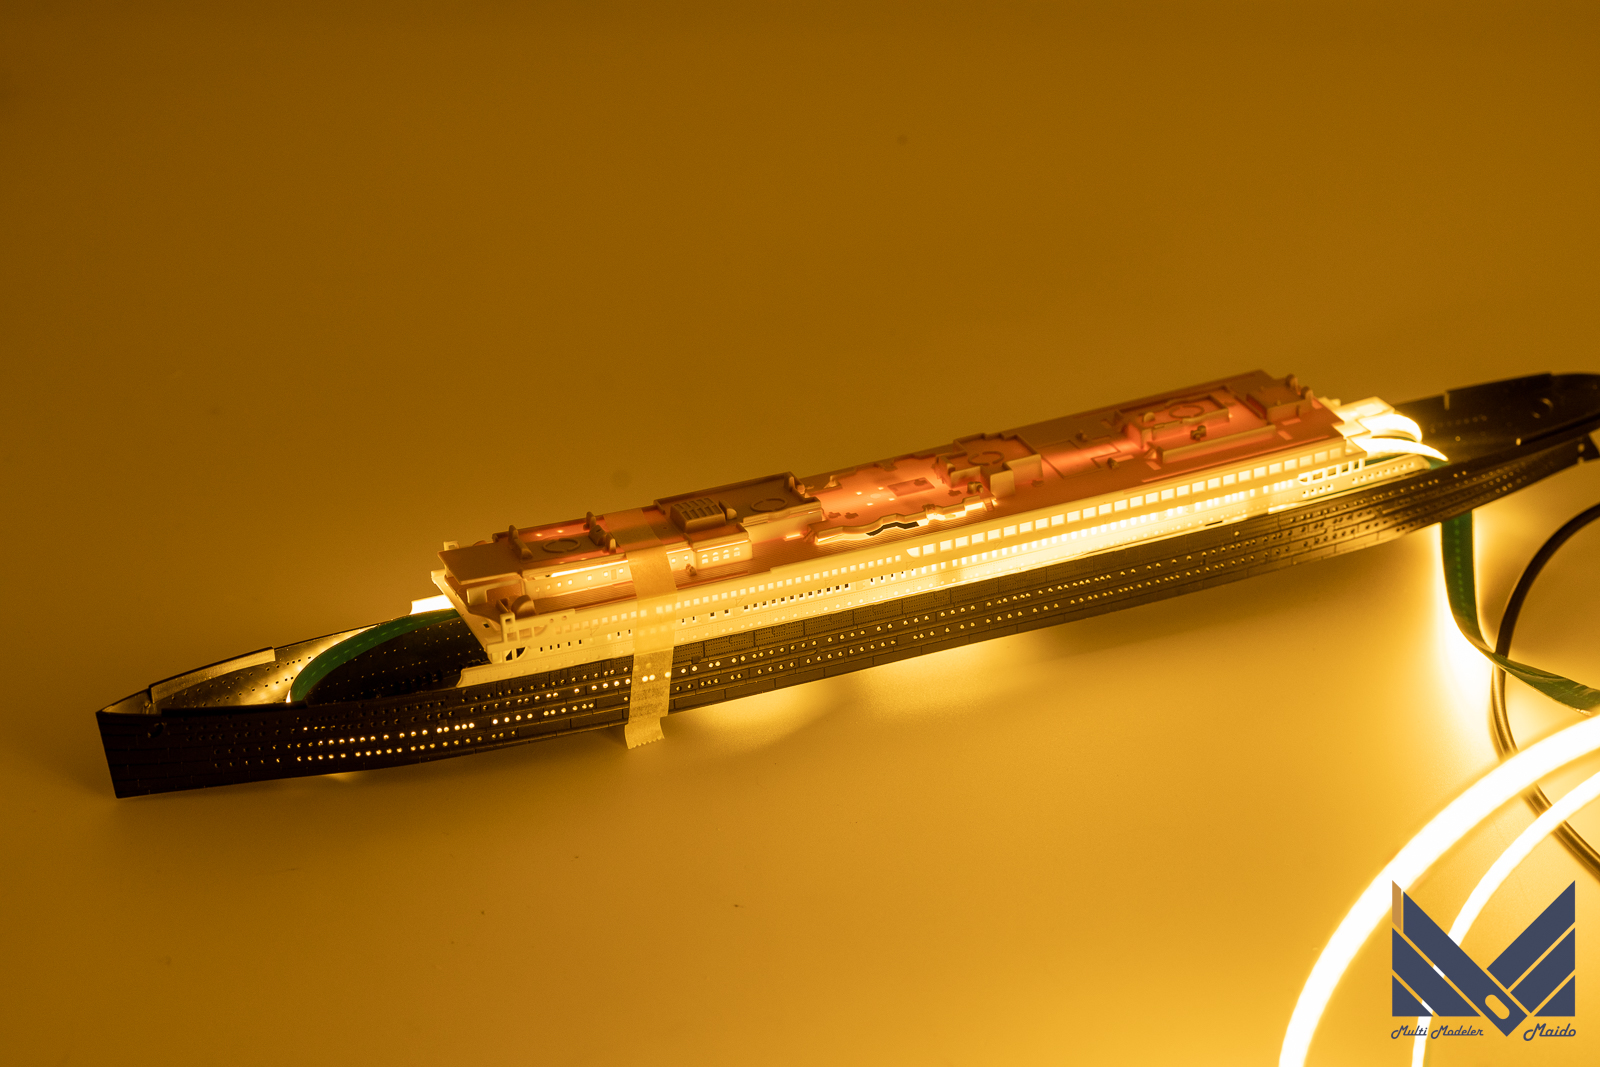
最大出力だからというのもありますが、生半可な遮光措置では不十分であることが予想されます。念入りに遮光塗装が必要だと思います。裏側で3層、表側で1層必要かなと思います。
さらに試験点灯で気が付いた箇所
Partly because it’s the maximum output, but half-hearted shading measures are expected to be insufficient. I think you need to apply light blocking paint. I think you need 3 layers on the back side and 1 layer on the front side.
In addition, the points that I noticed in the test lighting
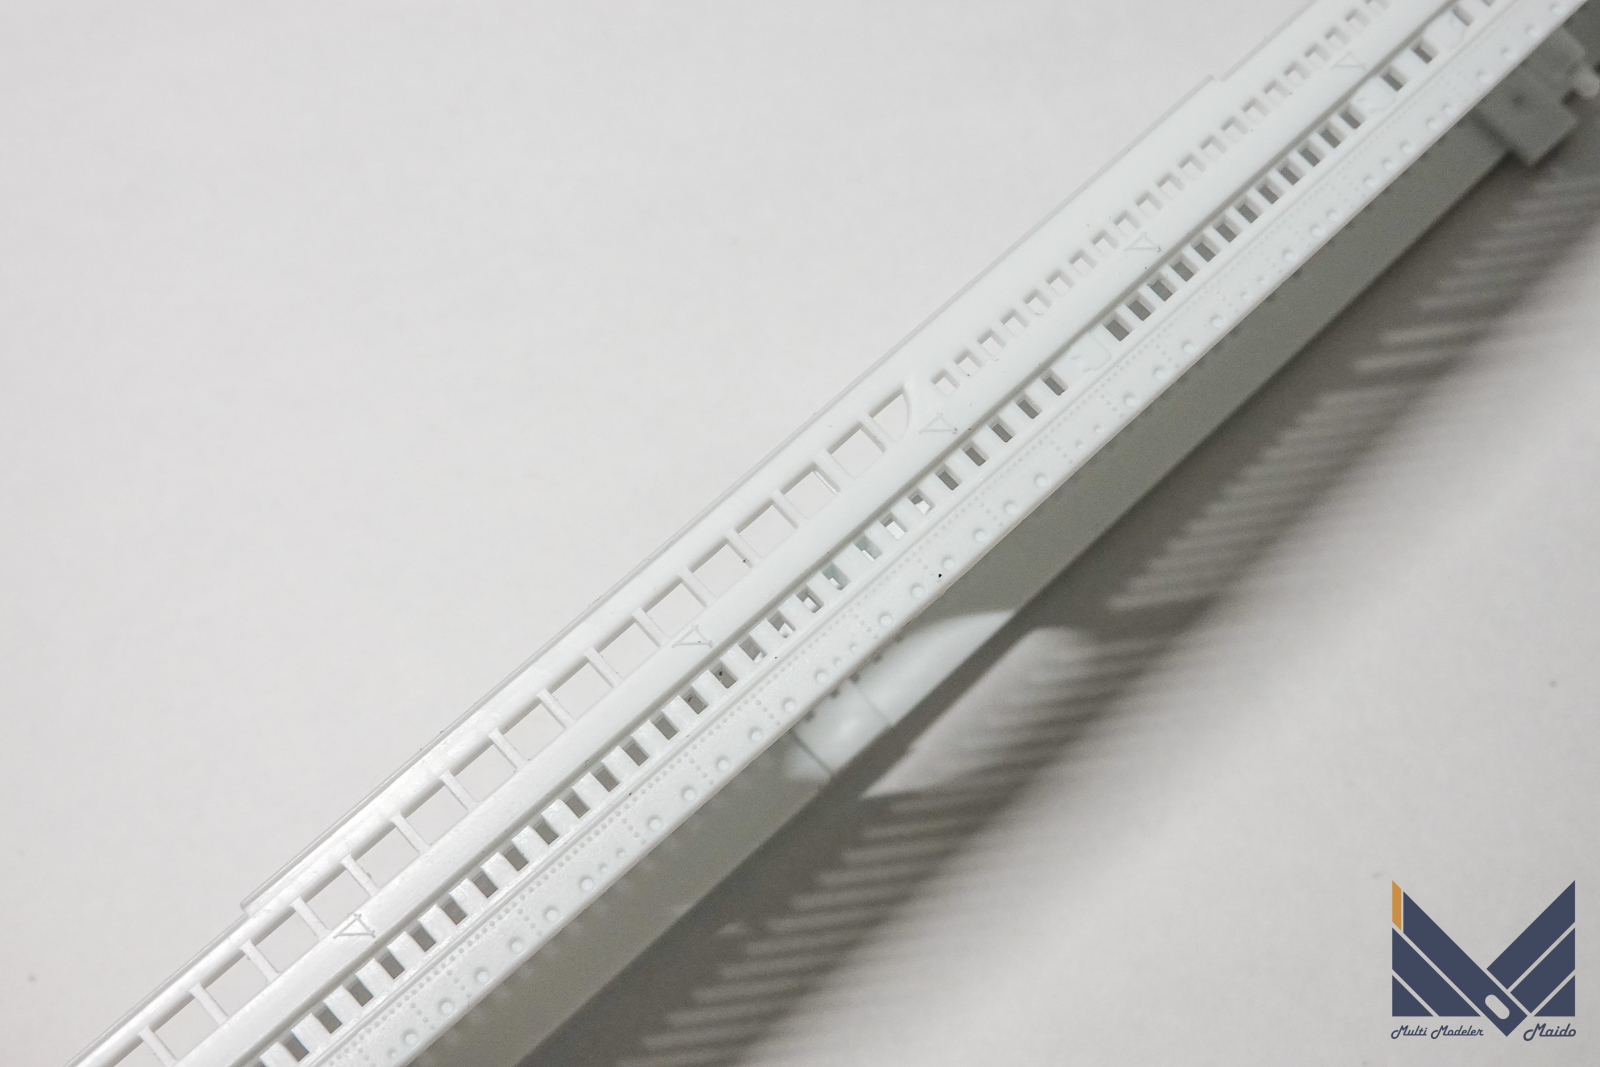
ホワイトのパーツの最下部の窓は開口されていませんね。気が付きませんでした。ドリルで開口してやろうと思います。
The window at the bottom of the white part is not opened. I didn’t notice. I would like to open it up with a drill.
投稿者プロフィール
-
模型好き。カメラ好き。各模型雑誌で掲載多数。
艦船模型、飛行機模型、AFV模型などプラモデル全般の制作代行も承っております。「お問い合わせ」からご連絡ください。製作代行ご案内のページは現在概要のみを公開しておりますが、2025年6月現在納期はご相談になりますが、制作代行可能です
 製作代行について(β版)2024年4月6日詳細な製作代行などはのちに追加しますが、お問い合わせのあった方の最初のご案内メールの定型文を記しておきます。製作依頼の流れ1 キットに入っているパーツのみでの制作は、定価×6を基本価格としております。 キットをお送りいただ...
最新の投稿
 キャラクター模型完成品2025年12月23日バンダイ 1/1700 EXモデル ジオン公国軽巡洋艦ムサイ 完成品
 お知らせ2025年11月8日プレオープン記念キャンペーンのお知らせ
 お知らせ2025年11月8日プリントサービス プレオープンのお知らせ
 製作記アーカイブ2025年11月5日製作記はYouTubeへ移行しました



コメント