レインボーモデルのエッチングの大半を占める窓の組み込み準備を行います
Preparing to incorporate the windows that make up the majority of the rainbow model etching
電飾しないなら必要ない工程
今回の工程は童友社の工程にも当然なく、レインボーモデルのエッチングにも基本的に記載されていない工程です。
Of course, this process is not included in Doyusha’s process, and it is basically a process that is not described in the etching of the rainbow model.
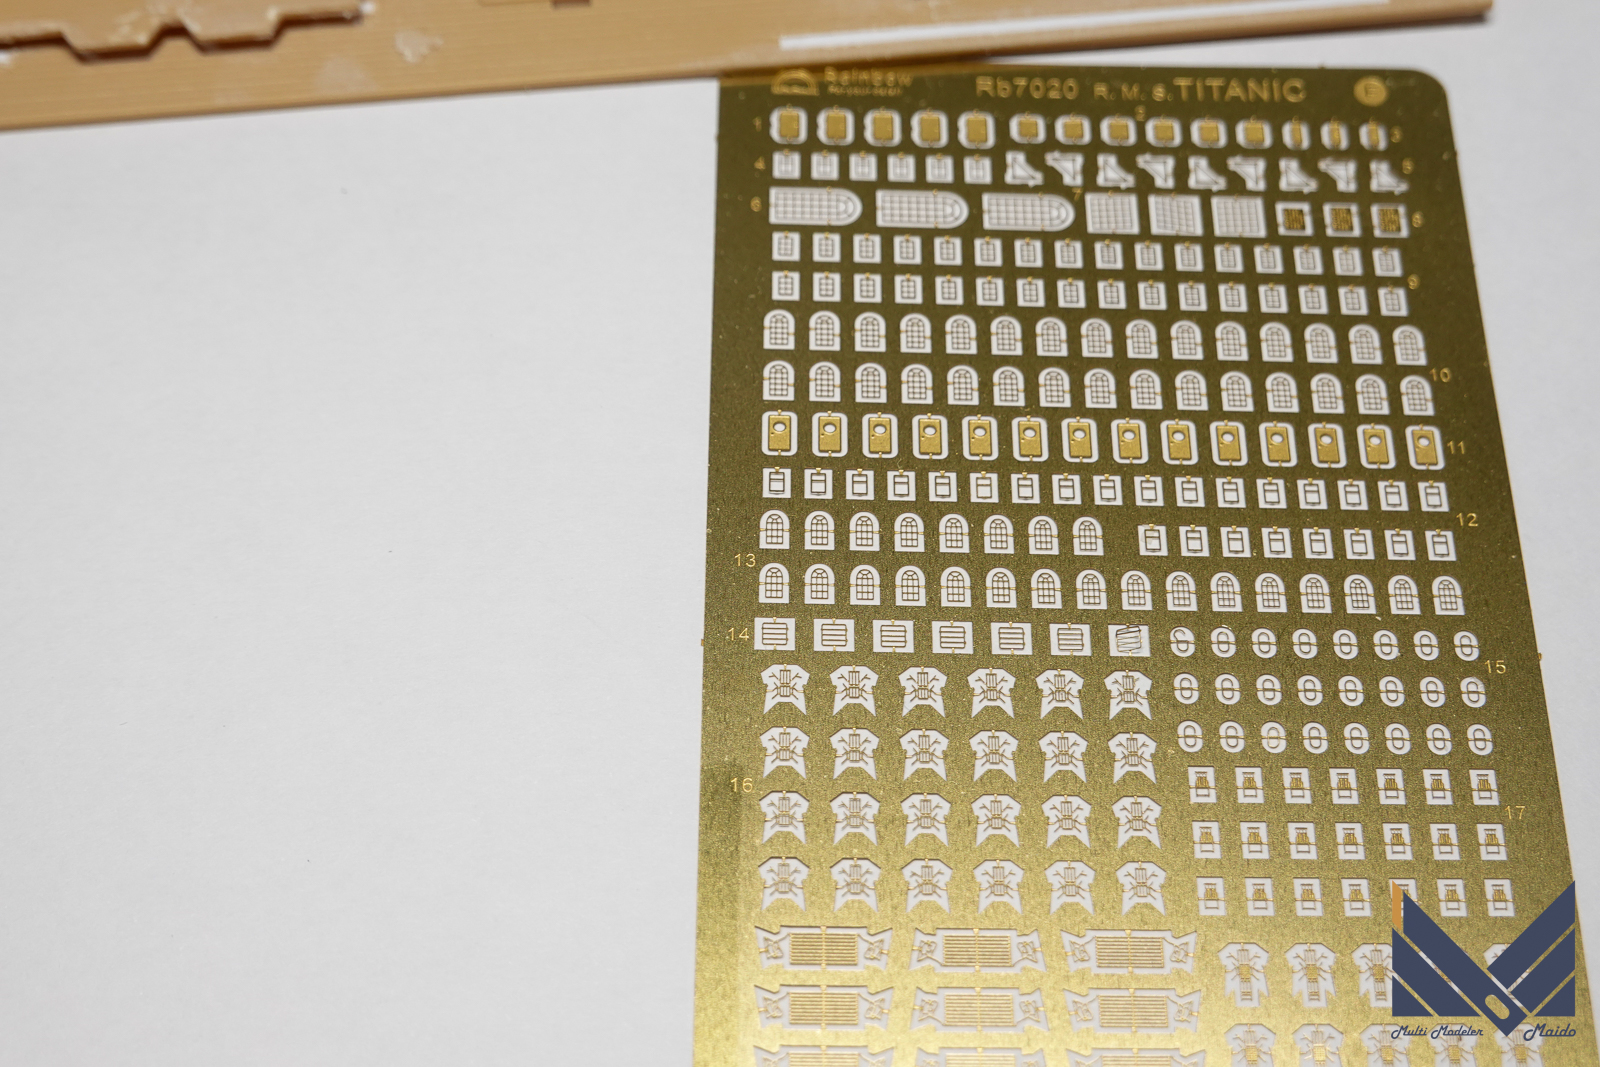
電飾せずにスミ入れで済ませるなら基本的にプラパーツに貼り付けていくだけです。一部の窓は元々開口されていないので、電飾するなら開口の工作をするかどうかが問題になります。厳密に言うなら、窓のエッチングの枠の分だけしか誤差が許されないという事になりますが、さすがに不可能なので、少し小さめに開ける事にします。
If you want to finish with inking without lighting, basically just stick it on the plastic parts. Some of the windows were not originally opened, so the question is whether or not to make the openings in consideration of the lighting. Strictly speaking, the margin of error for the window etching frame is unacceptable, but it’s impossible, so I decided to open it a little smaller.
実際の工作
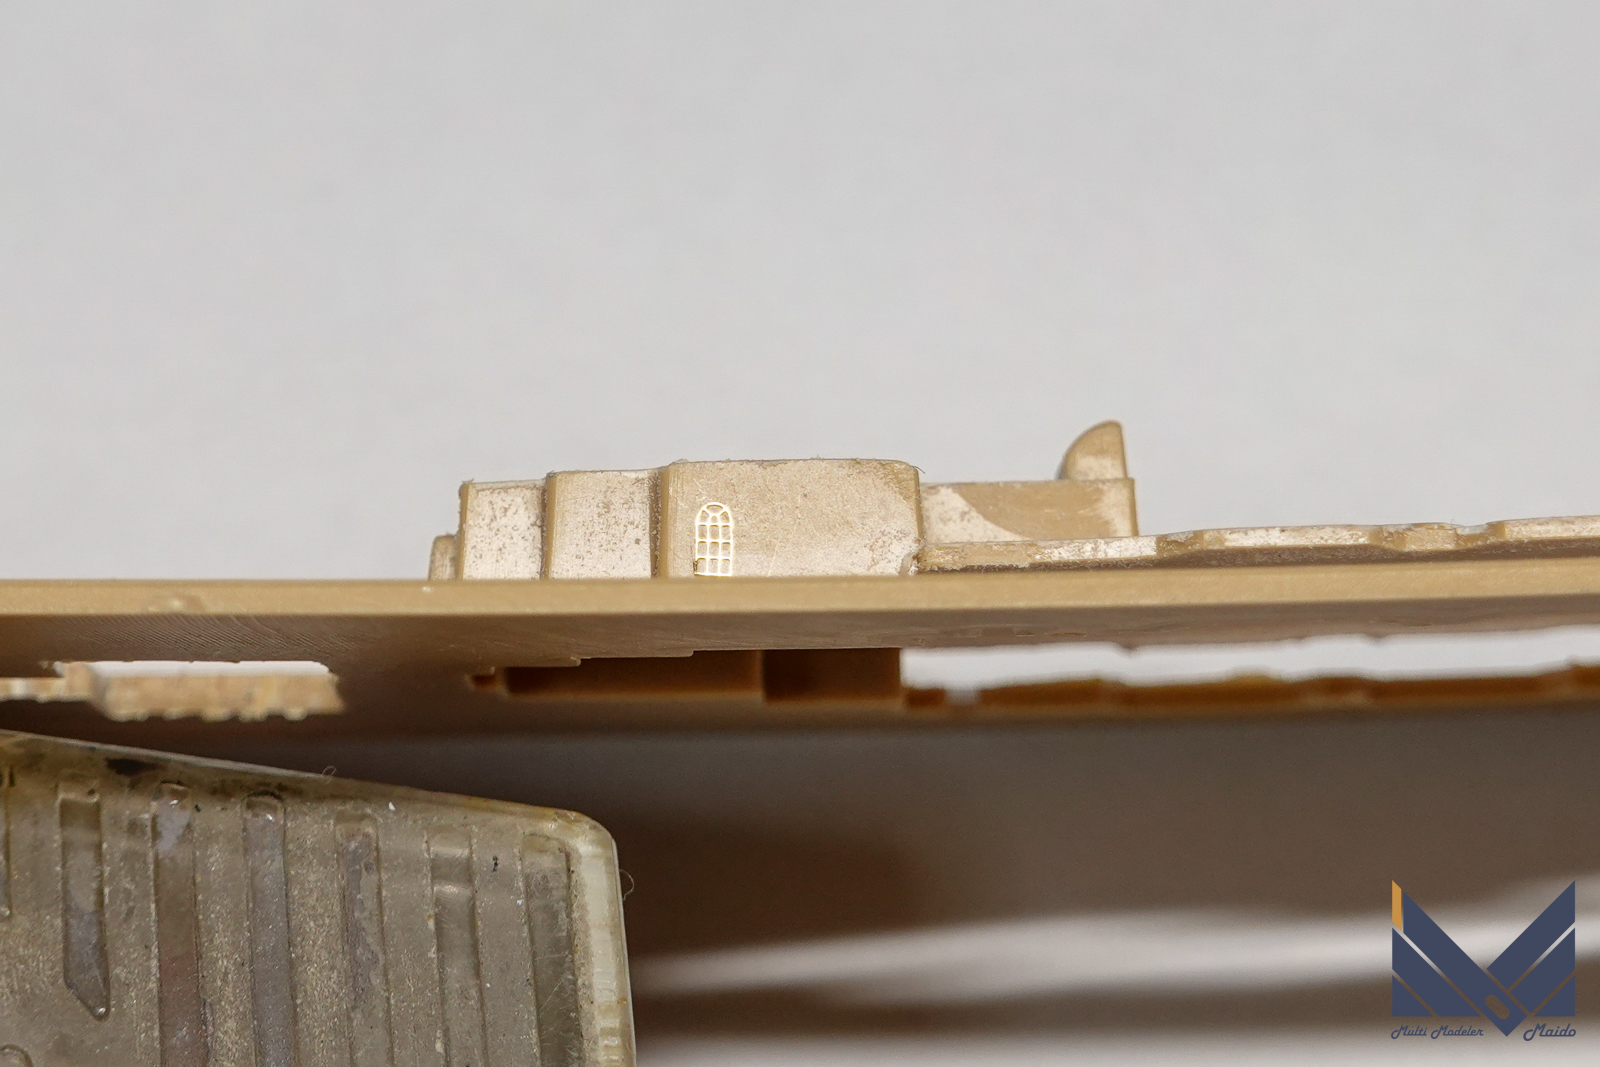
キットのまま、エッチングを取り付けるとこうなります。これでは裏からの光が通らないので
This is what it looks like if you install the etching while still in the kit. This is because light from the back does not pass through.
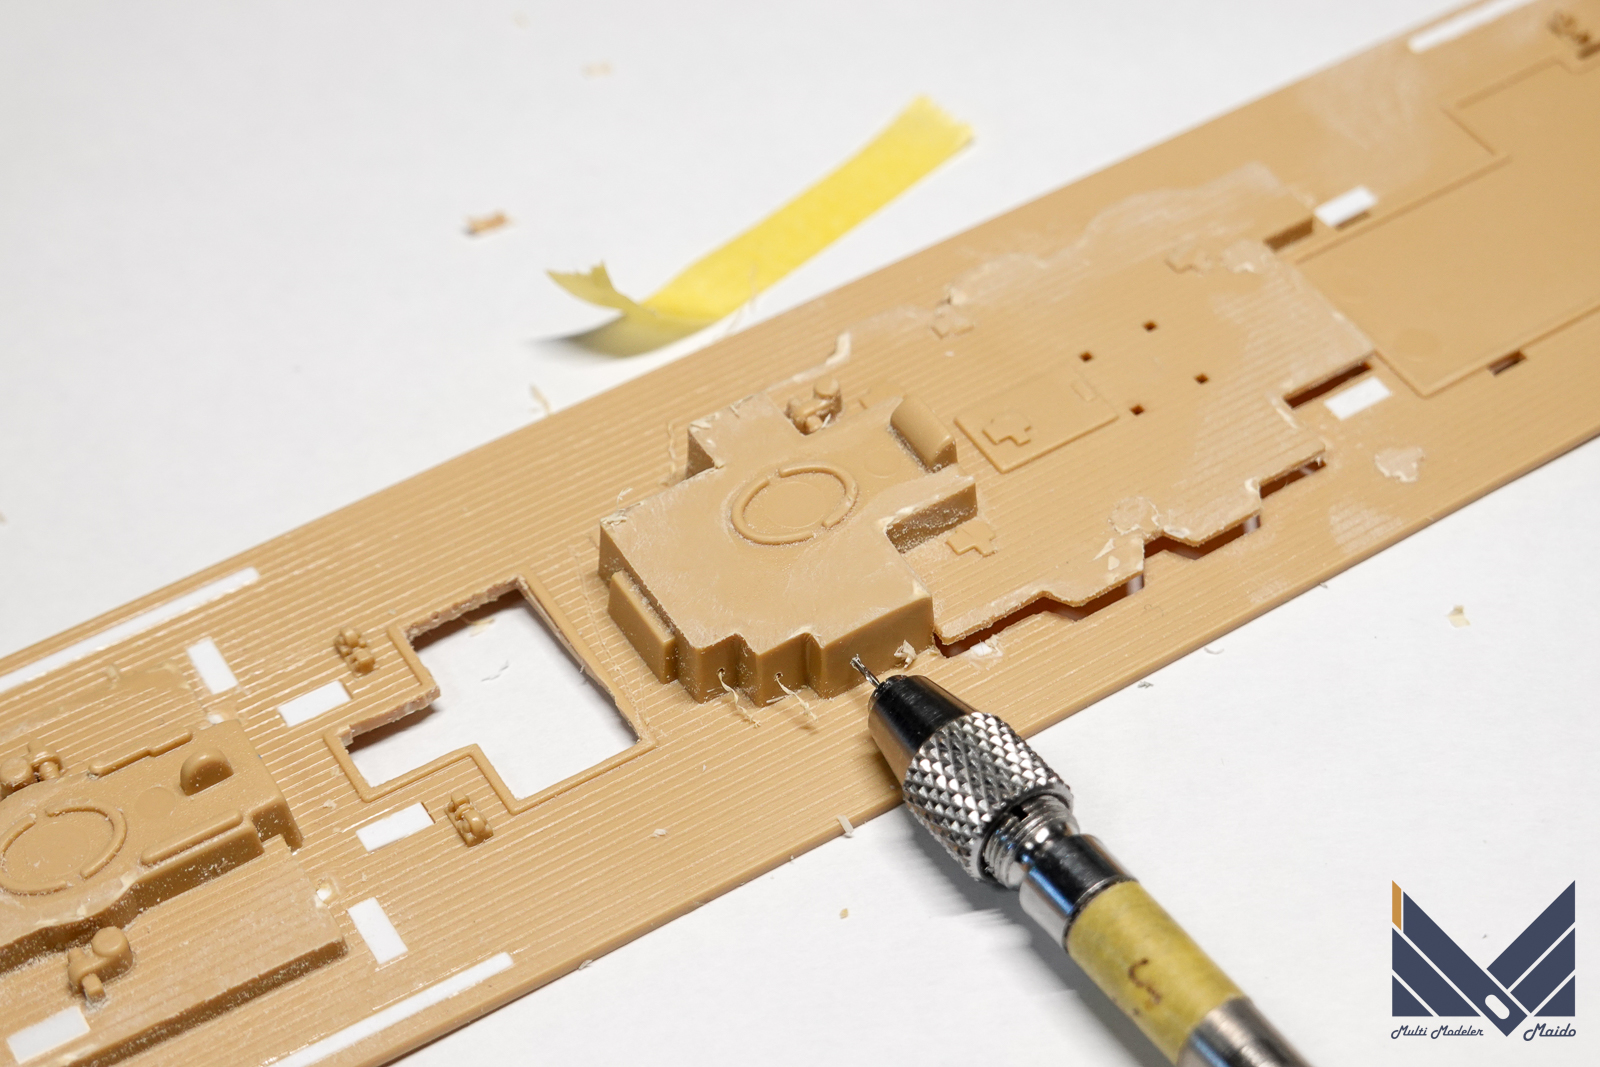
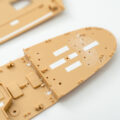
ドリルで開口してからナイフで広げます。あまりにも小さく、ナイフの刃先が欠ける事が多いので、ゴーグル着用必須です。
Drill an opening and then widen it with a knife. Goggles must be worn as it is too small and the cutting edge of the knife is often chipped.
更に難所
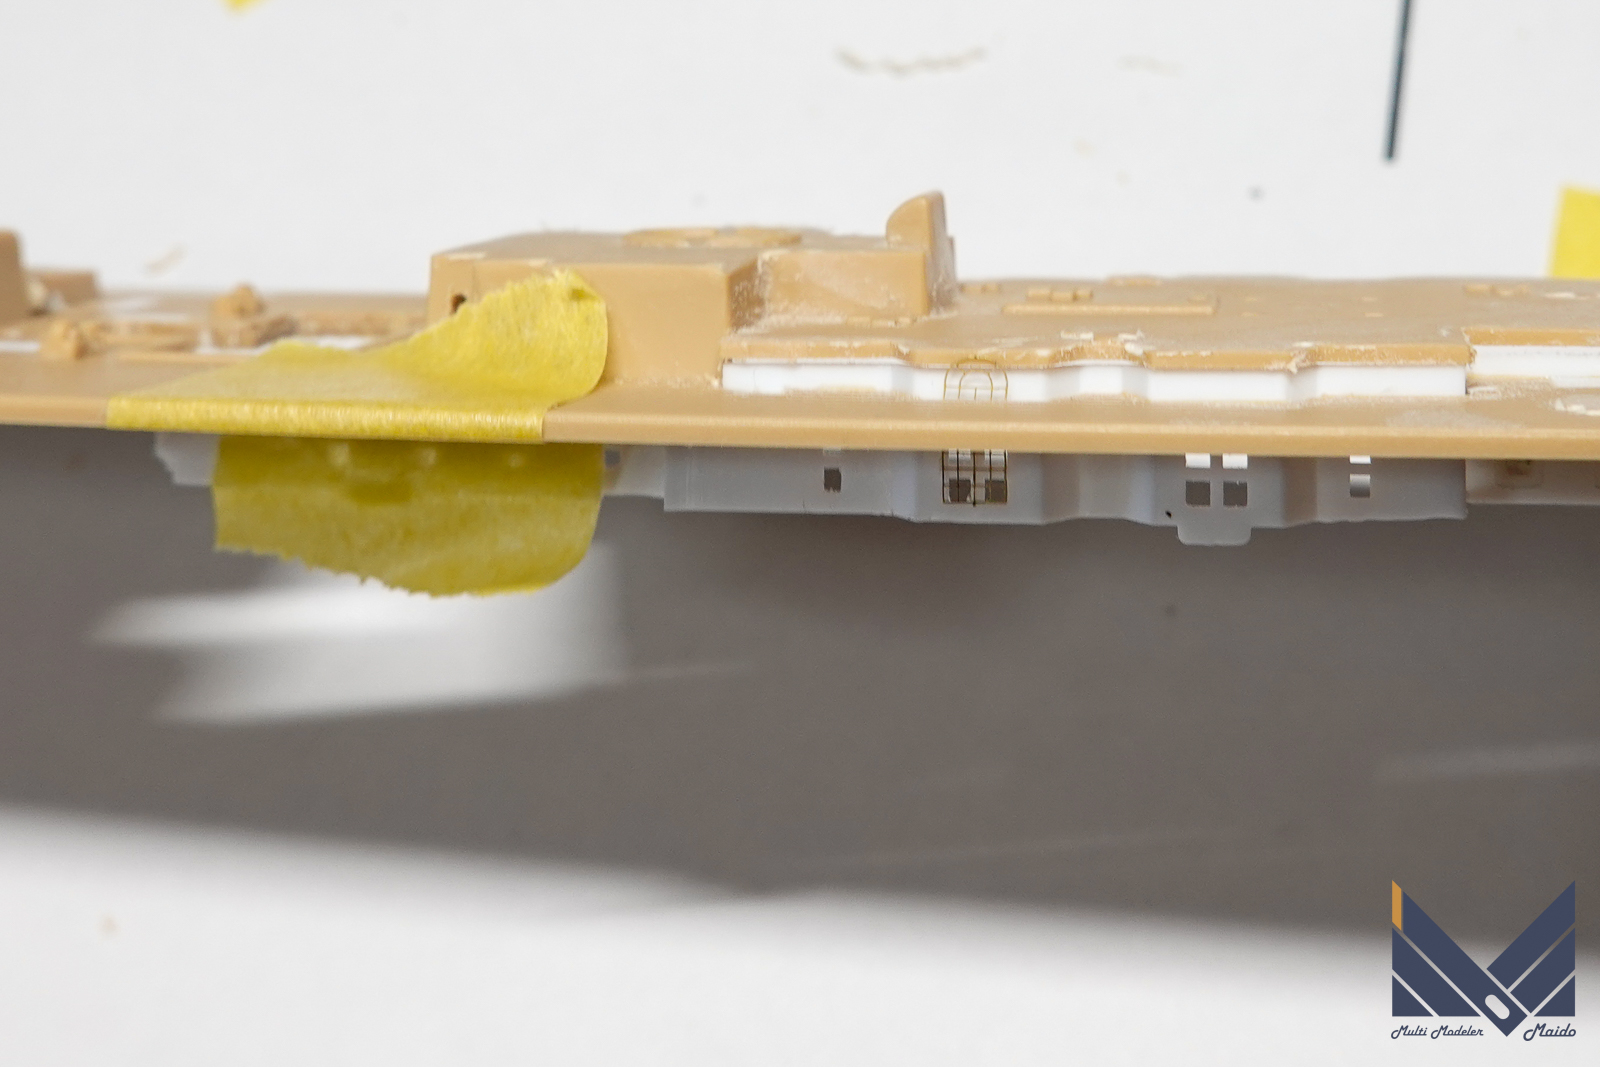
レインボーモデルのエッチングで難所の一つです。白とタンのパーツの間に差し込むという構造で、あらに一部をカットしろというものです。以前作った時は時間がなかったので、カットせずに窓のエッチングを貼り付けるだけにしたのですが、今回はカットしました。
It is one of the difficult points in the etching of the rainbow model. It is a structure that inserts between the white and tan parts, and cuts a part of it. When I made it before, I didn’t have time, so I decided to just paste the etching of the window without cutting it, but this time I cut it.
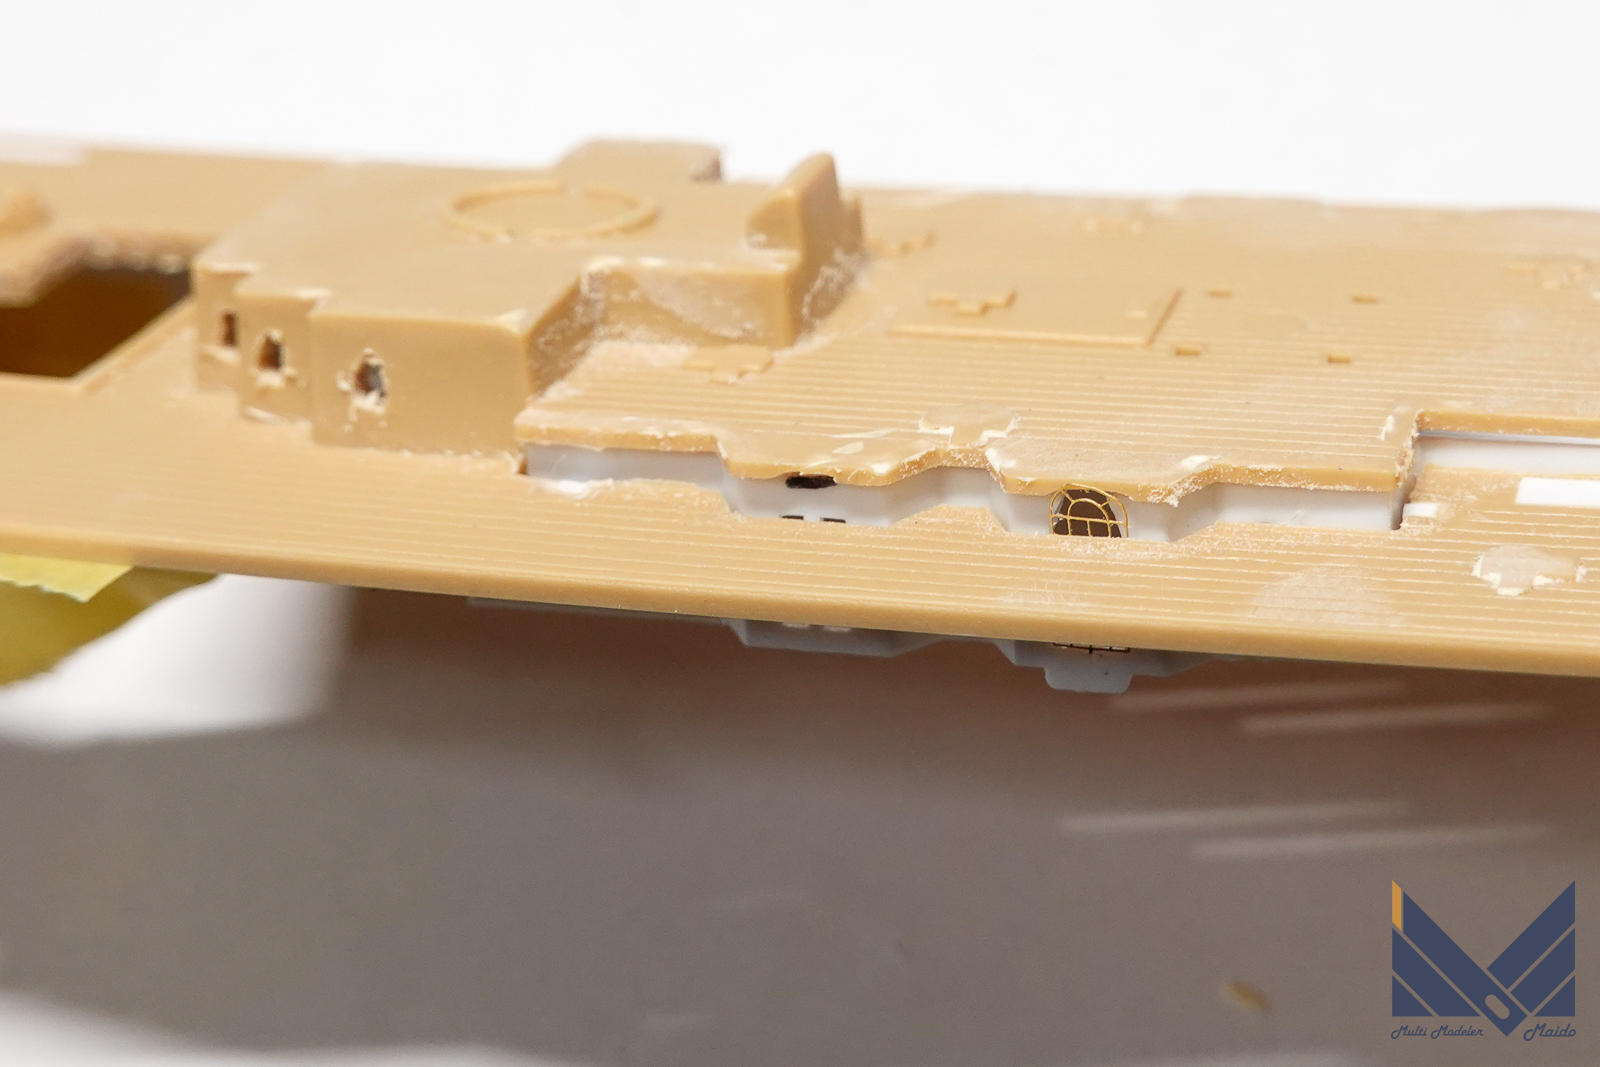
開口作業完了です。次回から接着などに移ります。
Opening work completed. Next time, we will move on to gluing.
投稿者プロフィール
-
模型好き。カメラ好き。各模型雑誌で掲載多数。
艦船模型、飛行機模型、AFV模型などプラモデル全般の制作代行も承っております。「お問い合わせ」からご連絡ください。製作代行ご案内のページは現在概要のみを公開しておりますが、2025年6月現在納期はご相談になりますが、制作代行可能です
 製作代行について(β版)2024年4月6日詳細な製作代行などはのちに追加しますが、お問い合わせのあった方の最初のご案内メールの定型文を記しておきます。製作依頼の流れ1 キットに入っているパーツのみでの制作は、定価×6を基本価格としております。 キットをお送りいただ...
最新の投稿
 キャラクター模型完成品2025年12月23日バンダイ 1/1700 EXモデル ジオン公国軽巡洋艦ムサイ 完成品
 お知らせ2025年11月8日プレオープン記念キャンペーンのお知らせ
 お知らせ2025年11月8日プリントサービス プレオープンのお知らせ
 製作記アーカイブ2025年11月5日製作記はYouTubeへ移行しました



コメント