今回は基本工作と基本塗装まで進めました。
キット紹介は下のリンクをご覧ください
This time, we proceeded to basic work and basic painting.
Please see the link below for the kit introduction
飛行状態用ネジ装着
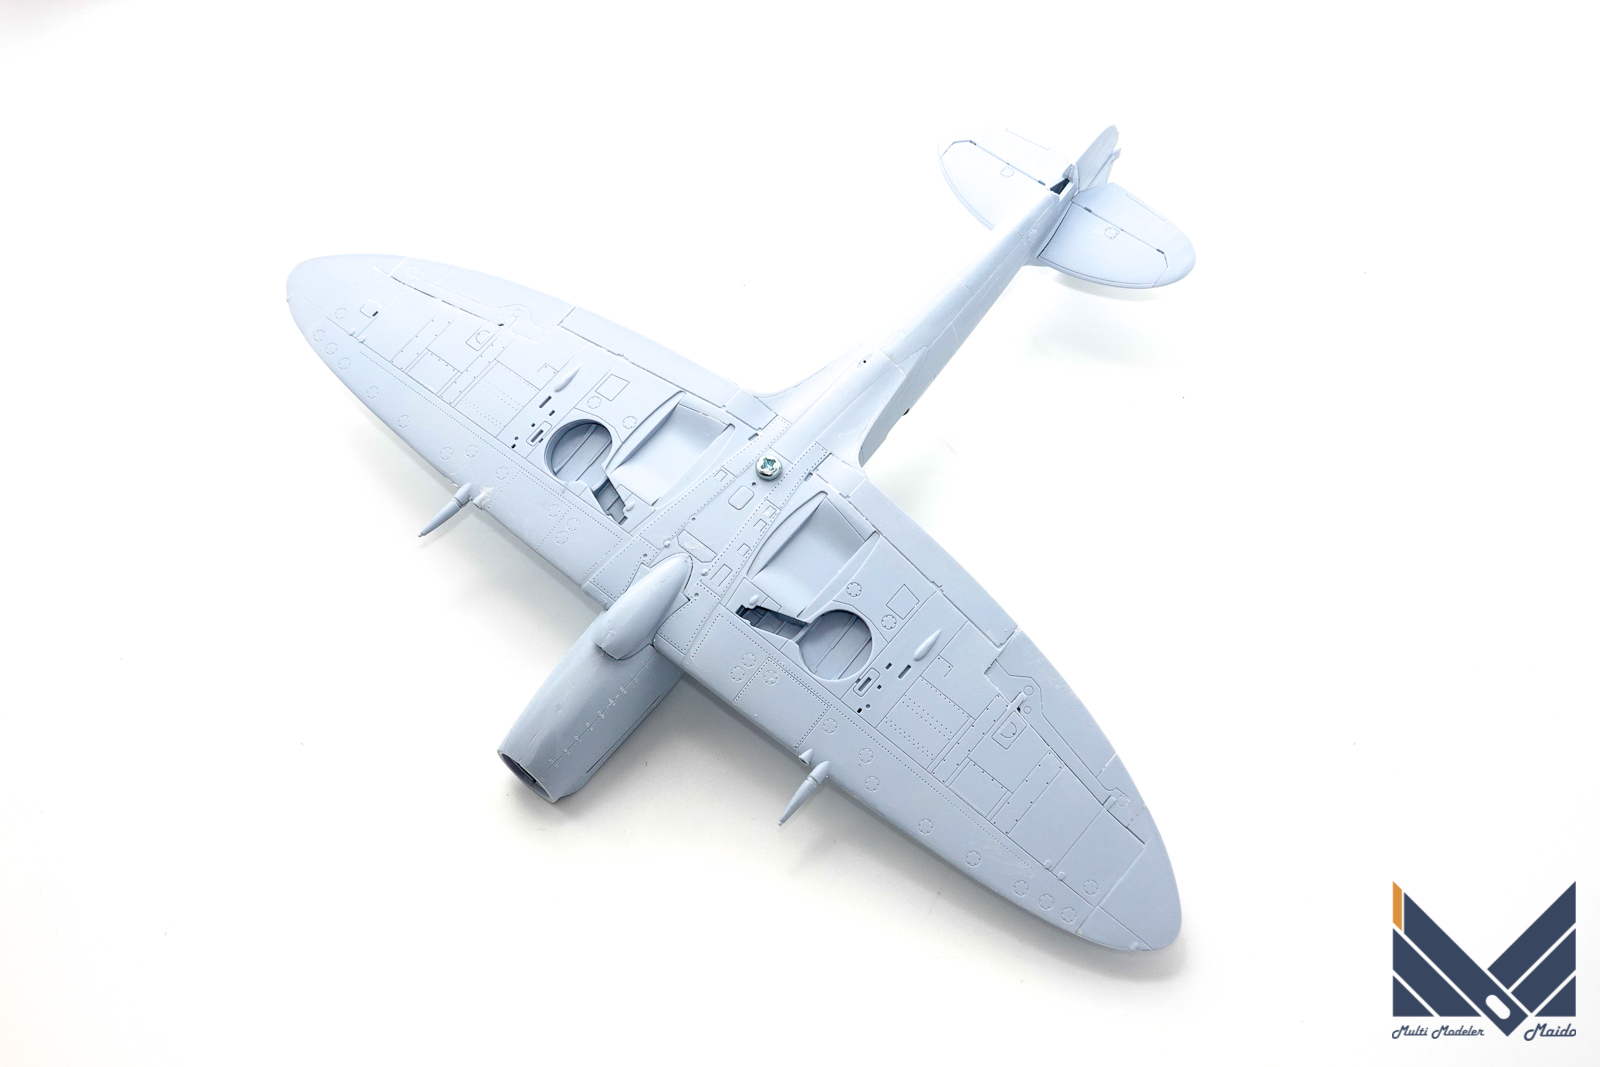
飛行状態で制作しますので、ナットを装着してから接着しました。ナットは本来偵察用の窓がある部分に固定しました。
Since it is produced in flight, it was glued after attaching the nut. The nut was originally fixed to the part where the reconnaissance window was.
フィギュア塗装と基本部接着
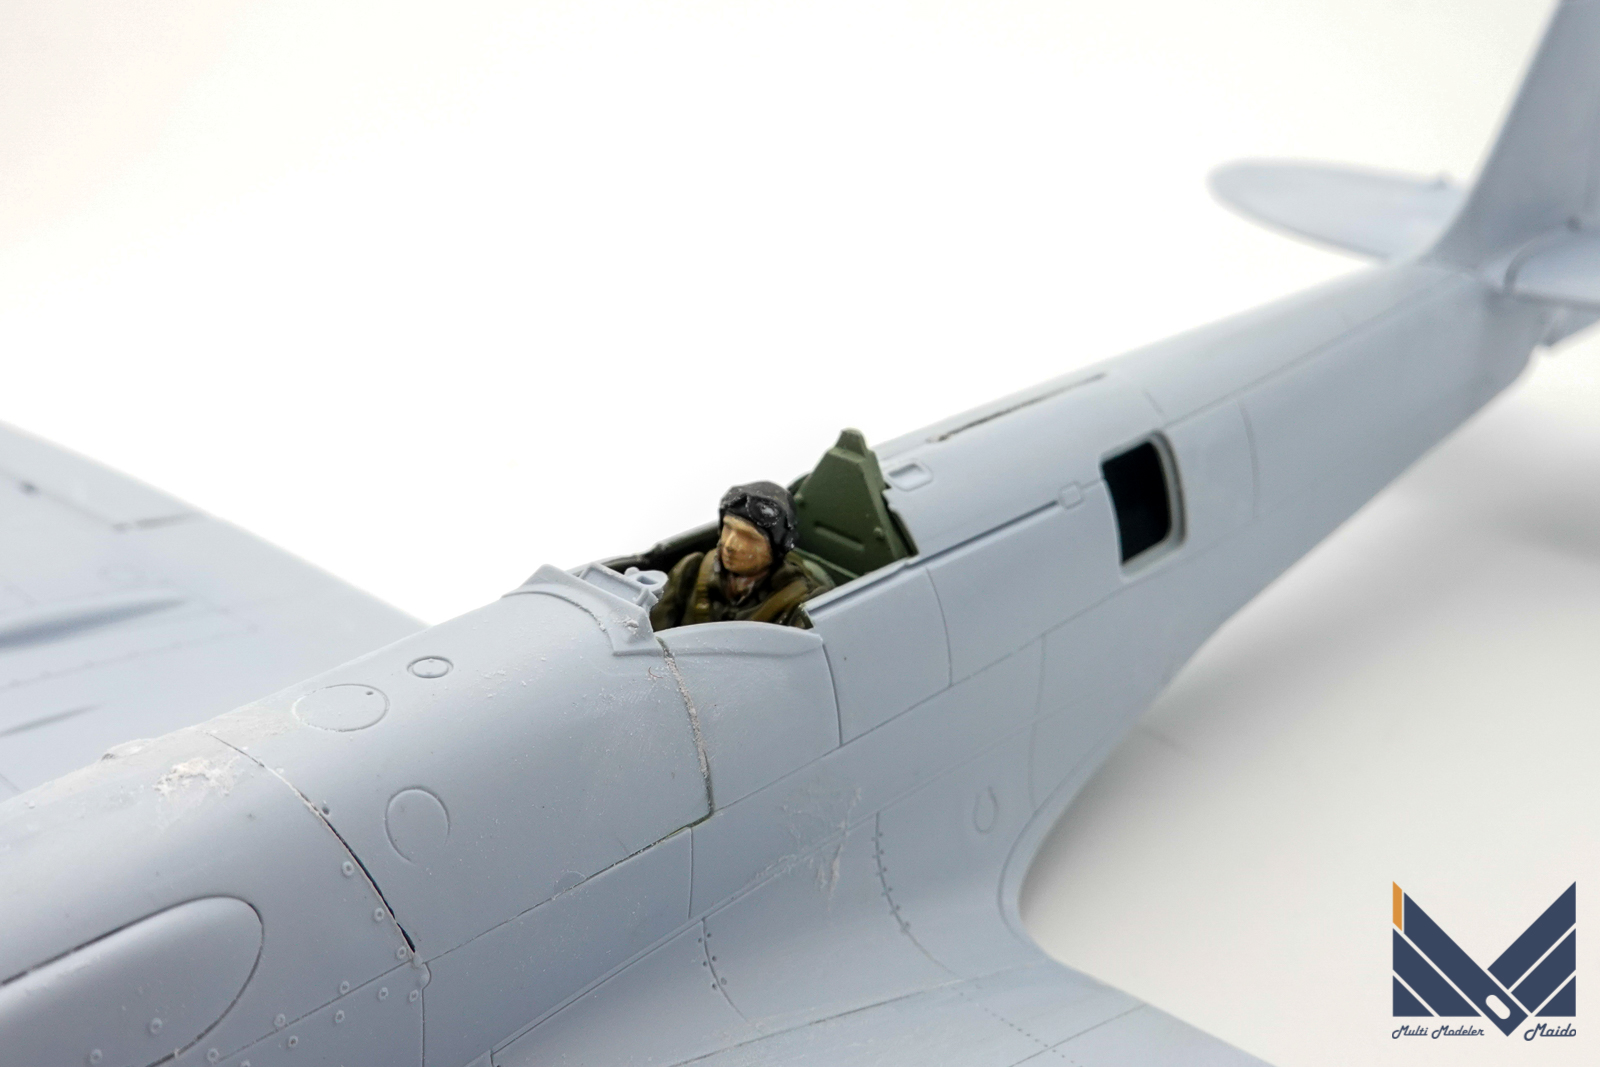
民間仕様ですから、服装は何でも良いのですが、概ねイギリス空軍に近い塗装にしました。
Since it is a civilian specification, I can wear anything, but I painted it almost like the Royal Air Force.
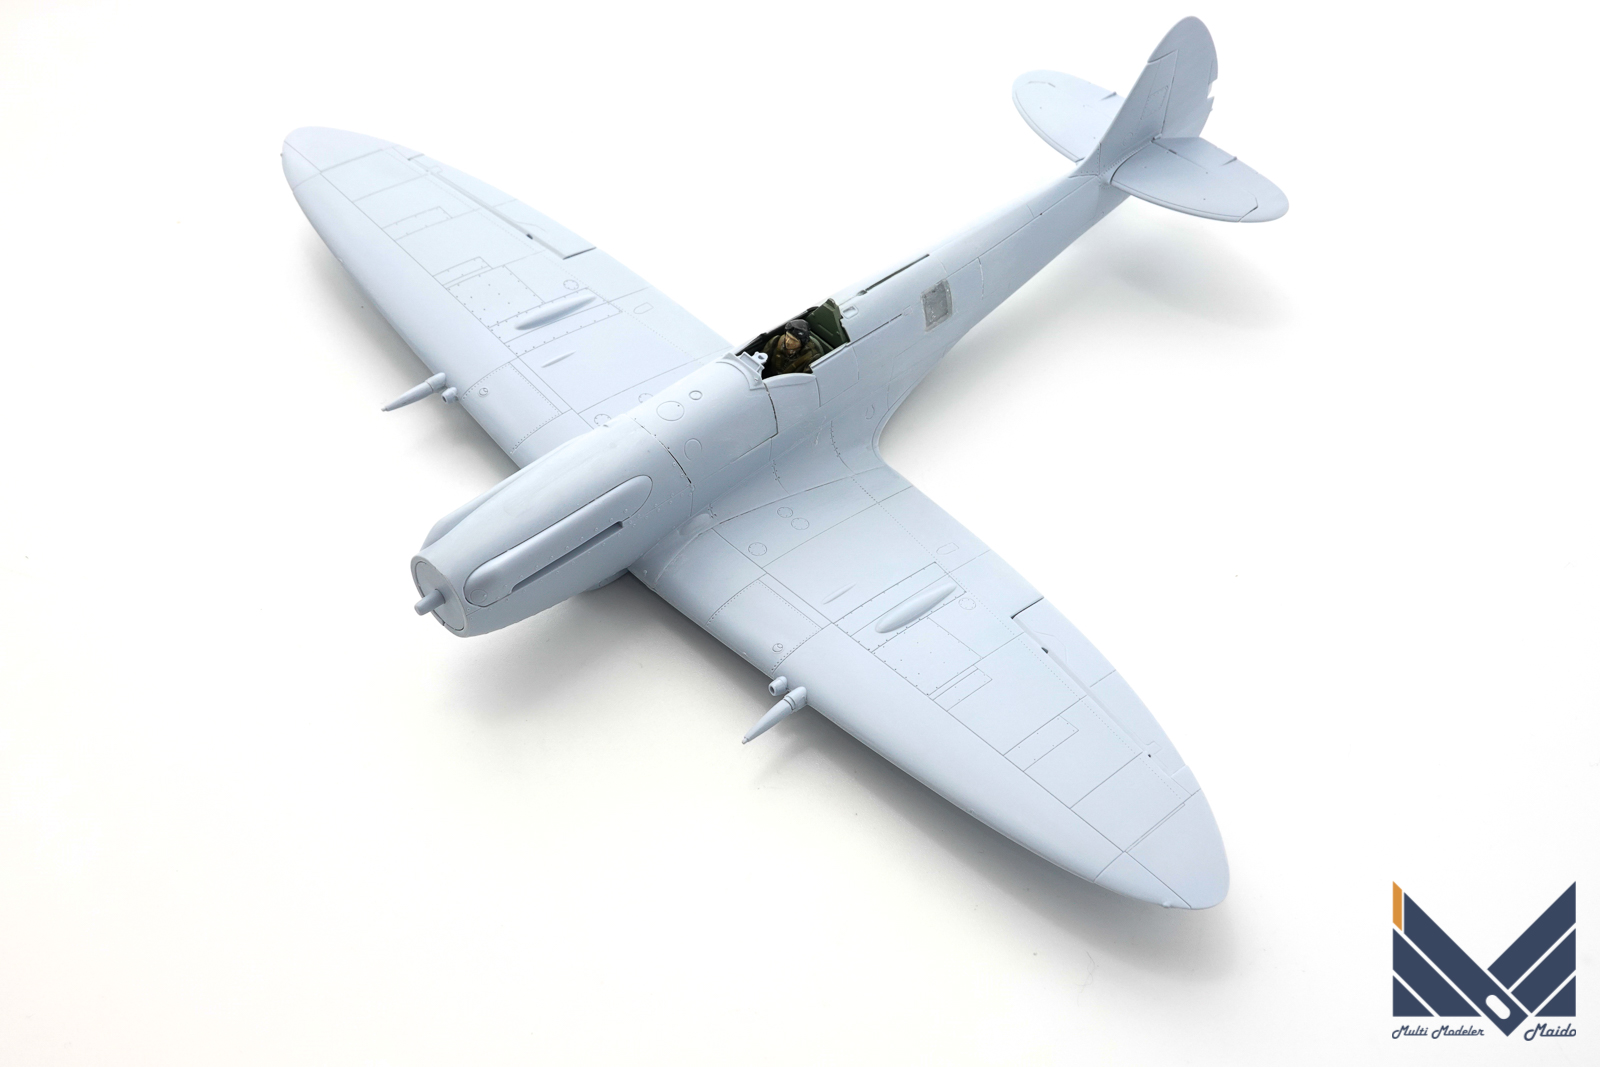
胴体にあるコクピット後方の窓はクリアーパーツで周り整形されています。民間仕様ではこの窓はないので埋める指示があります。タミヤのイージーサンディングを使って埋めてからサンディングして仕上げました。
The windows behind the cockpit on the fuselage are shaped with clear parts. There is no such window in the private specification, so there is an instruction to fill it. I filled it with Tamiya’s Easy Sanding and then sanded it to finish it.
サーフェイサー吹き
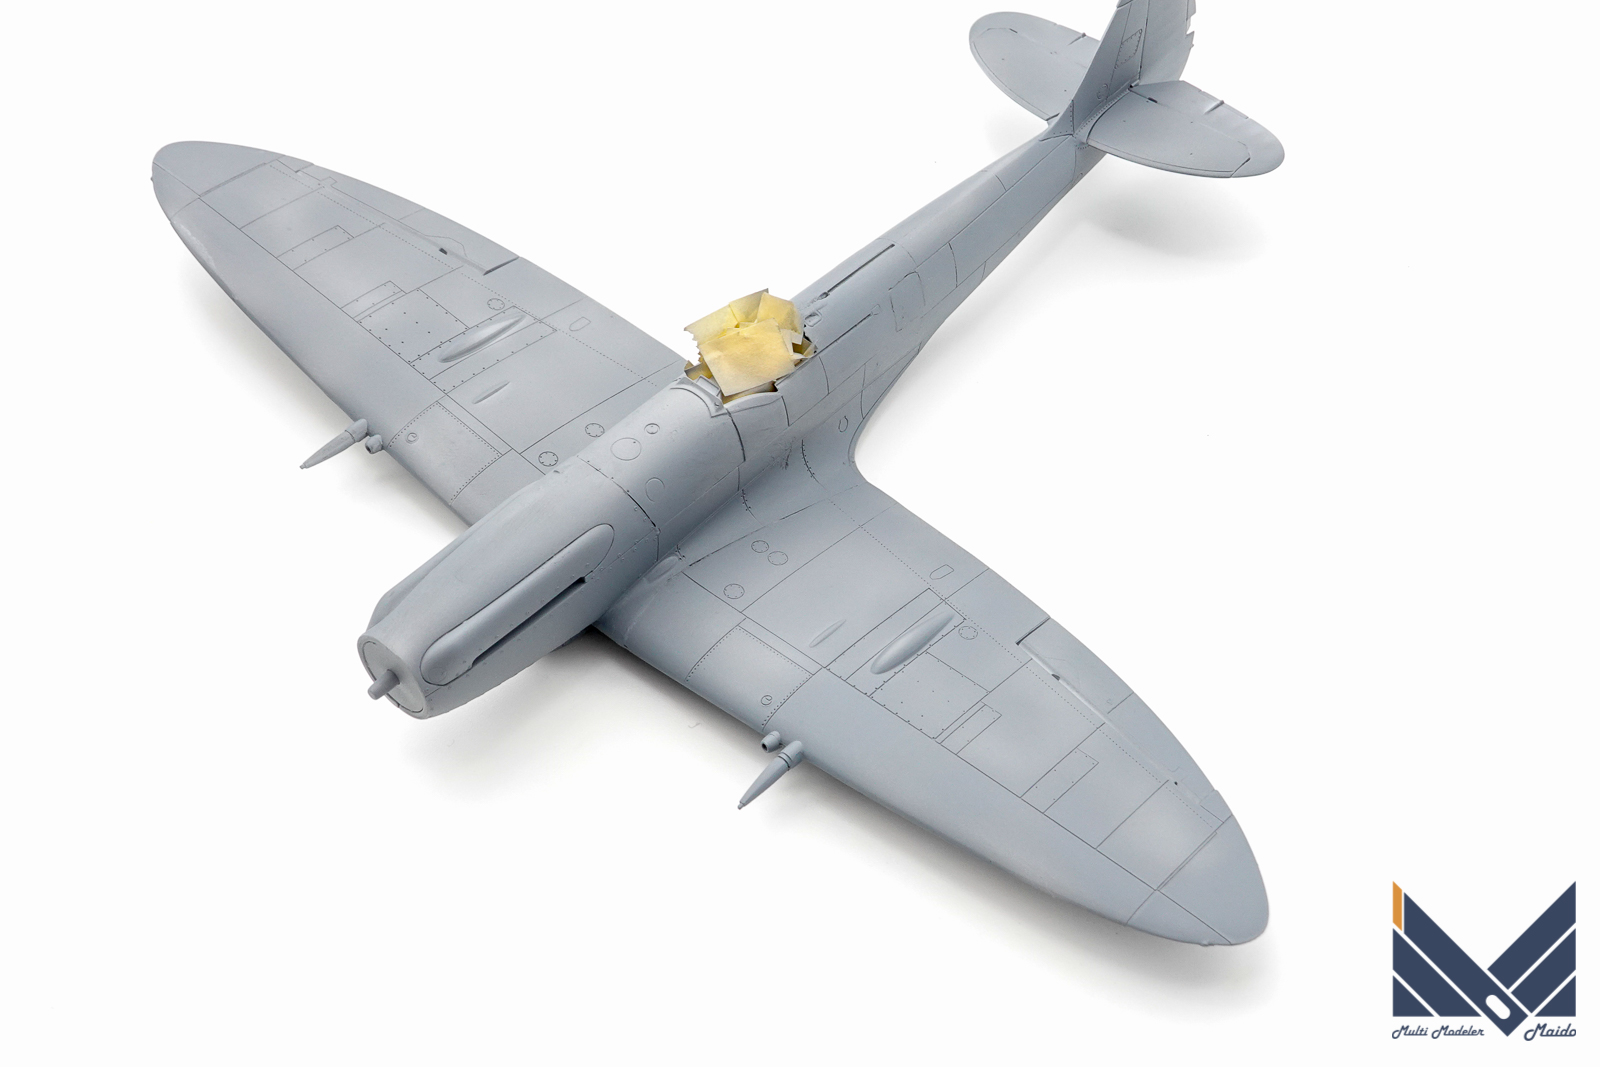
基本工作完了後にサーフェイサーを吹いて表面状態のチェックを行います。
After the basic work is completed, the surfacer is painted and the surface condition is checked.
下地塗装はピンク
最終的にブライトレッドの塗装を行うので、下地にはホワイトではなくピンクを使用しました。下地が純粋なホワイトだと上に隠ぺい力の低い色を塗装するとどうしてもムラになりやすいのです。
I used pink instead of white for the base because I will paint bright red in the end. If the base is pure white, painting a color with low hiding power on it will inevitably cause unevenness.
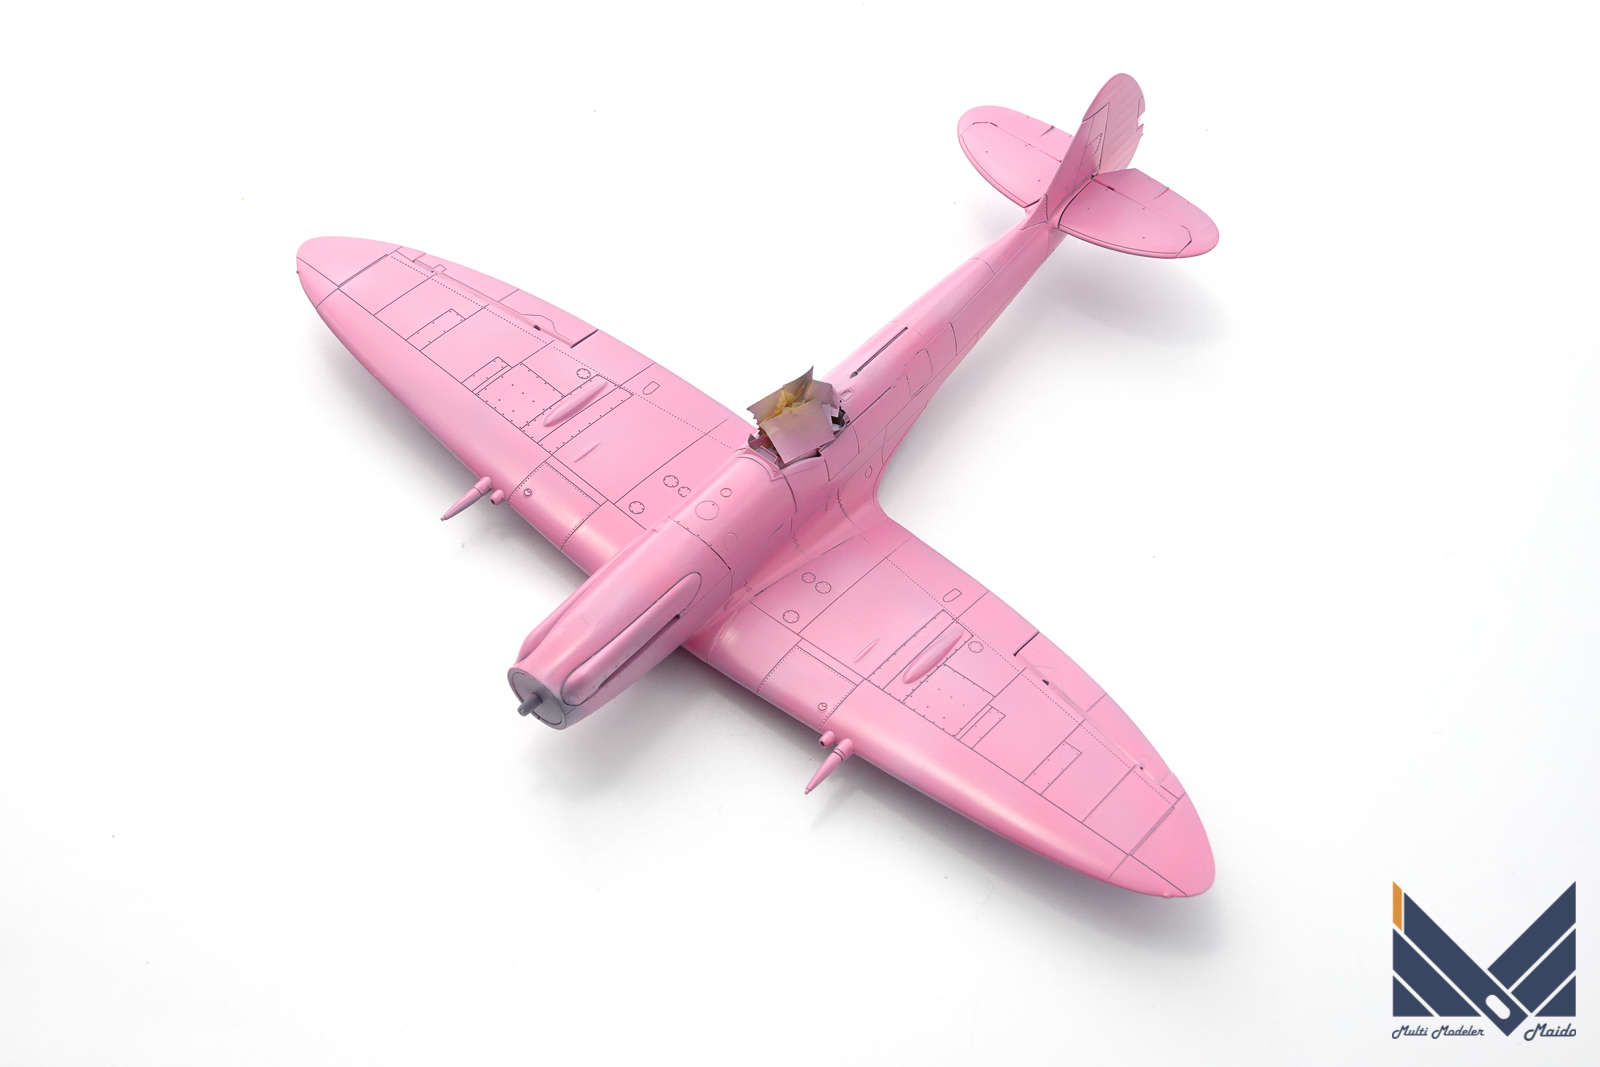
ピンクはガイアノーツのアルティメットホワイト+ブライトレッド少量です。
Pink is mainly Gaia Notes Ultimate White and a small amount of Bright Red.
基本塗装
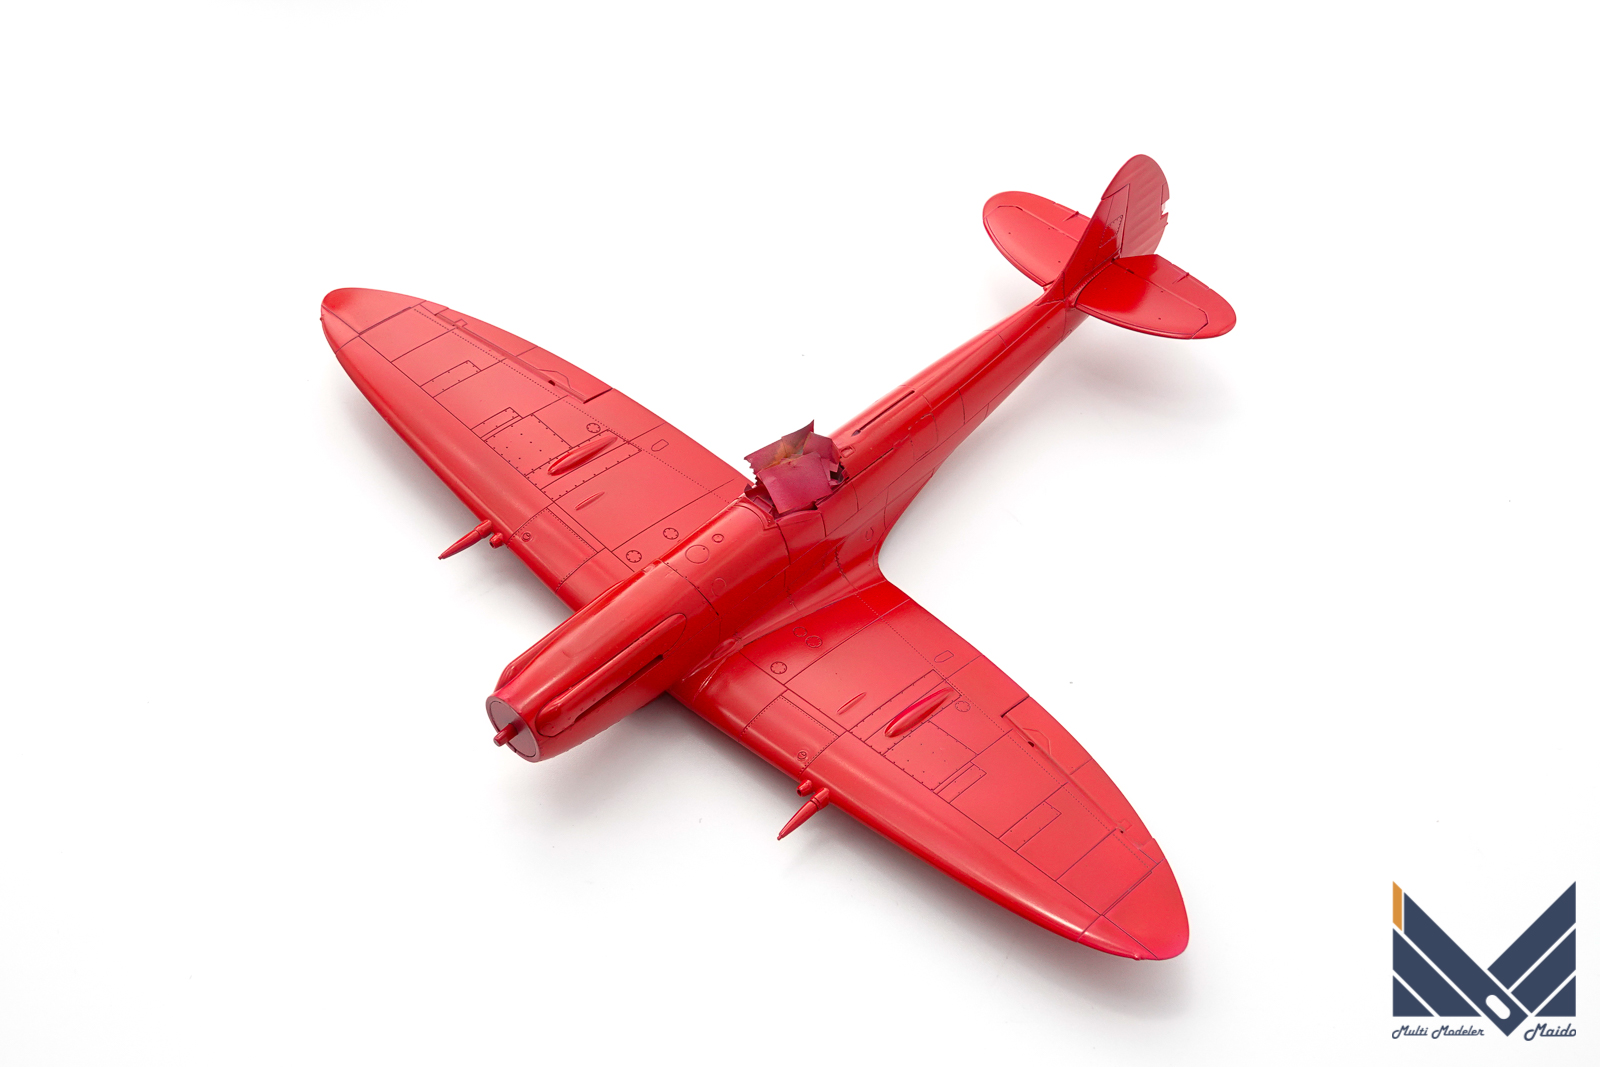
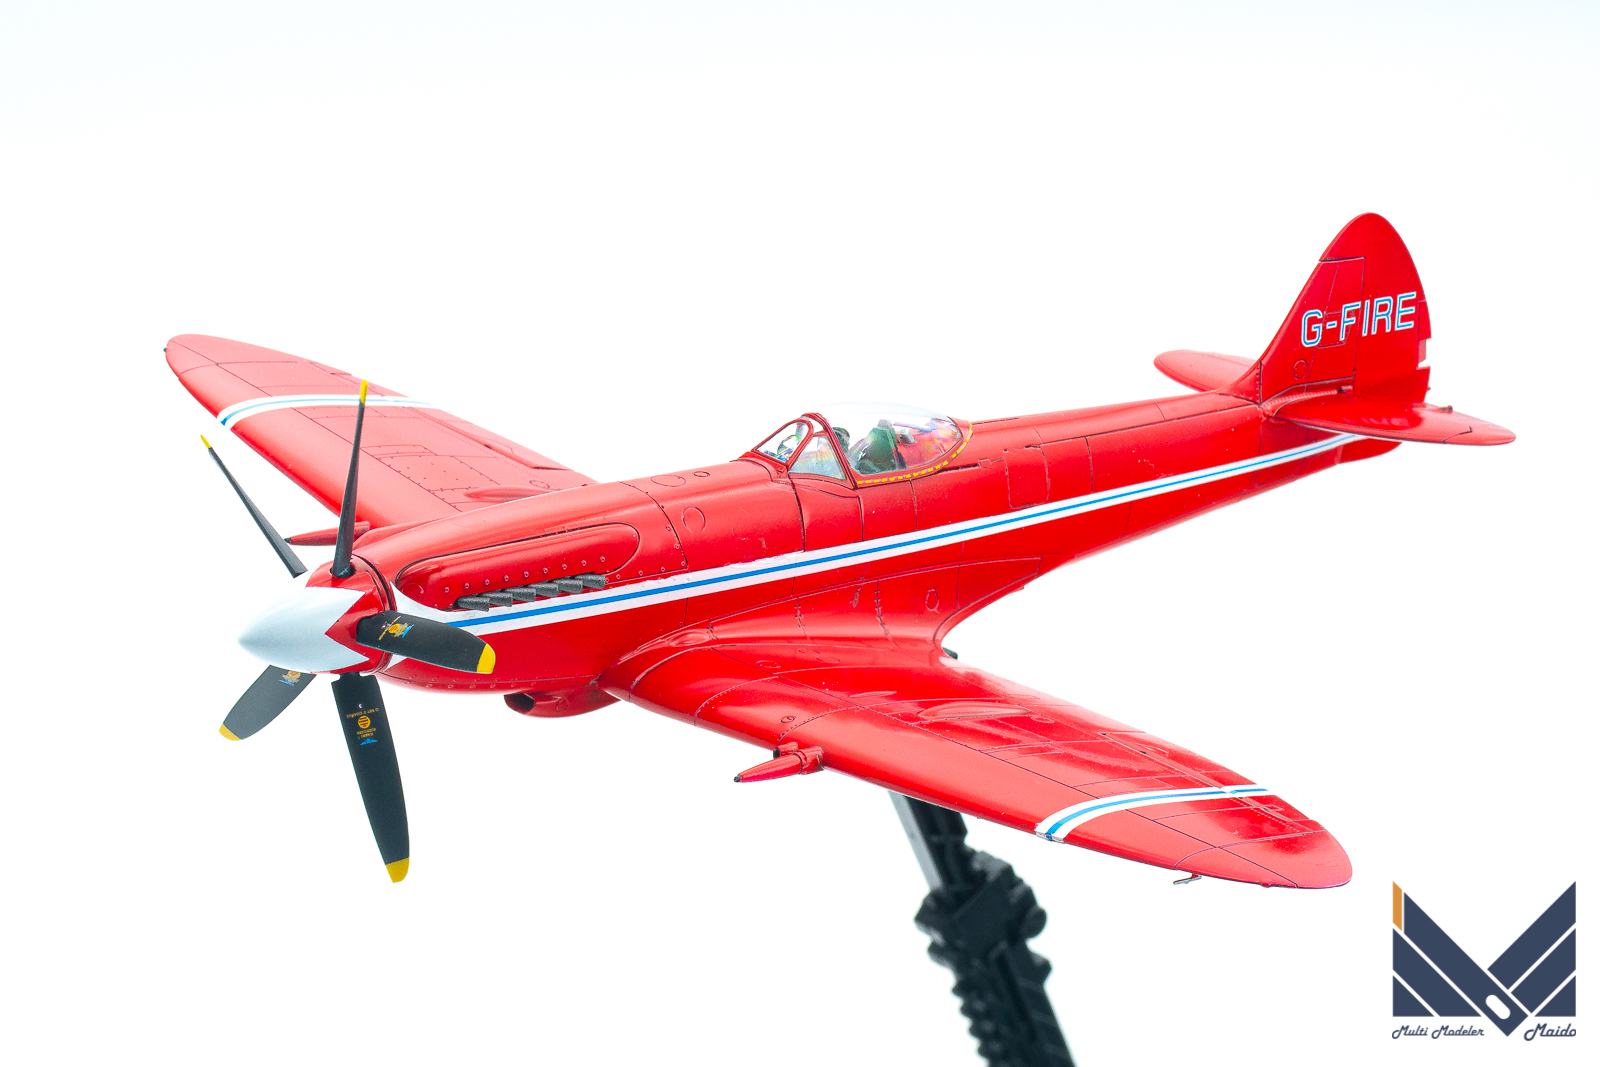
ピンクが十分乾燥後にガイアノーツのブライトレッドを塗装しました。目に痛い位鮮やかになりましたね。この後十分乾燥させてからスミ入れとデカール貼りを行います。
After the pink had dried sufficiently, I painted the bright red of Gaia Notes. It has become vivid. After this, let it dry sufficiently before adding stains and decals.
投稿者プロフィール

-
模型好き。カメラ好き。各模型雑誌で掲載多数。
艦船模型、飛行機模型、AFV模型などプラモデル全般の制作代行も承っております。「お問い合わせ」からご連絡ください。製作代行ご案内のページは現在概要のみを公開しておりますが、2025年6月現在納期はご相談になりますが、制作代行可能です
 製作代行について(β版)2024年4月6日詳細な製作代行などはのちに追加しますが、お問い合わせのあった方の最初のご案内メールの定型文を記しておきます。製作依頼の流れ1 キットに入っているパーツのみでの制作は、定価×6を基本価格としております。 キットをお送りいただ...
最新の投稿
 キャラクター模型完成品2025年12月23日バンダイ 1/1700 EXモデル ジオン公国軽巡洋艦ムサイ 完成品
 お知らせ2025年11月8日プレオープン記念キャンペーンのお知らせ
 お知らせ2025年11月8日プリントサービス プレオープンのお知らせ
 製作記アーカイブ2025年11月5日製作記はYouTubeへ移行しました
コメント