前回までの基本工作に続いて基本塗装を行いました。
Following the basic work up to the last time, basic painting was done.
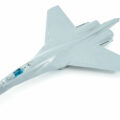
まず表面状態のチェックのために下地塗装を行います。パテはほとんど使っていませんし、全体を研摩したわけでもないので、サーフェイサーは使わず通常の塗料を使用しました。グレーはレドームや垂直尾翼のグレーを兼ねてMr.カラー335を選択しました
First, the base coat is applied to check the surface condition. I didn’t use putty this time, and I didn’t polish the whole thing, so I used normal paint instead of surfacer. For gray, I chose Mr. Color 335, which also serves as the gray for the radome and vertical stabilizer.
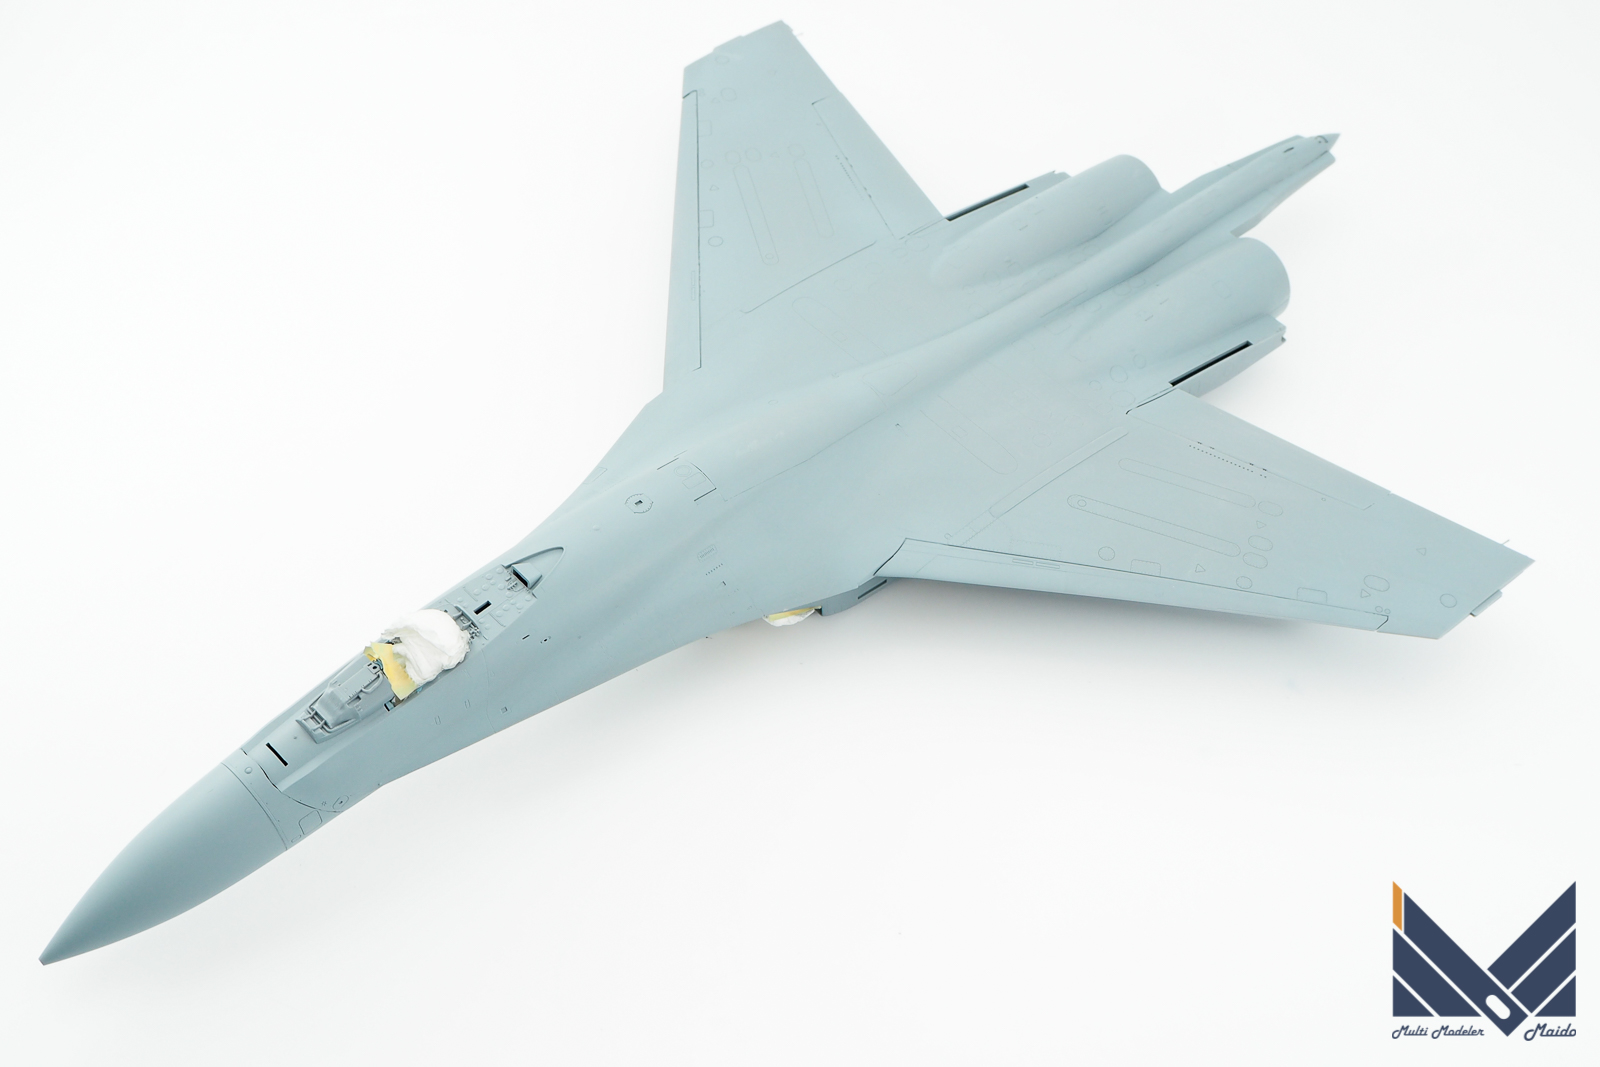
処理のミスがあれば修正してから、レドームをマスキングします。
Correct any processing mistakes and then mask the radome.
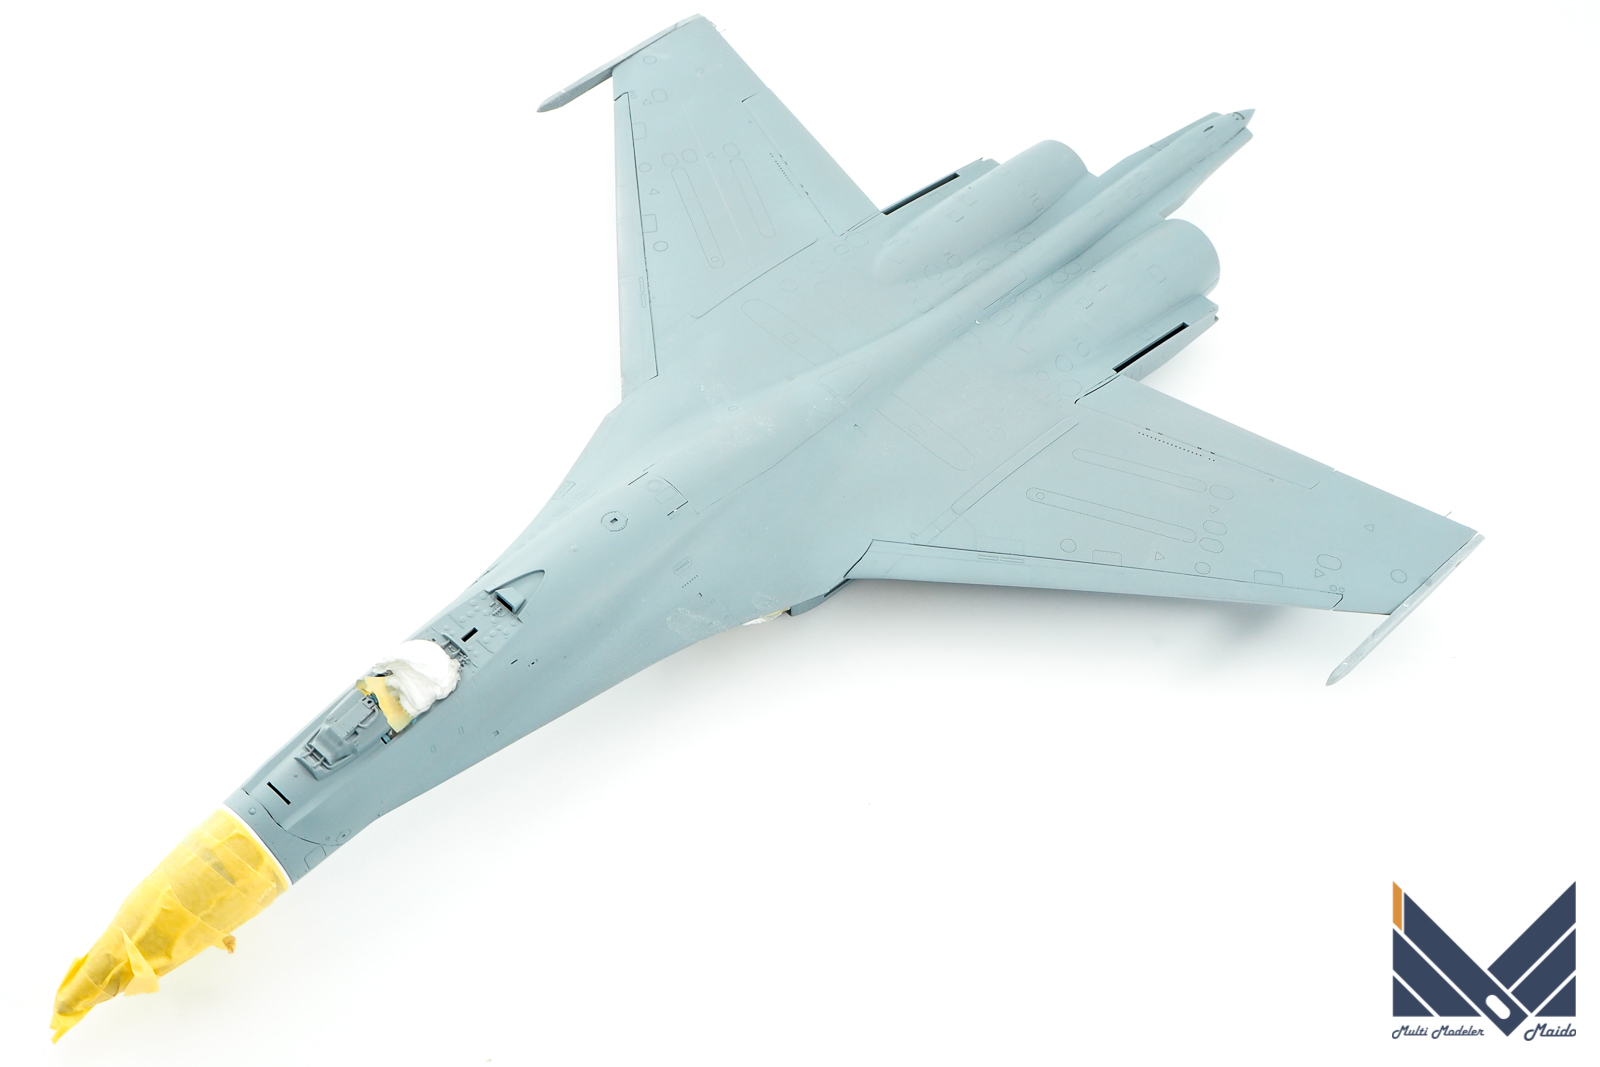
下面から塗装を行います。
下面Mrカラー323、上面Mr.カラー34です。かなり大きい機体でドライブースに絶妙に入りません。
Paint from the bottom.
The lower surface Mr. color 323 and the upper surface Mr. color 34. It’s a fairly large aircraft and doesn’t fit into the dry booth.
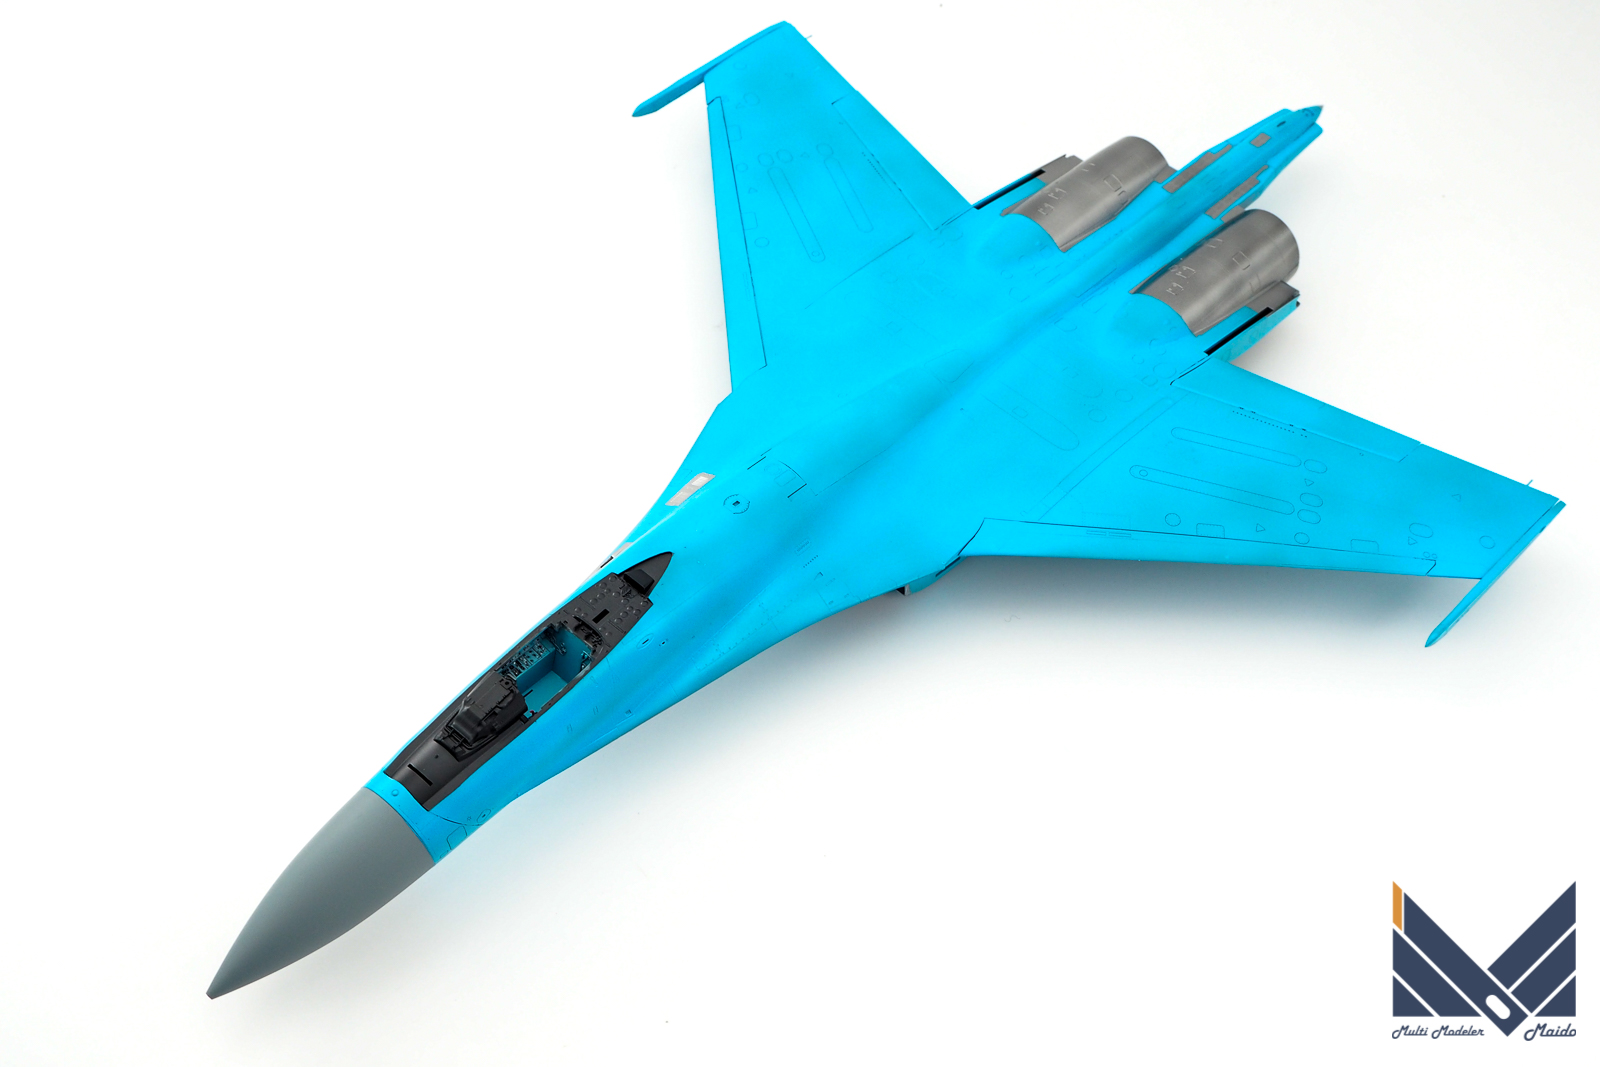
タミヤのスミ入れ用塗料のダークグレーでスミ入れを行いました
I used Tamiya’s dark gray paint for smearing.
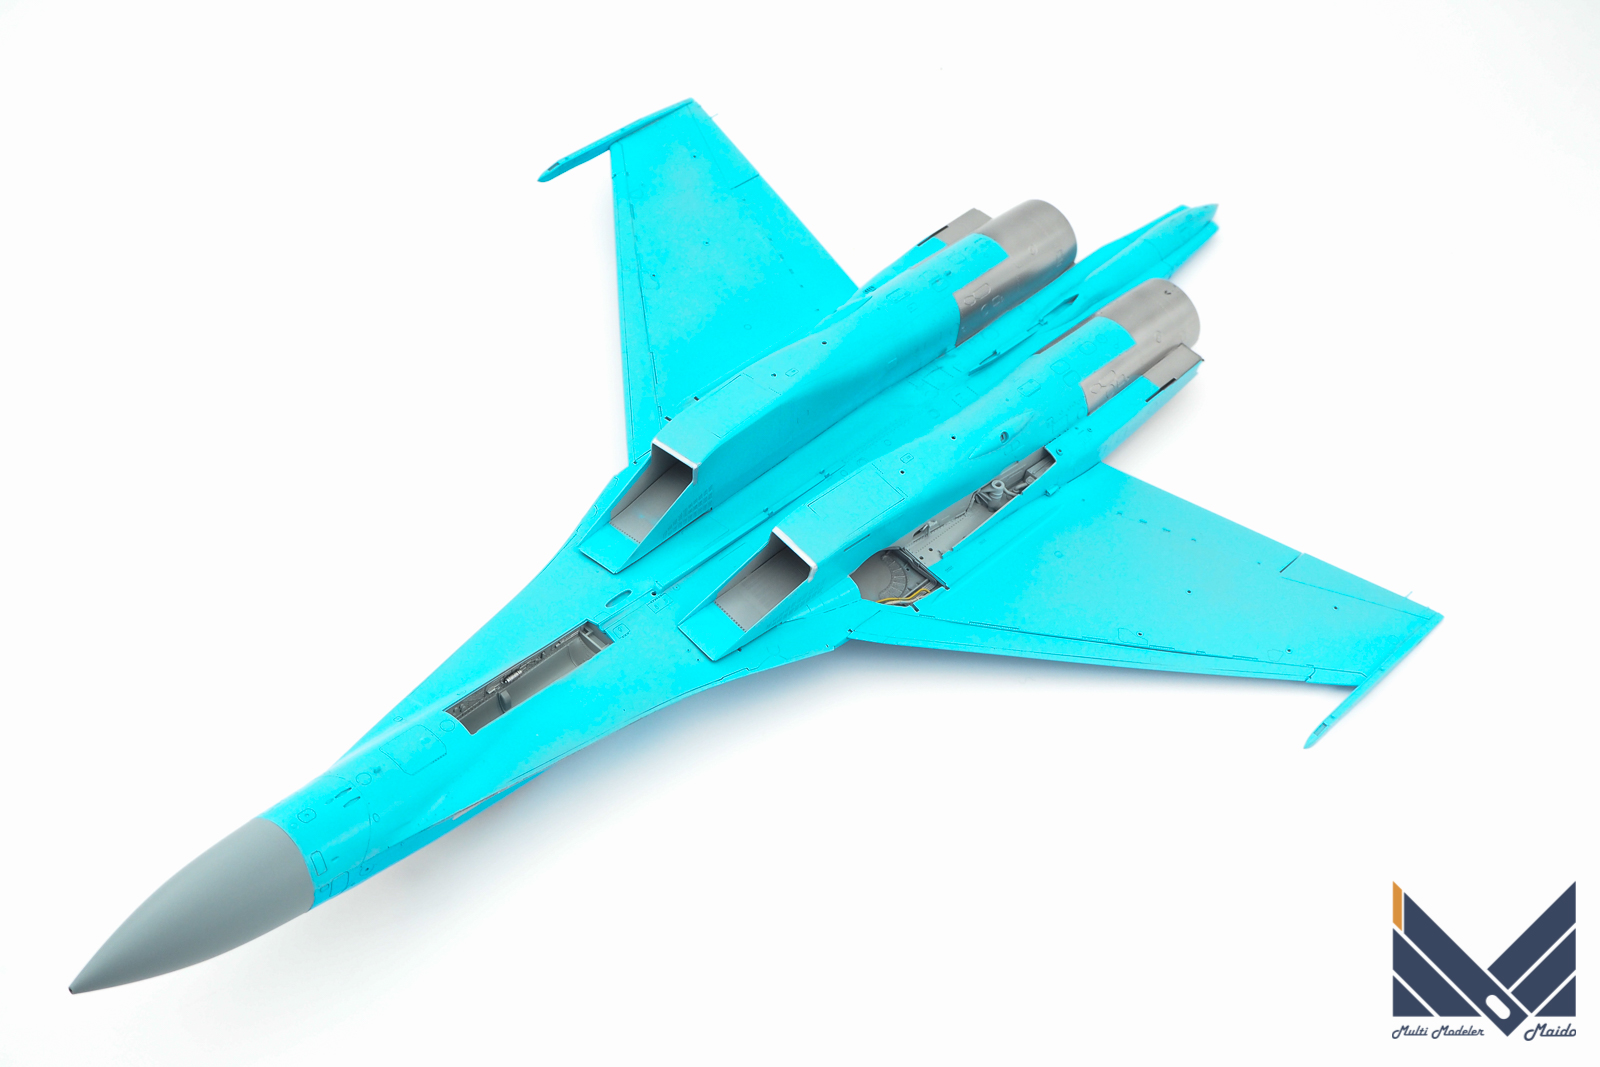
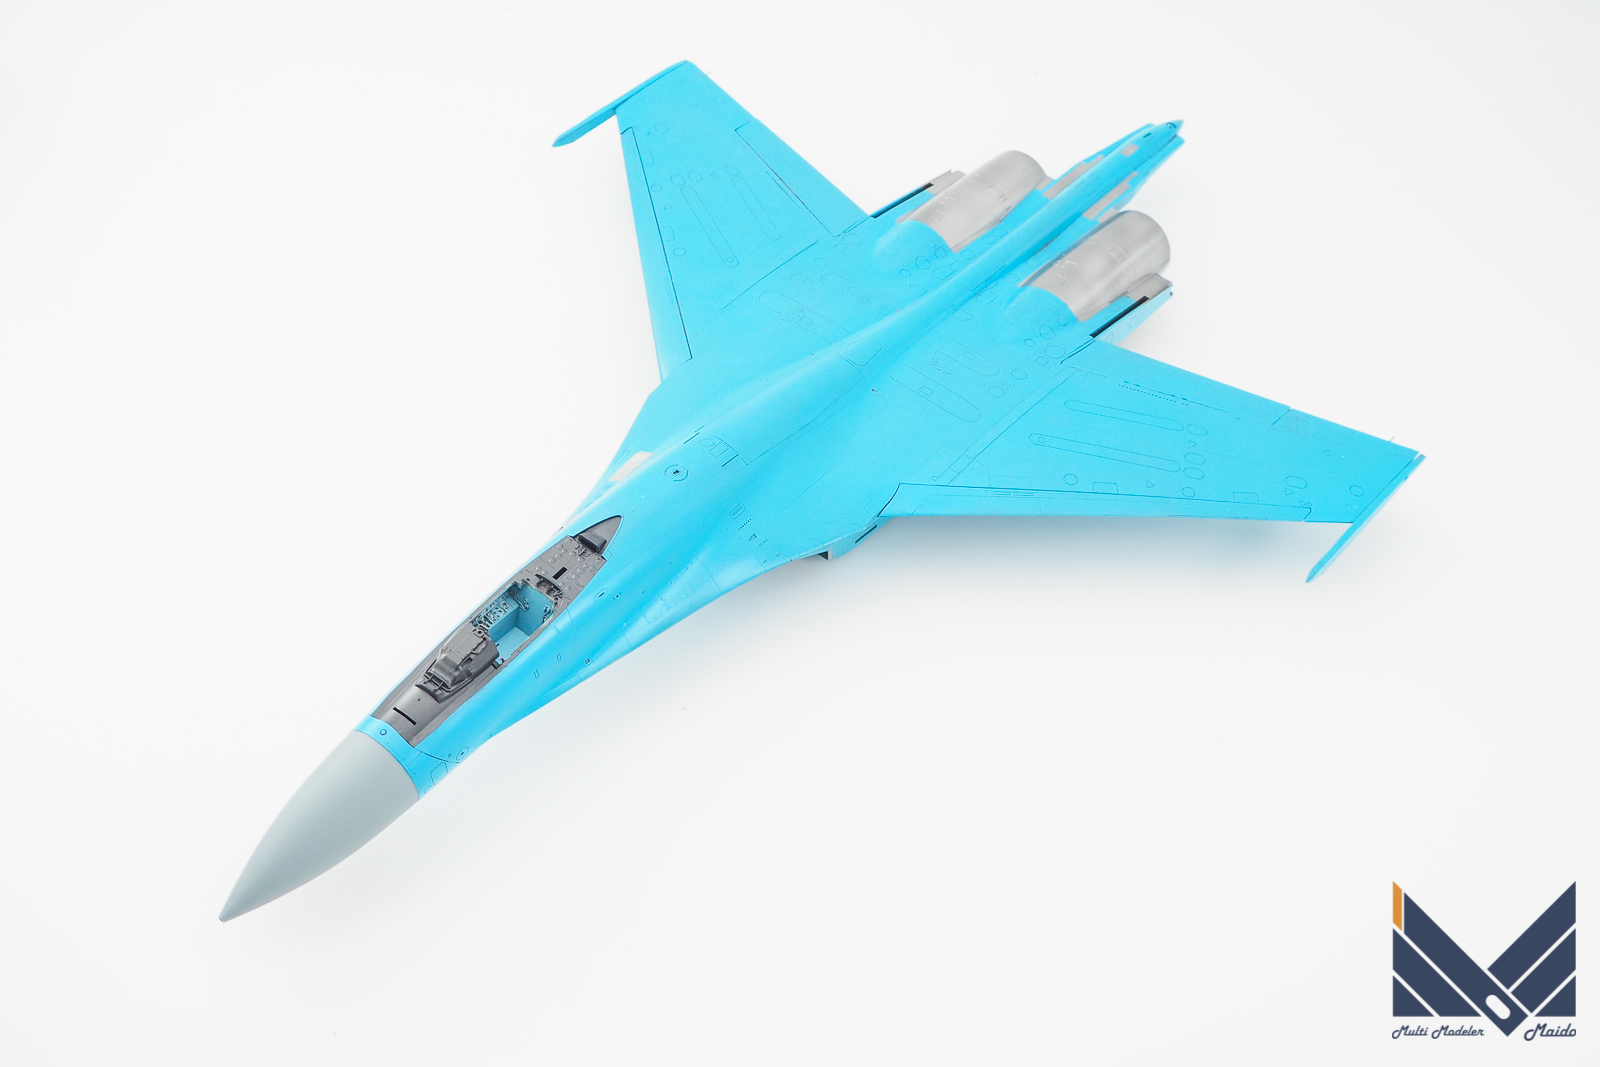
次からウクライナ空軍特有のデジタル迷彩のデカールに移ります。
Next, we will move on to the digital camouflage decals unique to the Ukrainian Air Force.
投稿者プロフィール
-
模型好き。カメラ好き。各模型雑誌で掲載多数。
艦船模型、飛行機模型、AFV模型などプラモデル全般の制作代行も承っております。「お問い合わせ」からご連絡ください。製作代行ご案内のページは現在概要のみを公開しておりますが、2025年6月現在納期はご相談になりますが、制作代行可能です
 製作代行について(β版)2024年4月6日詳細な製作代行などはのちに追加しますが、お問い合わせのあった方の最初のご案内メールの定型文を記しておきます。製作依頼の流れ1 キットに入っているパーツのみでの制作は、定価×6を基本価格としております。 キットをお送りいただ...
最新の投稿
 キャラクター模型完成品2025年12月23日バンダイ 1/1700 EXモデル ジオン公国軽巡洋艦ムサイ 完成品
 お知らせ2025年11月8日プレオープン記念キャンペーンのお知らせ
 お知らせ2025年11月8日プリントサービス プレオープンのお知らせ
 製作記アーカイブ2025年11月5日製作記はYouTubeへ移行しました

コメント