XF-108の表面処理を行いました
Surface treatment of XF-108 was performed

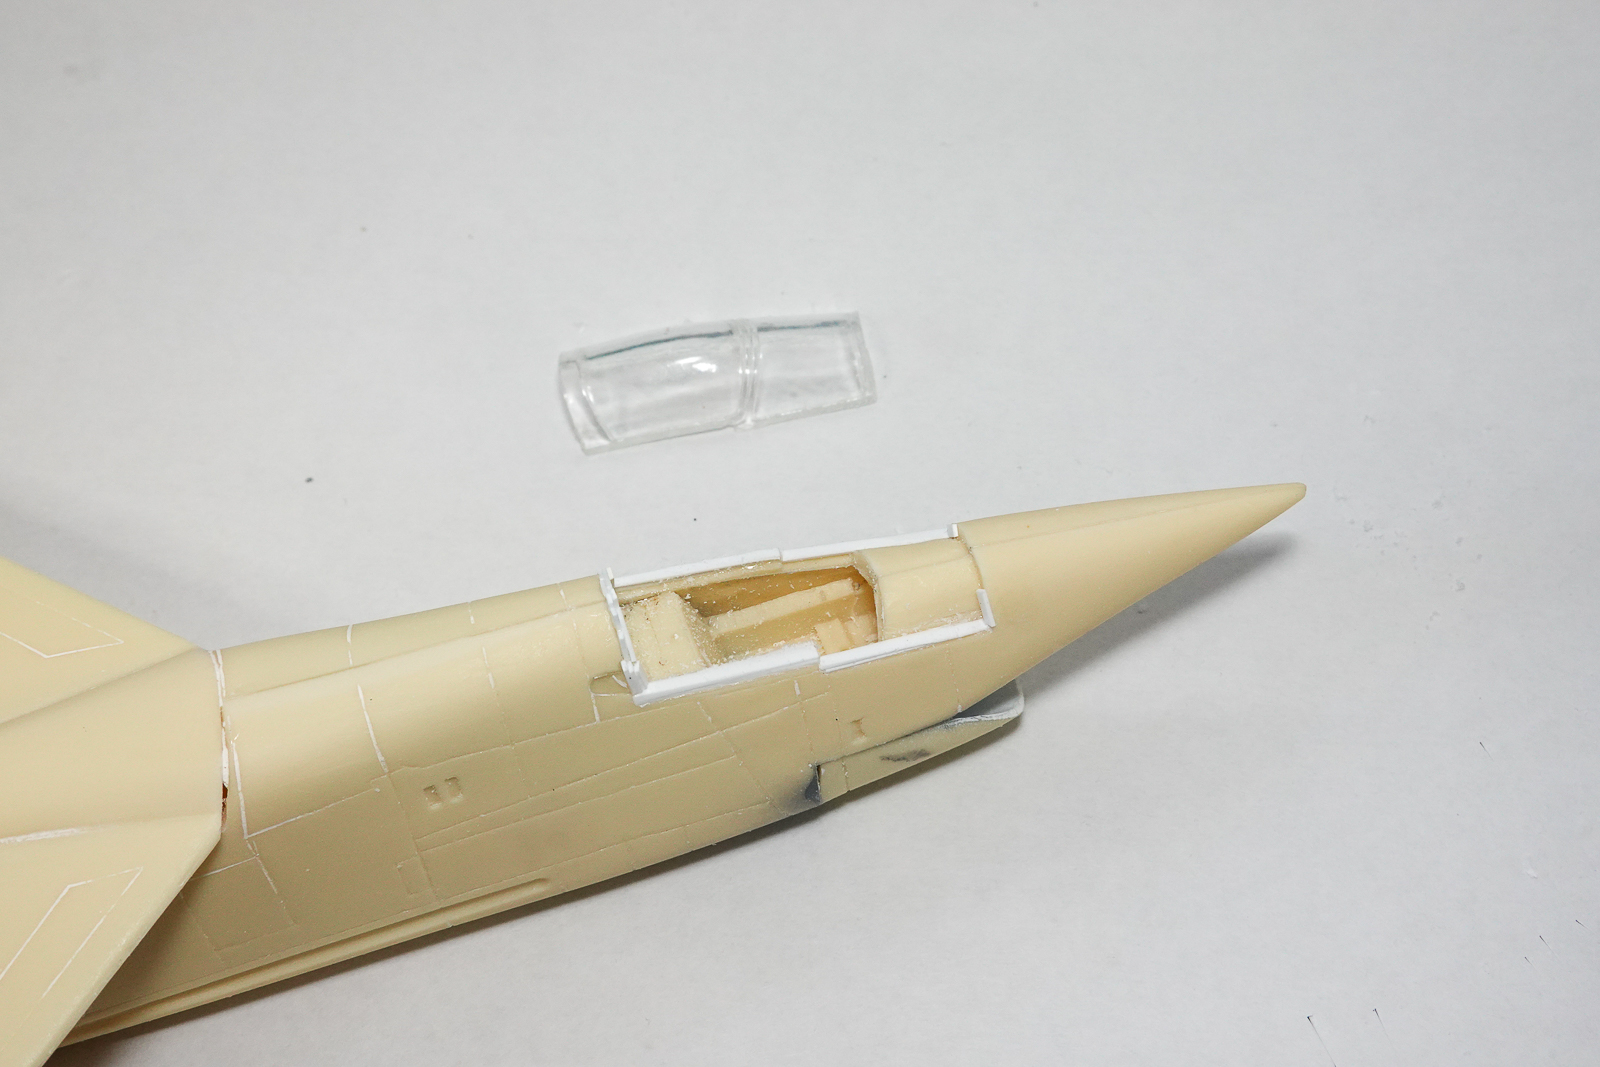
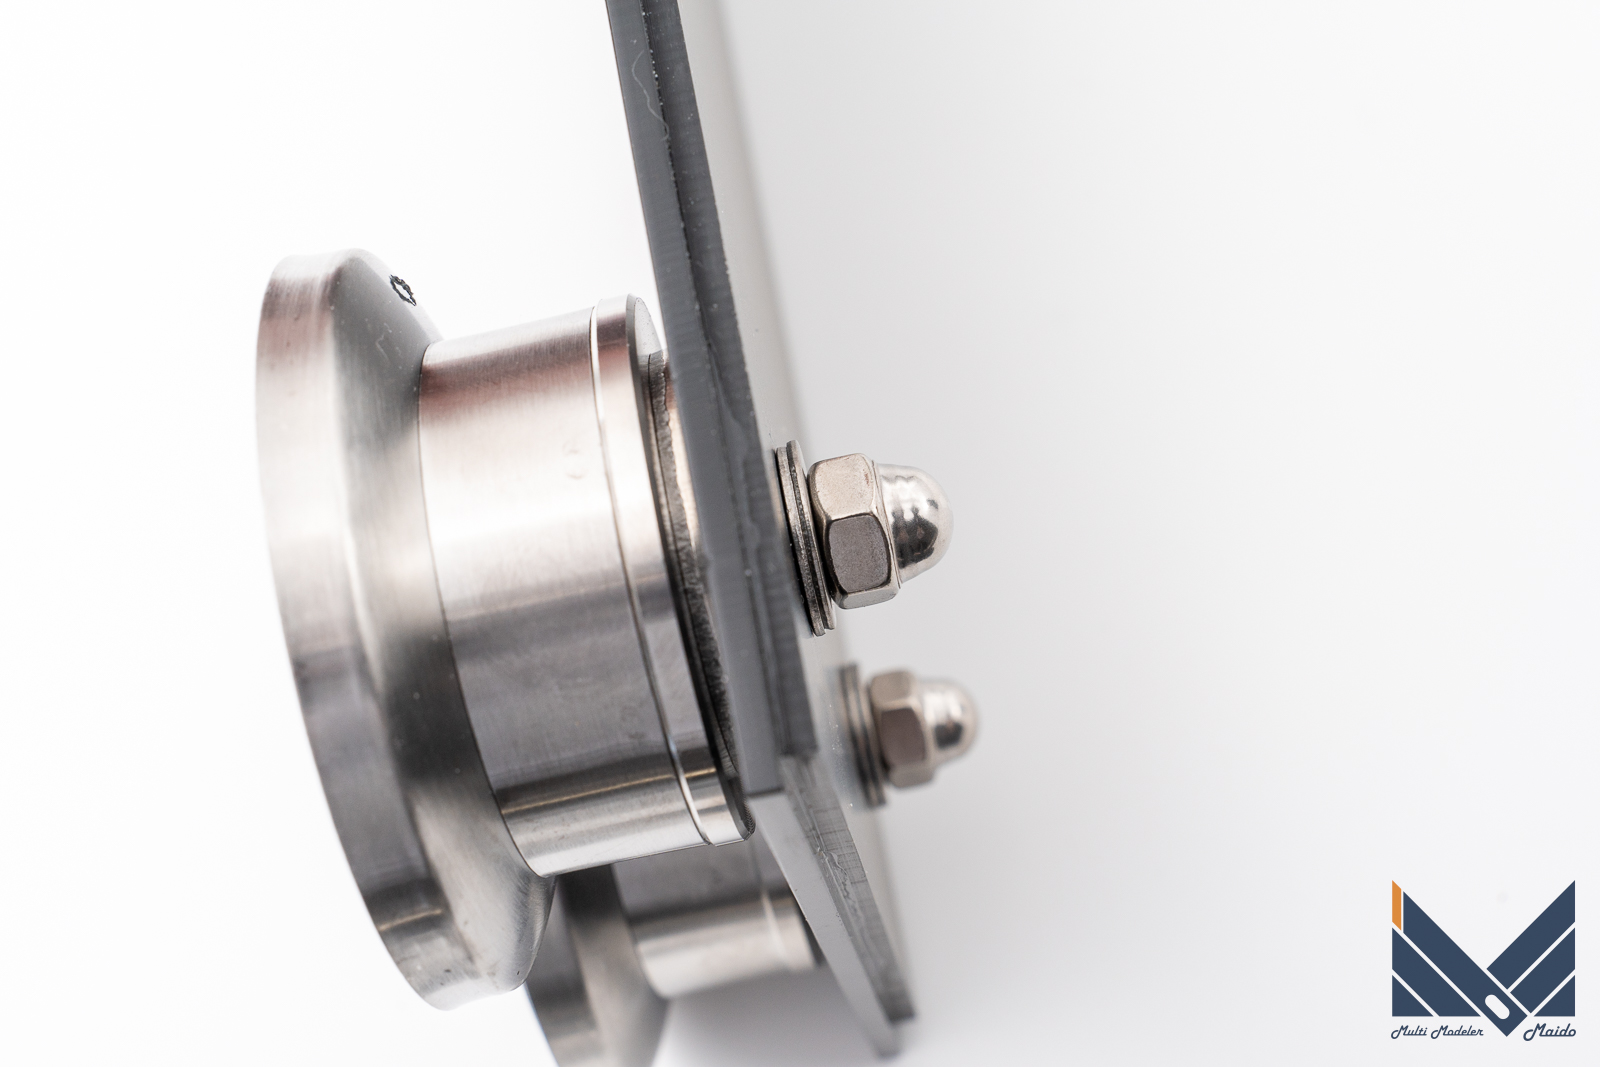
内部にナットを固定
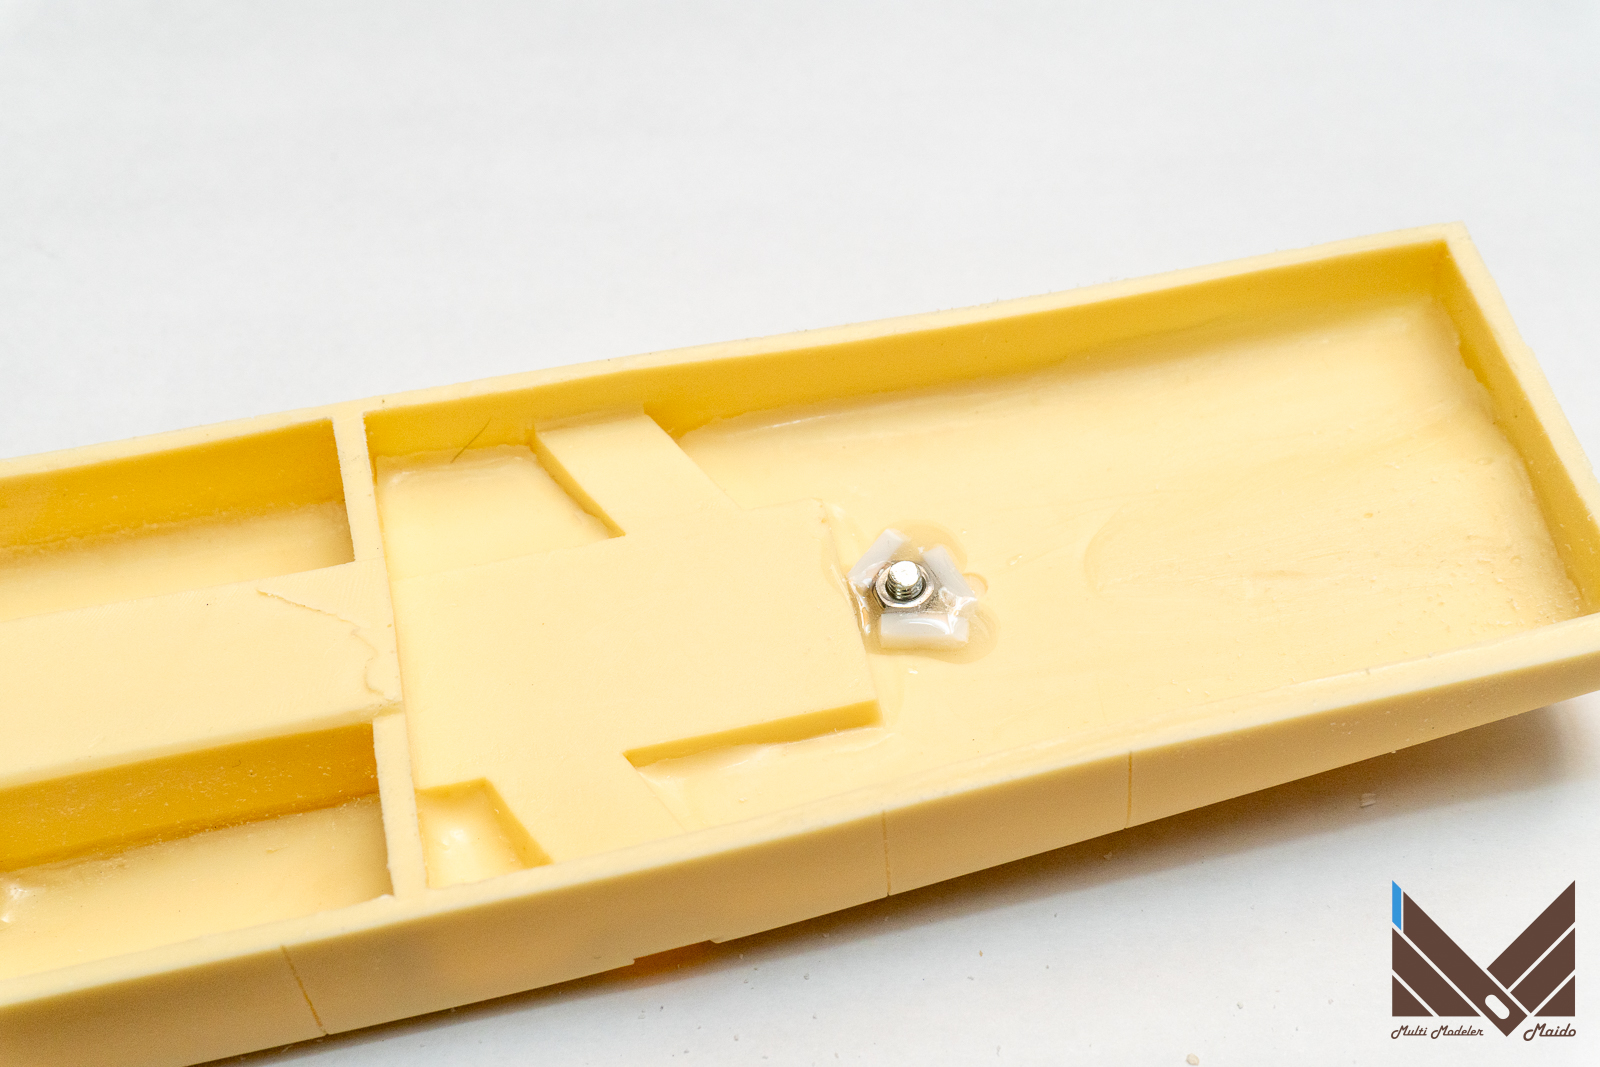
内部にスタンド接続用のナットを取り付けます
Install the stand connection nut inside
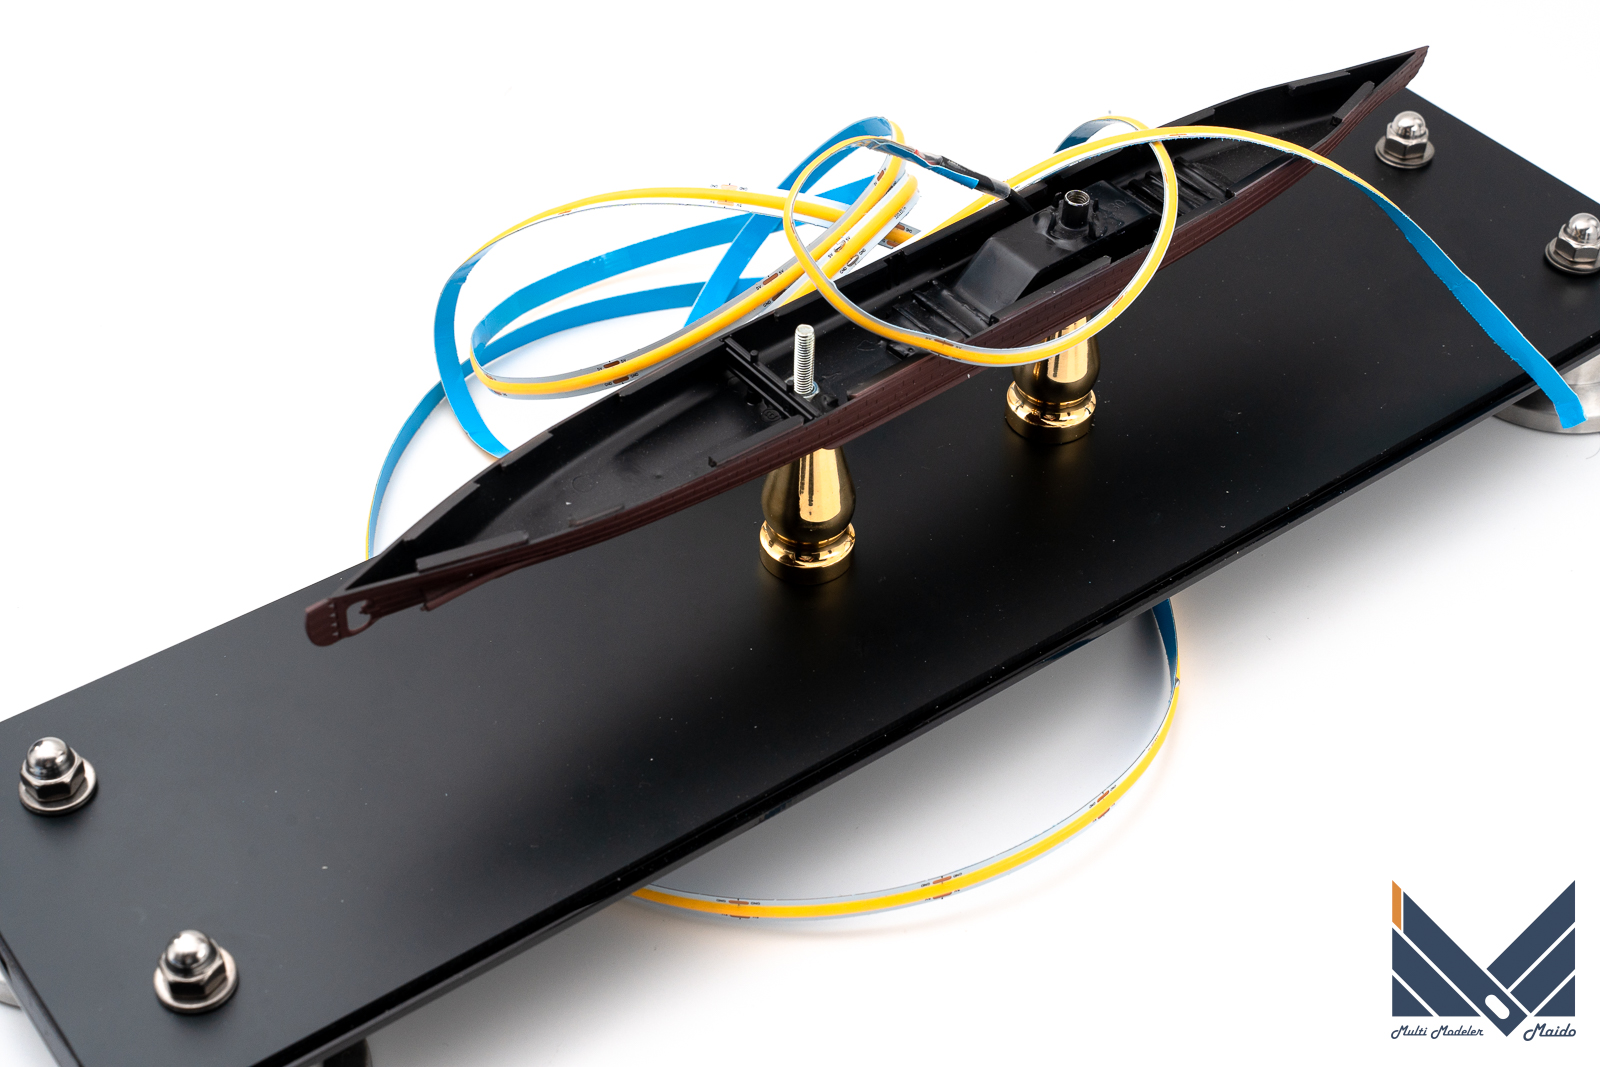
接着
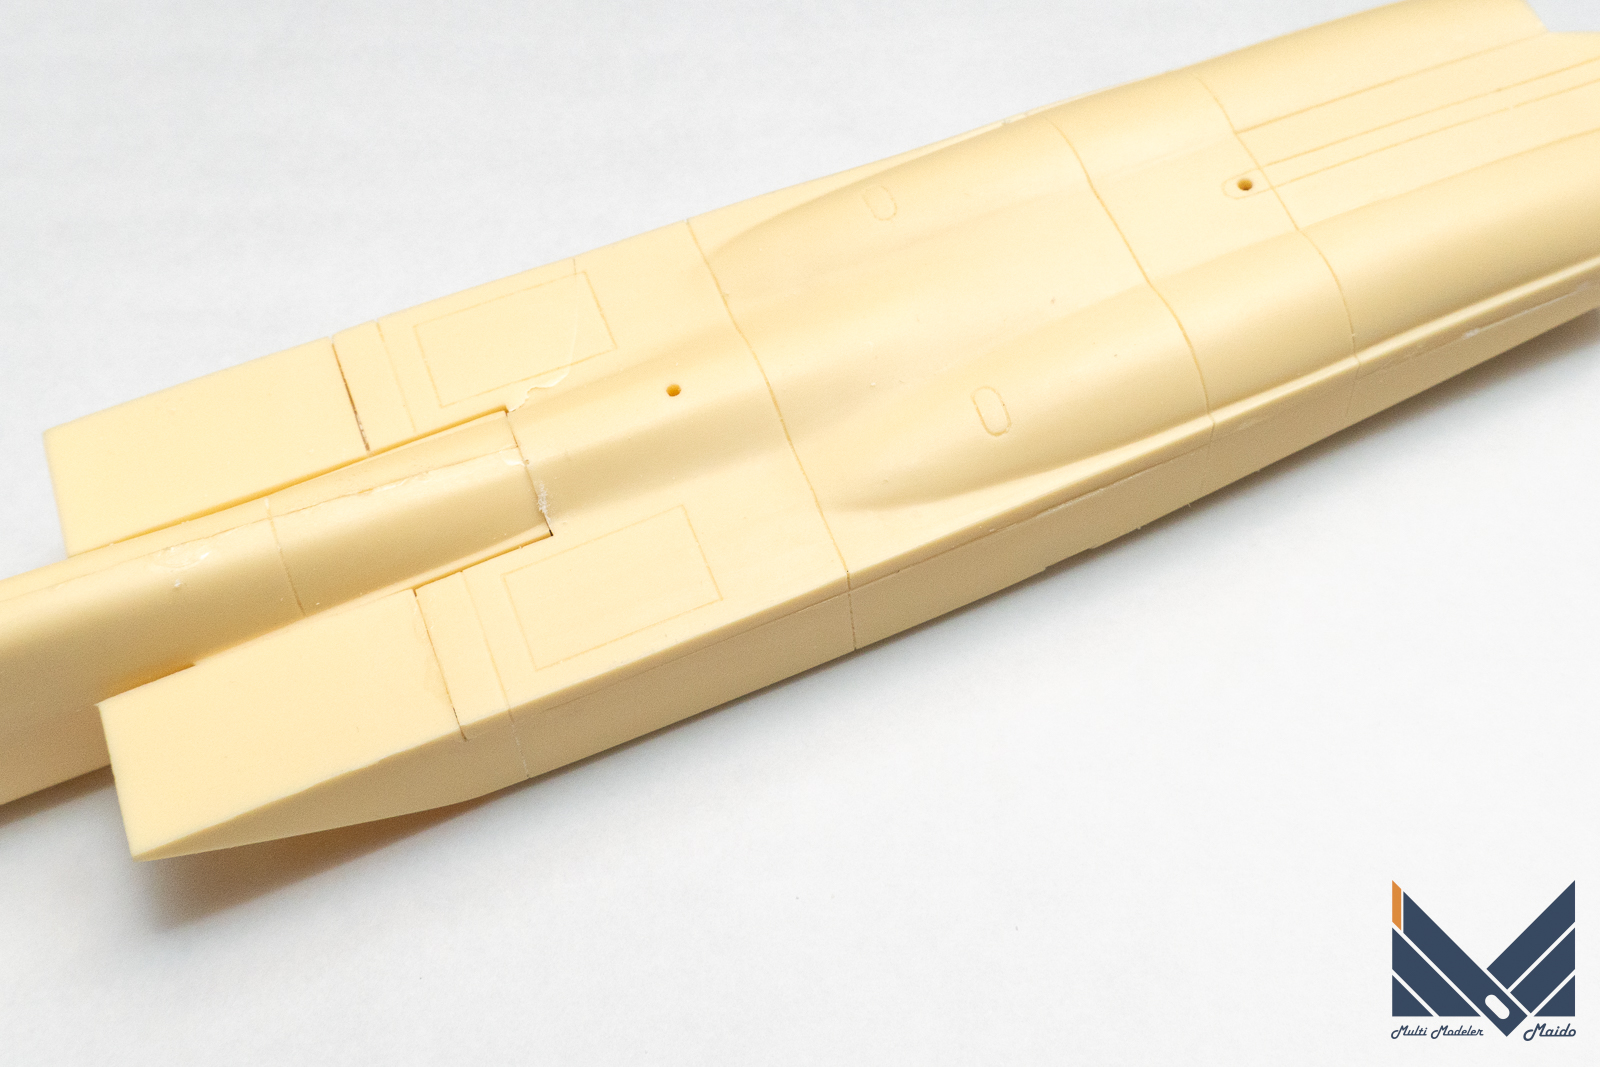
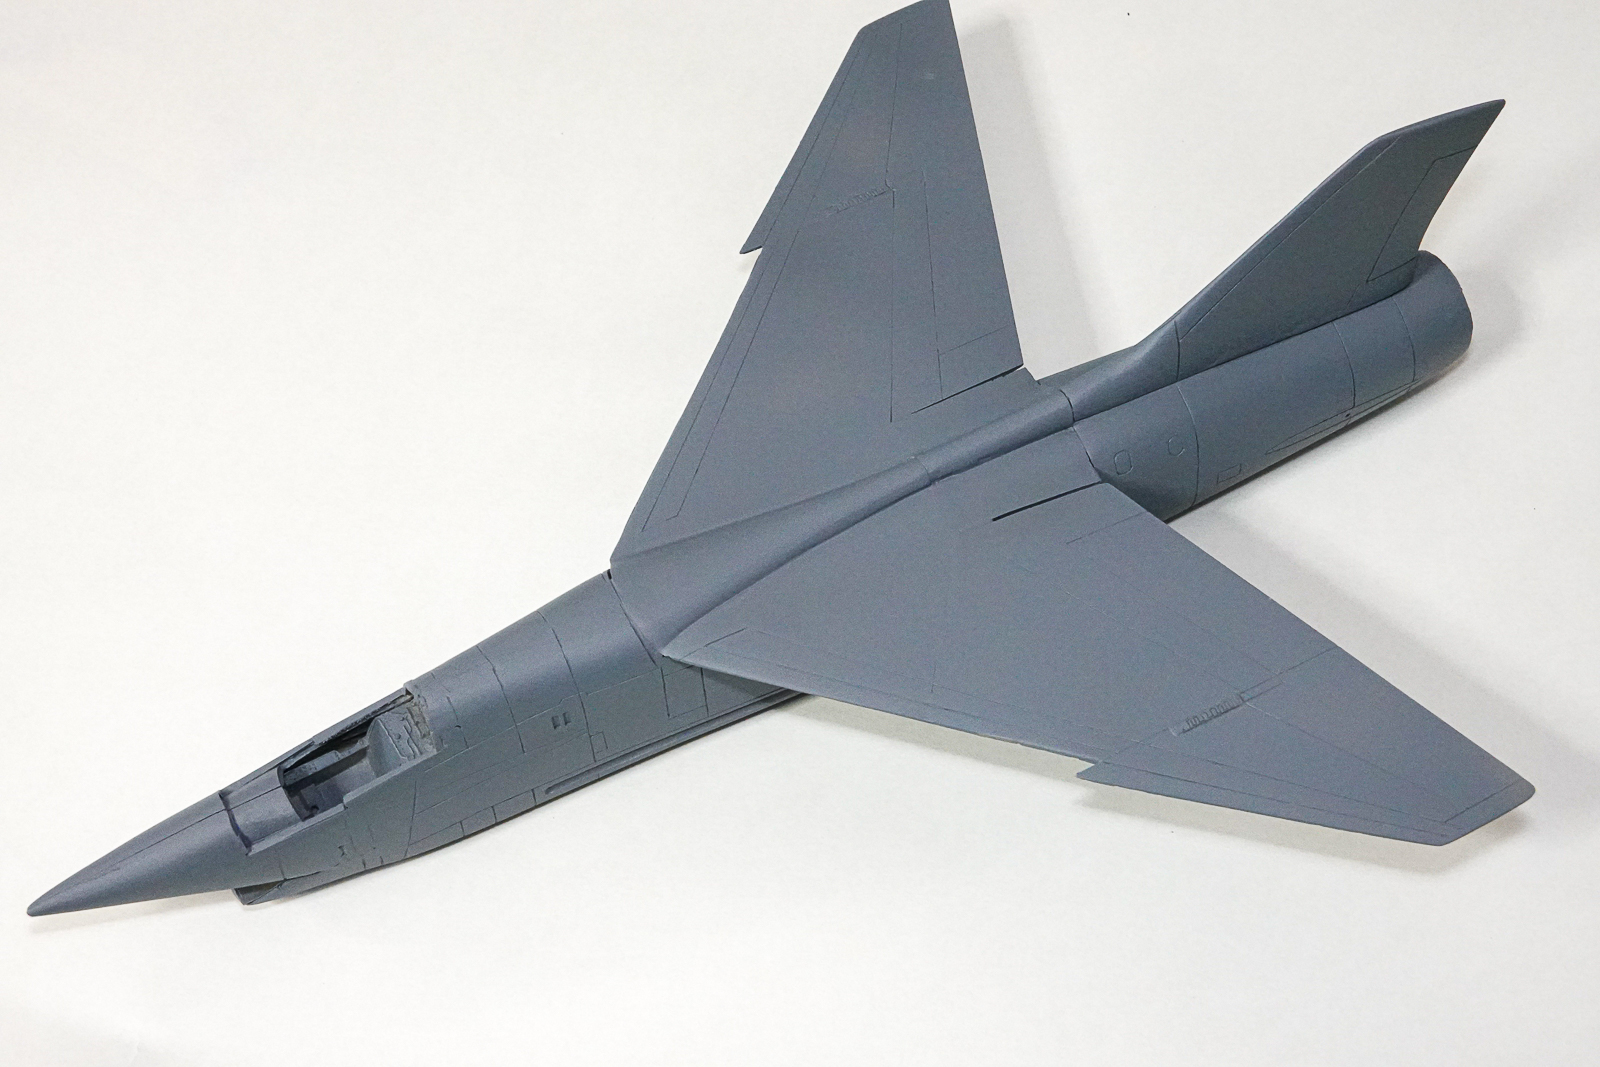
主要部を接着します。
Glue the main part.
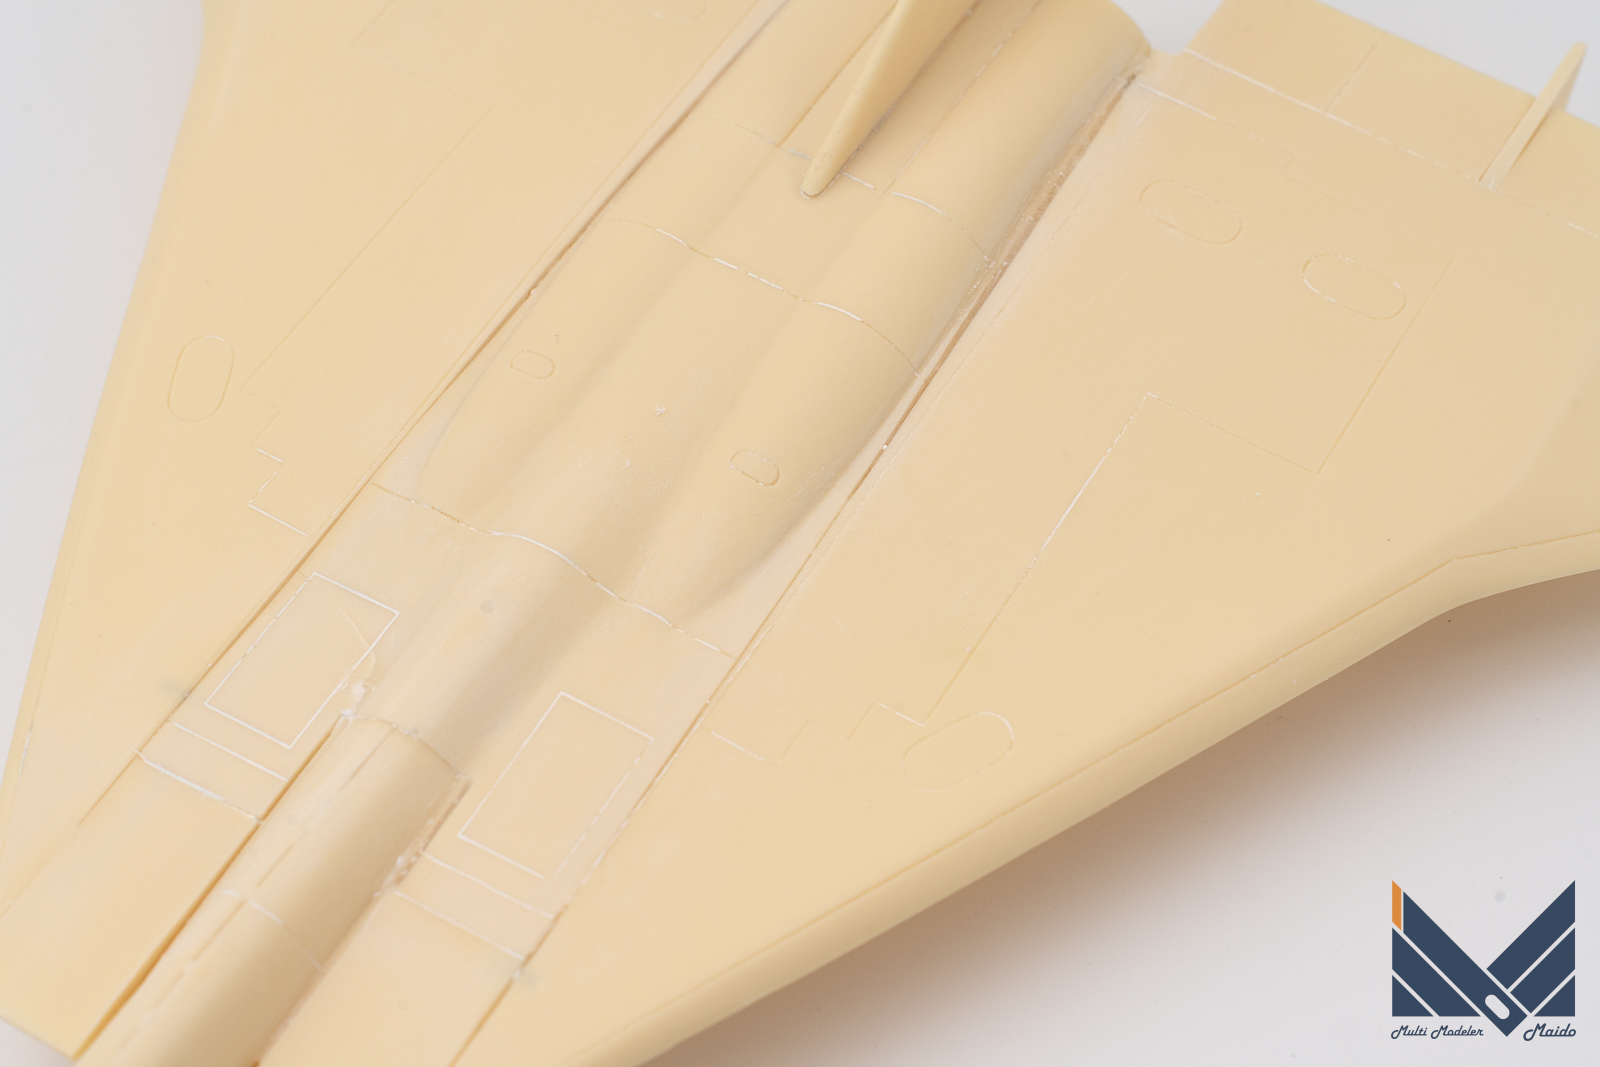
表面処理と彫り直し
主翼接着前に段差を消しておきます。220番で粗削りしました。
Erase the steps before attaching the main wing. I roughed it with 220.
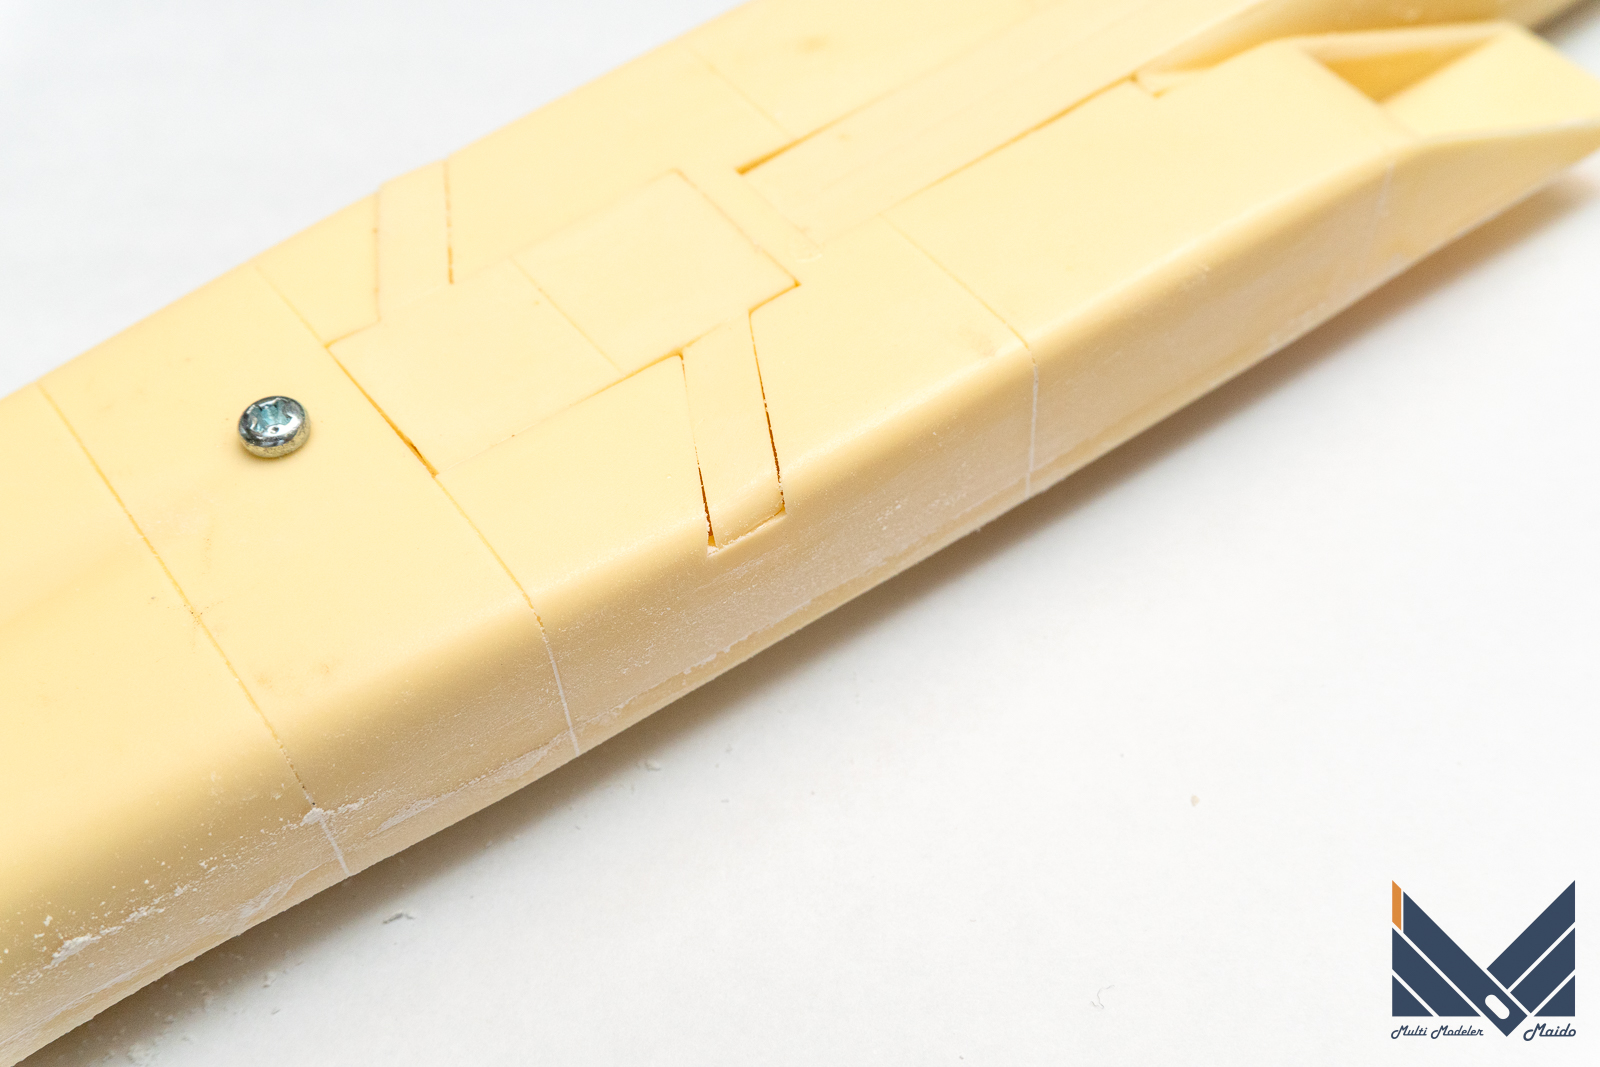
カバー関係は閉める事をあまり想定していないのか、大きな段差ができます。
There is a big step, probably because it is not assumed that the cover will be closed.
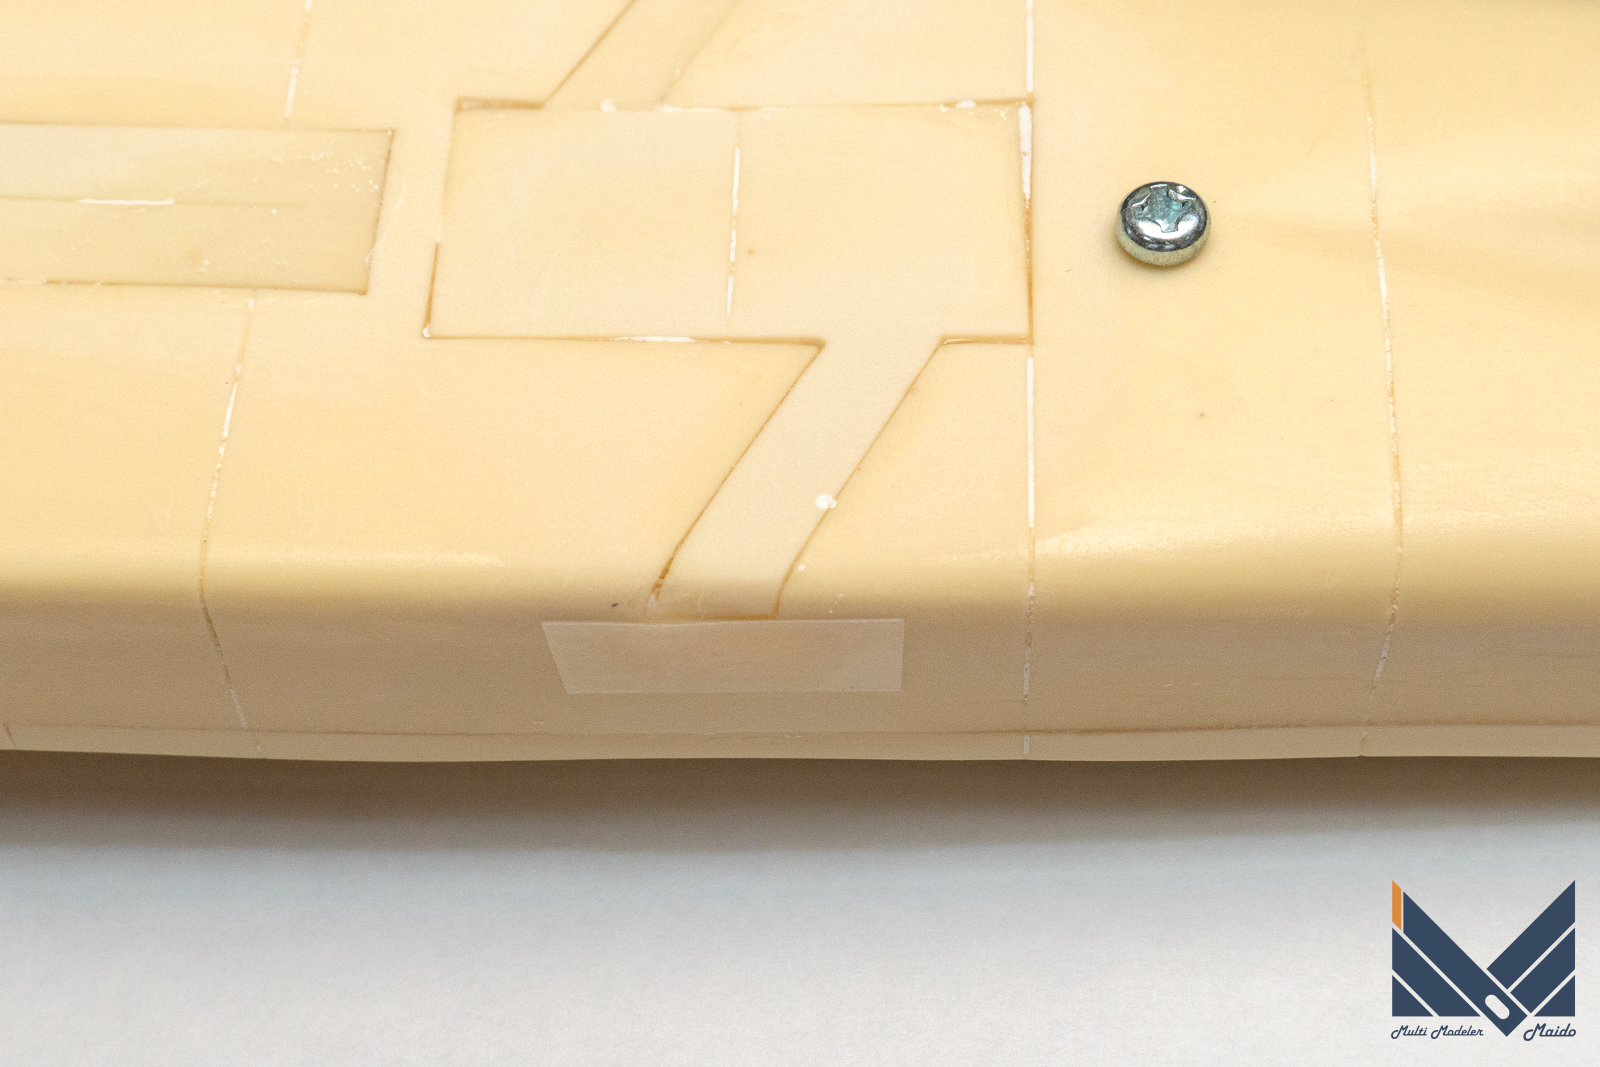
瞬着でほとんど埋めてから、彫りなおしました。まずガイドテープを貼ります。
After filling most of it with instant glue, I carved it again. First, apply the guide tape.
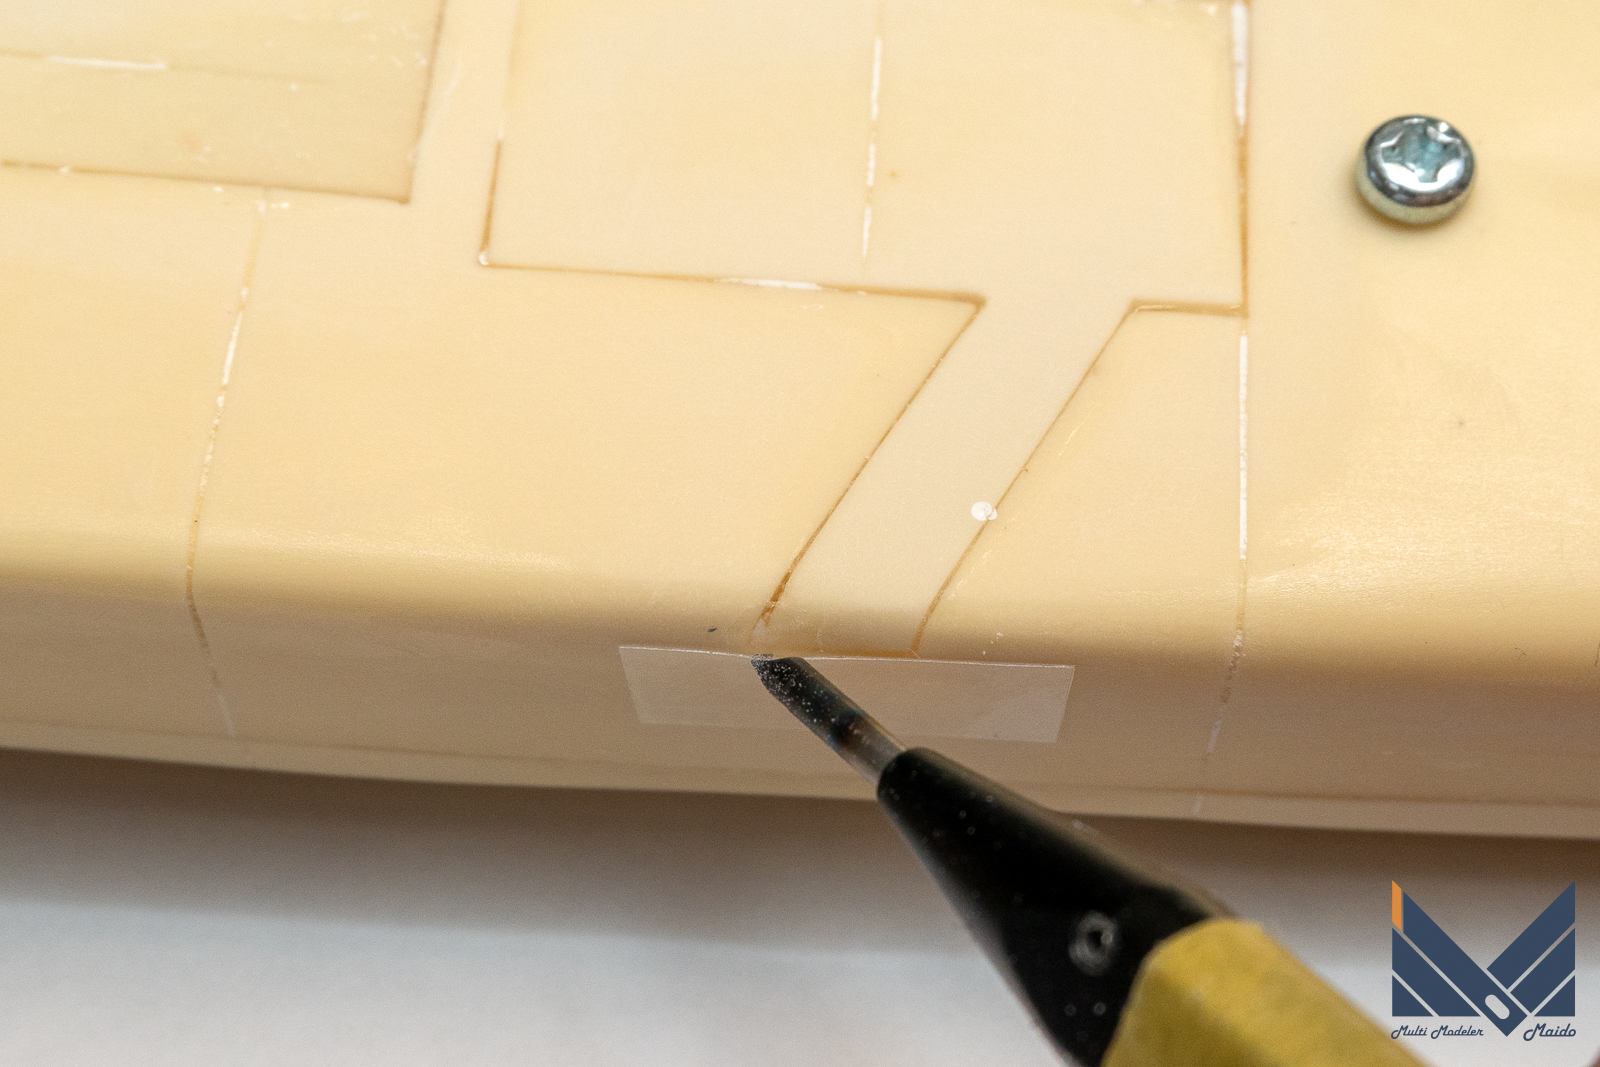
ラインチゼルで彫りなおします。
Re-engrave with line chisel.
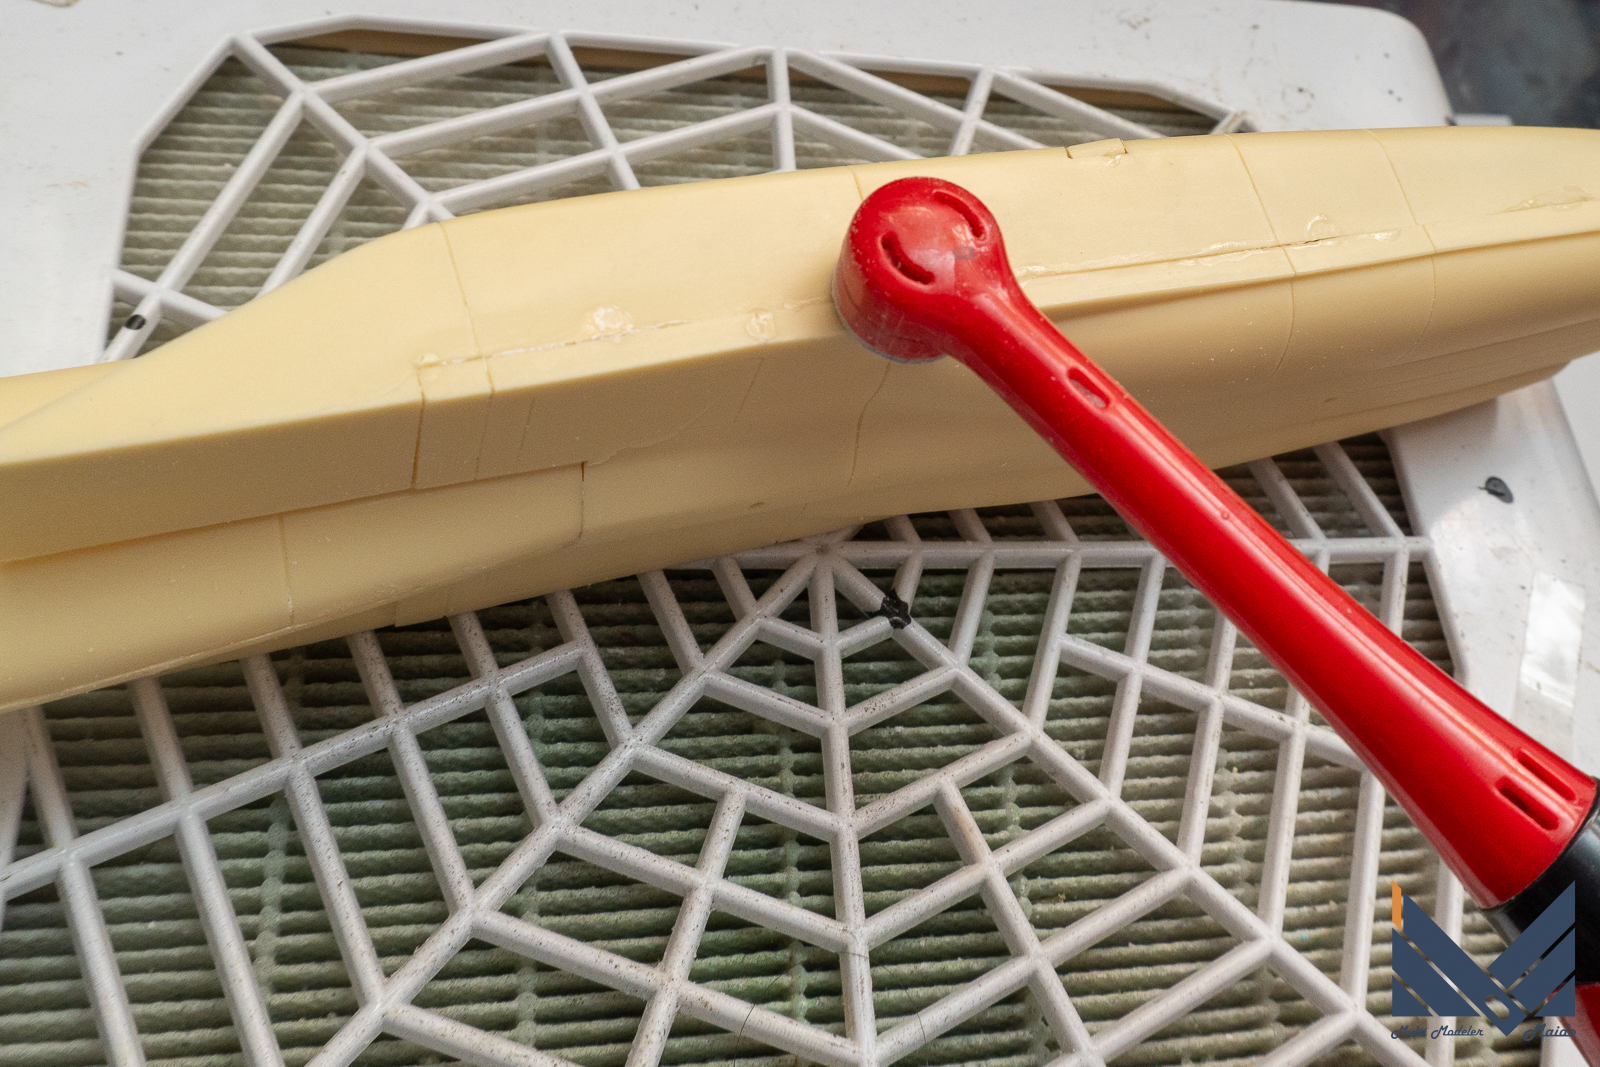
主翼接着
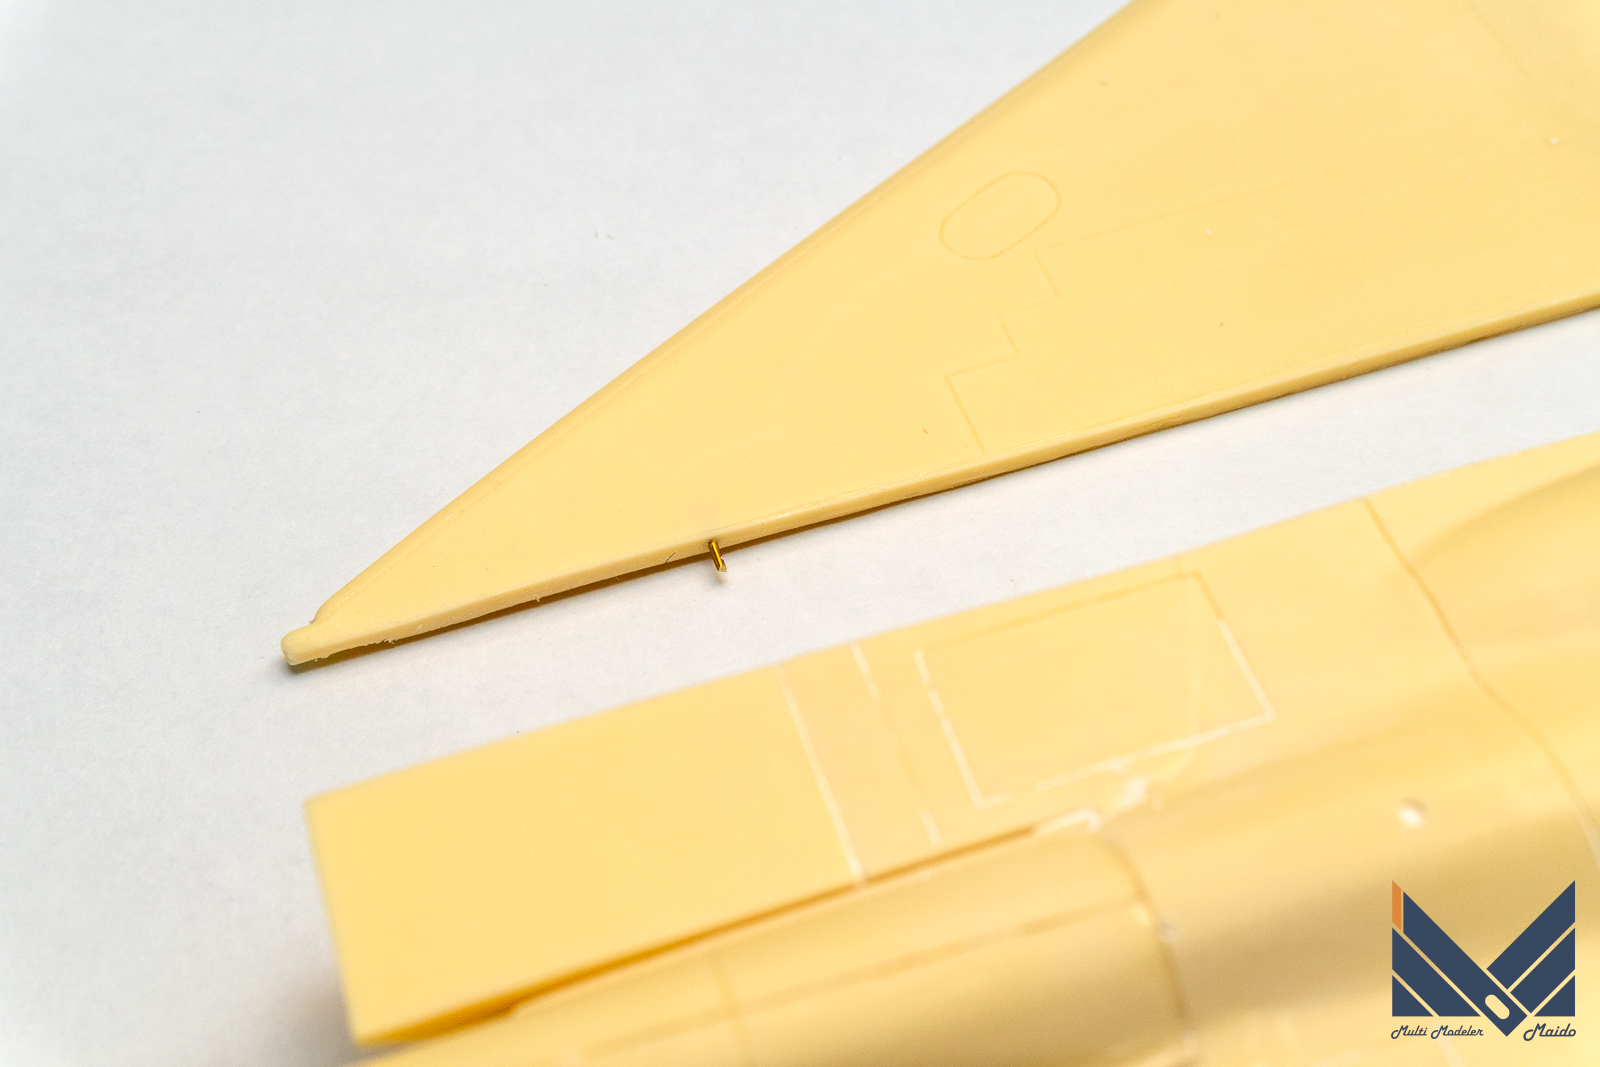
主翼はガイドも何もないので真鍮線を補強に入れてから接着しました
更に全体を磨きます。
The main wing has no guide or anything, so I put brass wires in the reinforcement and glued them together.
Also polish the whole thing.
表面処理完了
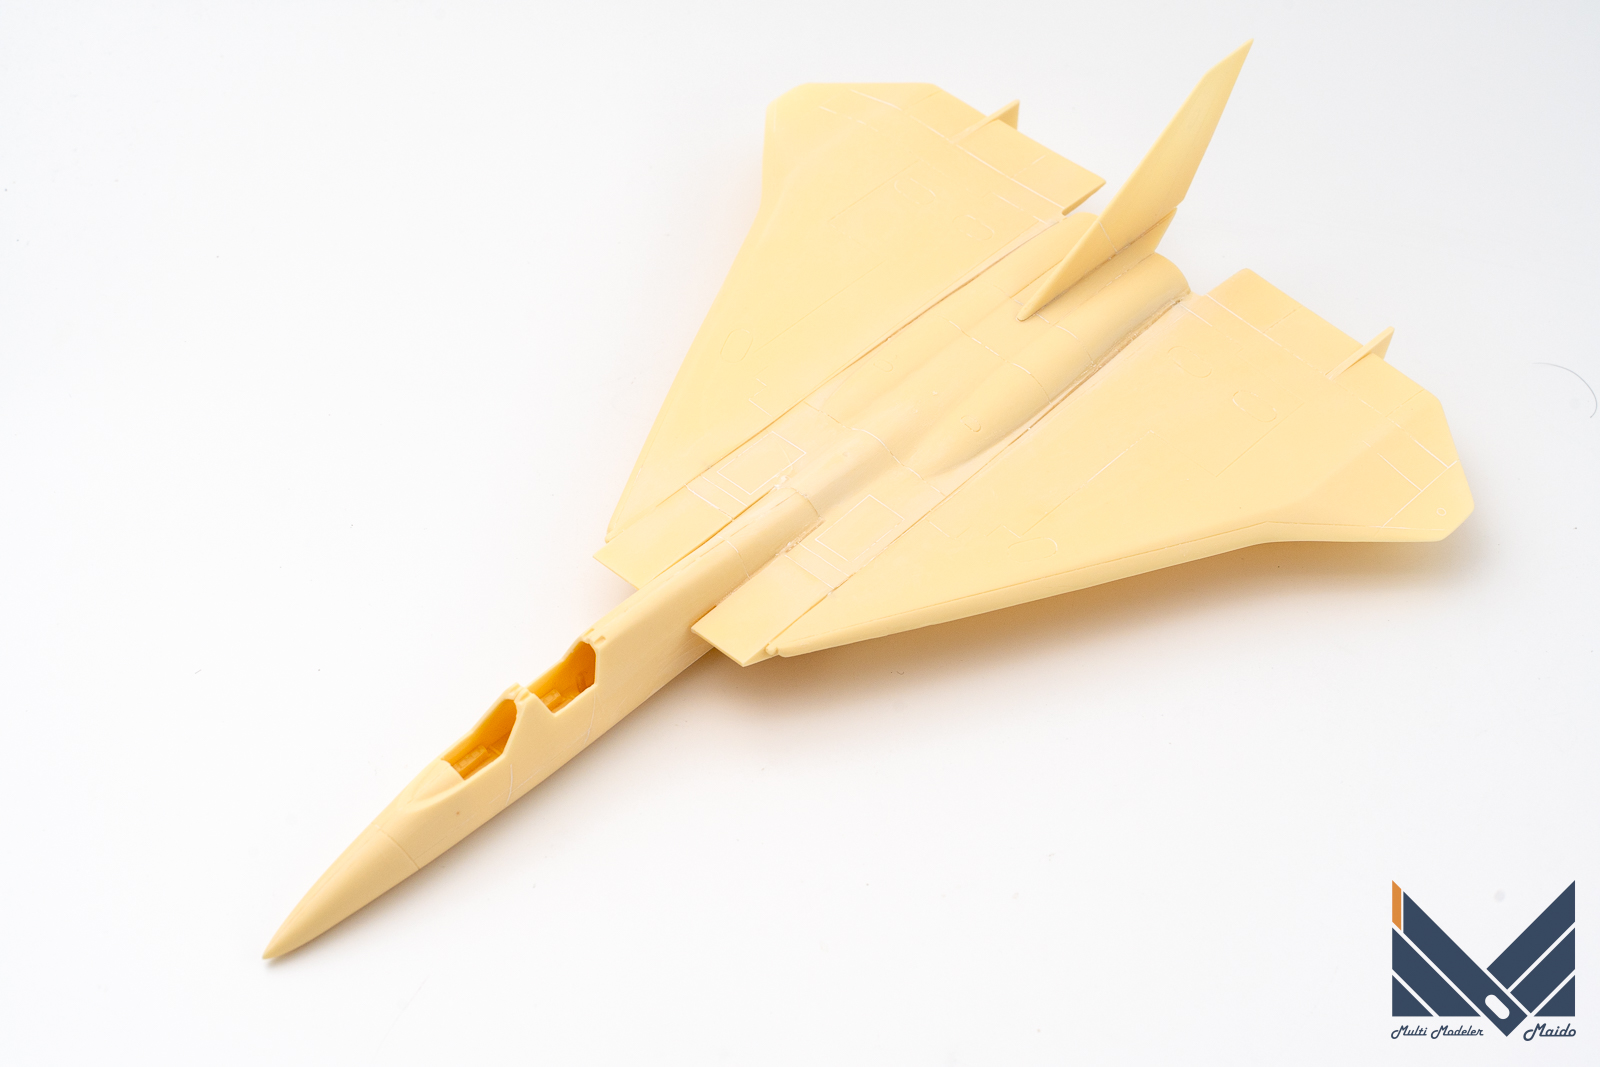
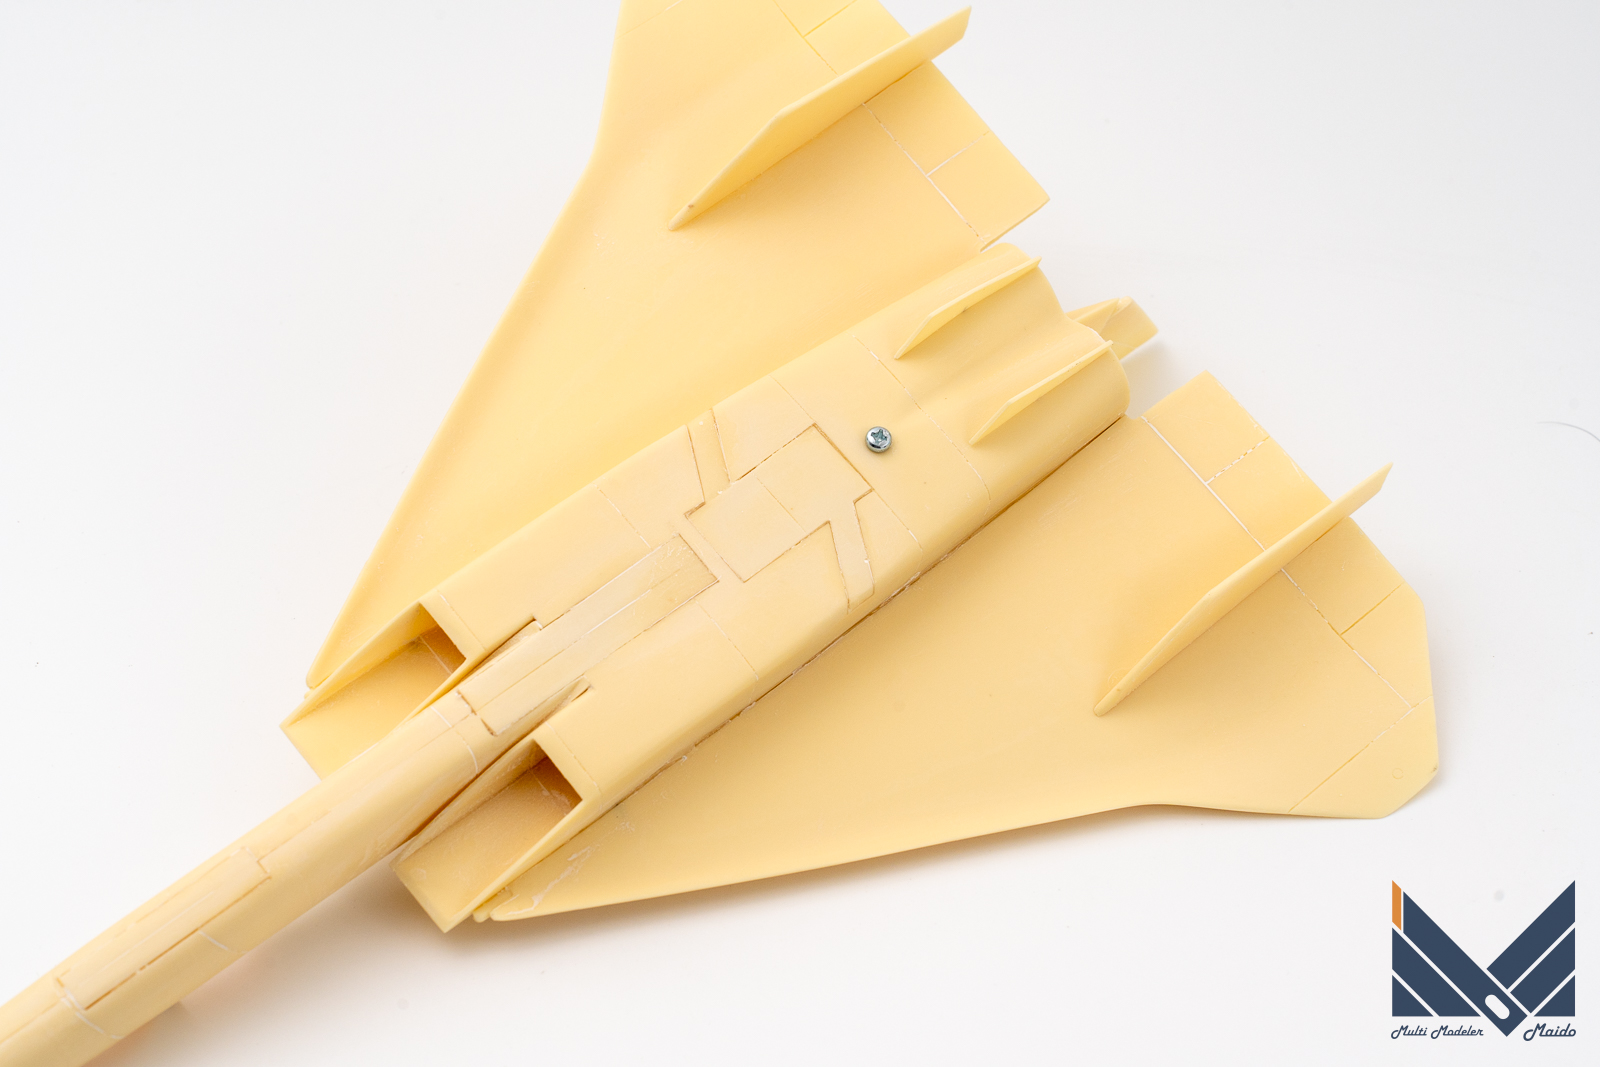
この後パーツ洗浄を行ってから乾燥させます


投稿者プロフィール

-
模型好き。カメラ好き。各模型雑誌で掲載多数。
艦船模型、飛行機模型、AFV模型などプラモデル全般の制作代行も承っております。「お問い合わせ」からご連絡ください。製作代行ご案内のページは現在概要のみを公開しておりますが、2025年6月現在納期はご相談になりますが、制作代行可能です
 製作代行について(β版)2024年4月6日詳細な製作代行などはのちに追加しますが、お問い合わせのあった方の最初のご案内メールの定型文を記しておきます。製作依頼の流れ1 キットに入っているパーツのみでの制作は、定価×6を基本価格としております。 キットをお送りいただ...maidoworks.com2024.04.06

コメント