2001年宇宙の旅に登場するオリオン号の製作をスタートします。
Production of Orion, which appears in 2001: A Space Odyssey, begins.
スタンド固定方法の変更
このキットには差し込み式のスタンドがついていますが、角度固定です。バンダイのアクションベースに変更するための下準備を行います。
This kit comes with a drop-in stand, but at a fixed angle. Preparing to change to Bandai’s action base.
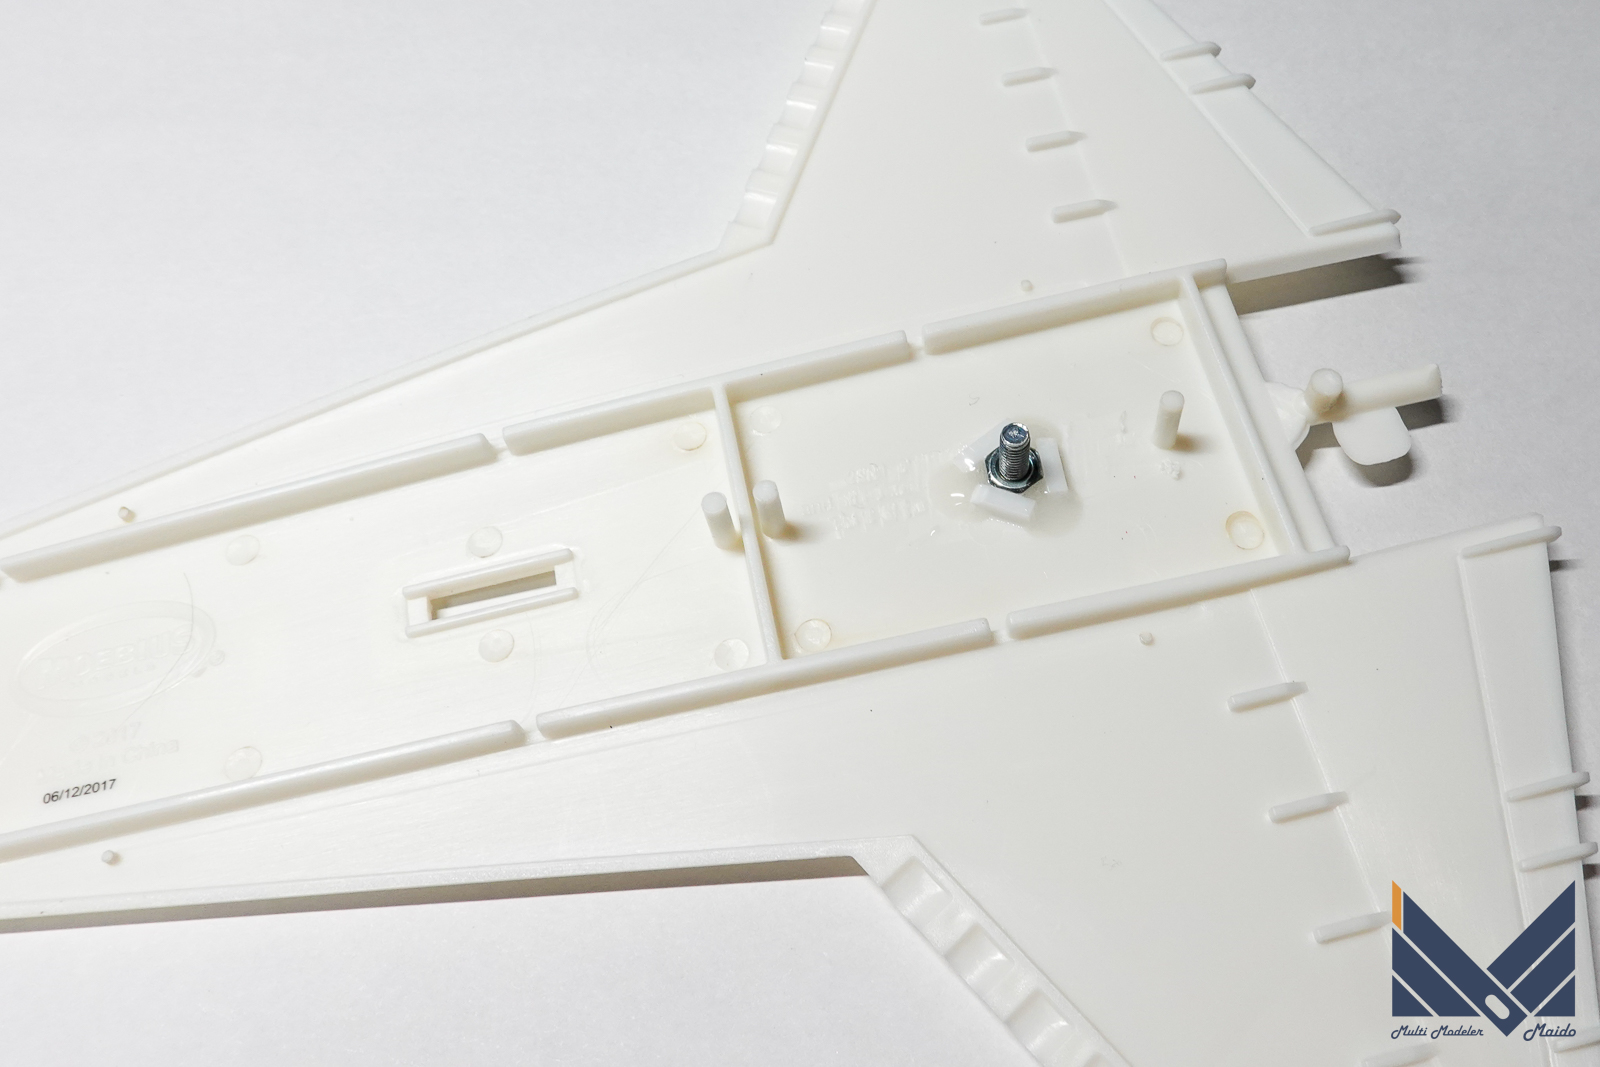
φ3㎜ネジのナットを胴体後部に取り付けます。ナットの固定はプラ棒を流し込みタイプのプラモデル用接着剤で接着後、周りにエポキシ系接着剤を盛りました。
Attach a φ3mm nut to the rear of the fuselage. To fix the nut, I glued the plastic rod with a pour-in type plastic model adhesive, and then applied an epoxy adhesive around it.
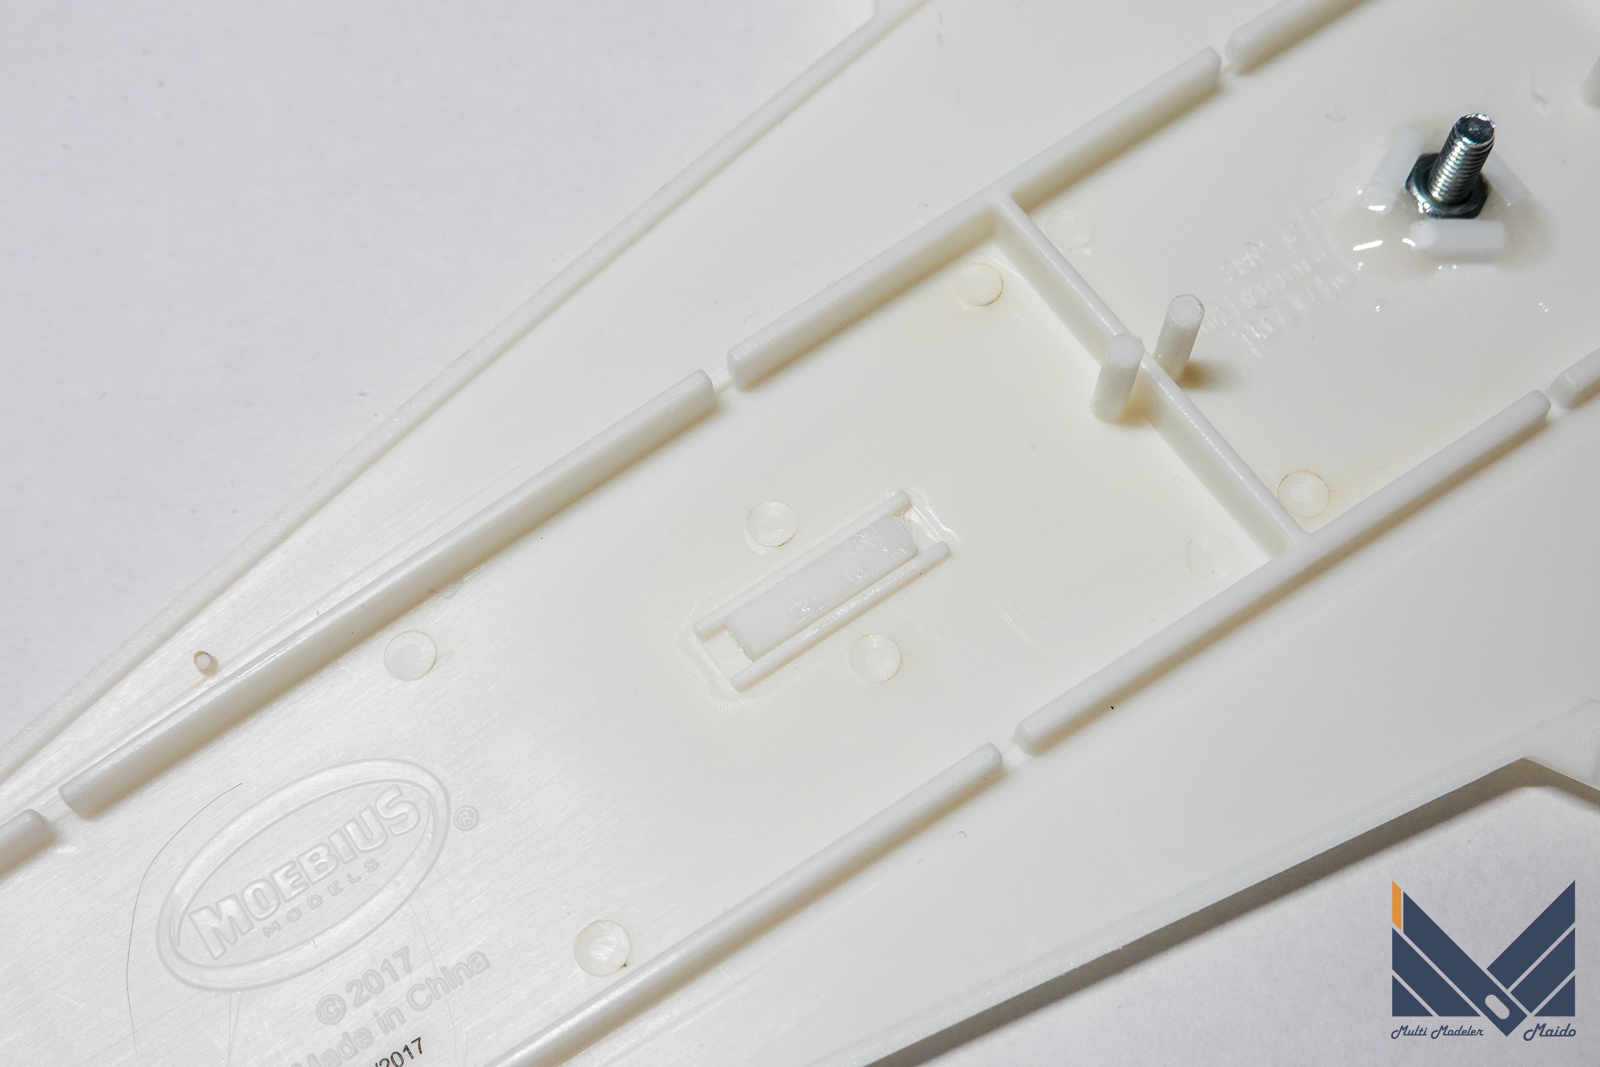
元の差し込みよう穴はプラ棒で埋めます
Fill the original insertion hole with a plastic rod
内部塗装
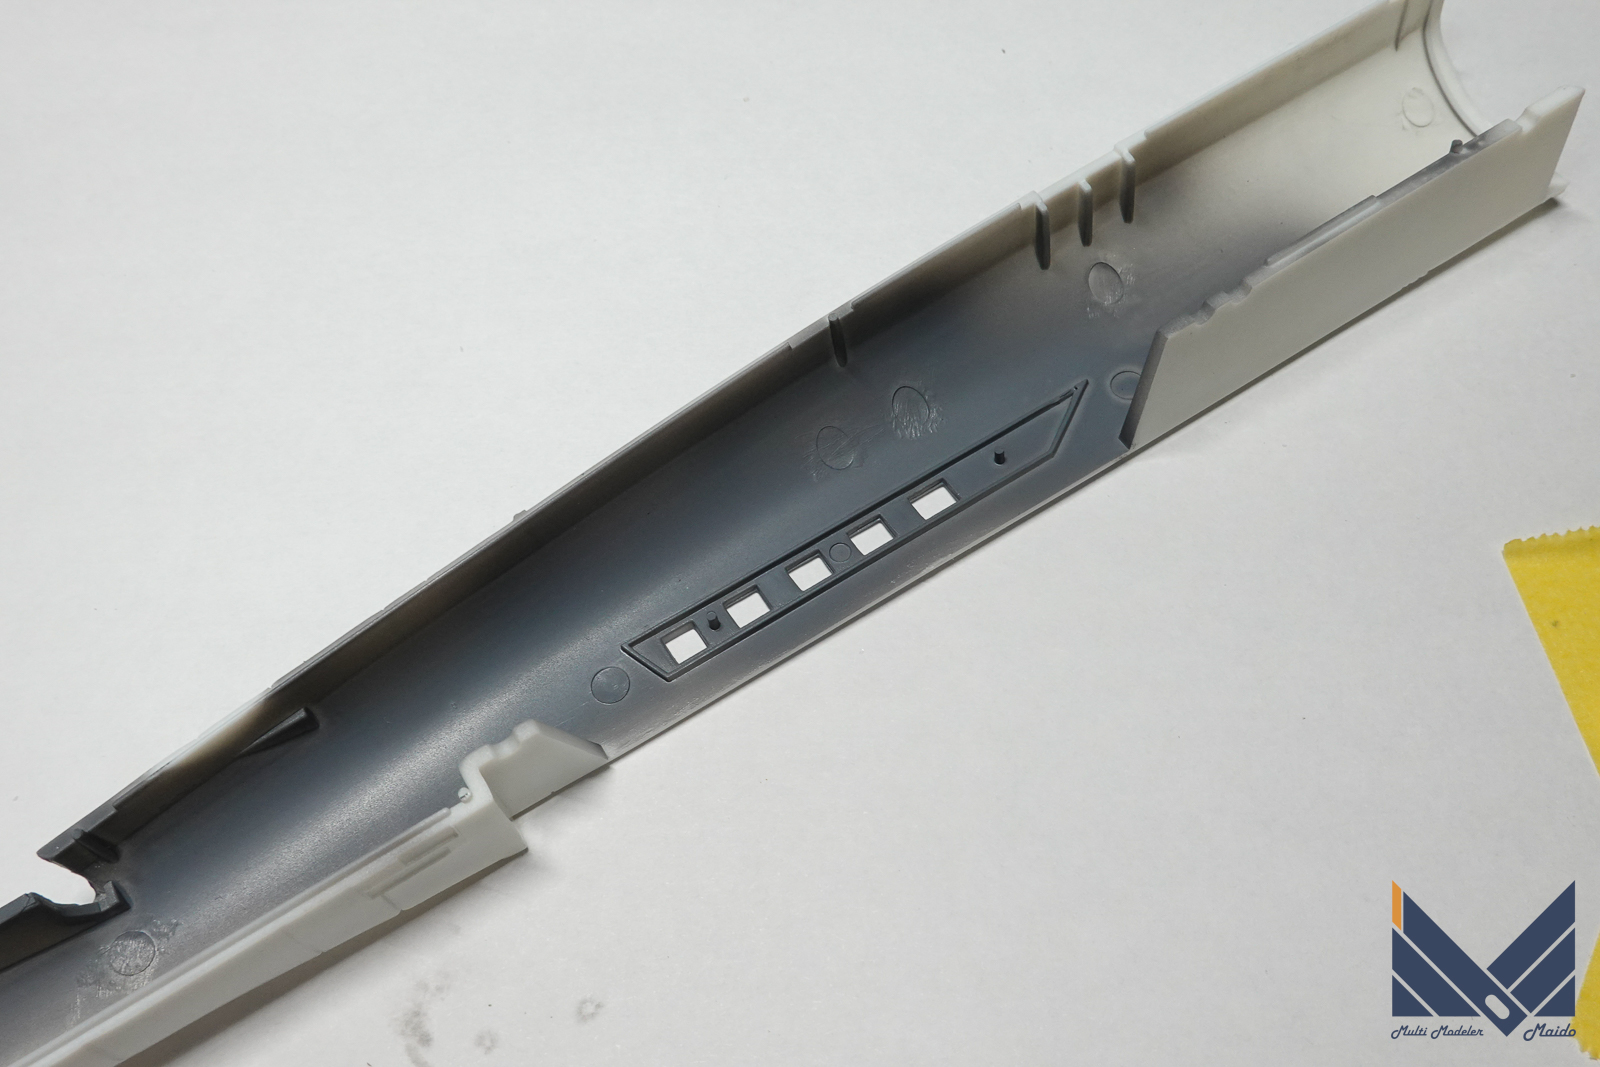
内部をメカサフライトで塗装しておきます
Paint the inside with mechanical suff.
クリアーパーツ処理
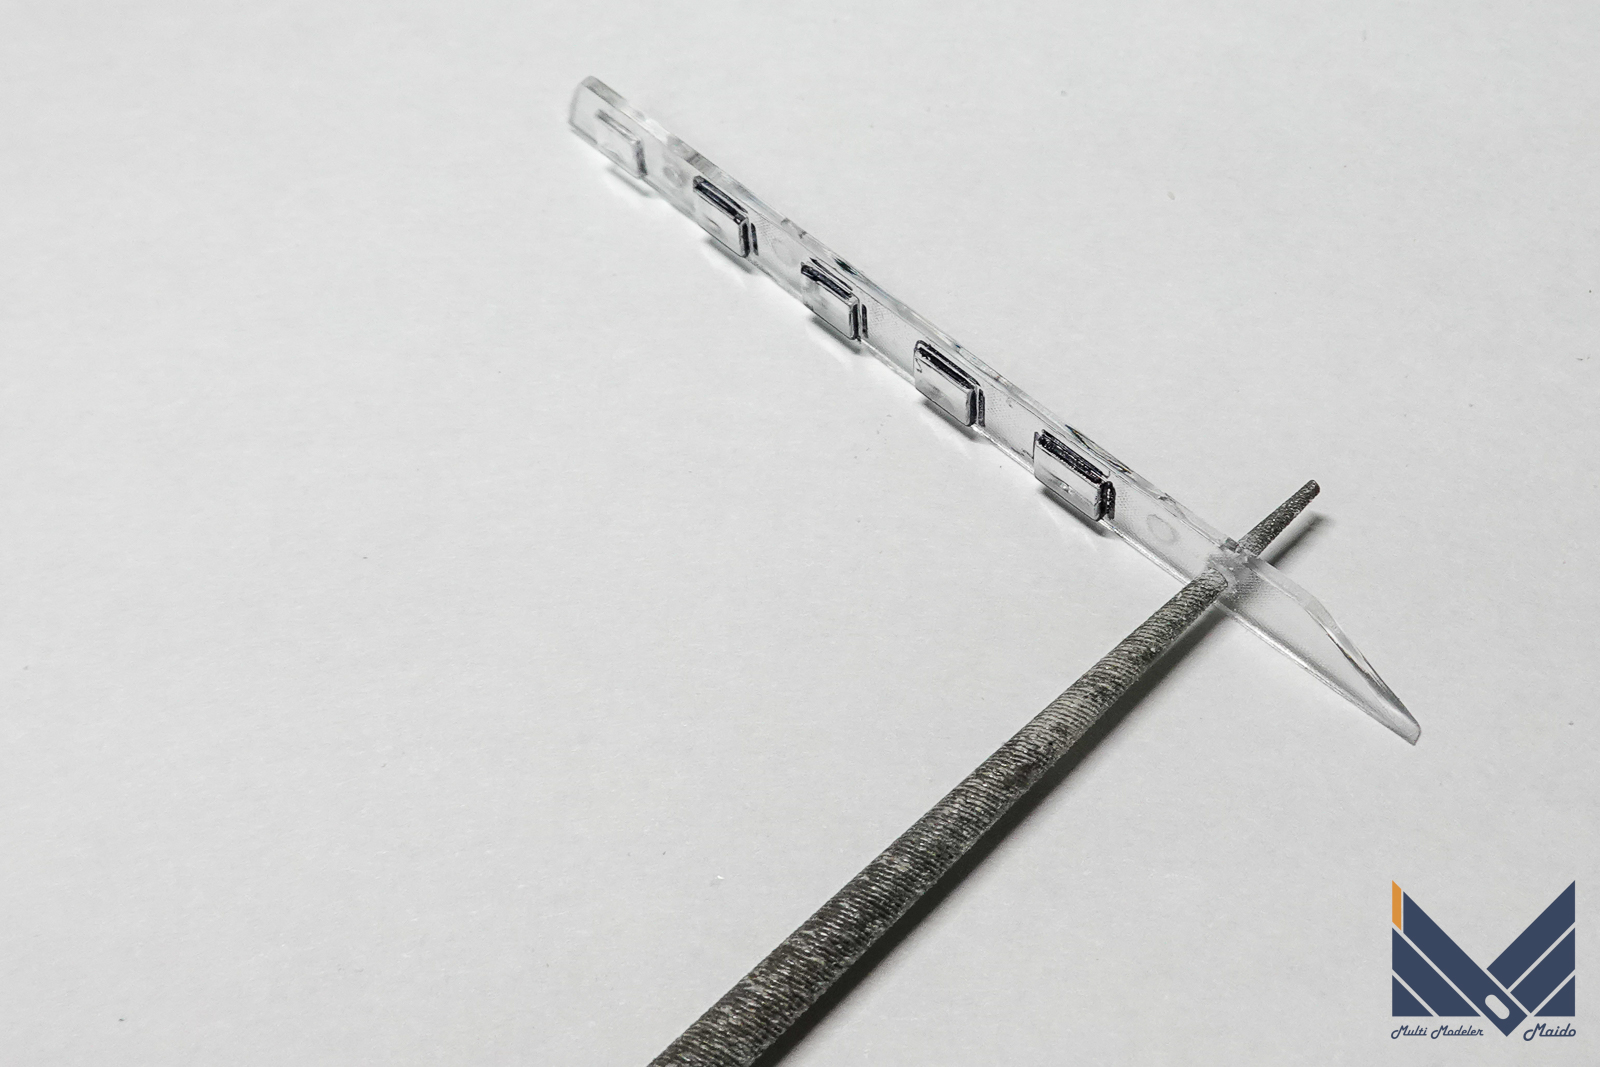
客室窓のクリアーパーツの差し込みは少しきついので、穴を丸棒やすりで削って広げておきます
The clear parts for the guest room windows are a little tight to insert, so use a round bar file to widen the holes.
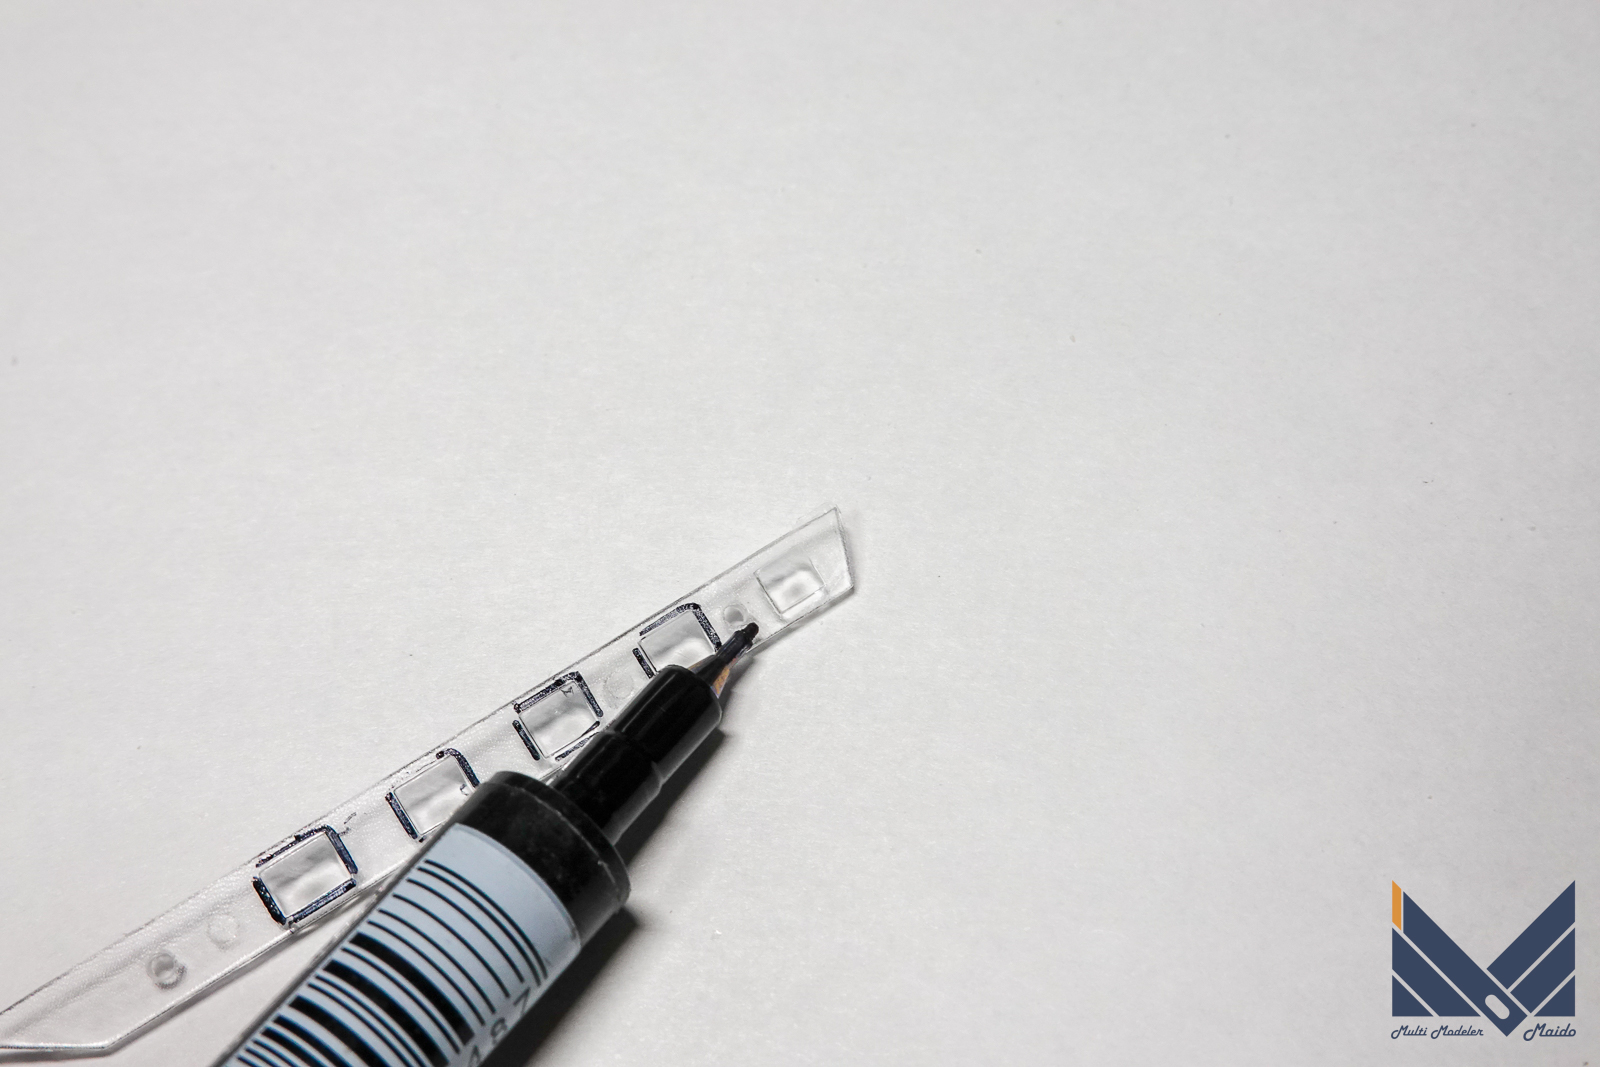
客室窓の窓枠の縁は黒で塗っておきます
Paint the edges of the window frames in the guest room black.
ネジ用開口部工作
新設したナットはプラパーツと干渉します。そこで一部を開口します。
The newly installed nut interferes with the plastic parts. I will open some of them there.
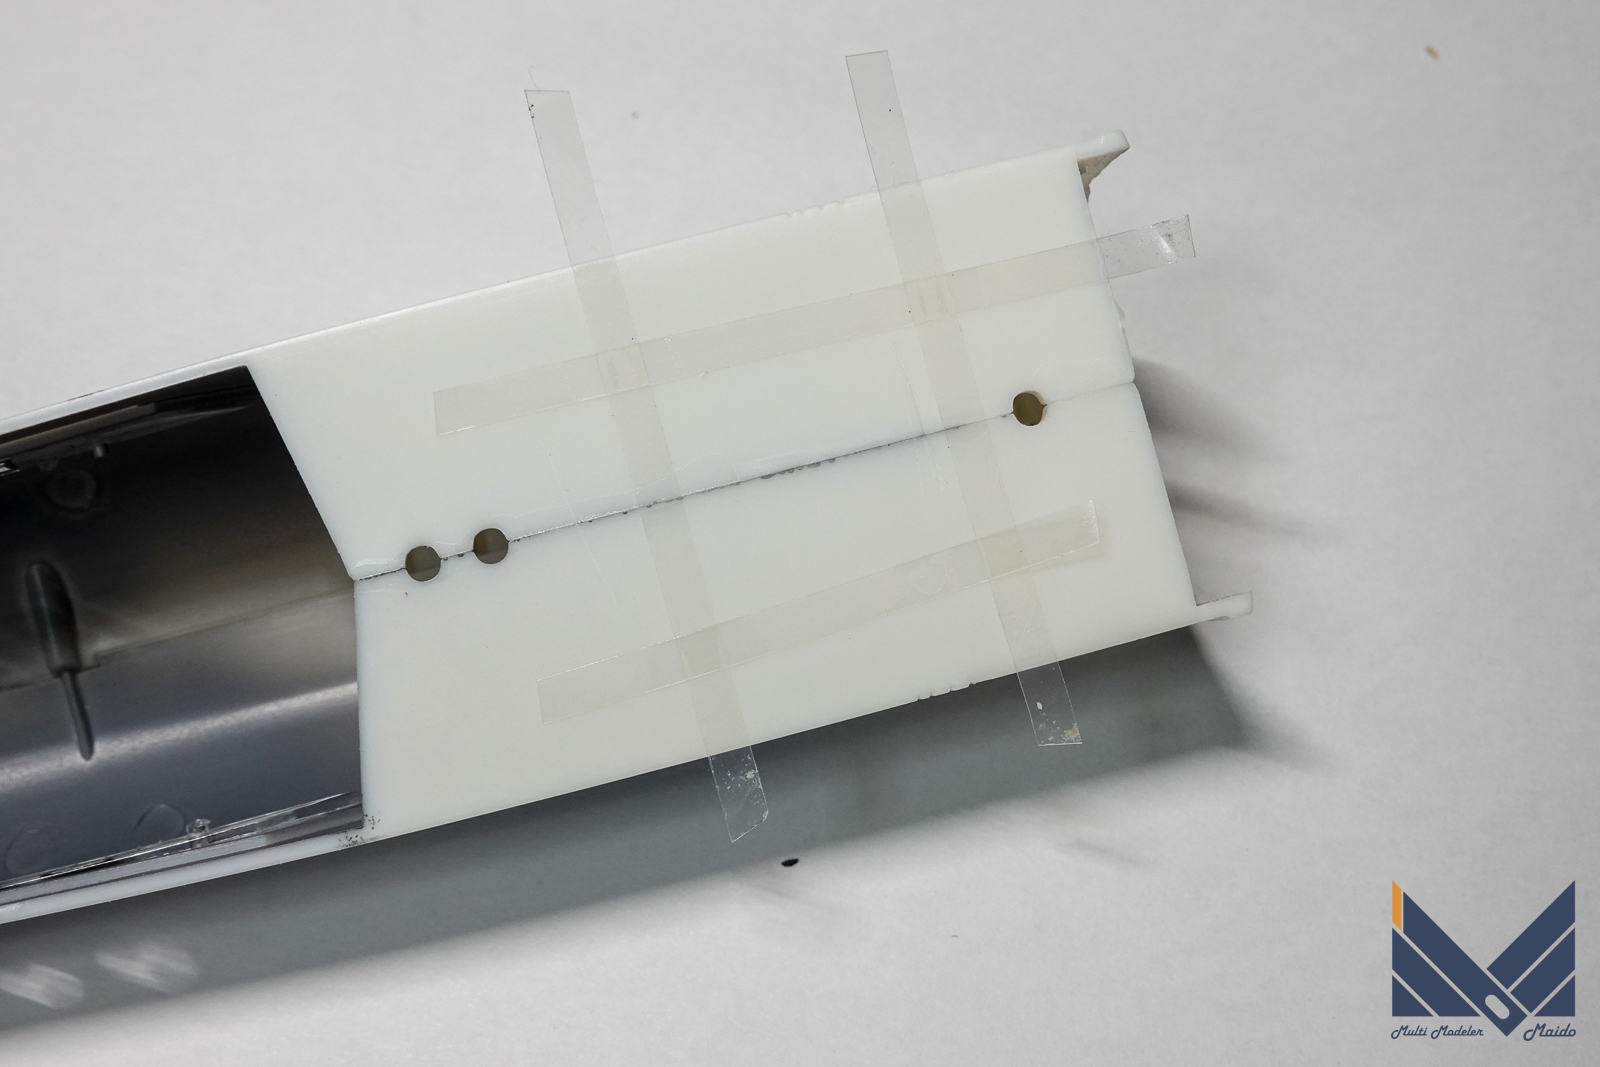
まずガイドテープを貼って開口部を囲います。
First, put the guide tape around the opening.
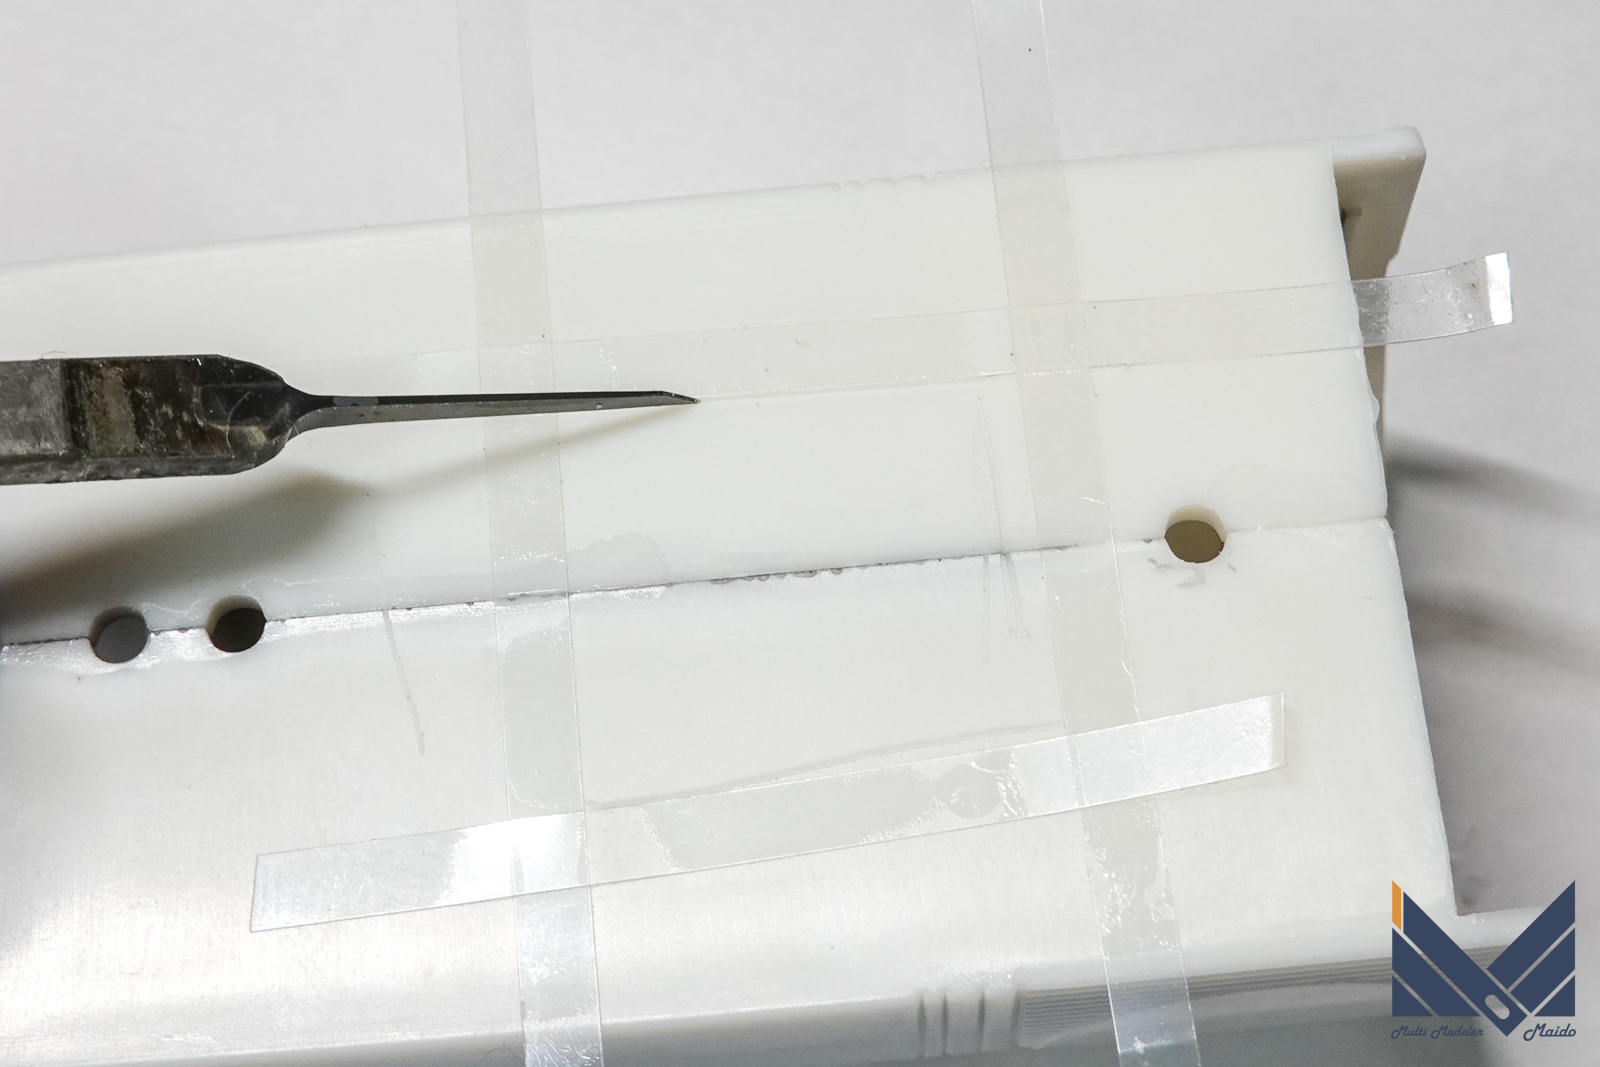
BMCタガネを使って彫りこんで穴を開けます
Carve and make a hole using a BMC chisel
主要部接着
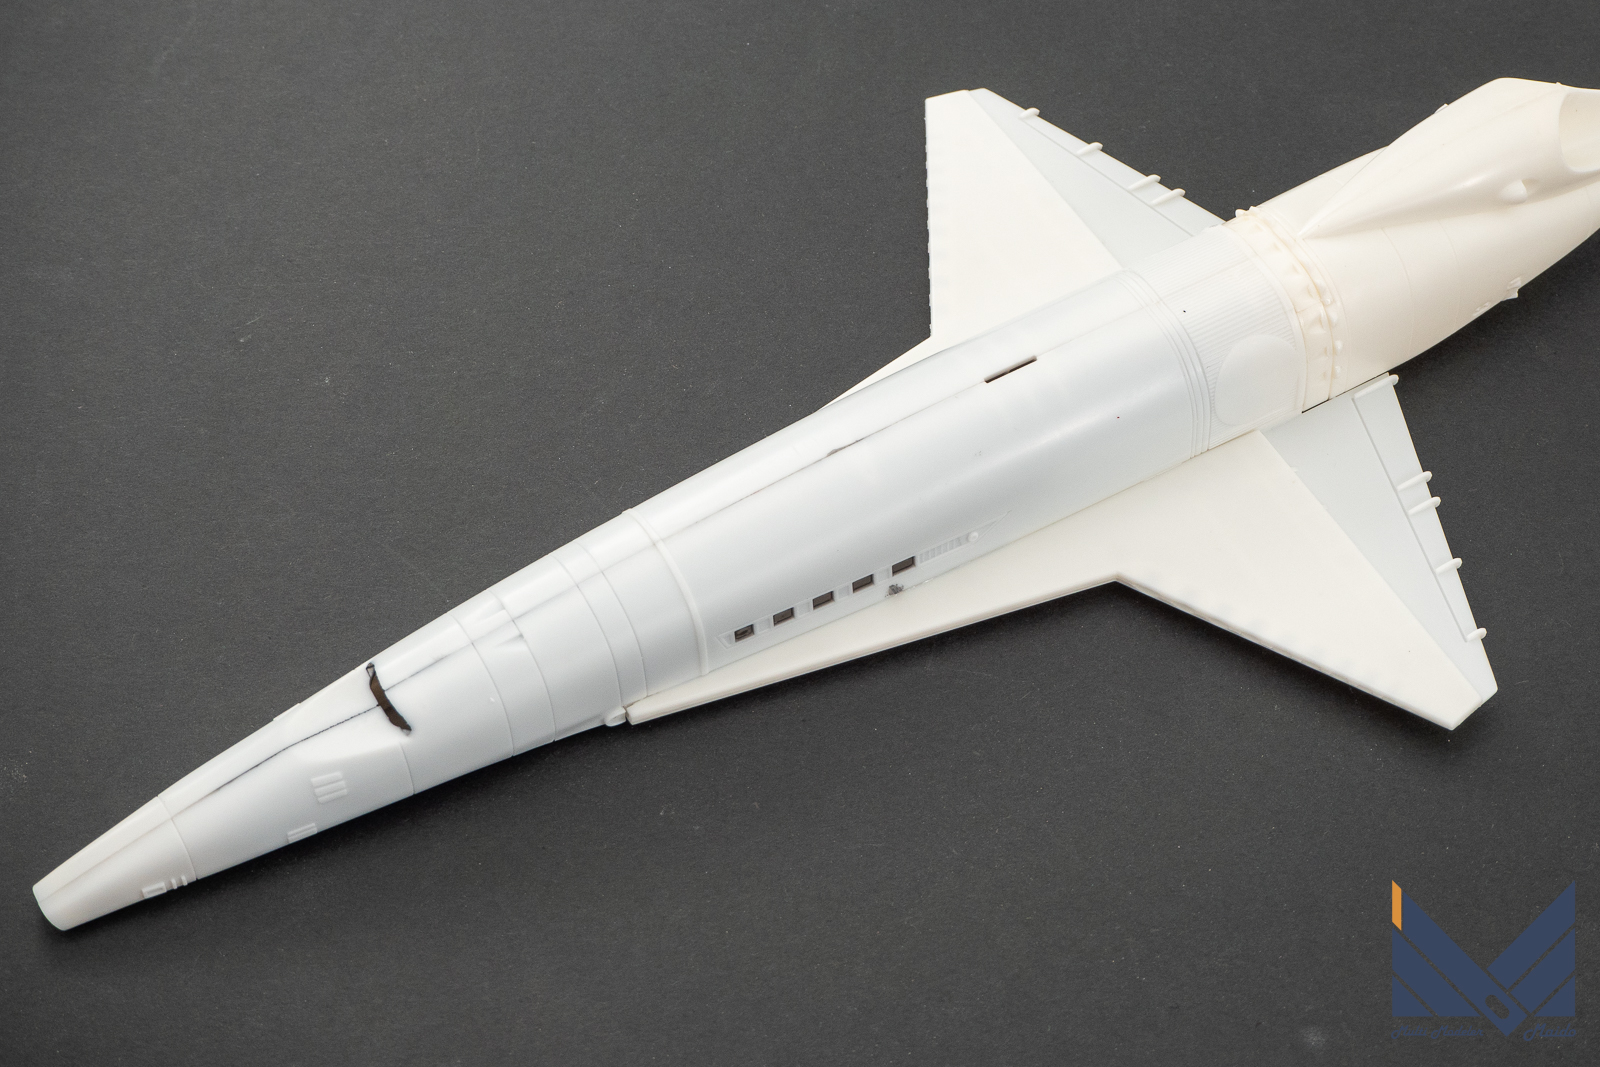
主要部接着しました。一見してわかるように、内部に塗装したメカサフも透けていますね。透け止め塗装は必須という事です。
I glued the main part. As you can see at a glance, the mechanical surface painted inside can be seen through. Anti-see-through coating is a must.
表面処理
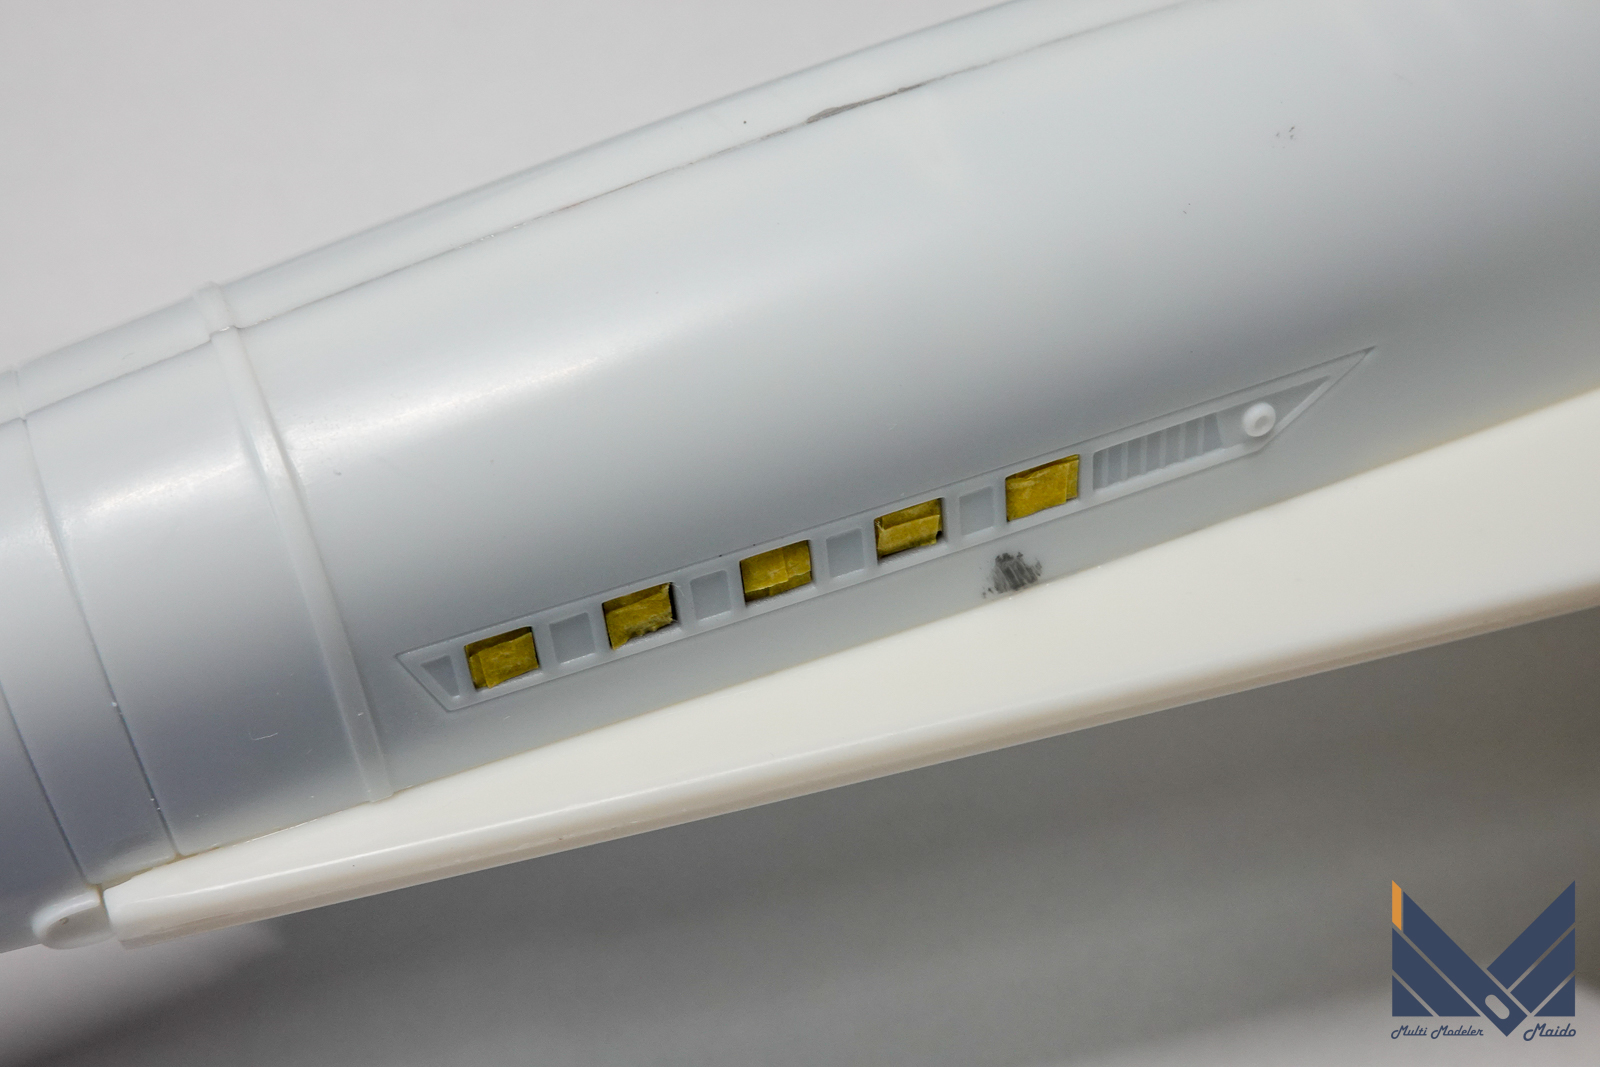
客室の窓をマスキングします。
その後で、合わせ目などを処理していきます。
Mask the windows in the guest room.
After that, we will process the seams and so on.
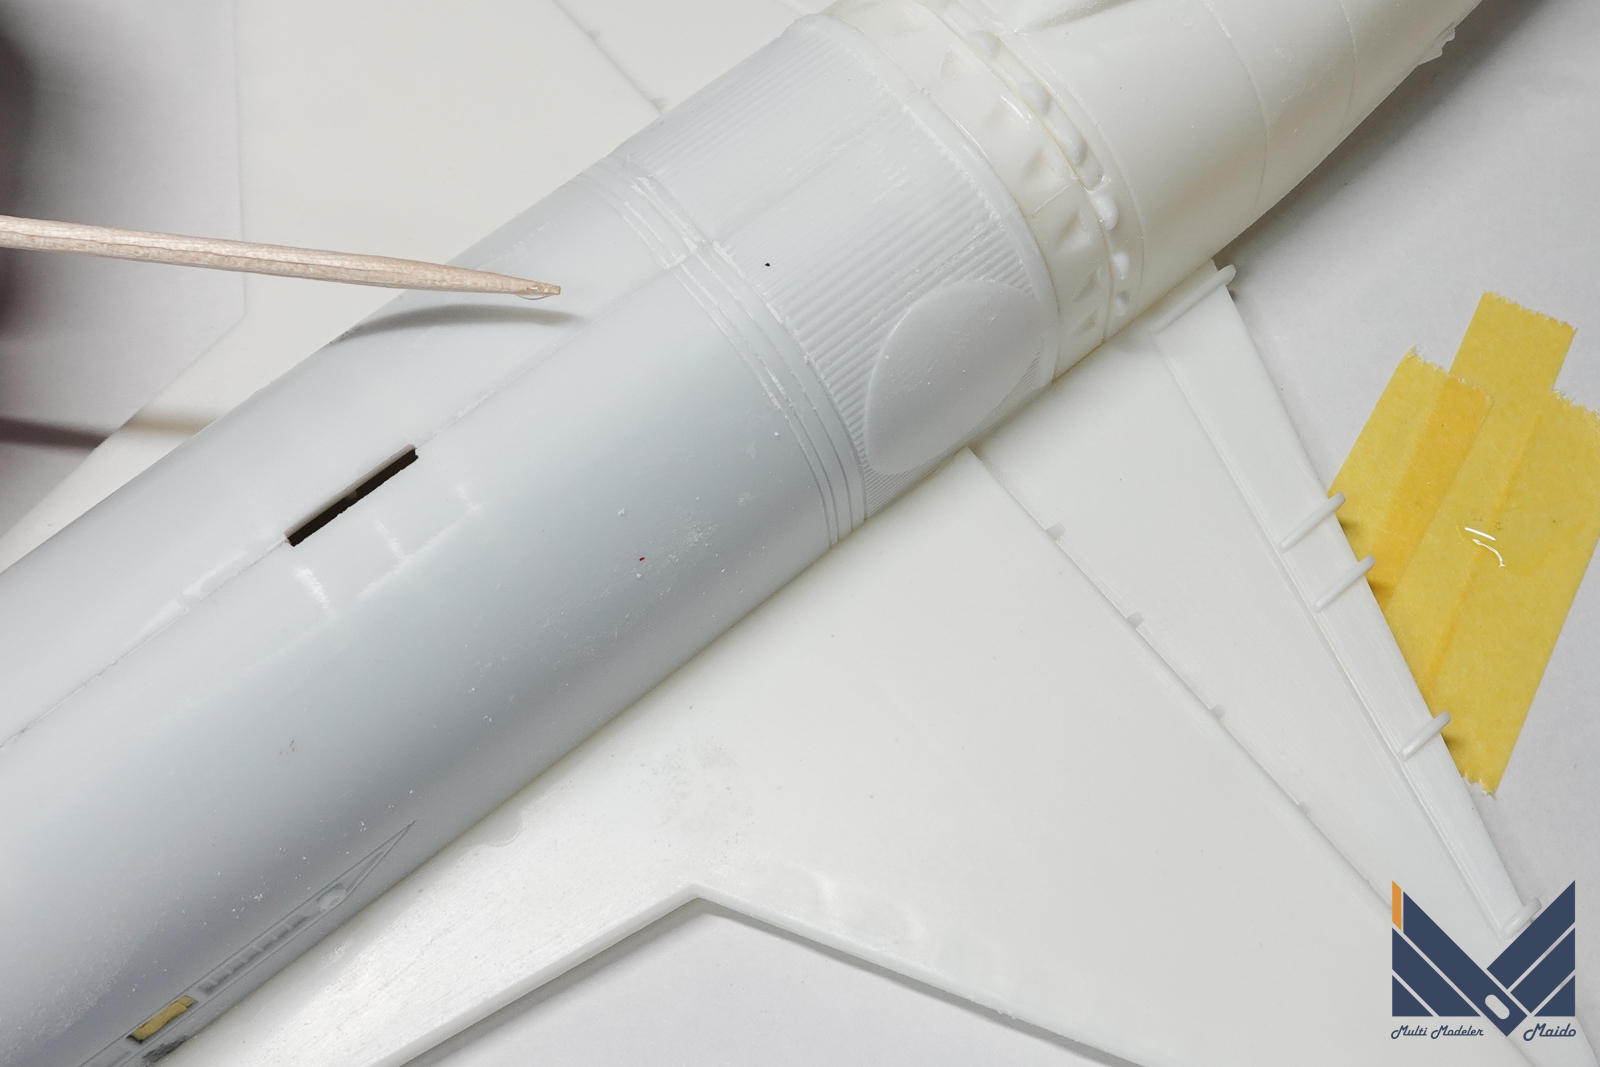
消えなかった合わせ目にはタミヤのイージーサンディングを充填して硬化させ、更にやすりをかけます。合わせ目の処理が終わったら更に全体を研摩します。
Fill in Tamiya’s Easy Sanding for the joints that did not disappear, harden it, and then sand it. After the seams have been processed, the entire surface is further polished.
サーフェイサー塗装
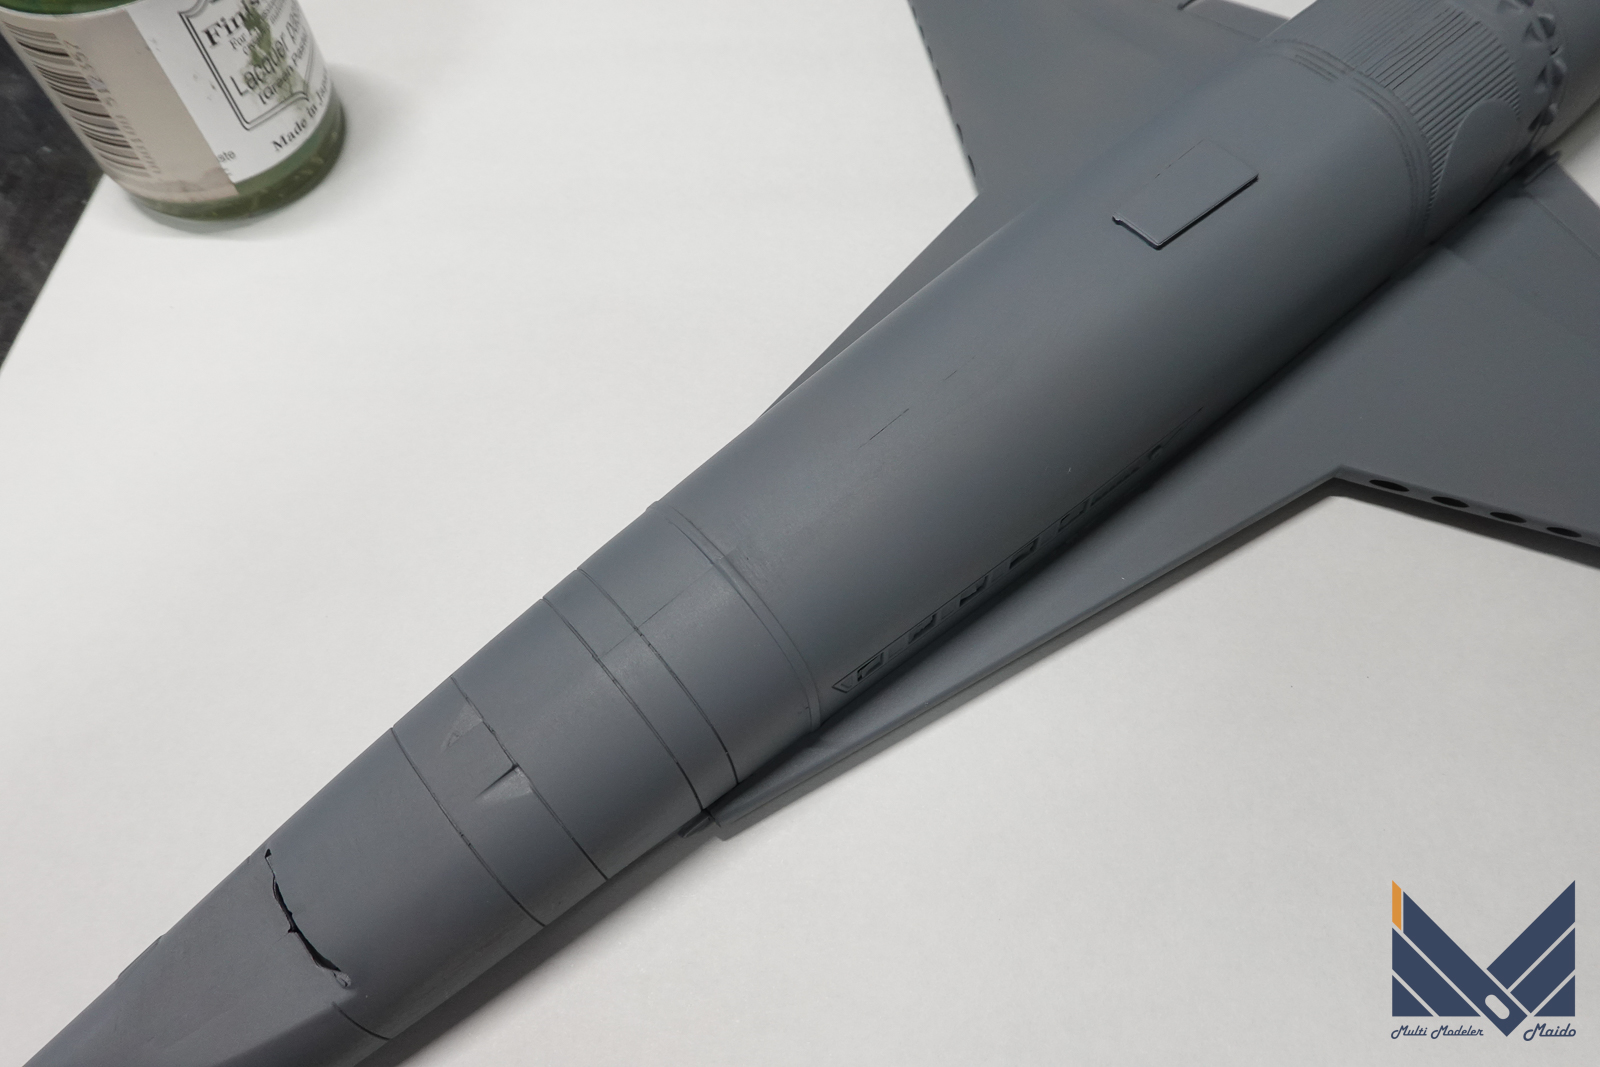
ガイアノーツのメカサフライトを塗装。十分乾燥後に表面状態をチェックします
Gaianotes mecha saflight painted. After drying sufficiently, check the surface condition
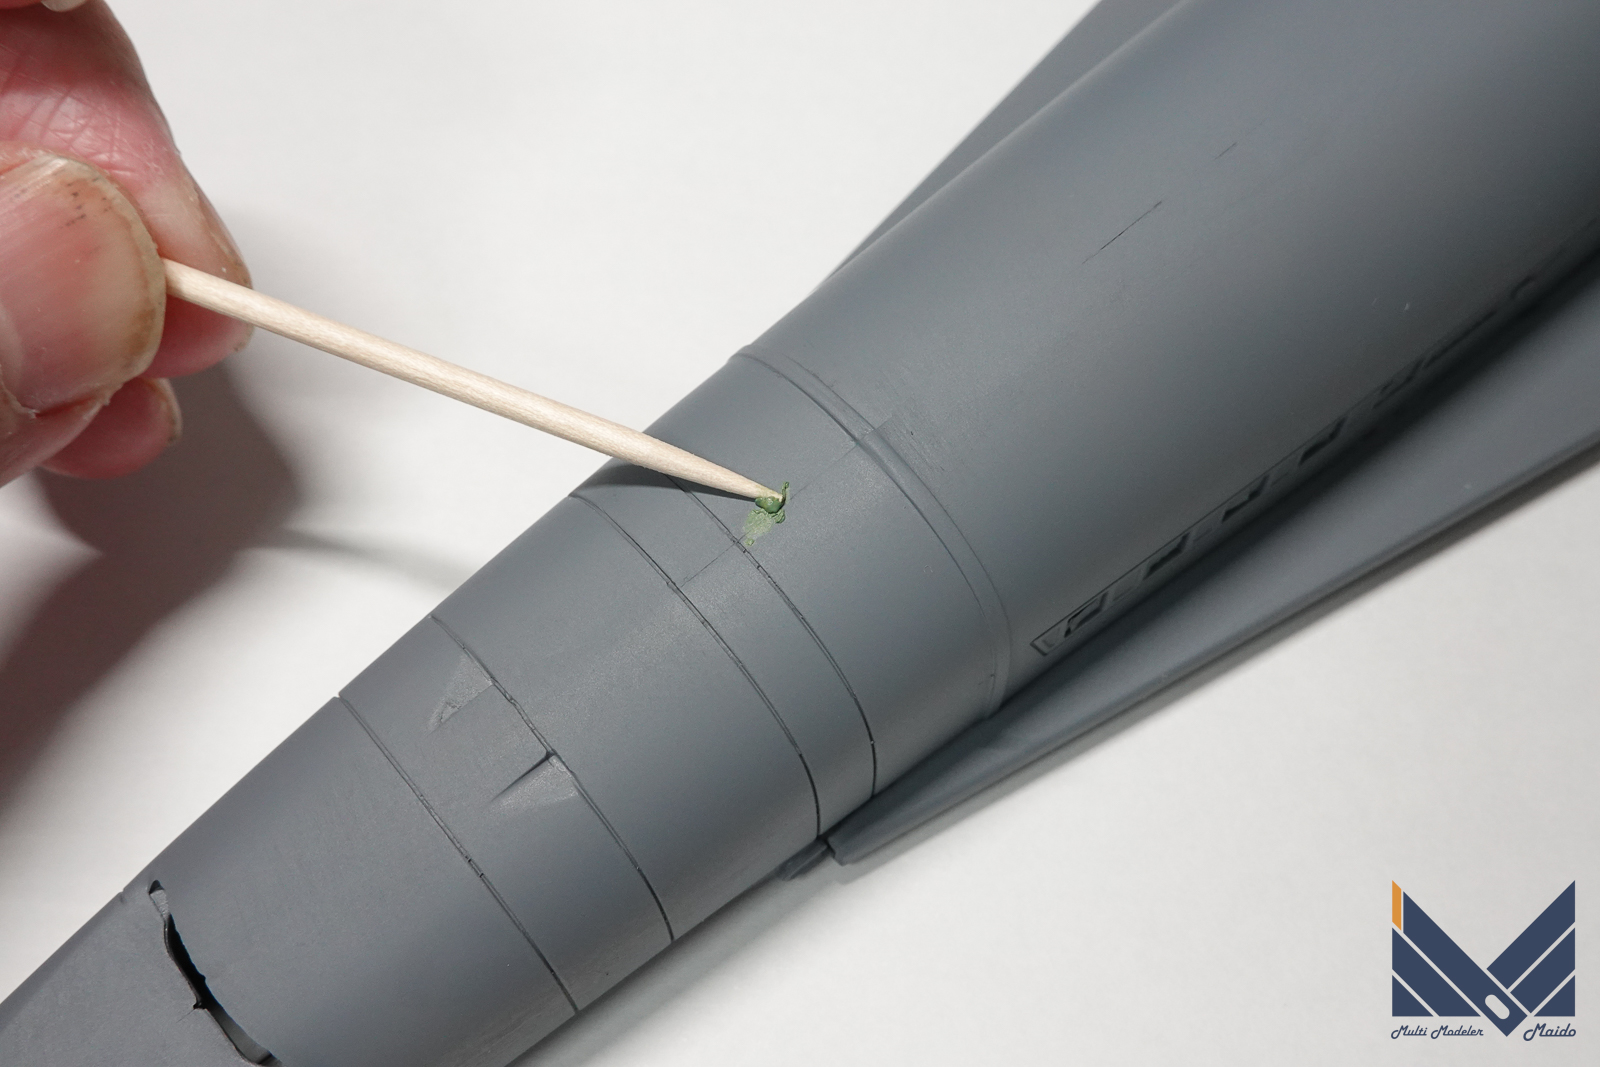
処理ミス部などにラッカーパテを塗って乾燥させます。
Apply lacquer putty to the mis-processed area and let it dry.
投稿者プロフィール
-
模型好き。カメラ好き。各模型雑誌で掲載多数。
艦船模型、飛行機模型、AFV模型などプラモデル全般の制作代行も承っております。「お問い合わせ」からご連絡ください。製作代行ご案内のページは現在概要のみを公開しておりますが、2025年6月現在納期はご相談になりますが、制作代行可能です
 製作代行について(β版)2024年4月6日詳細な製作代行などはのちに追加しますが、お問い合わせのあった方の最初のご案内メールの定型文を記しておきます。製作依頼の流れ1 キットに入っているパーツのみでの制作は、定価×6を基本価格としております。 キットをお送りいただ...
最新の投稿
 キャラクター模型完成品2025年12月23日バンダイ 1/1700 EXモデル ジオン公国軽巡洋艦ムサイ 完成品
 お知らせ2025年11月8日プレオープン記念キャンペーンのお知らせ
 お知らせ2025年11月8日プリントサービス プレオープンのお知らせ
 製作記アーカイブ2025年11月5日製作記はYouTubeへ移行しました

コメント