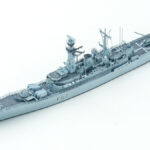
キットレビューに続いてオストリッチホビーの戦艦ヴァンガードを組み立てていきます。
まずは甲板の塗装とマスキングを行います。このキットの製作で、最初にして最大の難関になると思います。洗剤で洗浄後に湯口などを処理します。
First, paint and mask the deck. I think it will be the first and biggest challenge in making this kit. After cleaning with detergent, treat the sprue etc.
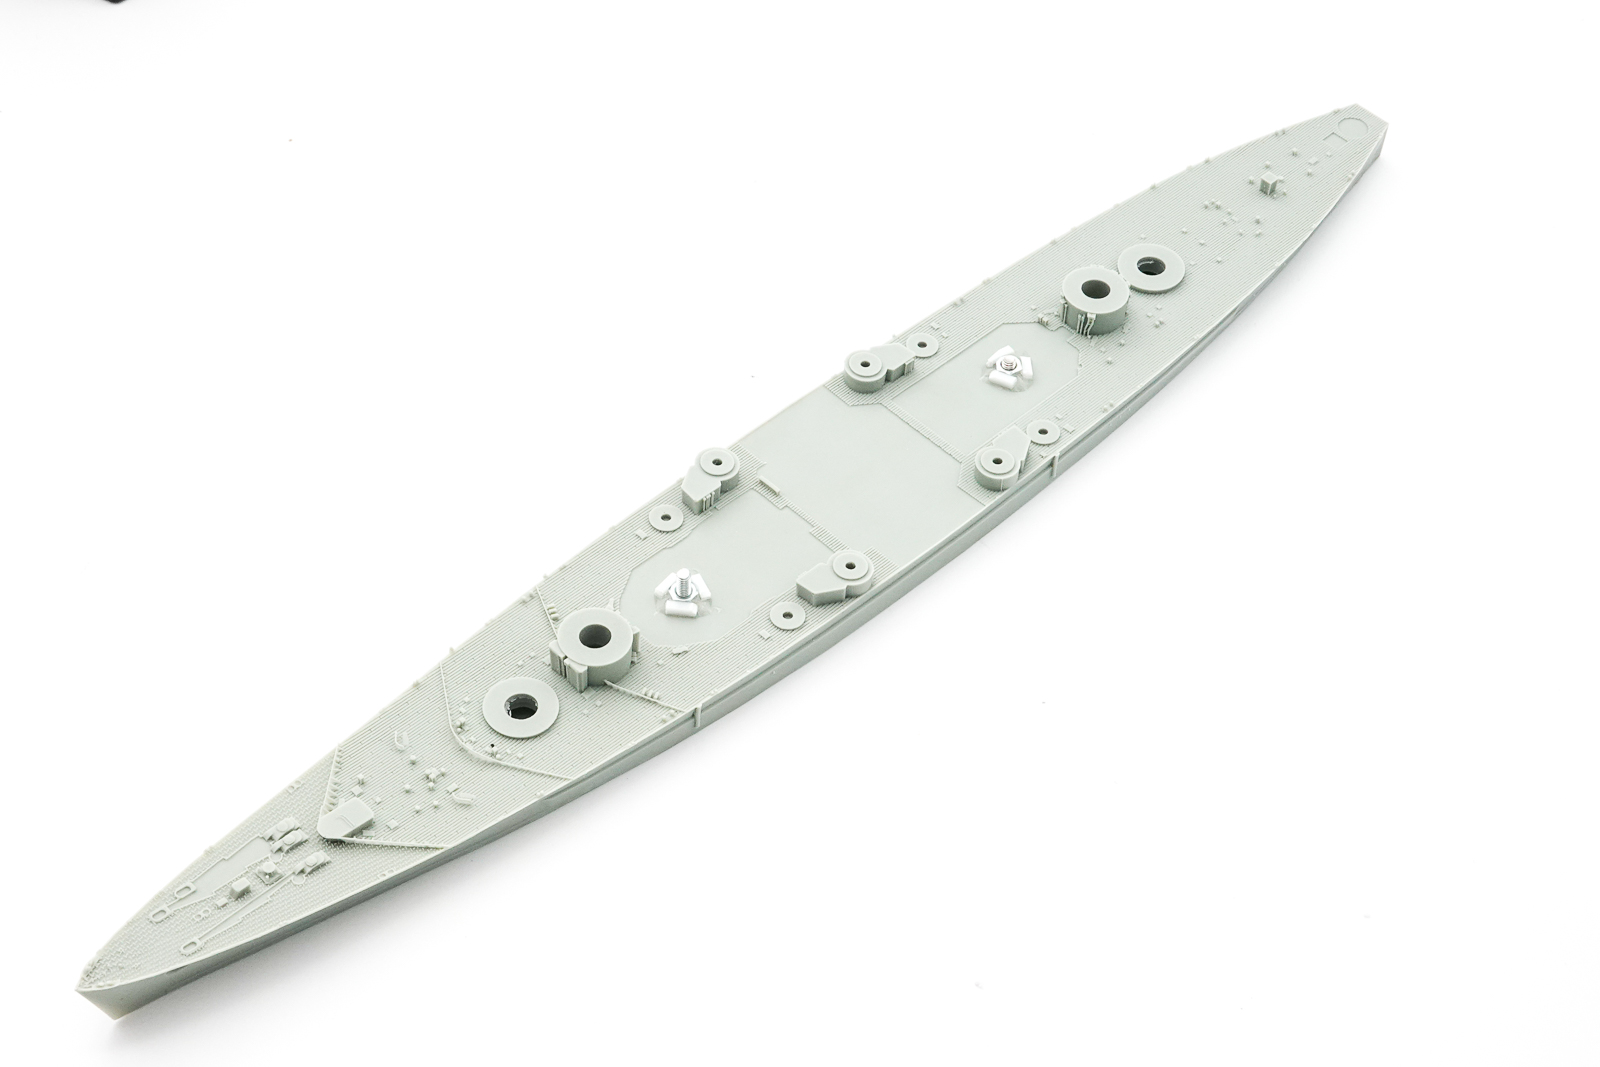
ケース固定用ネジ
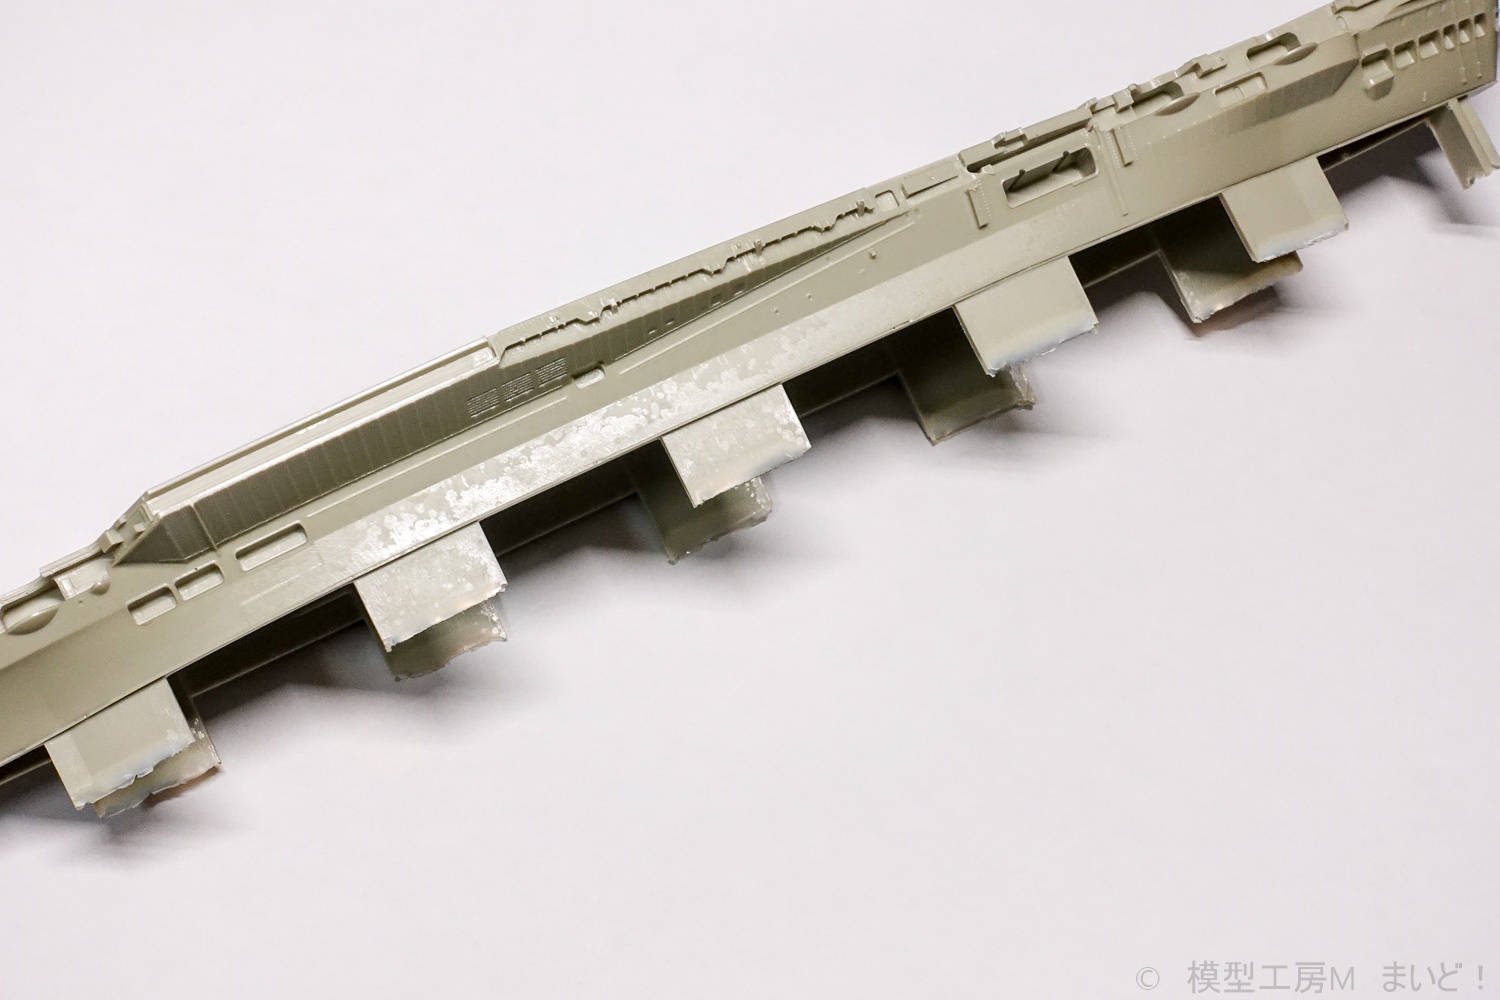
艦底板が無いタイプなので、ケースへの固定をどうするか考えました。私はケースにねじ止めするので選択肢は3つ
Since it is a type without a ship bottom plate, I thought about how to fix it to the case. I screw it to the case so there are 3 options
1 プラ板で艦底板を取り付ける
1 Attach the ship bottom plate with a plastic plate
2 下穴を開けて木ネジで固定
2 Make a pilot hole and fix it with a wood screw
3 上部構造物に隠れる場所にナットを固定
3 Fix the nut in a place hidden by the superstructure
ヴァンガードはうまい具合にナットを固定できる場所があったので3にしました。
Vanguard had a place where I could fix the nut well, so I set it to 3.
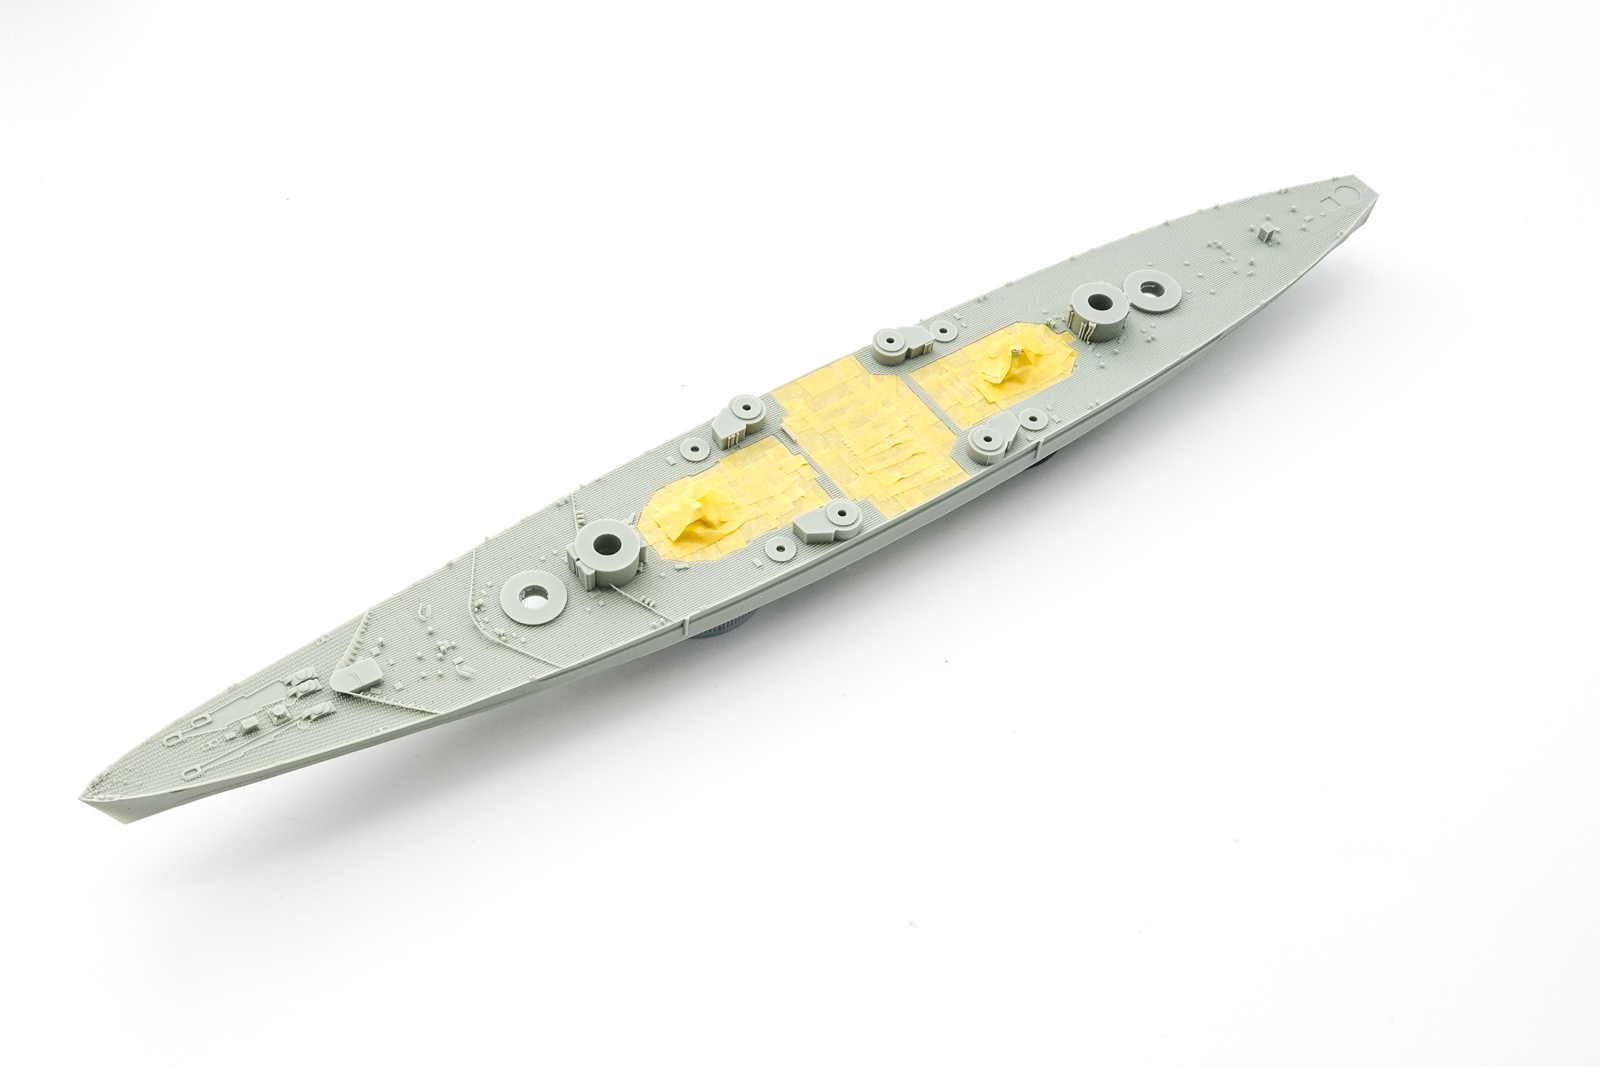
サーフェイサーの前にマスキング
レジン同士の接着はサーフェイサーなどもない状態で接着するのが最も接着強度が高いです。そこで後々の接着にそなえ、上部構造物の接地面をマスキングしました。
Adhesion between resins is the highest when they are adhered without a surfacer. Therefore, in preparation for later bonding, we masked the ground plane of the superstructure.
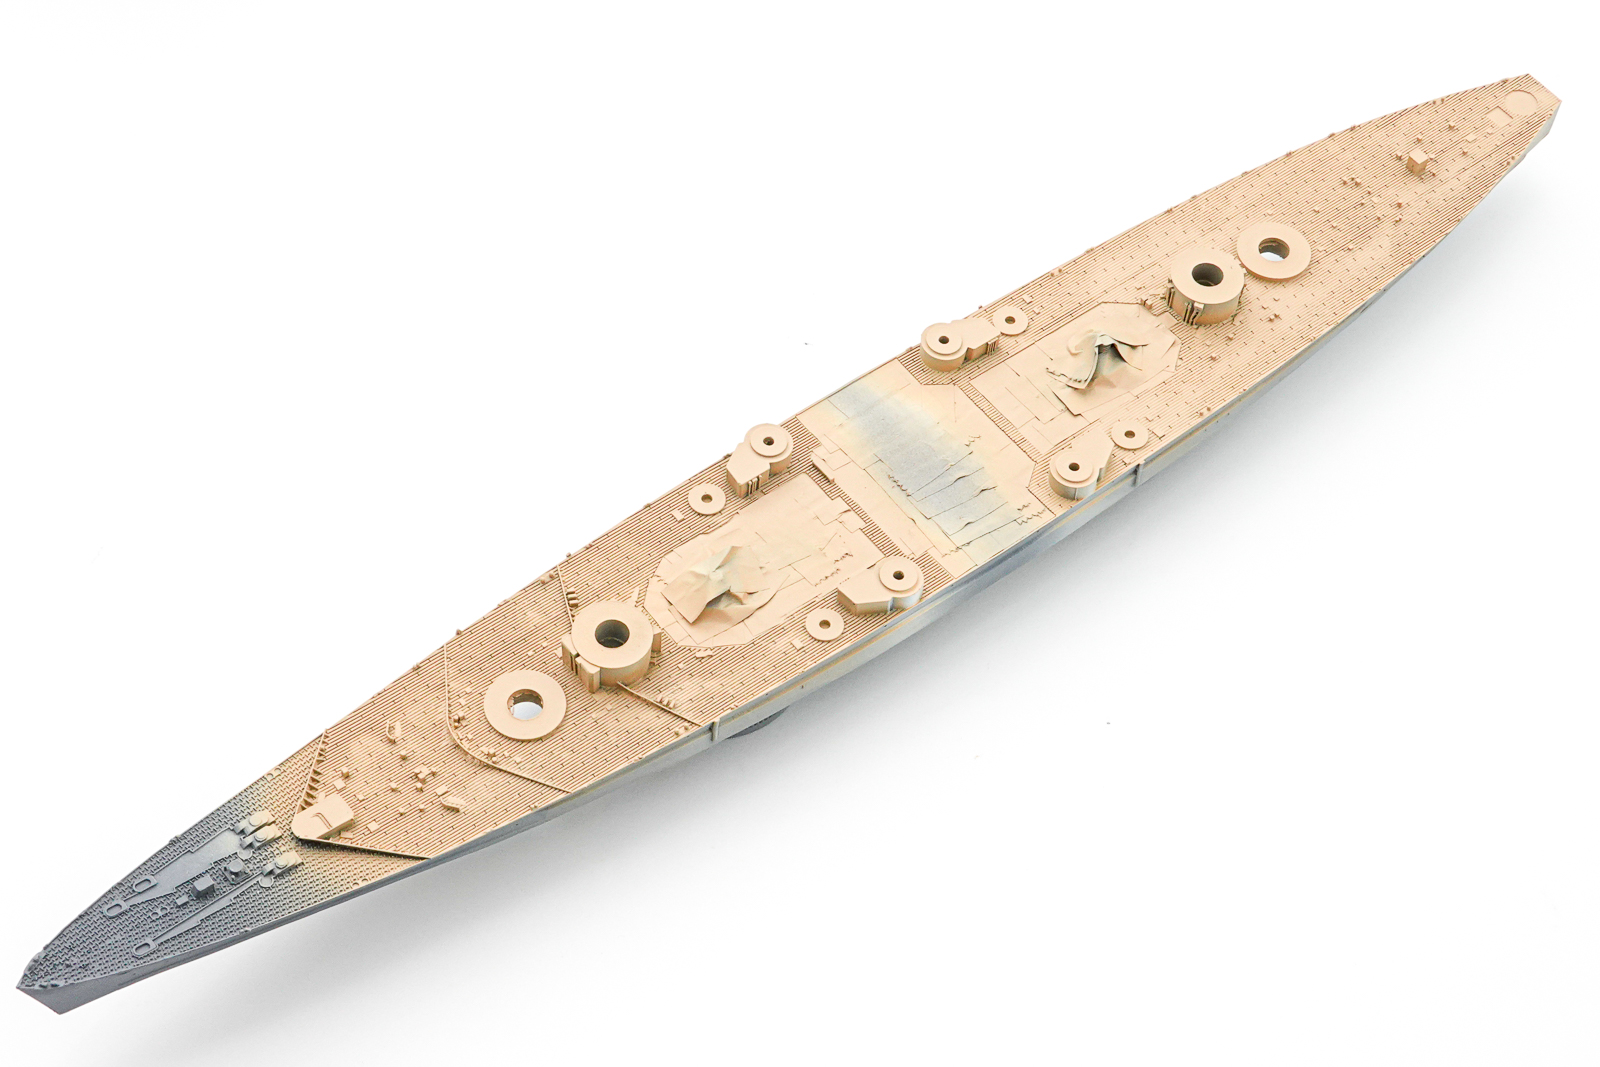
サーフェイサー&塗装
最初にプライマー入りサーフェイサーを全体に吹きます。レジンキットの場合はプライマーの無い箇所はマスキングテープを剥がすときに塗膜ごと剥がれてきますから、船体の工程、つまり最後に水線部ブラックのマスキングを考えるとサーフェイサーはしっかりと吹きます。
First, blow the surfacer with primer all over. In the case of the resin kit, the part without the primer will be peeled off together with the coating film when the masking tape is peeled off, so the surfacer will blow firmly when considering the hull painting process, that is, the masking of the water line part black at the end.
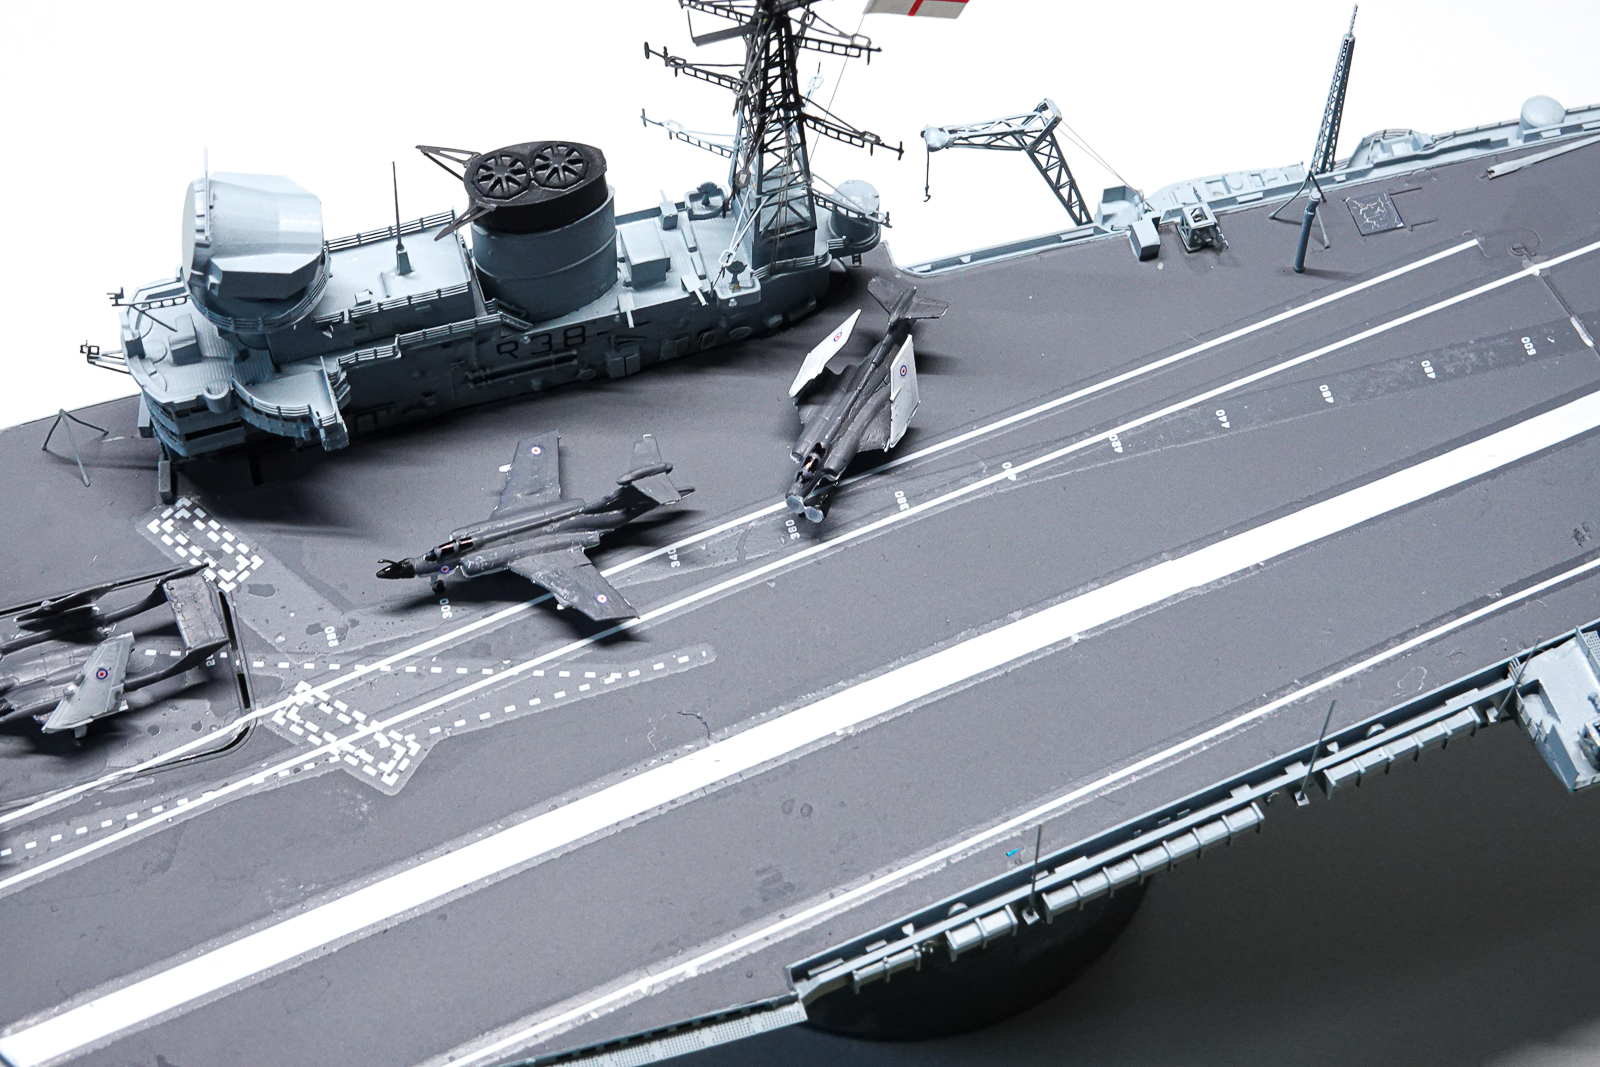
サーフェイサーが十分乾燥後にホワイト→タンの順で木甲板を塗装します。
After the surfacer has dried sufficiently, paint the wooden deck in the order of white → tongue
マスキングに一工夫
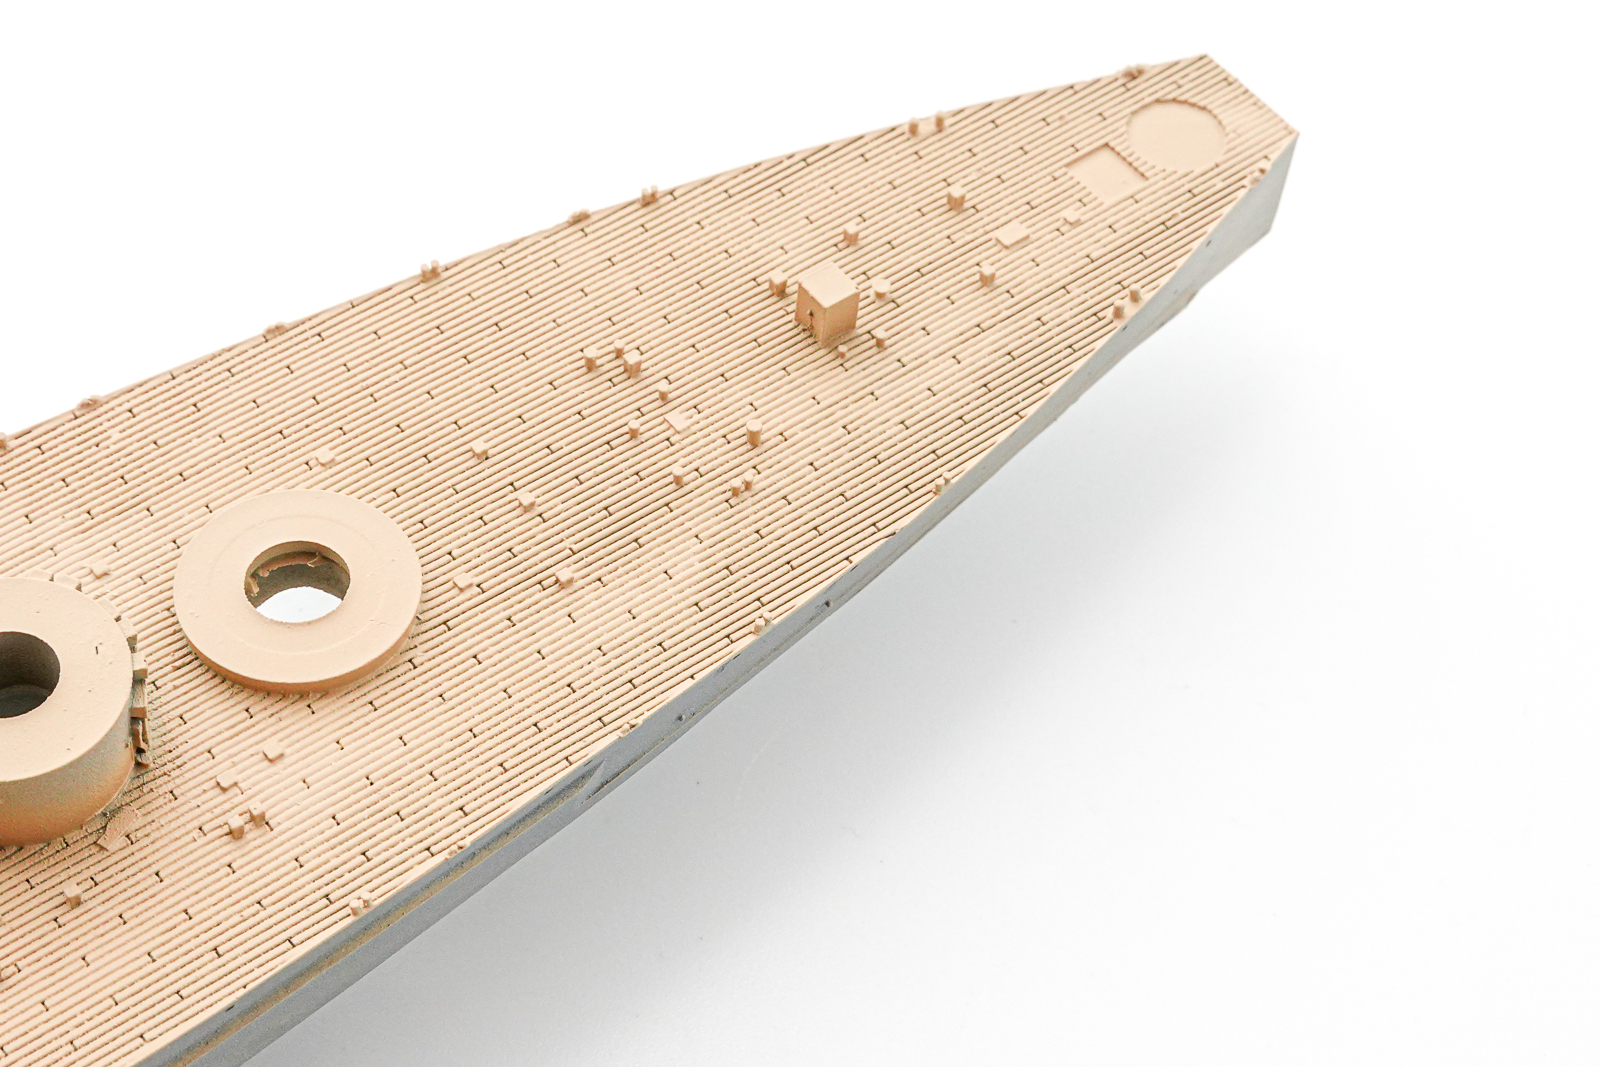
こういうモールドなので、マスキングは持久戦になります。例えば四角形の突起なら、短冊状に切ったマスキングテープを周りに4枚貼るのが正攻法です。ただ、余りにも手間がかかるのと、マスキングテープ同時が重なると染み込みの危険度も上がります。そこで少し違う方法を試します。
With this kind of mold, masking is an endurance battle. For example, in the case of a quadrangular protrusion, the straightforward method is to attach four strips of masking tape around it. However, it takes too much time and effort, and if masking tapes are overlapped at the same time, the risk of penetration increases. So I will try a slightly different method on a trial basis.
タミヤのマスキングシール方眼
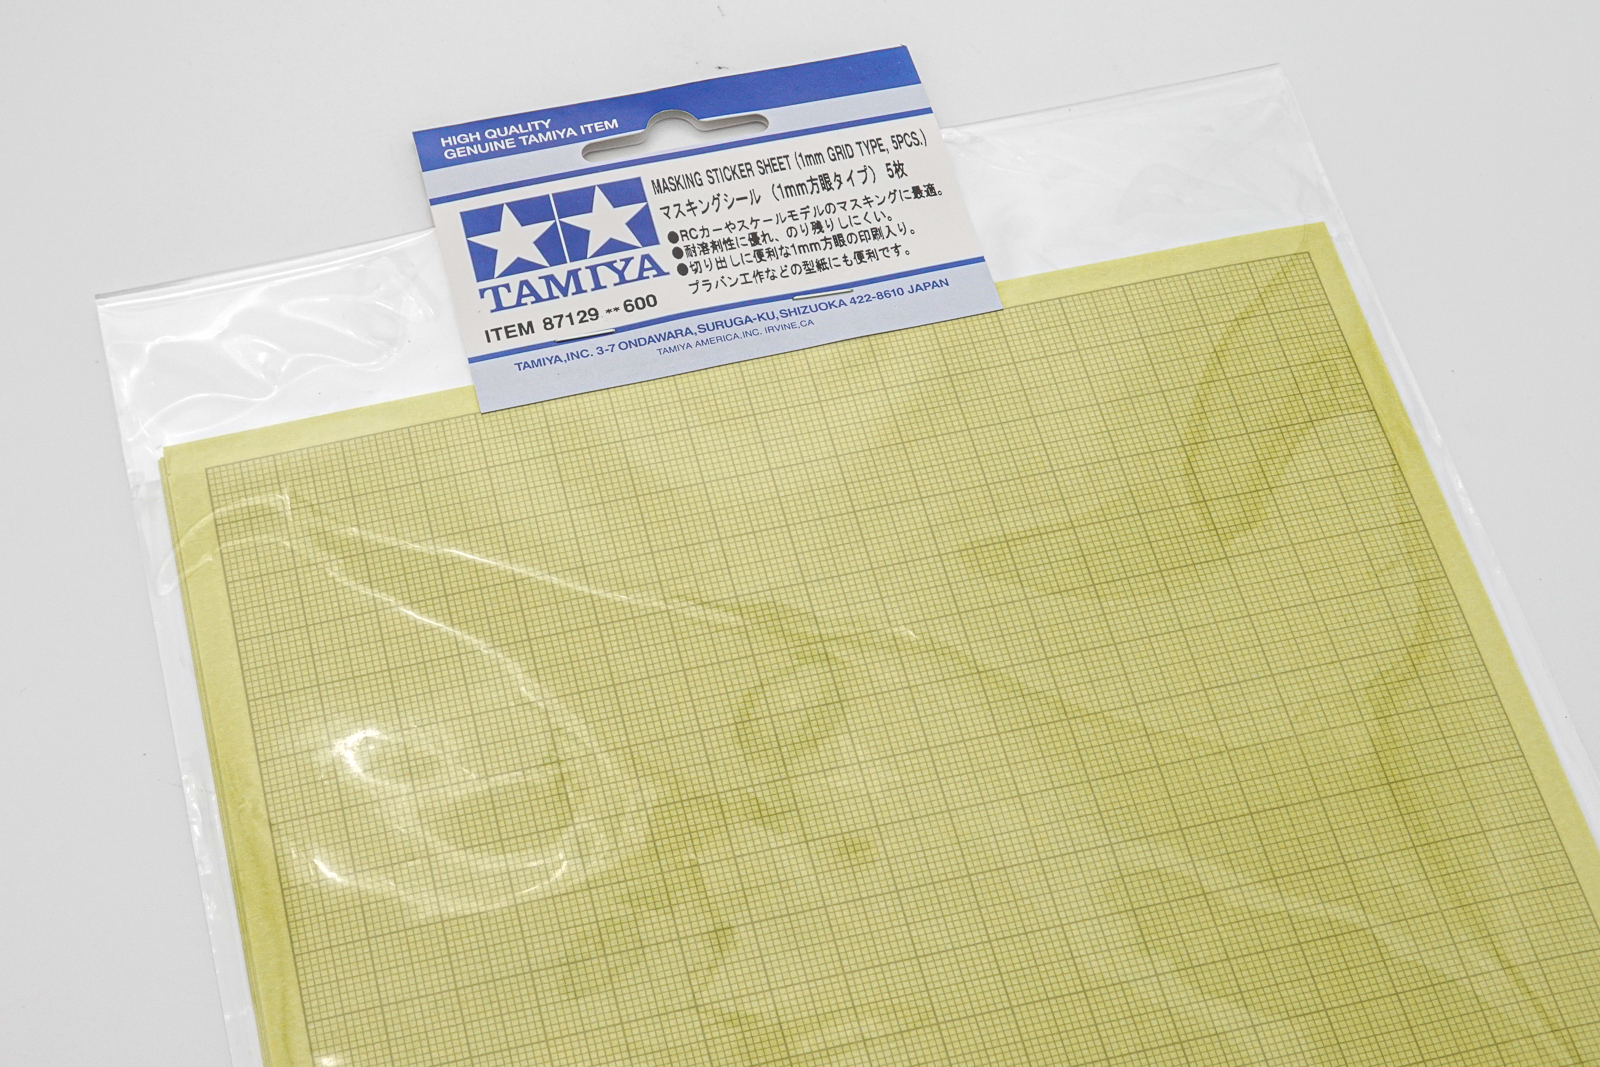
このシートを切り出して貼ってみます。突起物の大きさにくりぬくのは困難なのですが
I will cut out this sheet and paste it. It is difficult to hollow out to the size of the protrusion
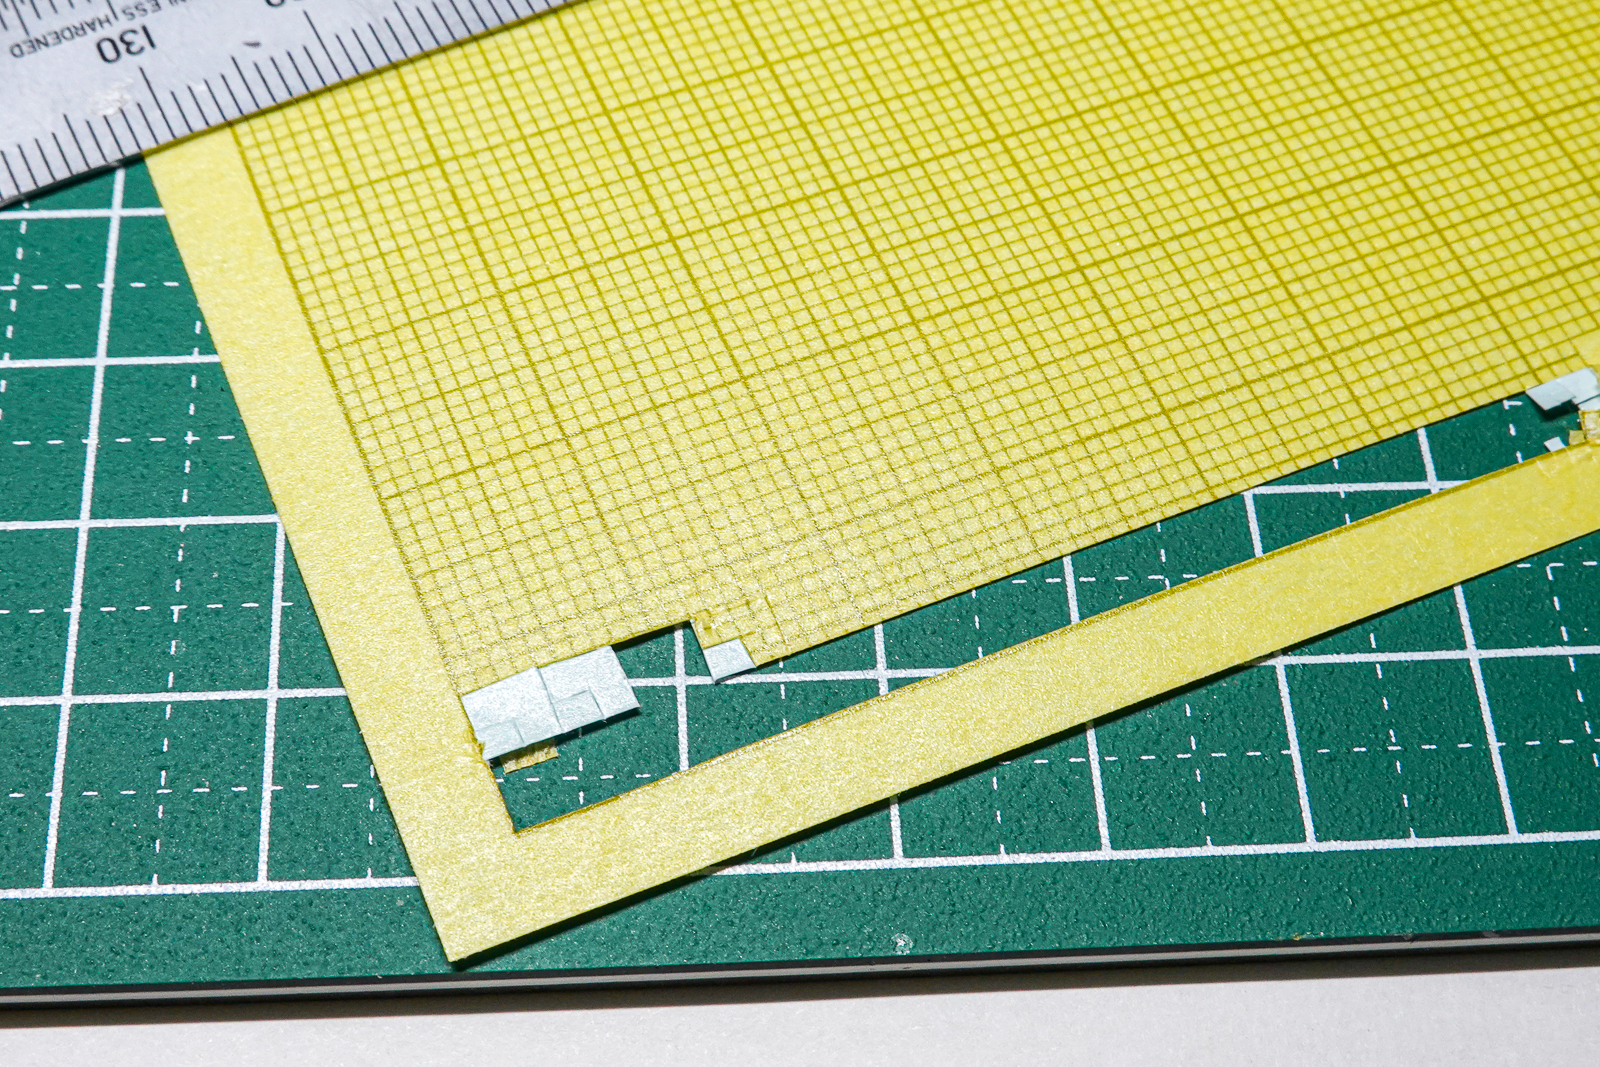
このような切り方にします。この隅の部分を使います。一つの突起を二枚のマスキングシートで囲むことが出来ます。
Cut it like this. Use this corner. One protrusion can be surrounded by two masking sheets.
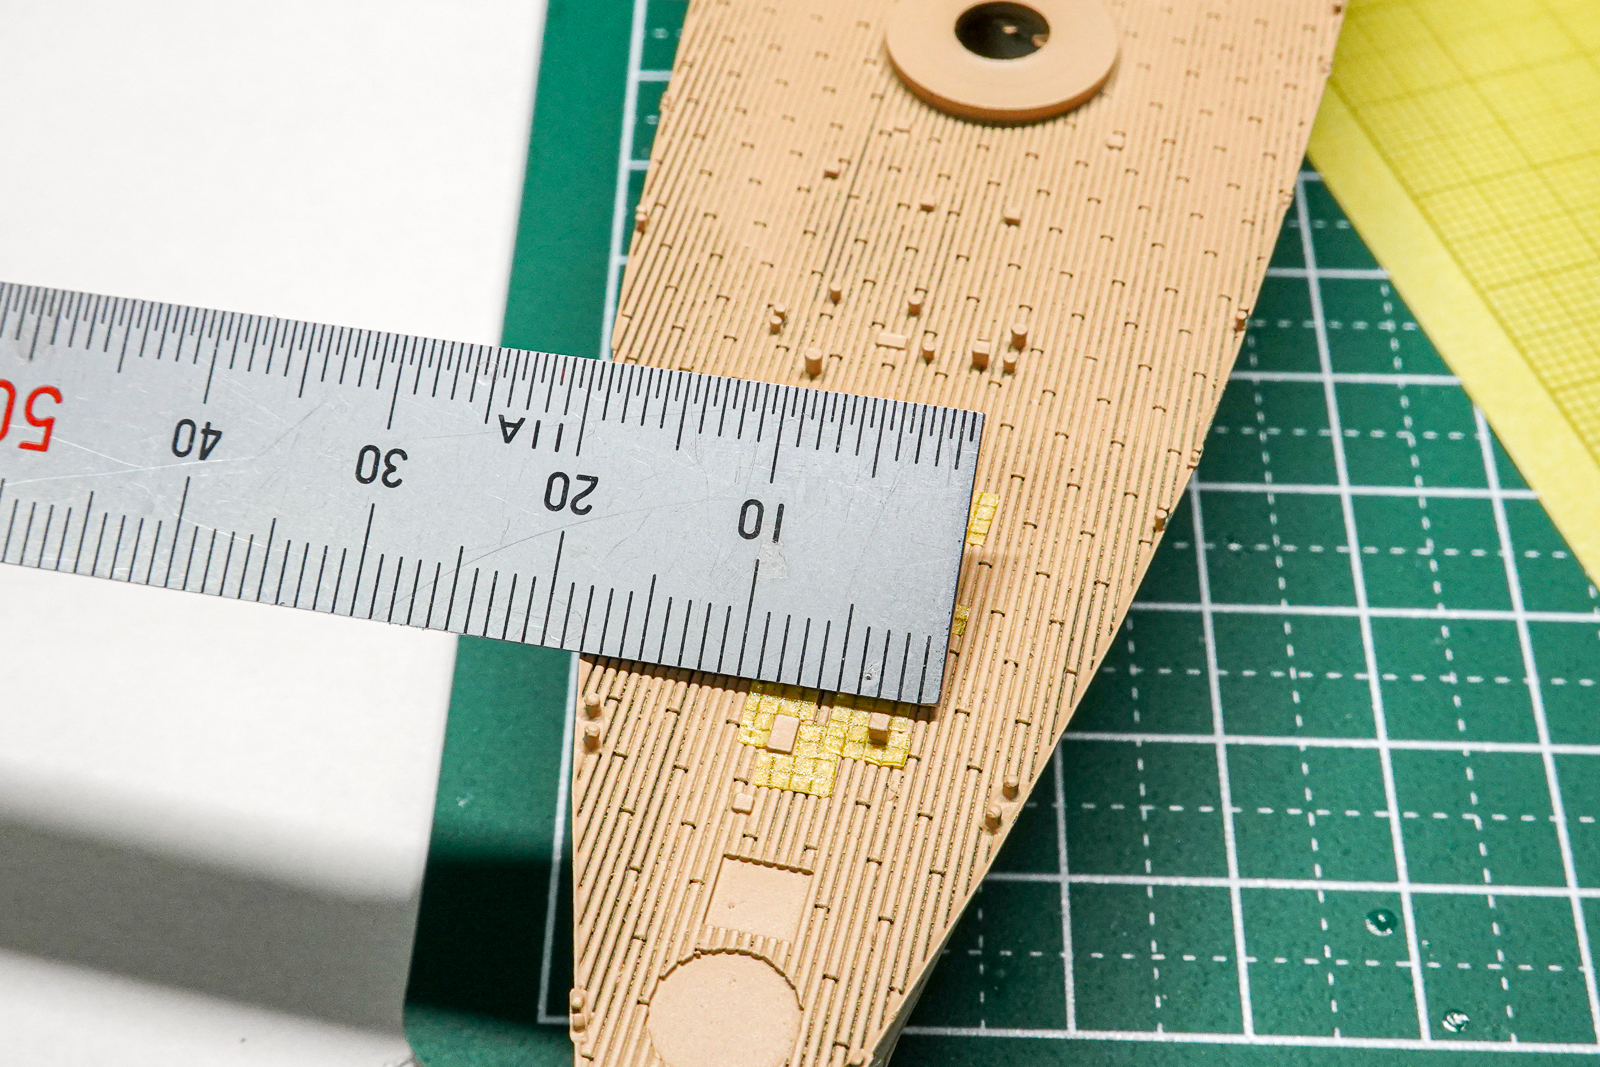
正直マスキング工程はかなりの時間が想定されます。コツコツと進めていきます。
To be honest, the masking process is expected to take a considerable amount of time. I will proceed steadily.
投稿者プロフィール

-
模型好き。カメラ好き。各模型雑誌で掲載多数。
艦船模型、飛行機模型、AFV模型などプラモデル全般の制作代行も承っております。「お問い合わせ」からご連絡ください。製作代行ご案内のページは現在概要のみを公開しておりますが、2025年6月現在納期はご相談になりますが、制作代行可能です
 製作代行について(β版)2024年4月6日詳細な製作代行などはのちに追加しますが、お問い合わせのあった方の最初のご案内メールの定型文を記しておきます。製作依頼の流れ1 キットに入っているパーツのみでの制作は、定価×6を基本価格としております。 キットをお送りいただ...maidoworks.com2024.04.06

コメント