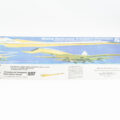
主要部を接着し、表面処理を進めました
I glued the main part and proceeded with the surface treatment

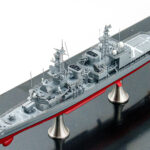
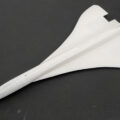
接着完了
可変翼後退状態と前進状態の両方にスタンド固定用ネジを取り付けてから、胴体を接着します。
Attach the stand fixing screws to both the retractable and forward variable wings, and then glue the fuselage.
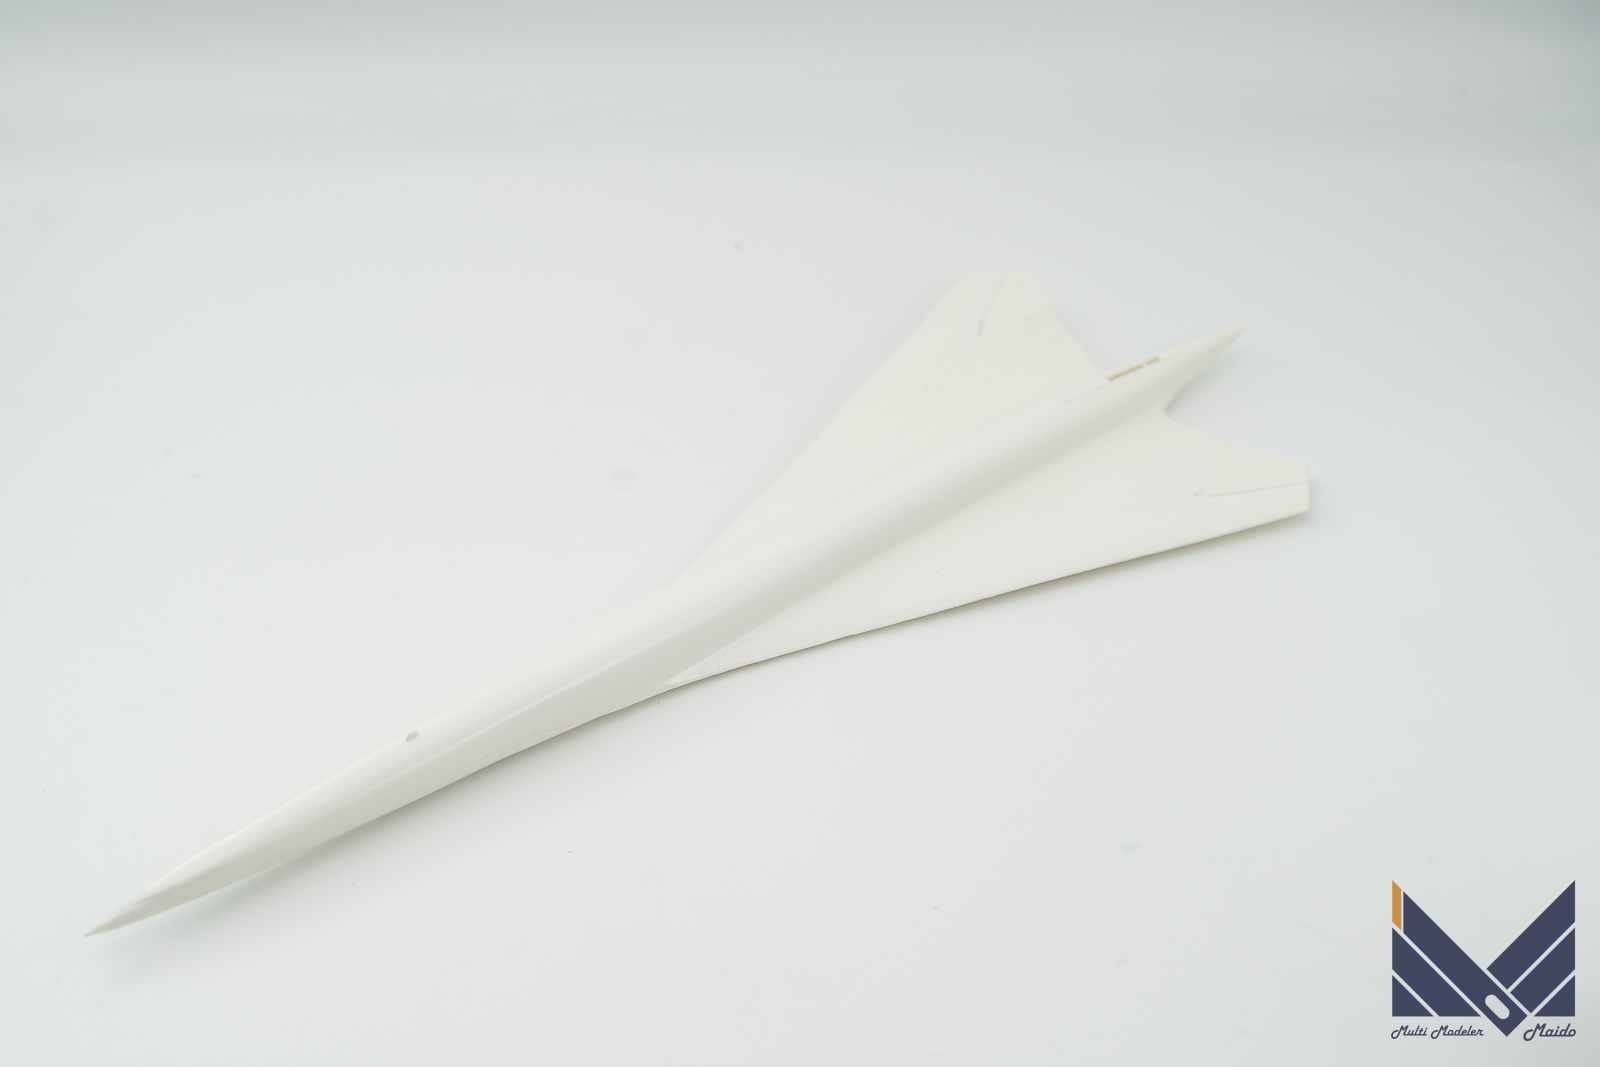
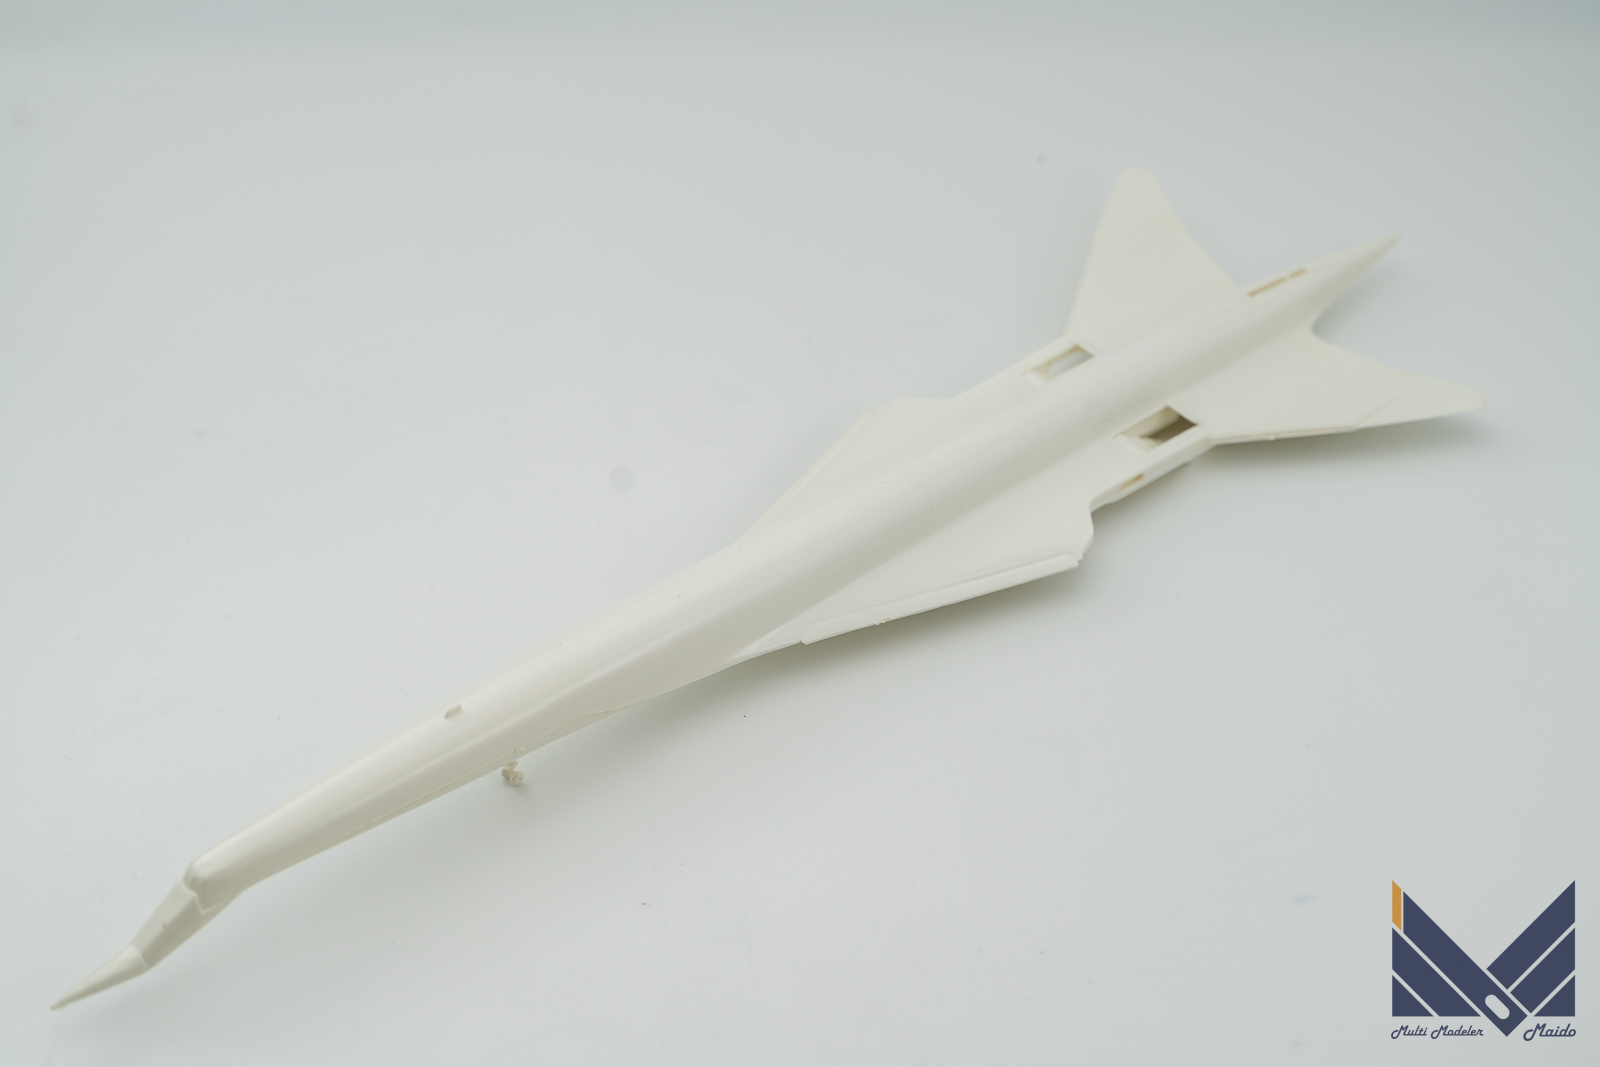
古いキットですから、若干隙間や段差が出ますが、少量のイージーサンディングで処理できそうです。
Since it is an old kit, there are some gaps and steps, but it seems that it can be handled with a small amount of easy sanding.
表面処理
大きなキットですから、ペンサンダーを使ってサンディングします。
It’s a big kit, so I sand it with a pen sander.
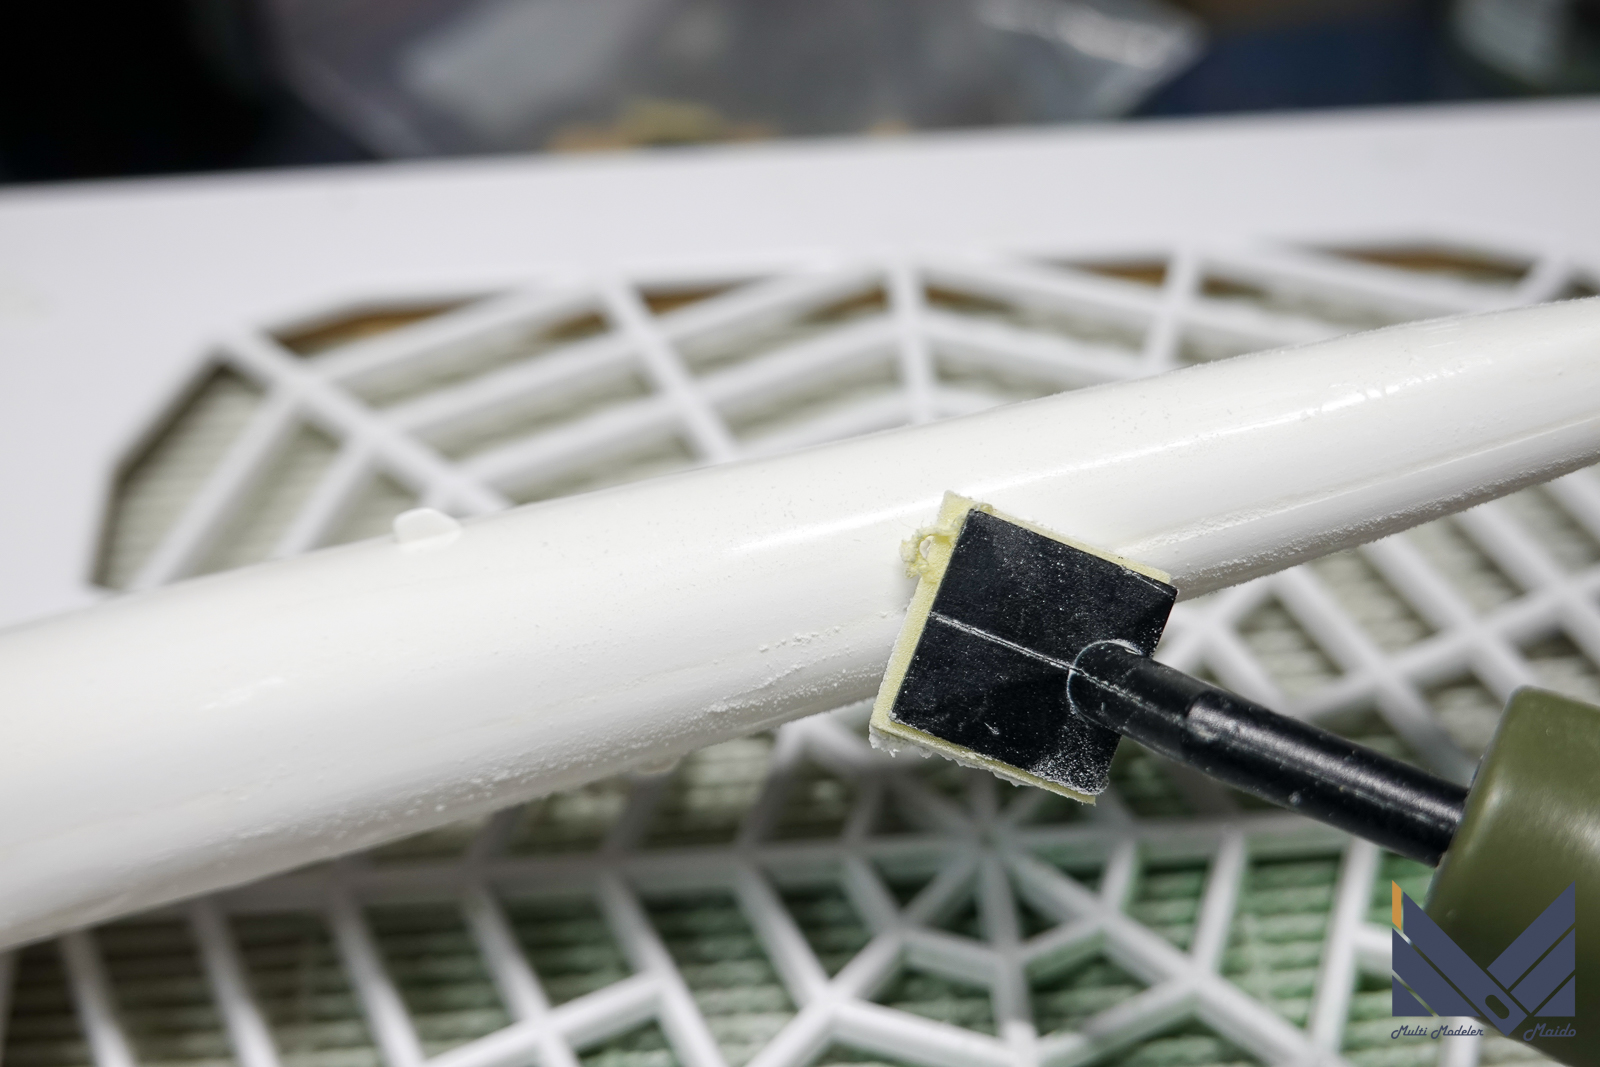
ペンサンダーの先に神ヤスをとりつけて研磨します。まずは400番から
Attach the kamiyasu to the tip of the pen sander and polish. Start with number 400
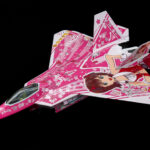
変色?

サンディングして気が付いたのですが、どうも表面が変色しているようですね、削ると真っ白のプラが出てきます。
After sanding, I noticed that the surface seems to be discolored.
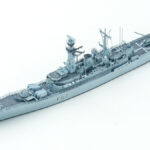
全面研磨
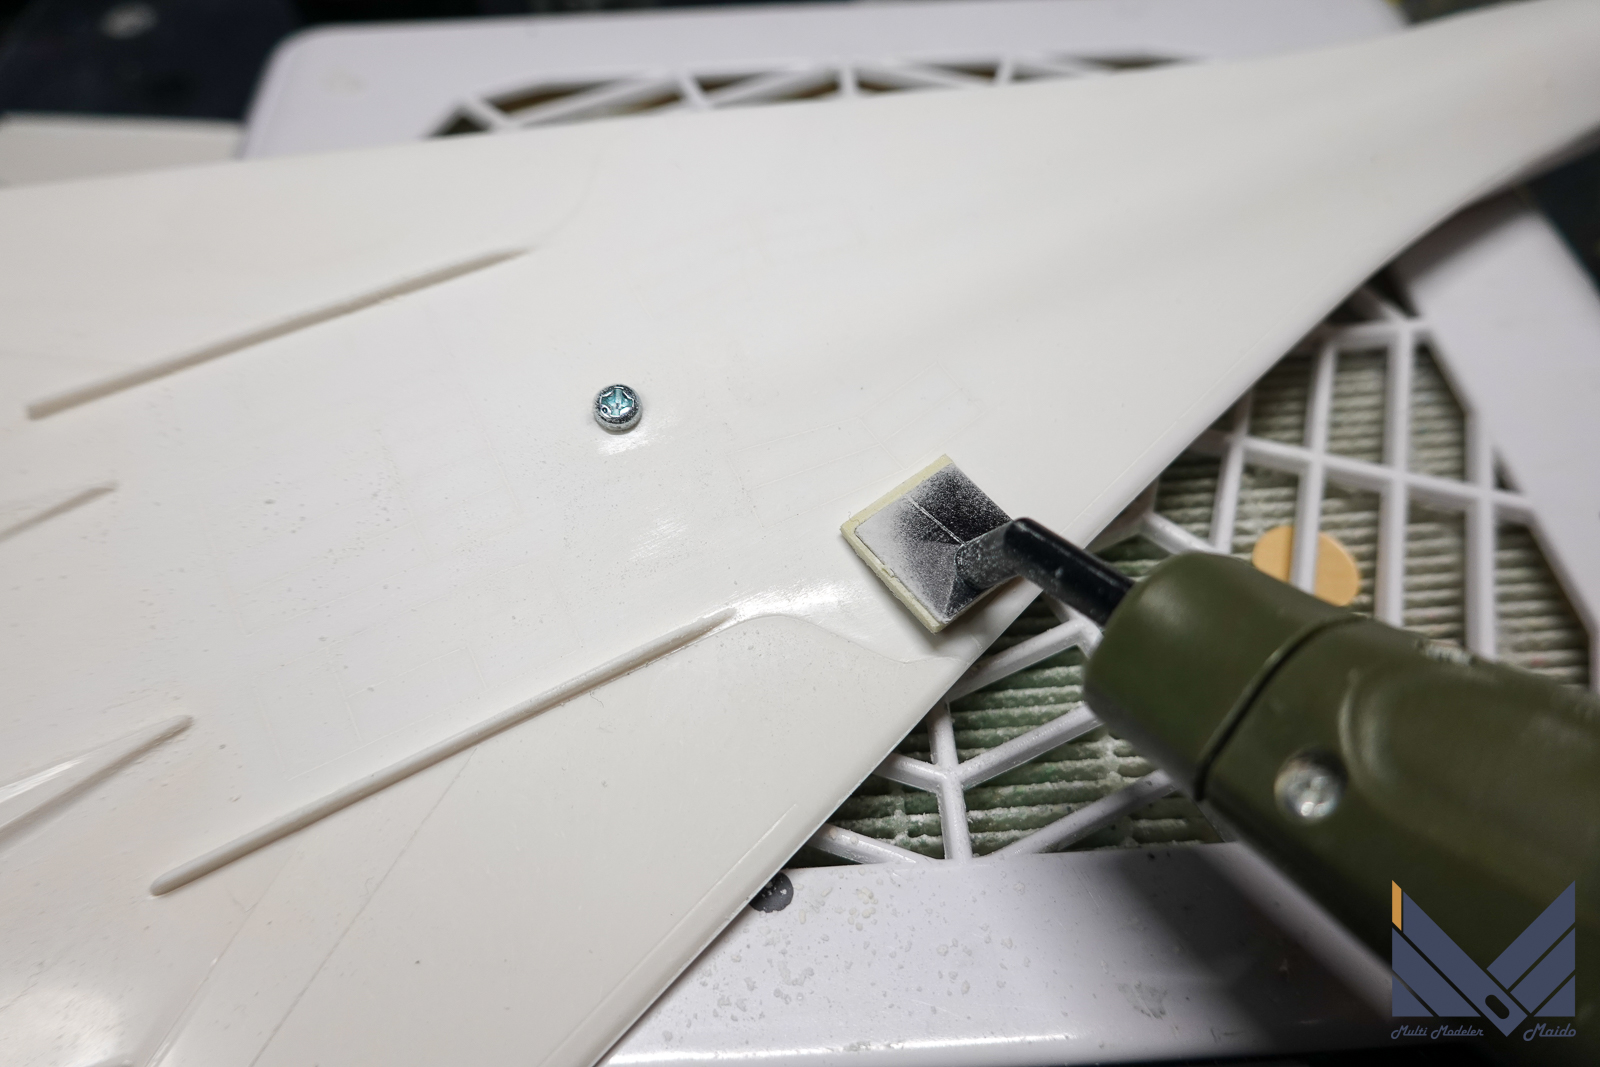
全面を一枚剥くように研磨します。
Grind to remove one sheet from the entire surface.
投稿者プロフィール

-
模型好き。カメラ好き。各模型雑誌で掲載多数。
艦船模型、飛行機模型、AFV模型などプラモデル全般の制作代行も承っております。「お問い合わせ」からご連絡ください。製作代行ご案内のページは現在概要のみを公開しておりますが、2025年6月現在納期はご相談になりますが、制作代行可能です
 製作代行について(β版)2024年4月6日詳細な製作代行などはのちに追加しますが、お問い合わせのあった方の最初のご案内メールの定型文を記しておきます。製作依頼の流れ1 キットに入っているパーツのみでの制作は、定価×6を基本価格としております。 キットをお送りいただ...maidoworks.com2024.04.06


コメント