基本塗装が完了したので、スミ入れとデカール貼りを行い、クリアーコートまで進めました。
Since the basic painting was completed, I added ink and applied decals, and proceeded to the clear coat.
スミ入れ
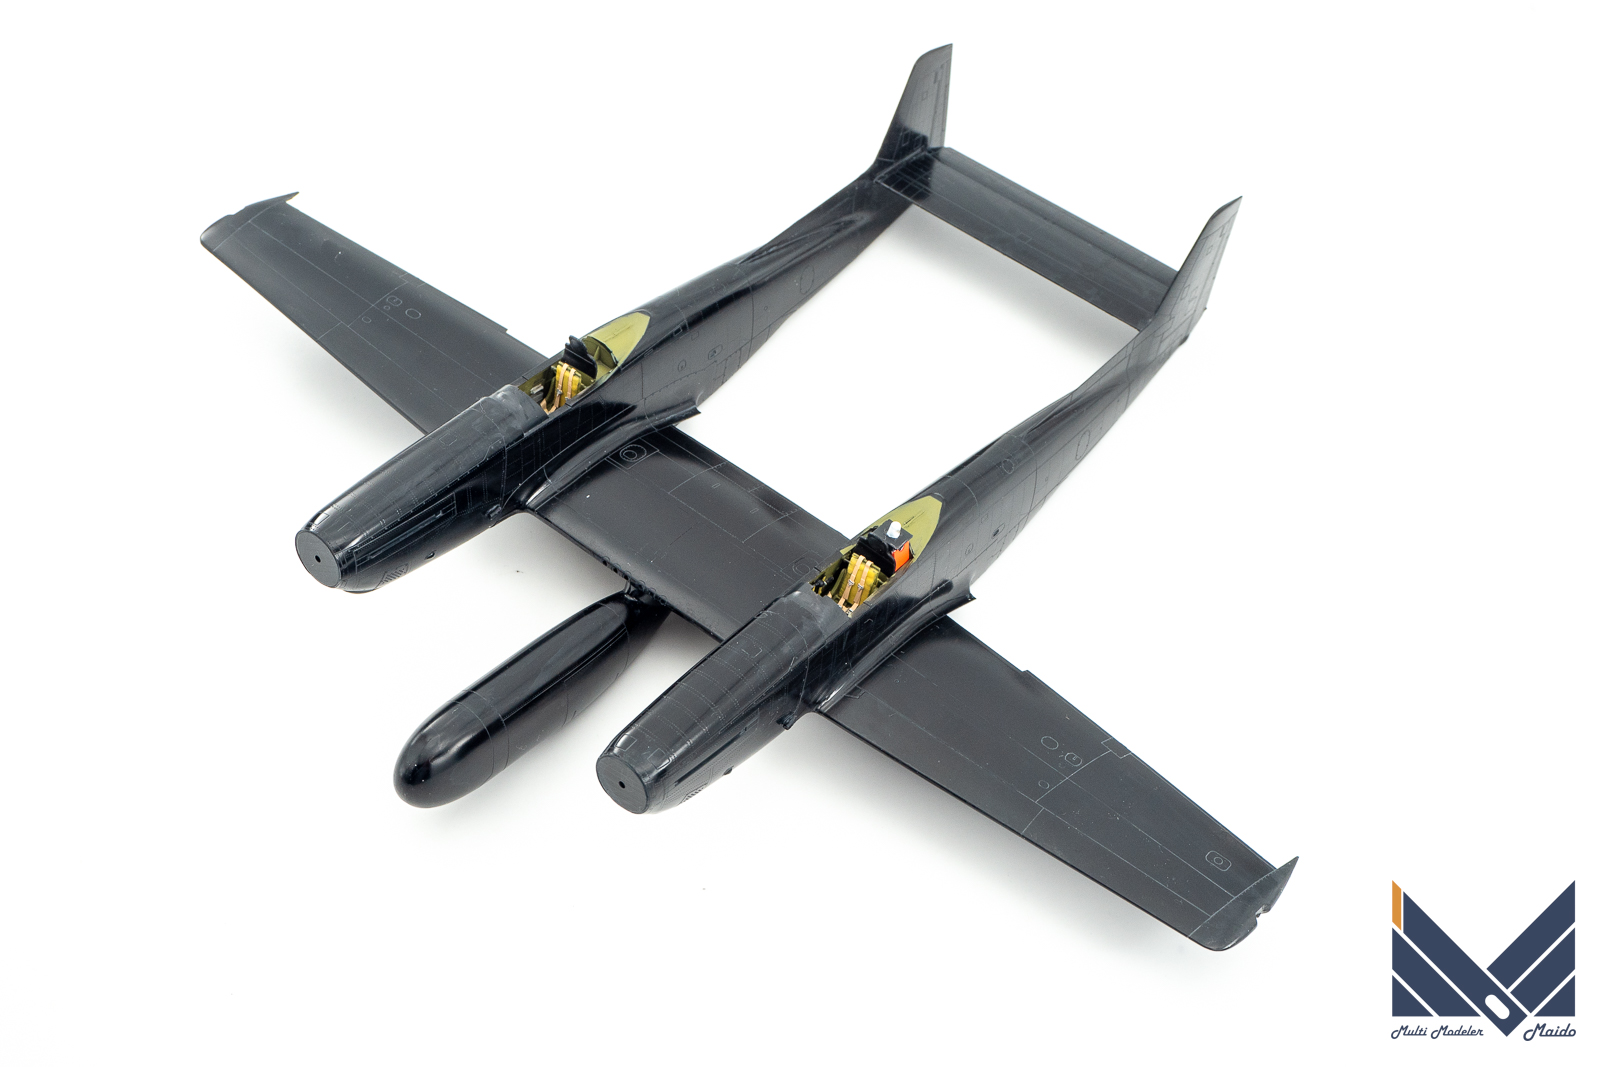
タミヤのスミ入れ用塗料のダークグレーでスミ入れを行いました。
I used Tamiya’s dark gray paint for inking.
デカール貼り
モデルズビットのデカールは、ハセガワやカルトグラフに比べると薄くて切れやすい印象です。そこで、最初にリキッドデカールフィルムを塗ってデカールを補強してから貼ります。
Modelsvit decals are thin and easy to cut compared to Hasegawa and Cartograf. Therefore, first apply the liquid decal film to reinforce the decal before pasting.
リキッドデカールフィルムは、基本的には水性クリアなのですが、水性ホビーカラーのクリアやタミヤアクリルのクリア、さらにはつや出しニスと同じかと言われると、そういうわけではありません。つや出しニスを使ったことがありますが、曲面になじみやすいのはリキッドデカールフィルムです。
リキッドデカールフィルムの方が私は使いやすいです。ただ、平面に貼るデカールで、それも一回しか使う見込みがないなら、水性クリアとかつや出しニスで緊急避難的に使うのは良いと思います。
Liquid decal film is basically water-based clear, but it is not the same as water-based hobby color clear, Tamiya acrylic clear, or glossy varnish. I’ve used glossy varnish before, but liquid decal film works best on curved surfaces.
“The liquid decal film is easier for me to use.” However, if it’s a decal to be stuck on a flat surface and it’s only expected to be used once, I think it’s good to use water-based clear and glossy varnish as an emergency evacuation.
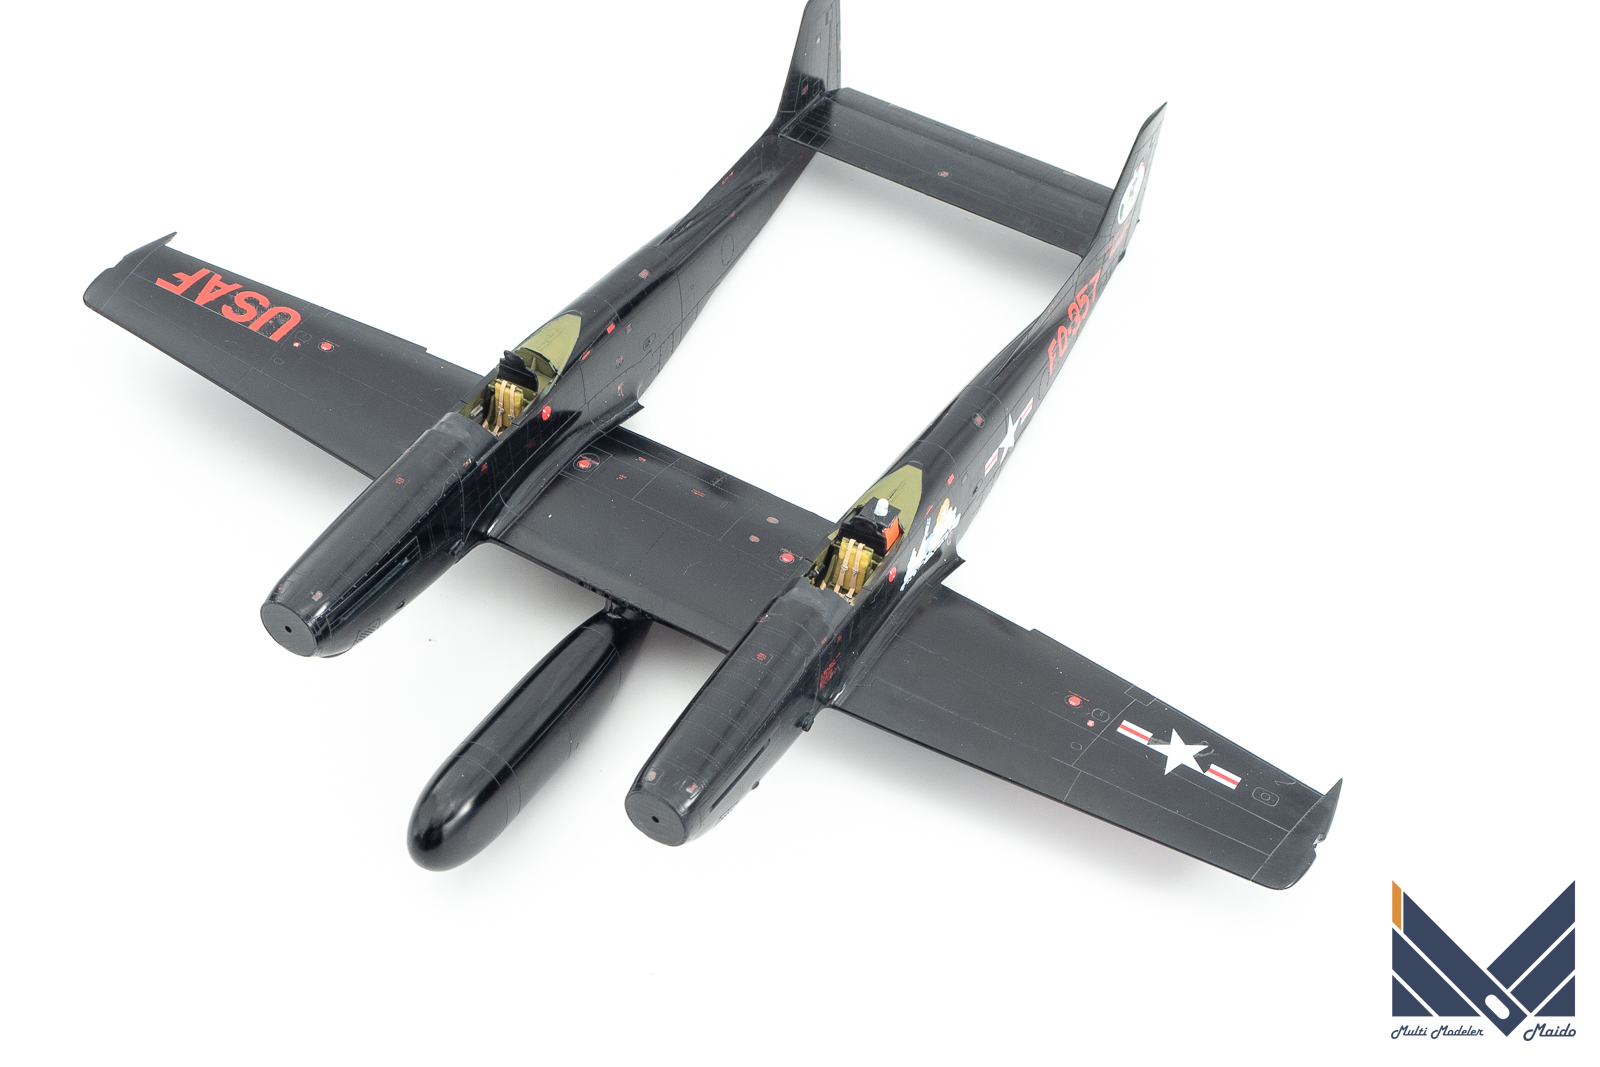
塗装指示はフラットブラックなのだが・・
塗装指示はフラットブラックなのですが、実機写真ではある程度はつやがありそうです。ますはデカールの密着を兼ねてクリアーを塗装しました
The painting instruction is flat black, but it seems to be glossy to some extent in the actual machine photo. I also painted the clear to adhere the decals.
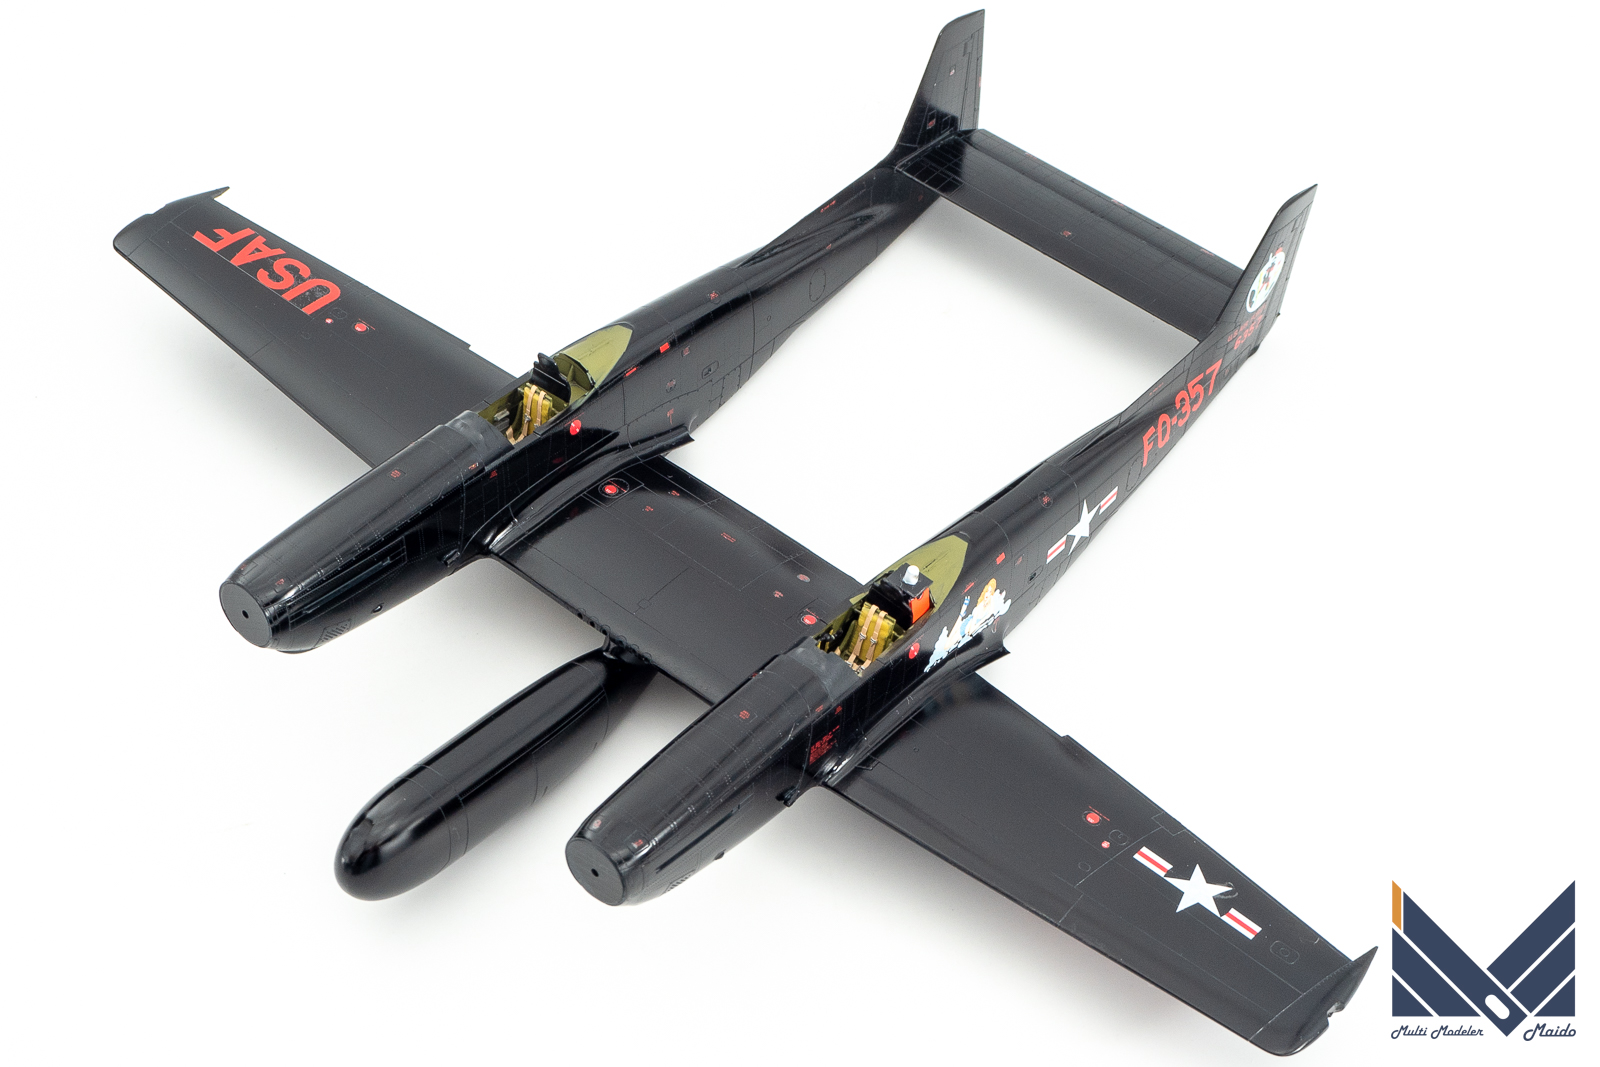
ちょっとつやがありすぎと感じますので、ガイアノーツのセミグロスクリアーを塗装しました。
The painting instruction is flat black, but it seems to be glossy to some extent in the actual machine photo. I also painted the clear to adhere the decals.
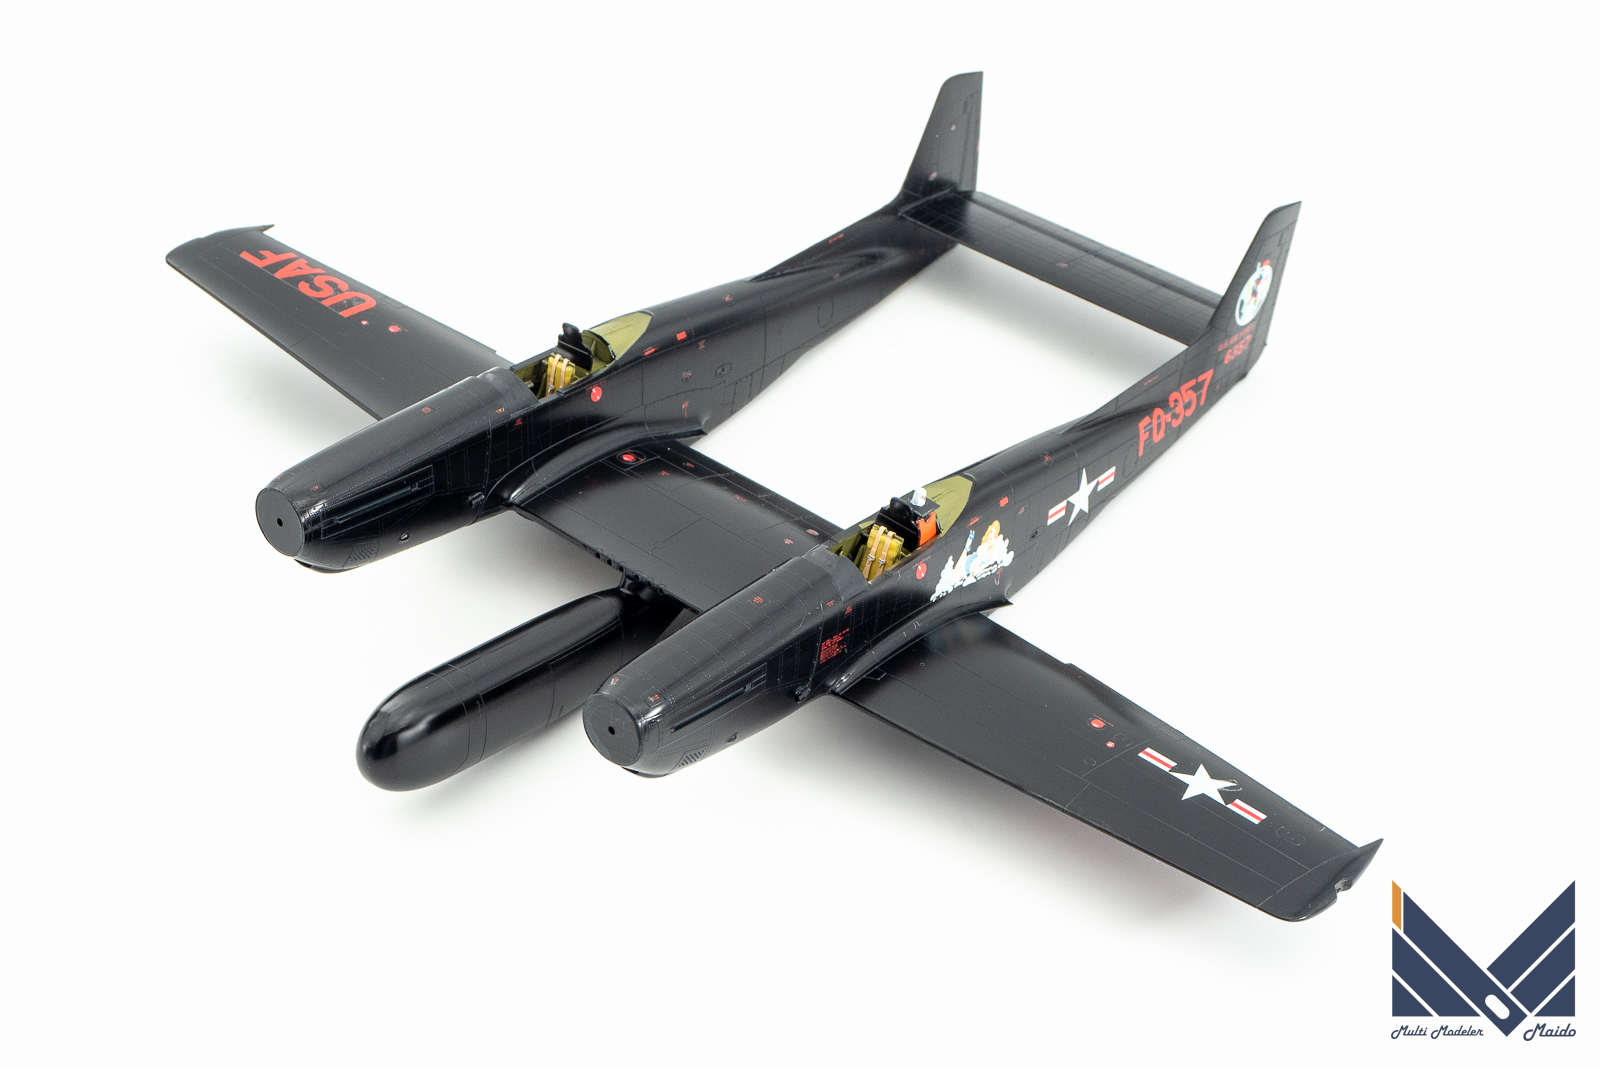
この後足回りの細部パーツなどを作っていきます。
After this, we will make detailed parts around the suspension.
投稿者プロフィール

-
模型好き。カメラ好き。各模型雑誌で掲載多数。
艦船模型、飛行機模型、AFV模型などプラモデル全般の制作代行も承っております。「お問い合わせ」からご連絡ください。製作代行ご案内のページは現在概要のみを公開しておりますが、2025年6月現在納期はご相談になりますが、制作代行可能です
 製作代行について(β版)2024年4月6日詳細な製作代行などはのちに追加しますが、お問い合わせのあった方の最初のご案内メールの定型文を記しておきます。製作依頼の流れ1 キットに入っているパーツのみでの制作は、定価×6を基本価格としております。 キットをお送りいただ...
最新の投稿
 キャラクター模型完成品2025年12月23日バンダイ 1/1700 EXモデル ジオン公国軽巡洋艦ムサイ 完成品
 お知らせ2025年11月8日プレオープン記念キャンペーンのお知らせ
 お知らせ2025年11月8日プリントサービス プレオープンのお知らせ
 製作記アーカイブ2025年11月5日製作記はYouTubeへ移行しました
コメント