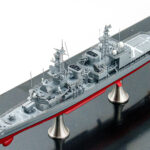
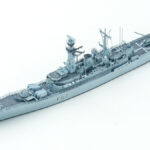
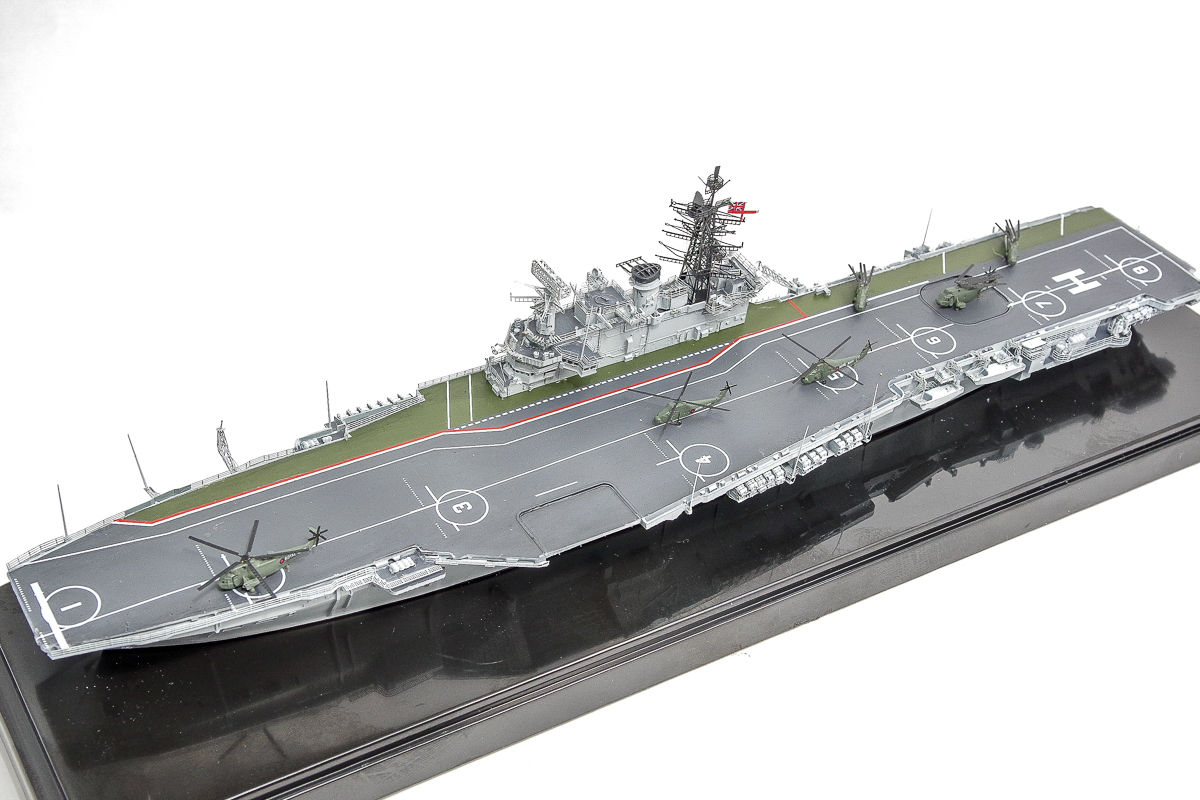
前回に引き続き船体工作を進めます。

喫水部整形
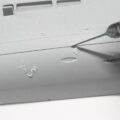
切断した船体の喫水部を整形します。水平な面に置いた耐水ペーパーの上で船体を研磨します
Shape the cut hull. Polish the hull on a water resistant sandpaper placed on a level surface
船体が変形しないように甲板を仮止めして更に研磨します。
Temporarily fix the deck so that the hull does not deform, and further polish it.

左右に傾かないように高さを測りつつ更に研磨します
Further polish while measuring the height so that it does not tilt to the left or right.
喫水板接着
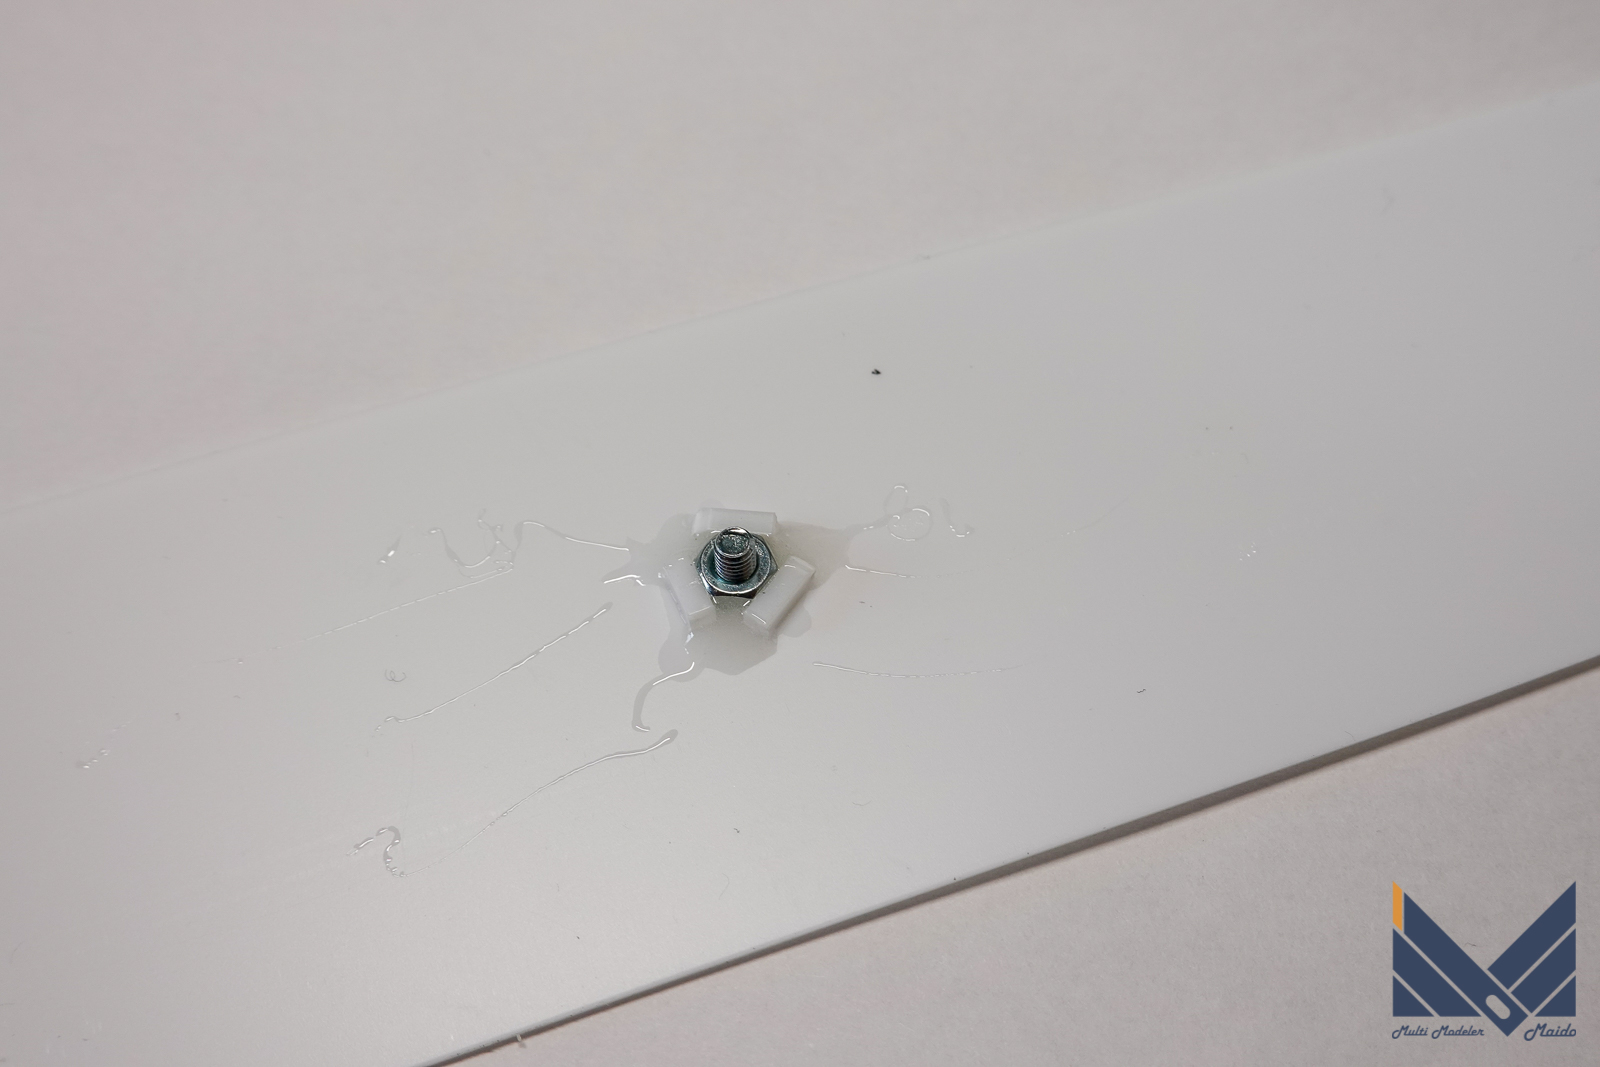
プラ板で作った喫水板にねじ止め用のナットを取り付けます。
Attach the nut for screwing to the waterline plate made of plastic plate.
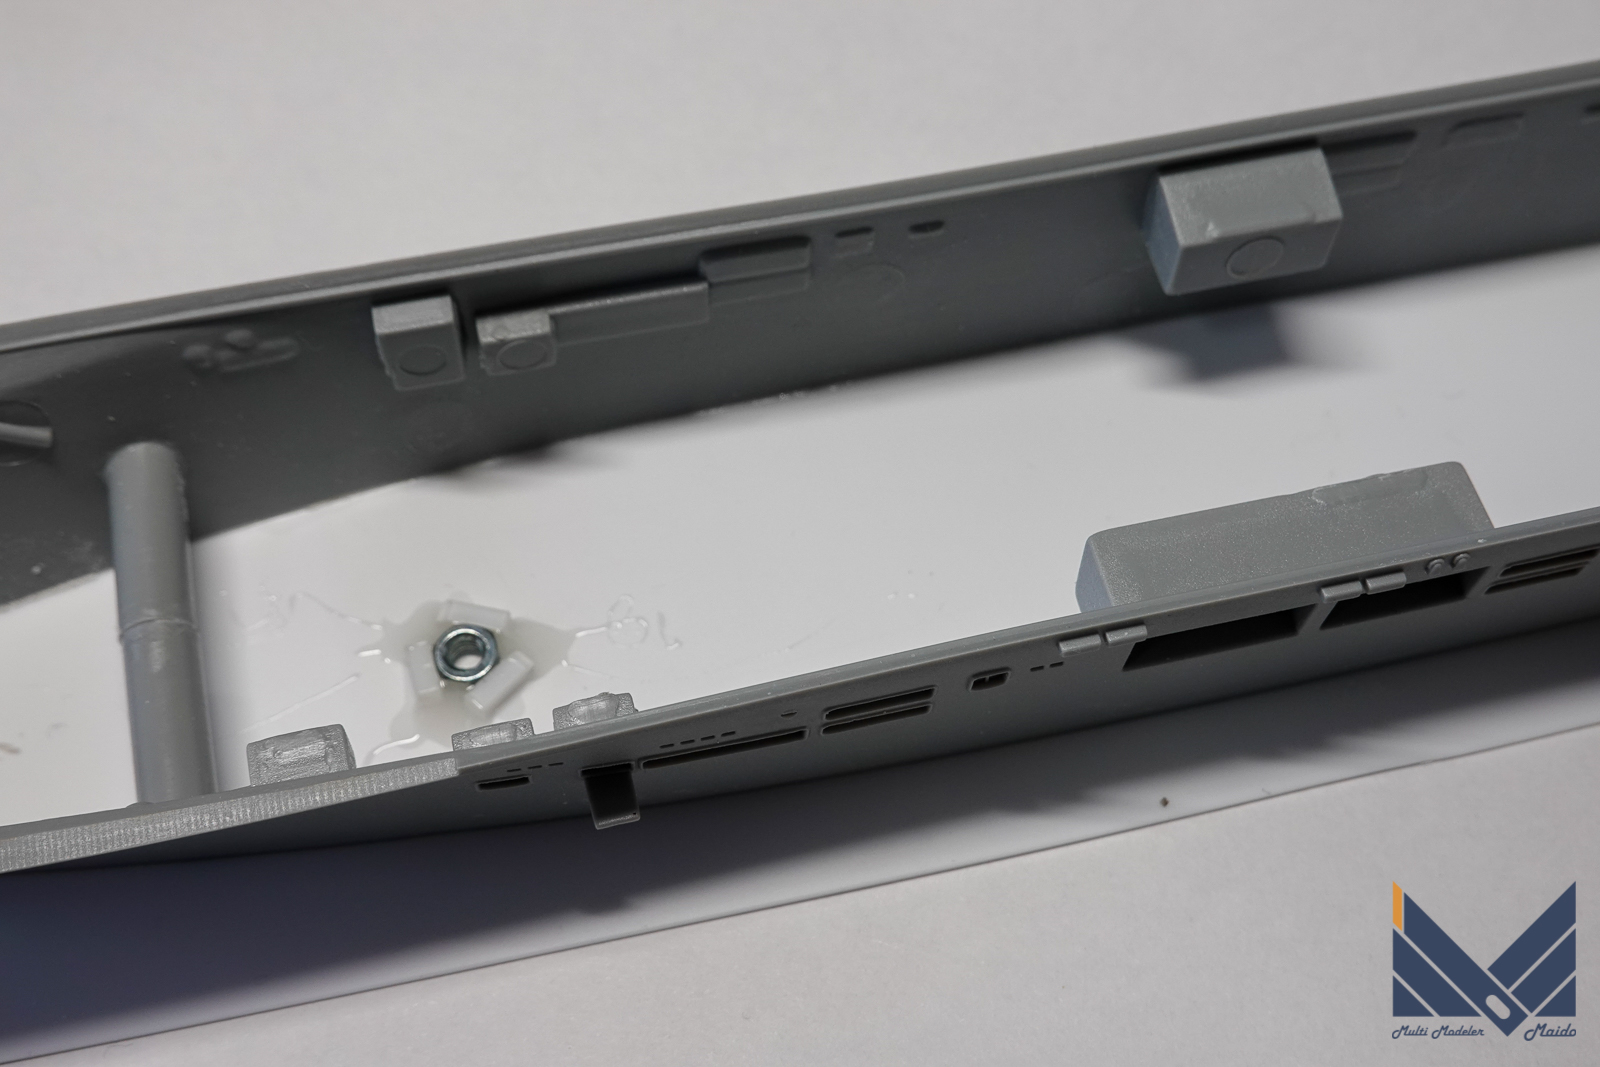
その後船体に接着します。
Then glue it to the hull.
艦尾隙間埋め
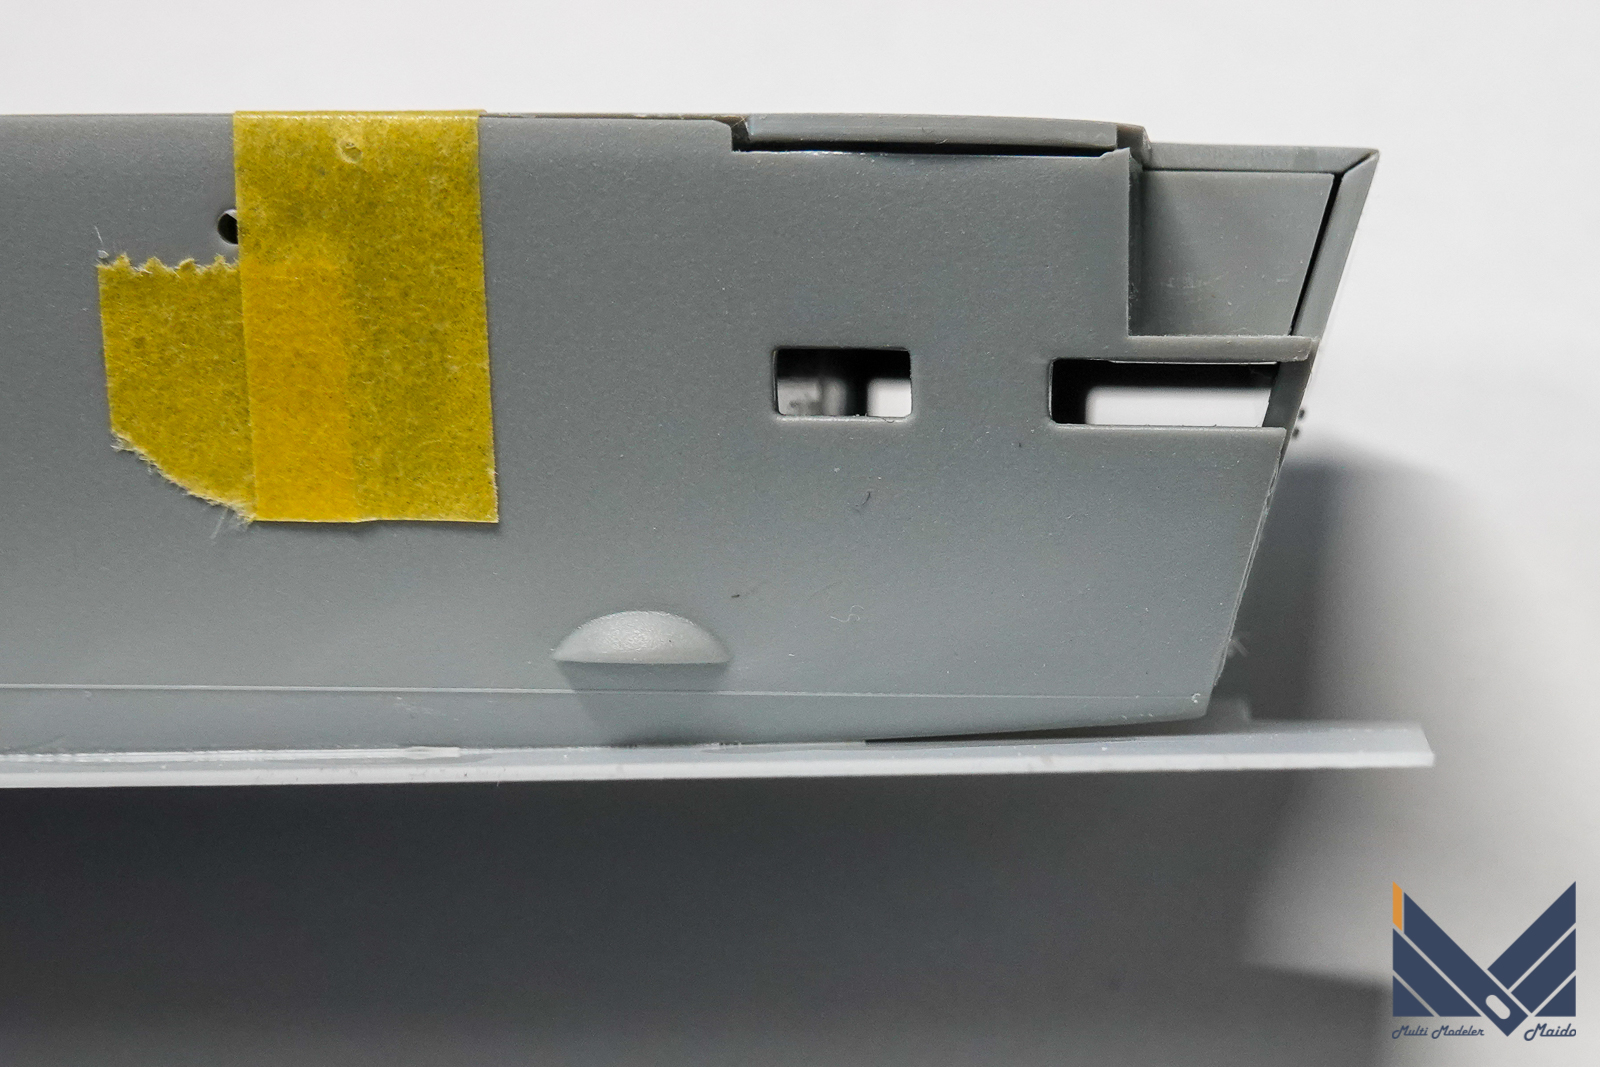
艦尾には隙間が出来てしまったので、埋めます。
There is a gap in the stern, so fill it.
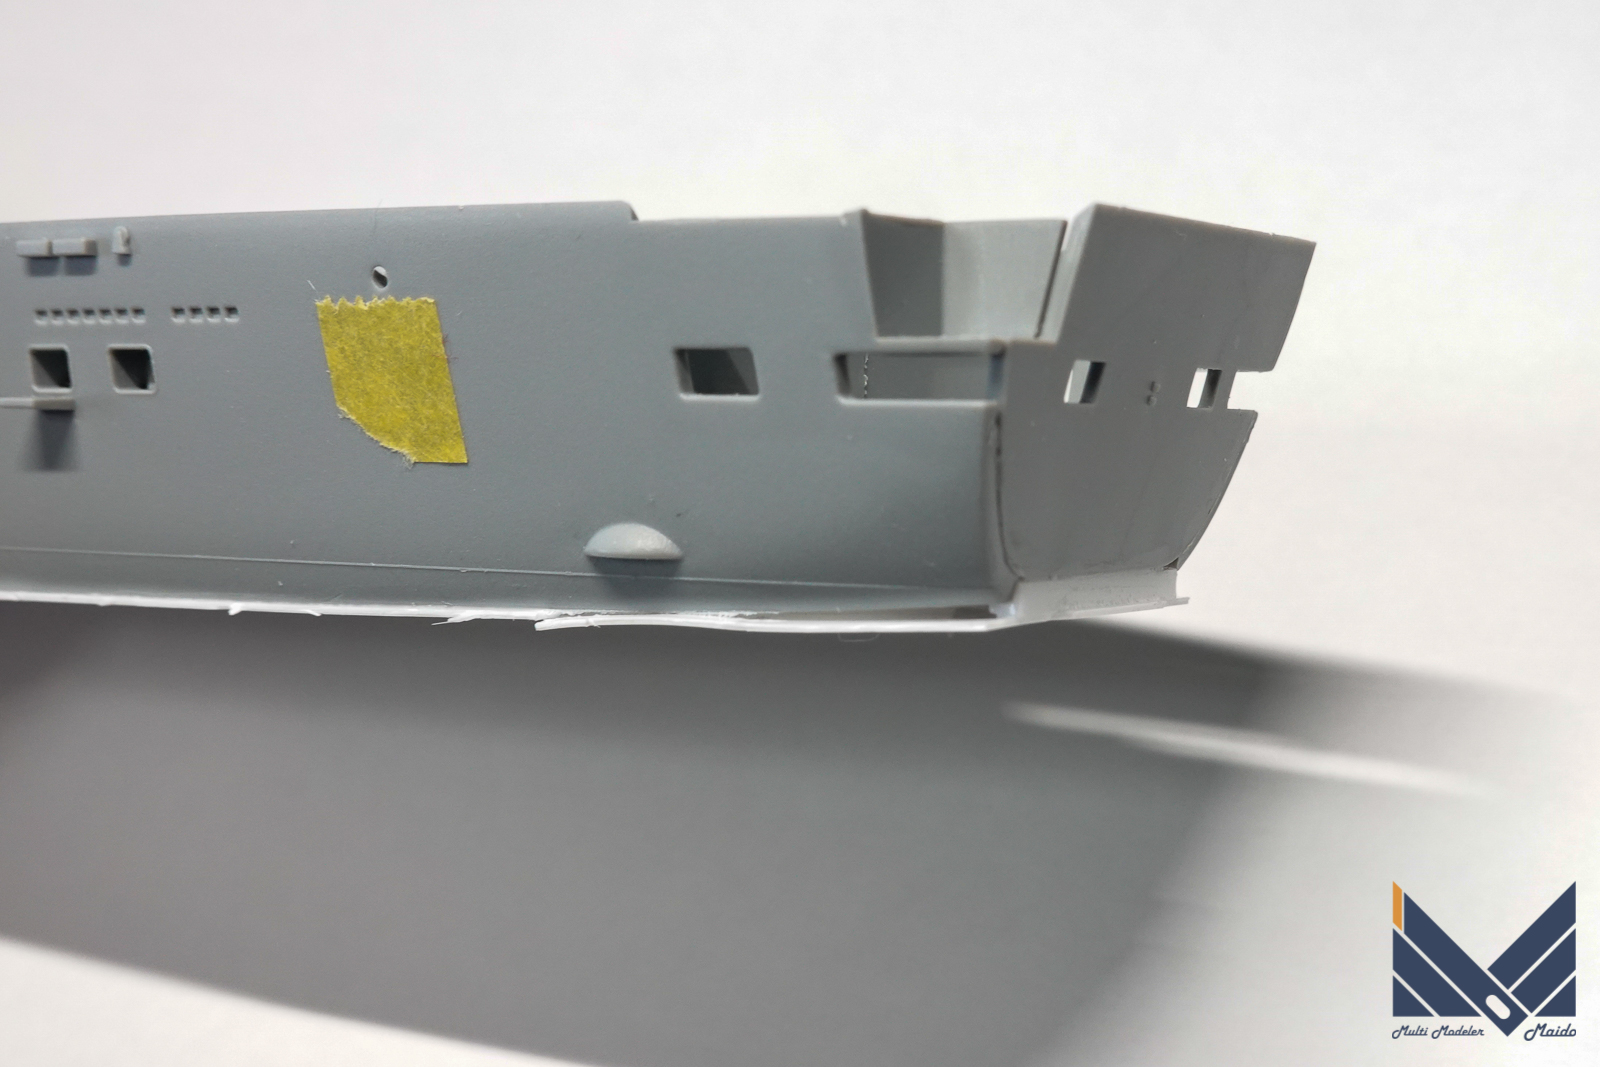
2㎜のプラ角棒を接着します、喫水板が曲がらないように高さを調整します。
Adhere a 2 mm plastic square bar and adjust the height so that the waterline plate does not bend.
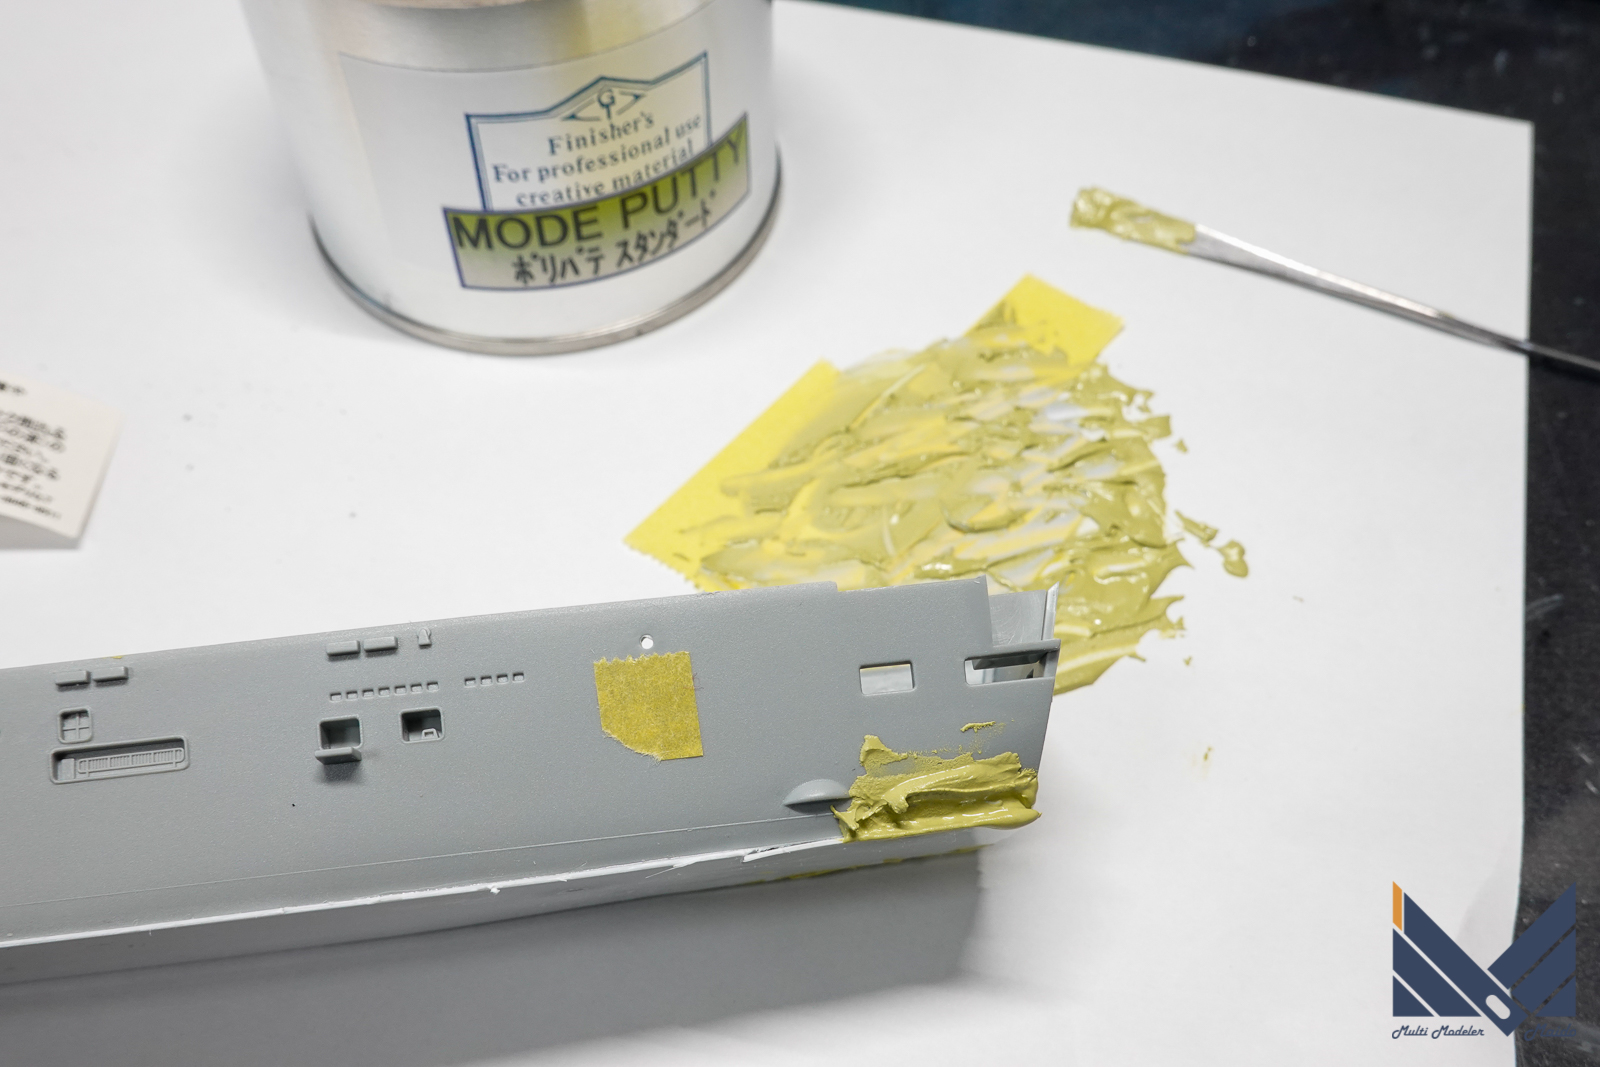
隙間をポリエステルパテで埋めようとしたのですが、待てど暮らせど硬化しません。買ったのがもう何年も前なので、完全に劣化しているようです。確かにポリエステルパテって現在ではあまり使いません、私も1年近く使ってないと思います。そこで硬化していないポリエステルパテをできる限り落としてから、タミヤのイージーサンディングを充填しました
I tried to fill the gap with polyester putty, but it doesn’t harden even though I’ve been waiting. I bought it many years ago, so it seems to be completely deteriorated. Certainly, I don’t use polyester putty much now, I think I haven’t used it for almost a year. So I removed the uncured polyester putty as much as possible and then filled it with Tamiya’s Easy Sanding.
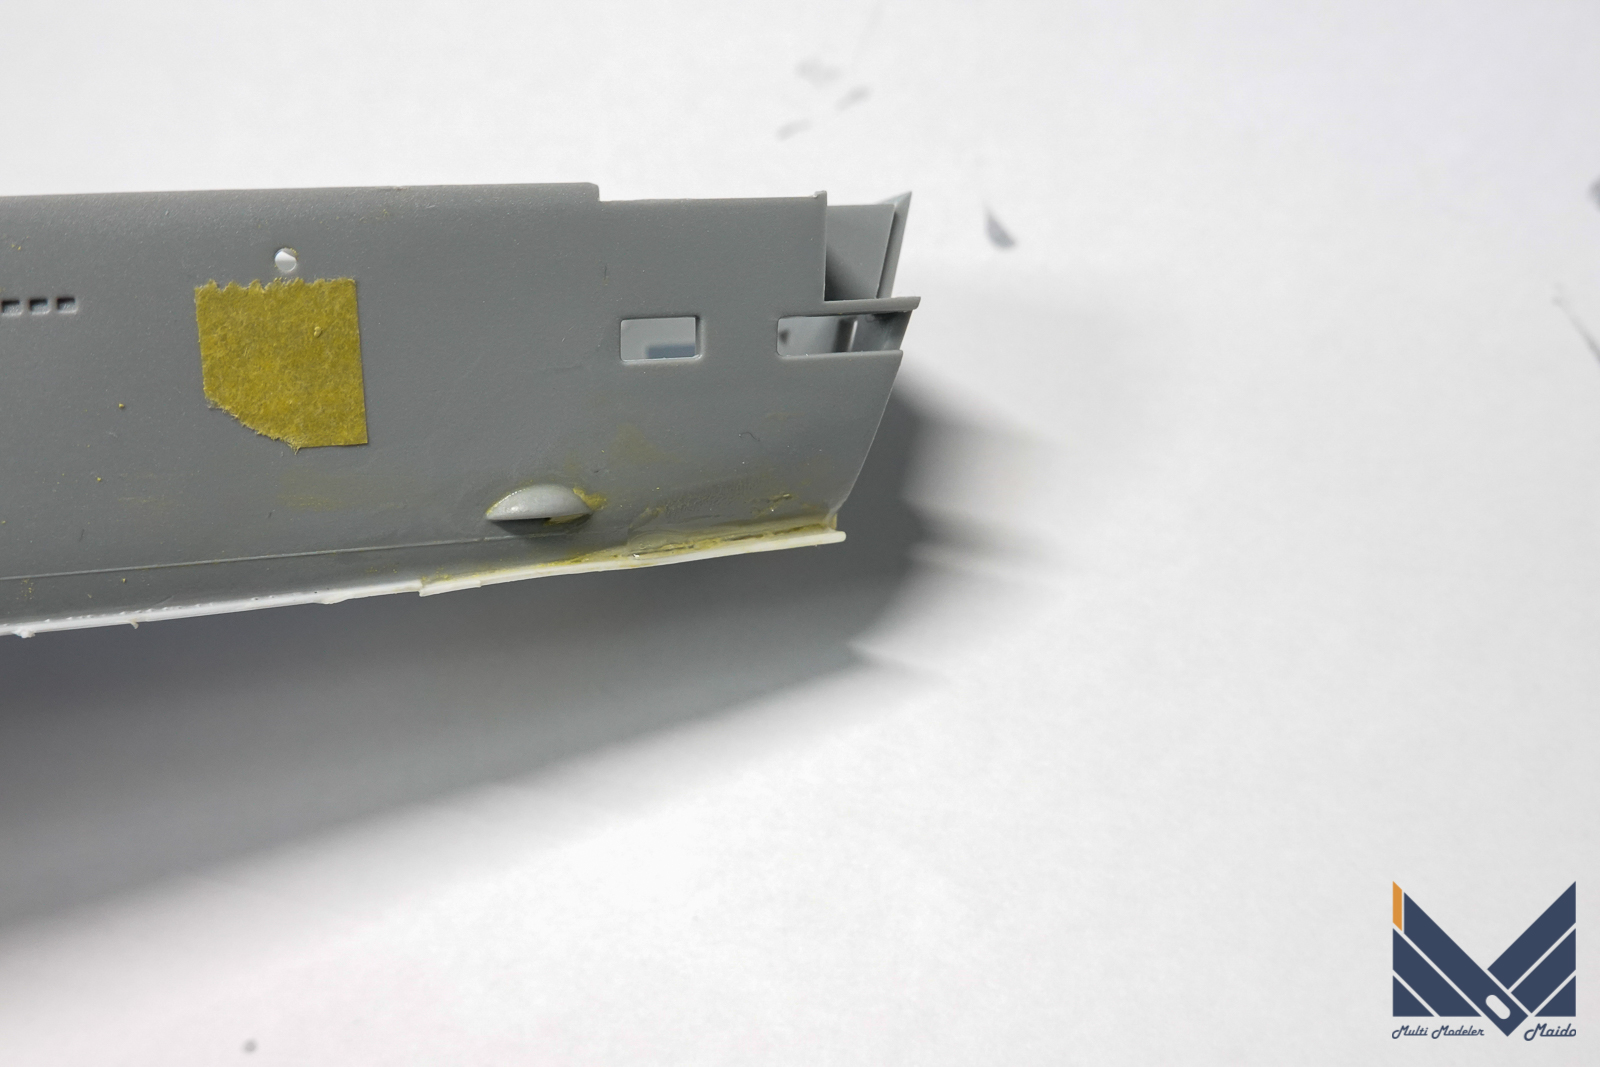
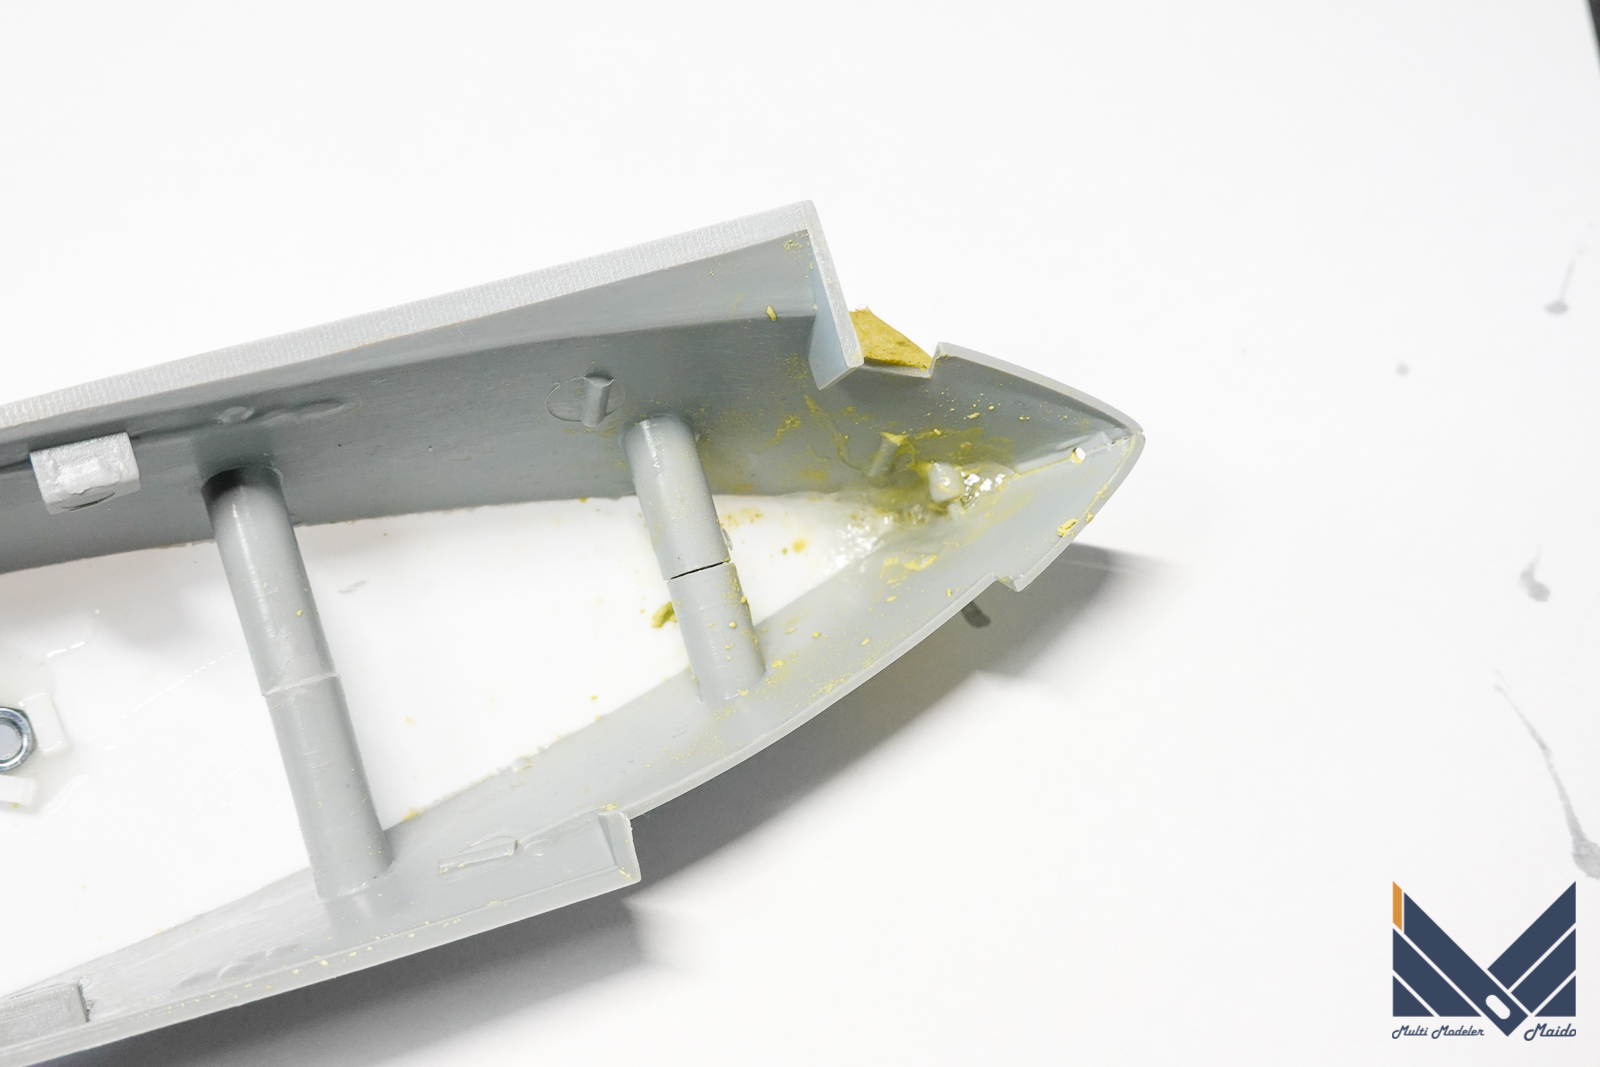
後々削り込む艦首にもタミヤのイージーサンディングを充填しておきます
Fill the bow that will be cut later with Tamiya’s Easy Sanding.
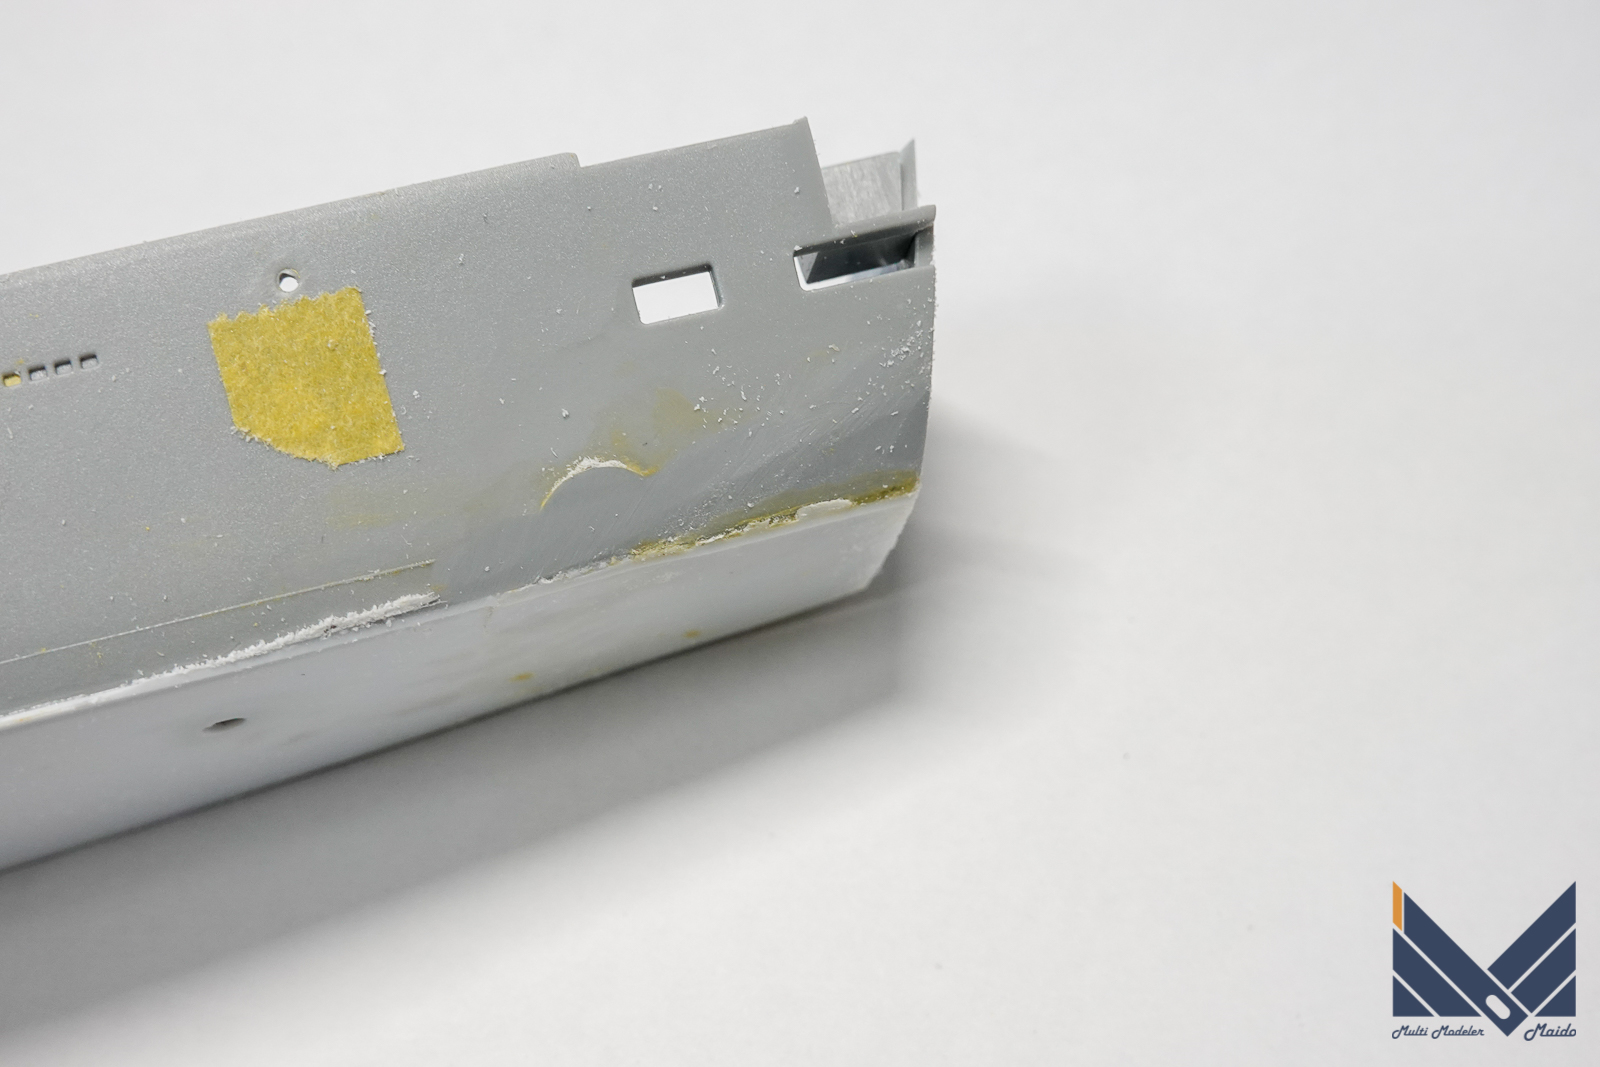
硬化後に粗削りしておきます
Roughly cut after curing
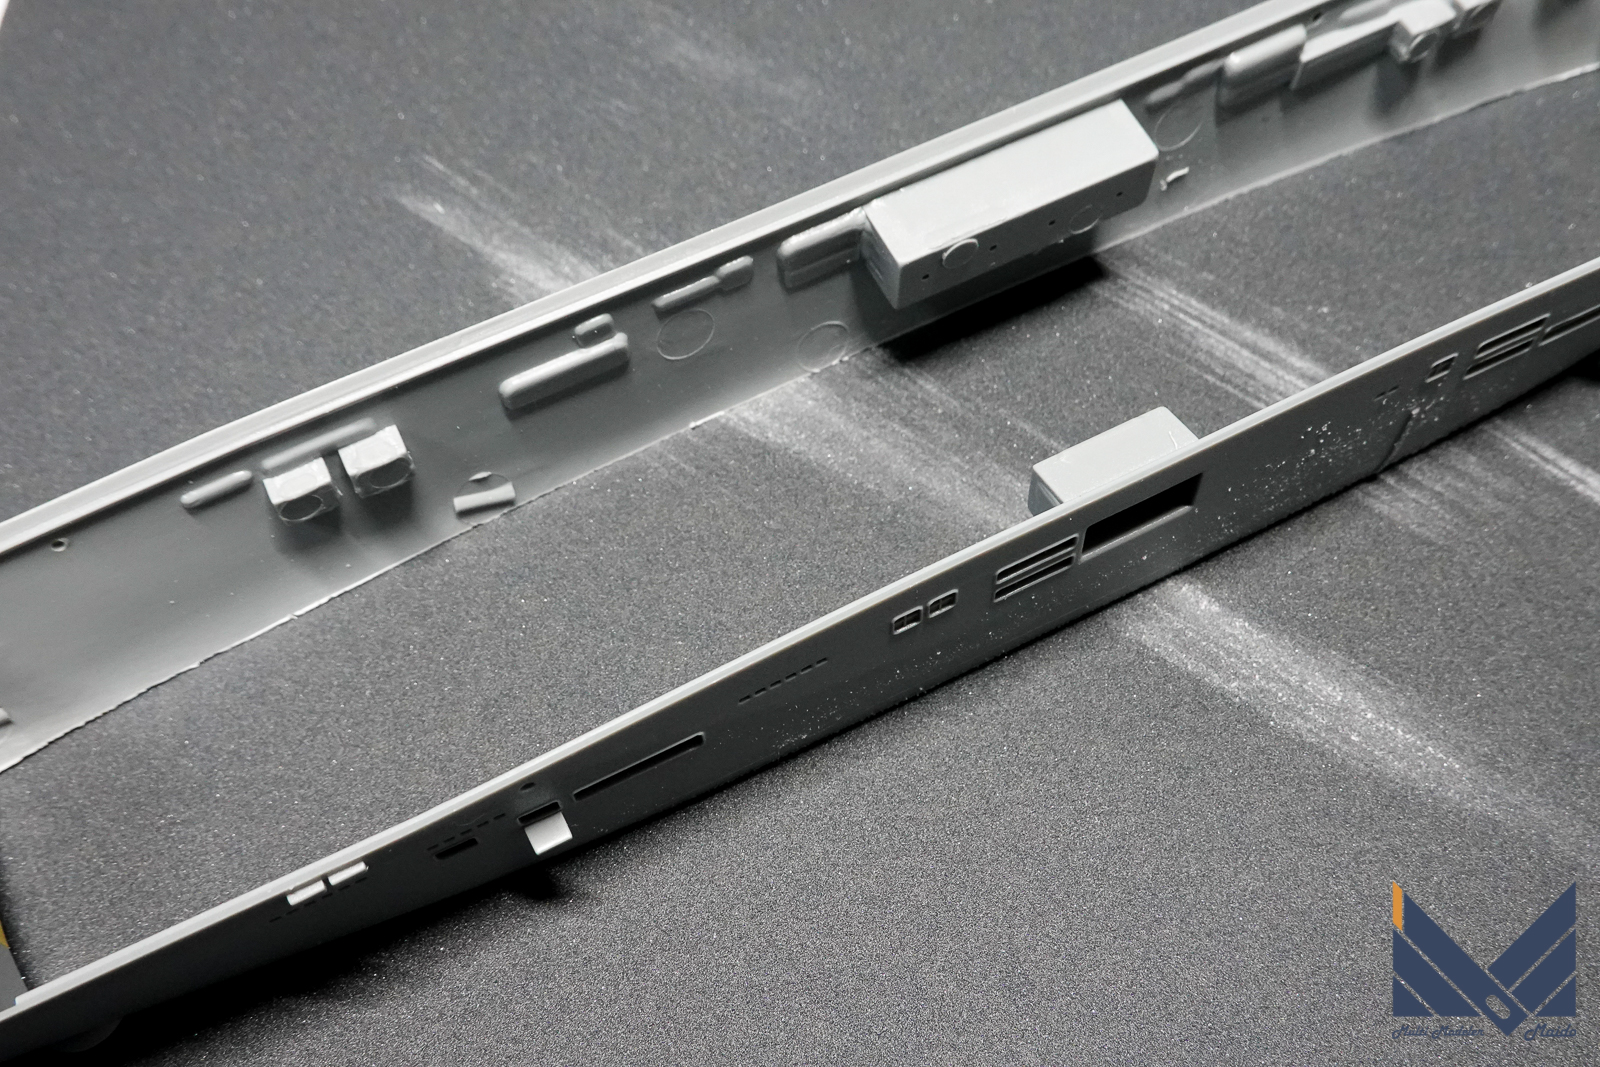
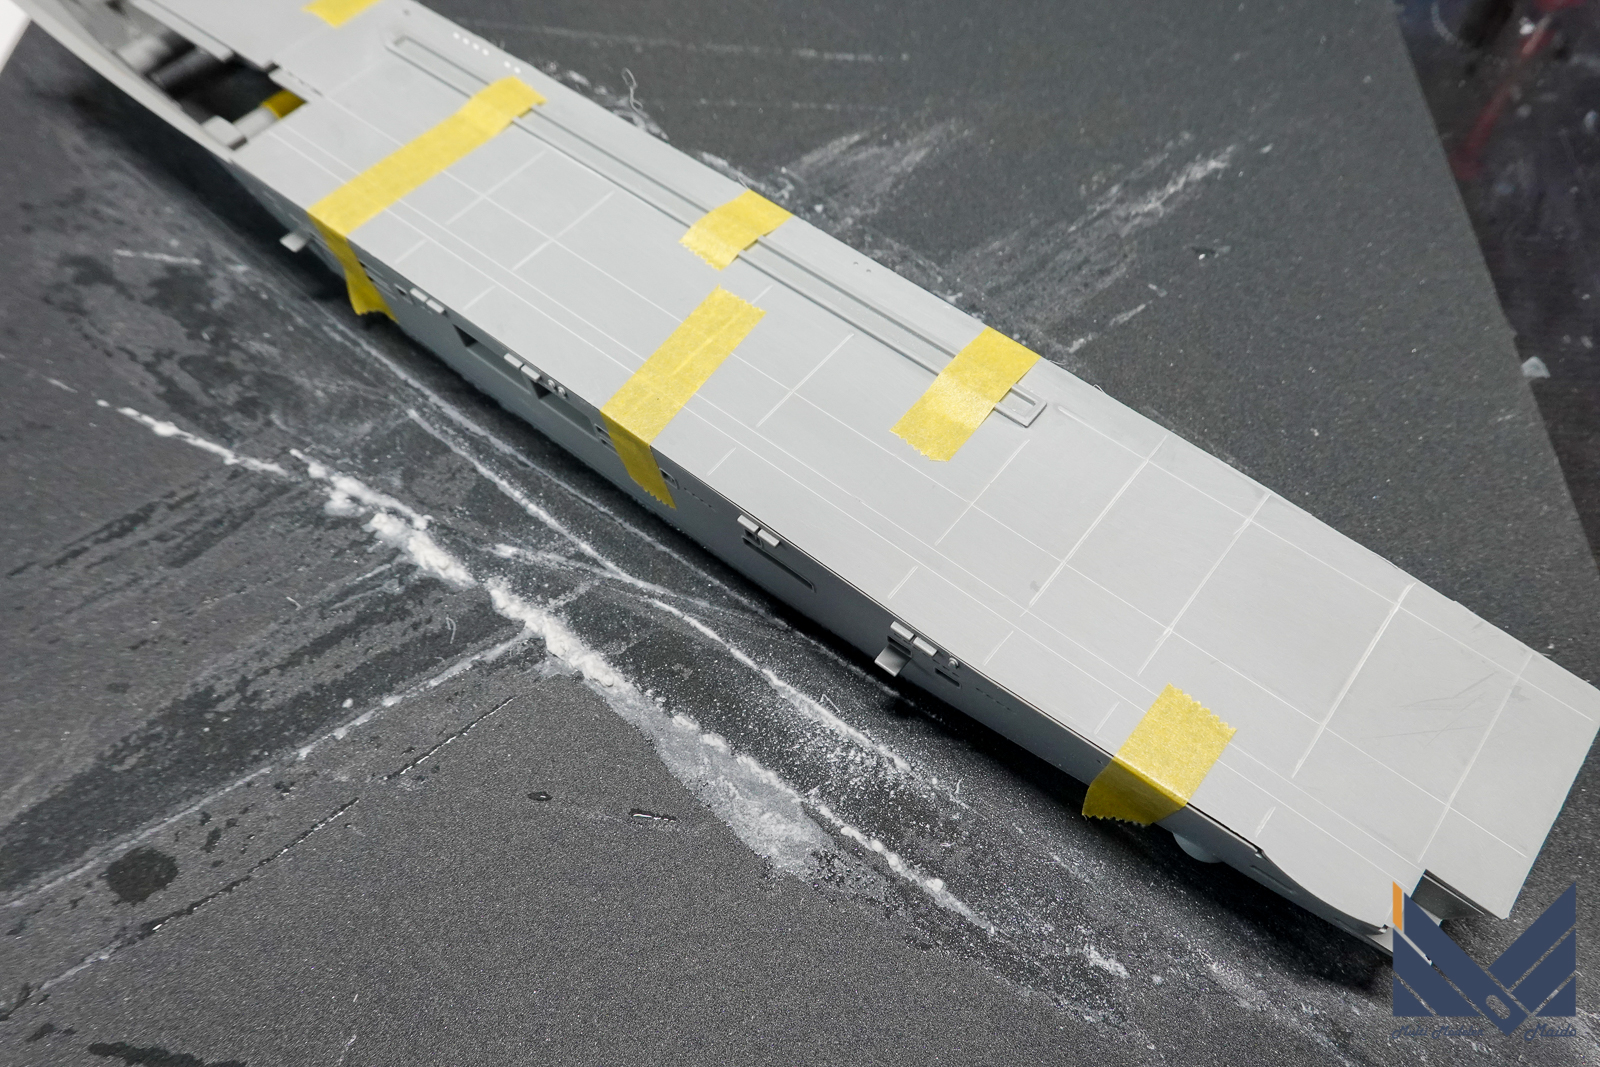
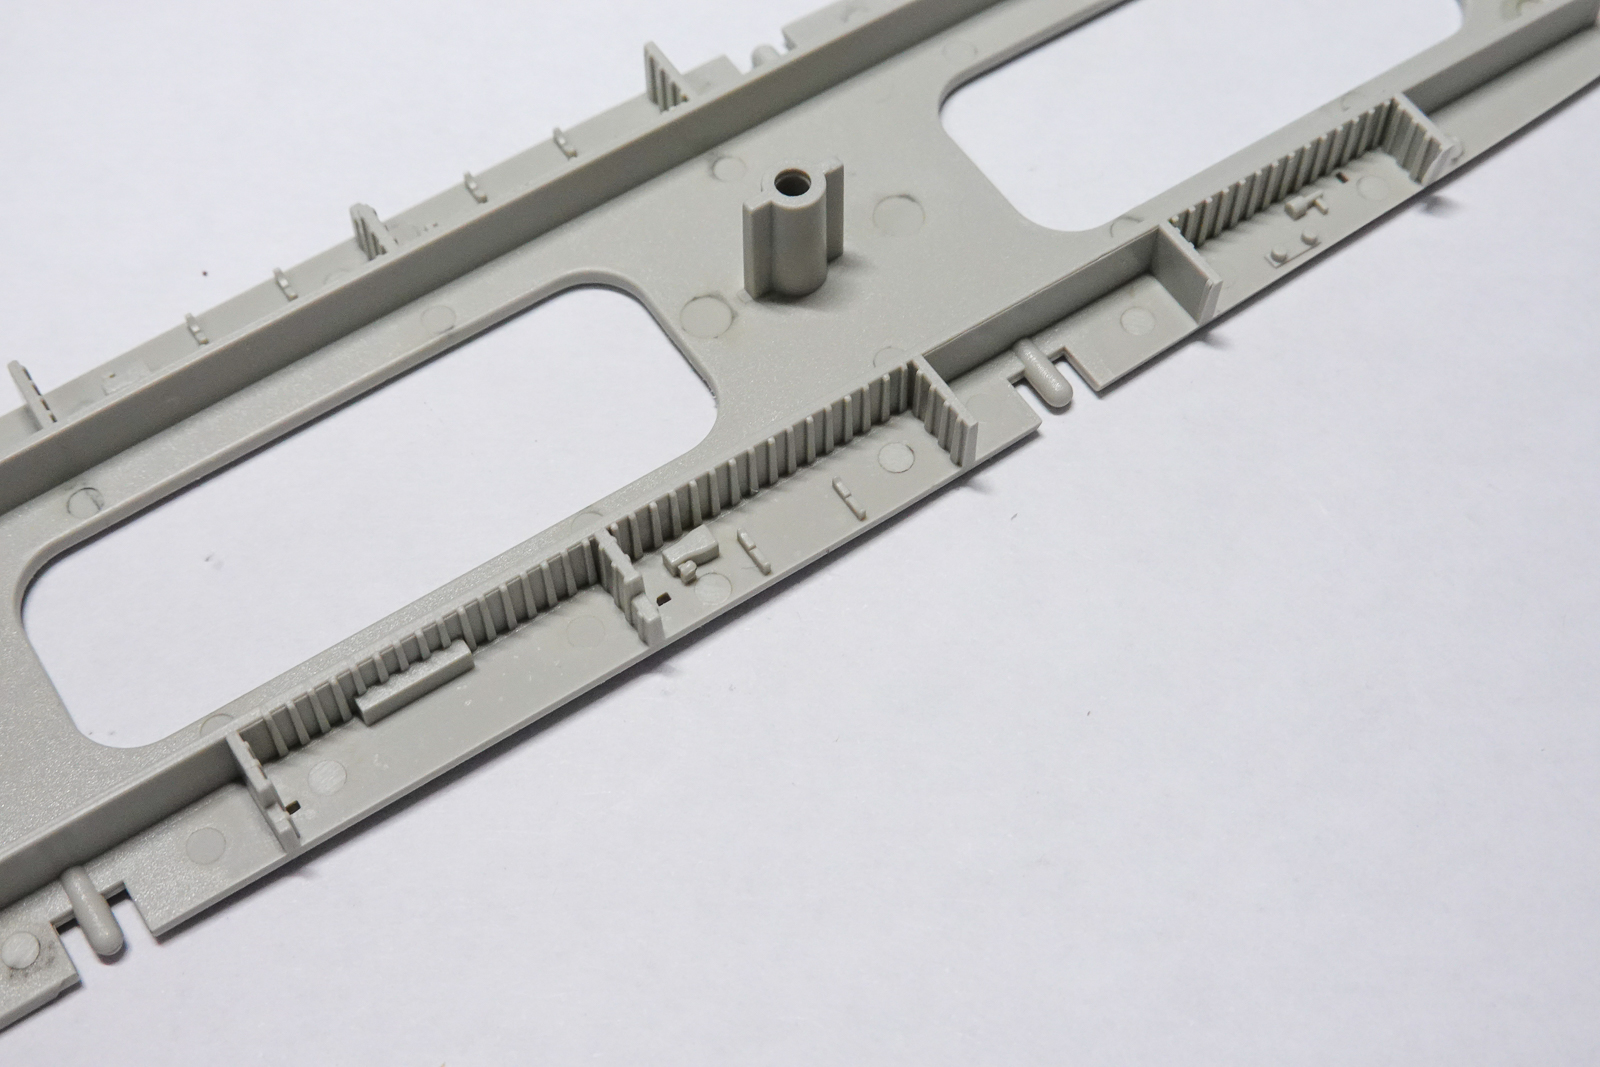
飛行甲板接着
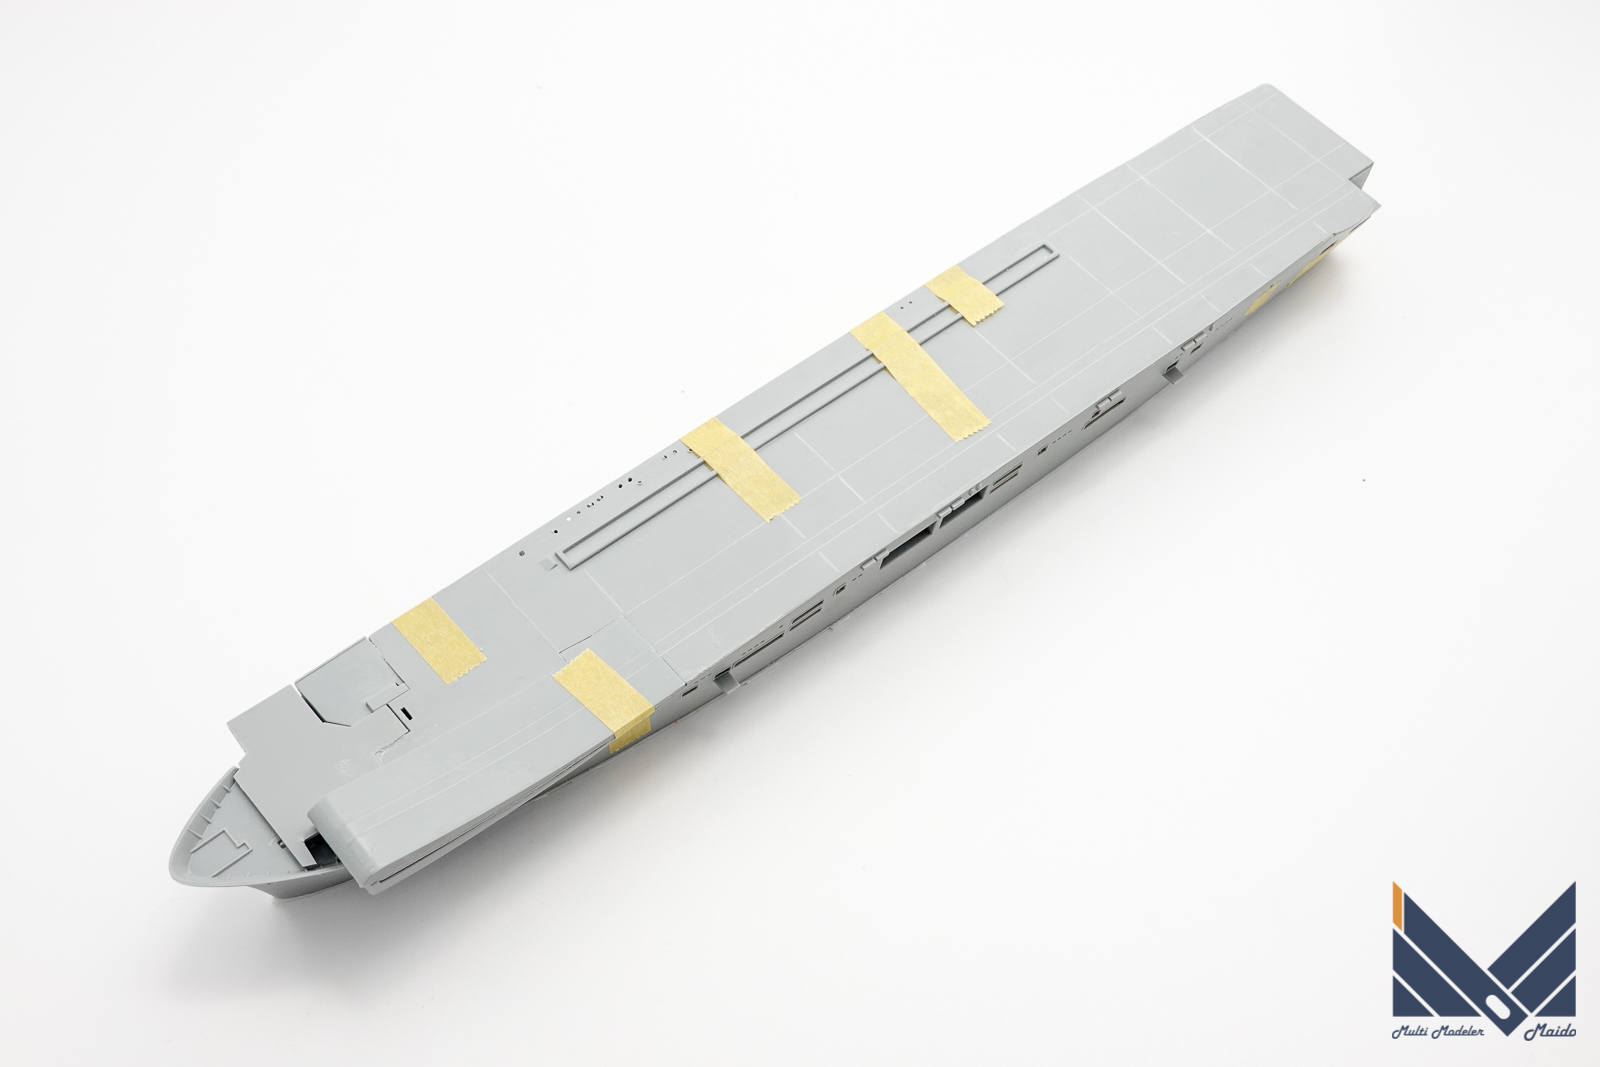
そして凸モールドを削り落とした飛行甲板を接着します。
Then, glue the flight deck from which the convex mold has been scraped off.
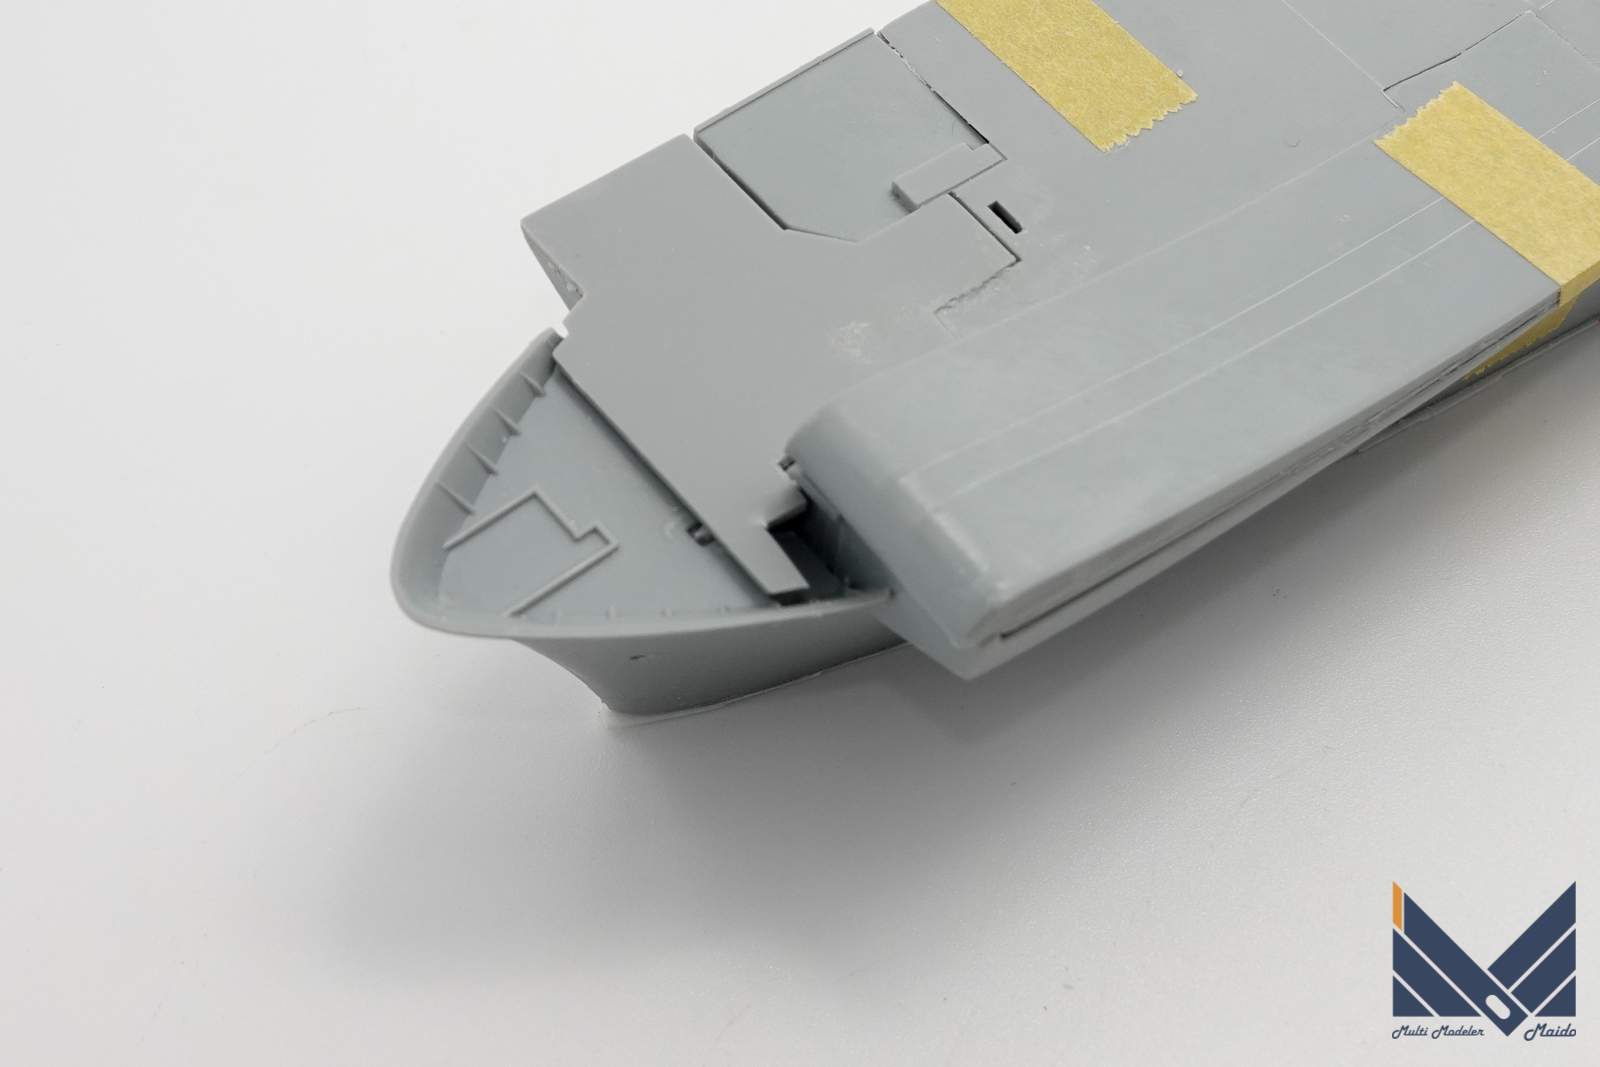
艦首側は最終的にエッチングの甲板を取り付けます。エッチングパーツは存在しているのに、説明書に記載がないというトラップが仕掛けられています。
British Aircraft Carriers: Design, Development and Service Histories 収録の写真を見ると、スキージャンプの前付近は甲板の切り欠きがあるようですので、甲板の一部をカットしておきます。
このまま数日乾燥させます。
The bow side finally attaches the etched deck. Although the etched parts exist, a trap is set up that is not described in the manual.
Looking at the photos recorded in British Aircraft Carriers: Design, Development and Service Histories, it seems that there is a notch on the deck near the front of the ski jump, so cut a part of the deck.
Let it dry for a few days.
投稿者プロフィール

-
模型好き。カメラ好き。各模型雑誌で掲載多数。
艦船模型、飛行機模型、AFV模型などプラモデル全般の制作代行も承っております。「お問い合わせ」からご連絡ください。製作代行ご案内のページは現在概要のみを公開しておりますが、2025年6月現在納期はご相談になりますが、制作代行可能です
 製作代行について(β版)2024年4月6日詳細な製作代行などはのちに追加しますが、お問い合わせのあった方の最初のご案内メールの定型文を記しておきます。製作依頼の流れ1 キットに入っているパーツのみでの制作は、定価×6を基本価格としております。 キットをお送りいただ...maidoworks.com2024.04.06


コメント