基本工作を完了してサーフェイサーを塗装しました。
I completed the basic work and painted the surfacer.
胴体下部と主翼下部の接着はガイドあり
胴体下部を主翼下部の接着は機体内部にガイドピンがあります
There is a guide pin inside the fuselage to attach the lower fuselage to the lower wing.
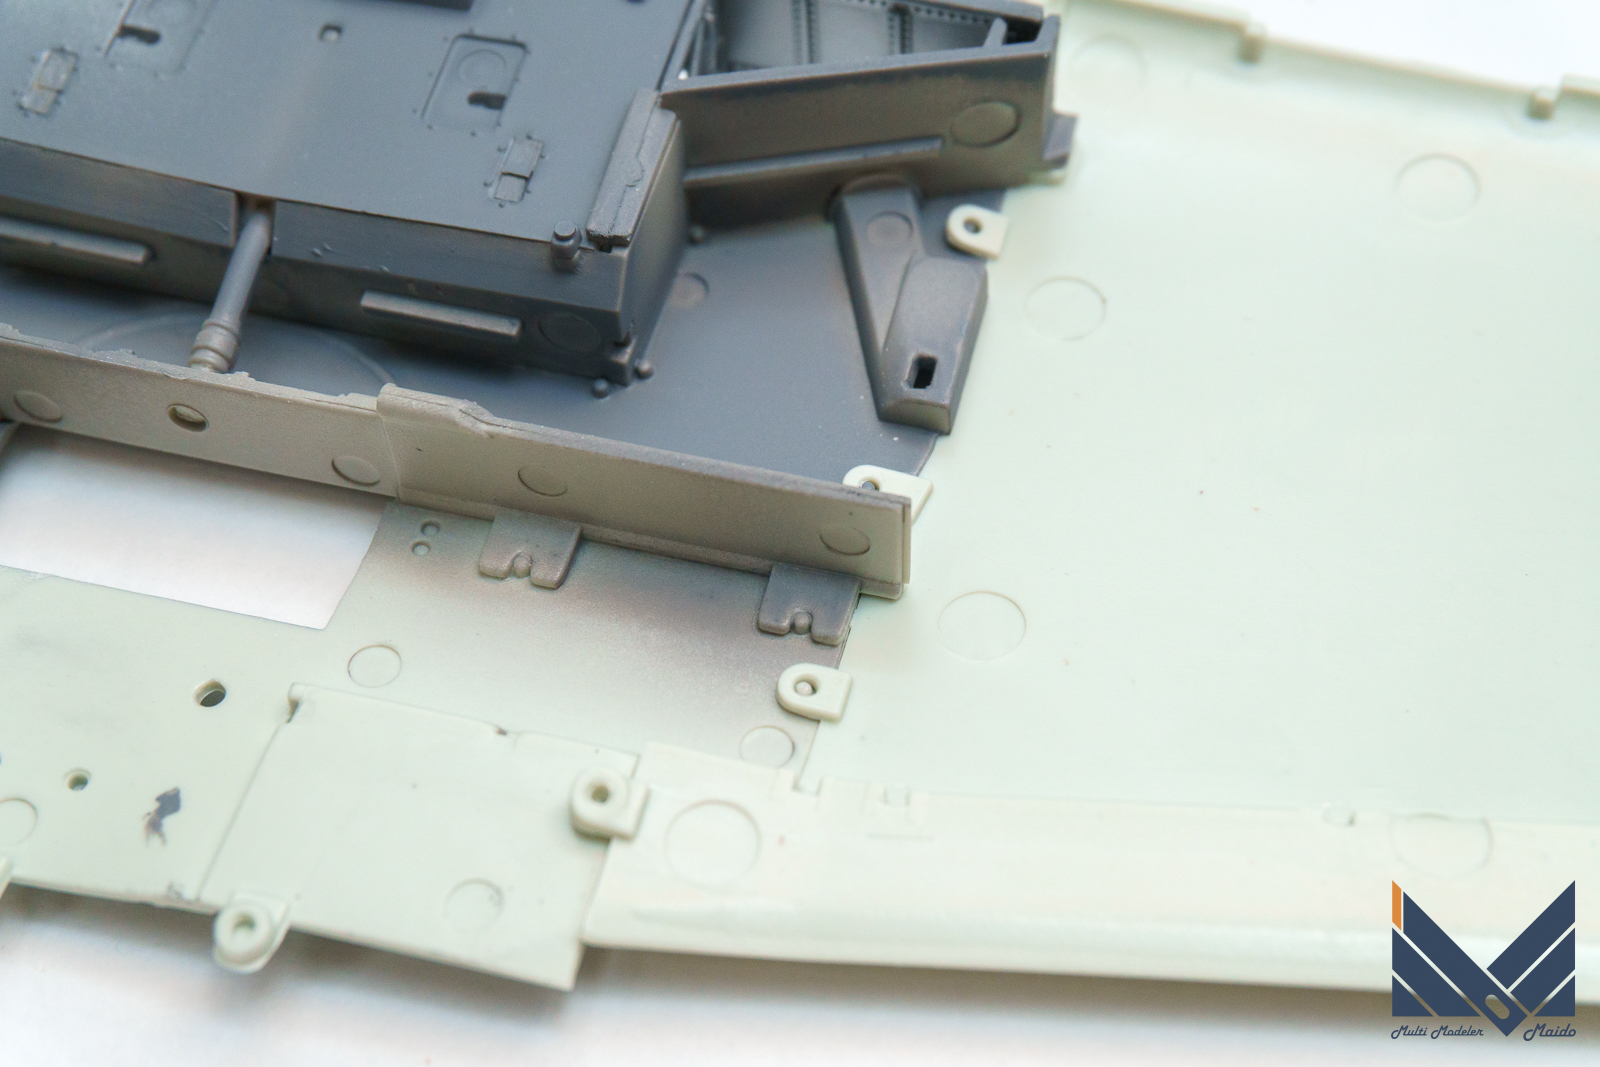
タミヤのようにぴったり合うわけでないすが、それでも組みやすさは進化しています。
It doesn’t fit exactly like Tamiya, but it’s still easier to assemble.
主要部接着
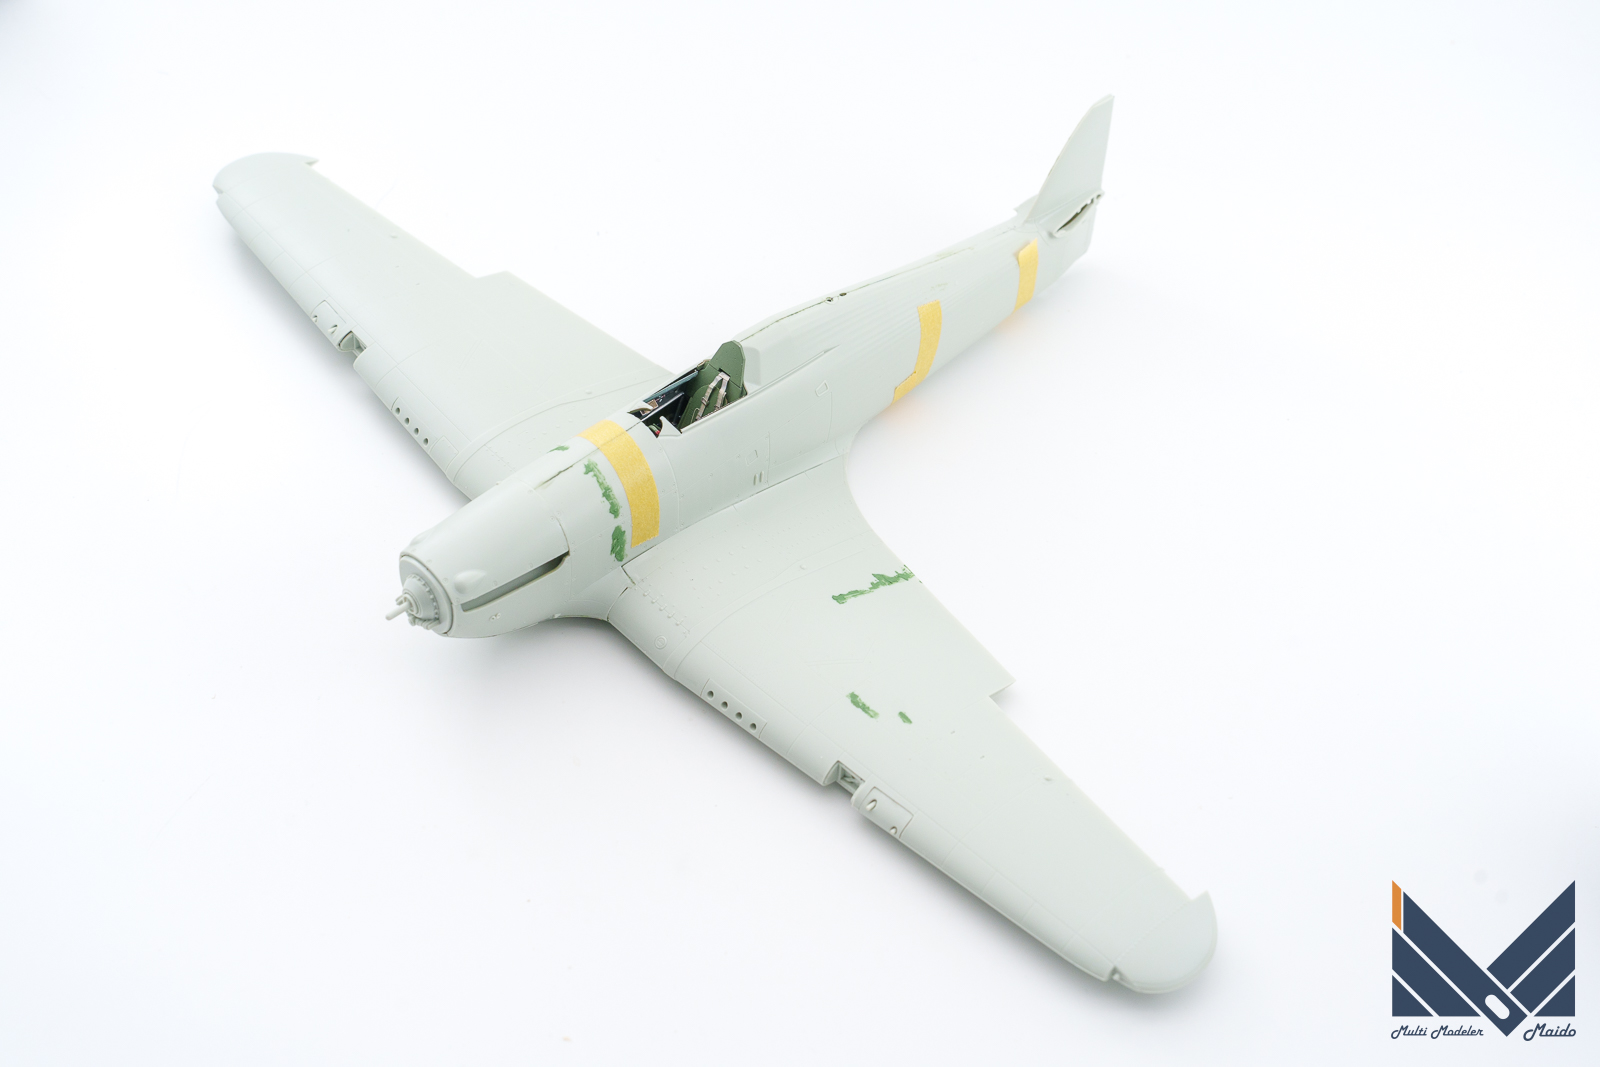
乾燥後に合わせ目は400番で研磨、全体を800番で研磨します。
After drying, polish the seams with 400, and polish the whole with 800.

この後で全体を洗浄します。
Clean everything after this.
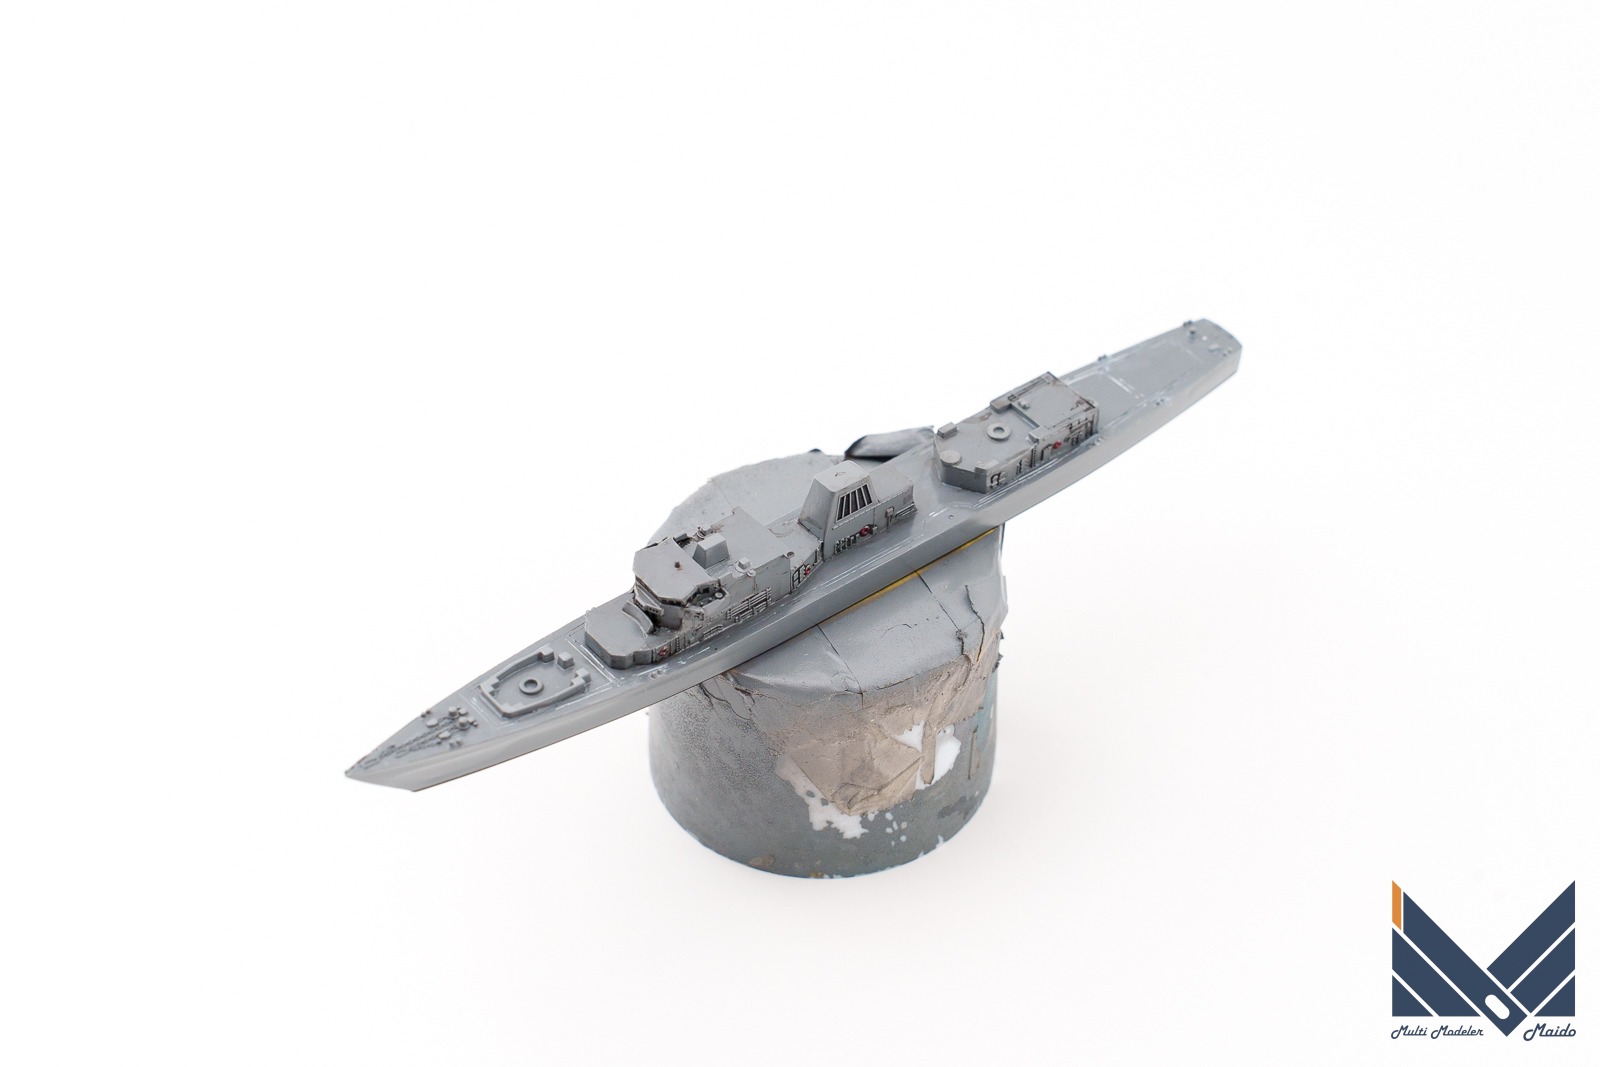
サーフェイサー塗装
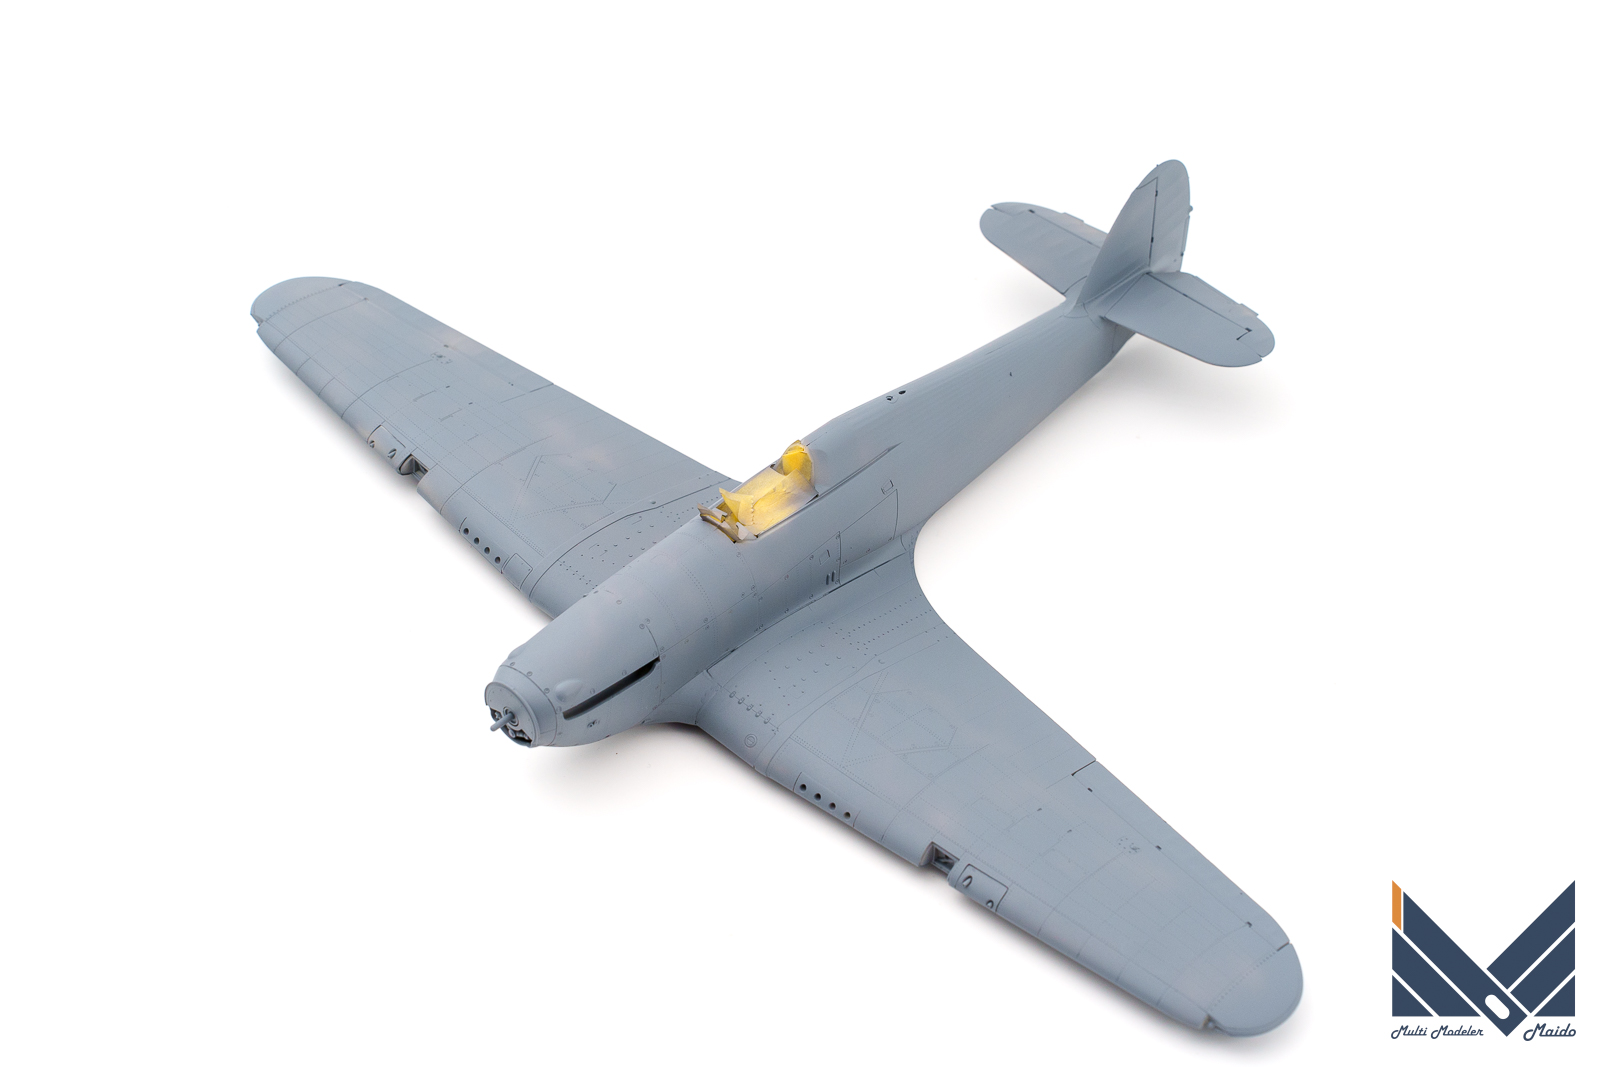
透け止めもかねてガイアノーツのメカサフライトを塗装して、表面状態をチェックします
Paint Gaianotes mecha sapphire to prevent see-through, and check the surface condition
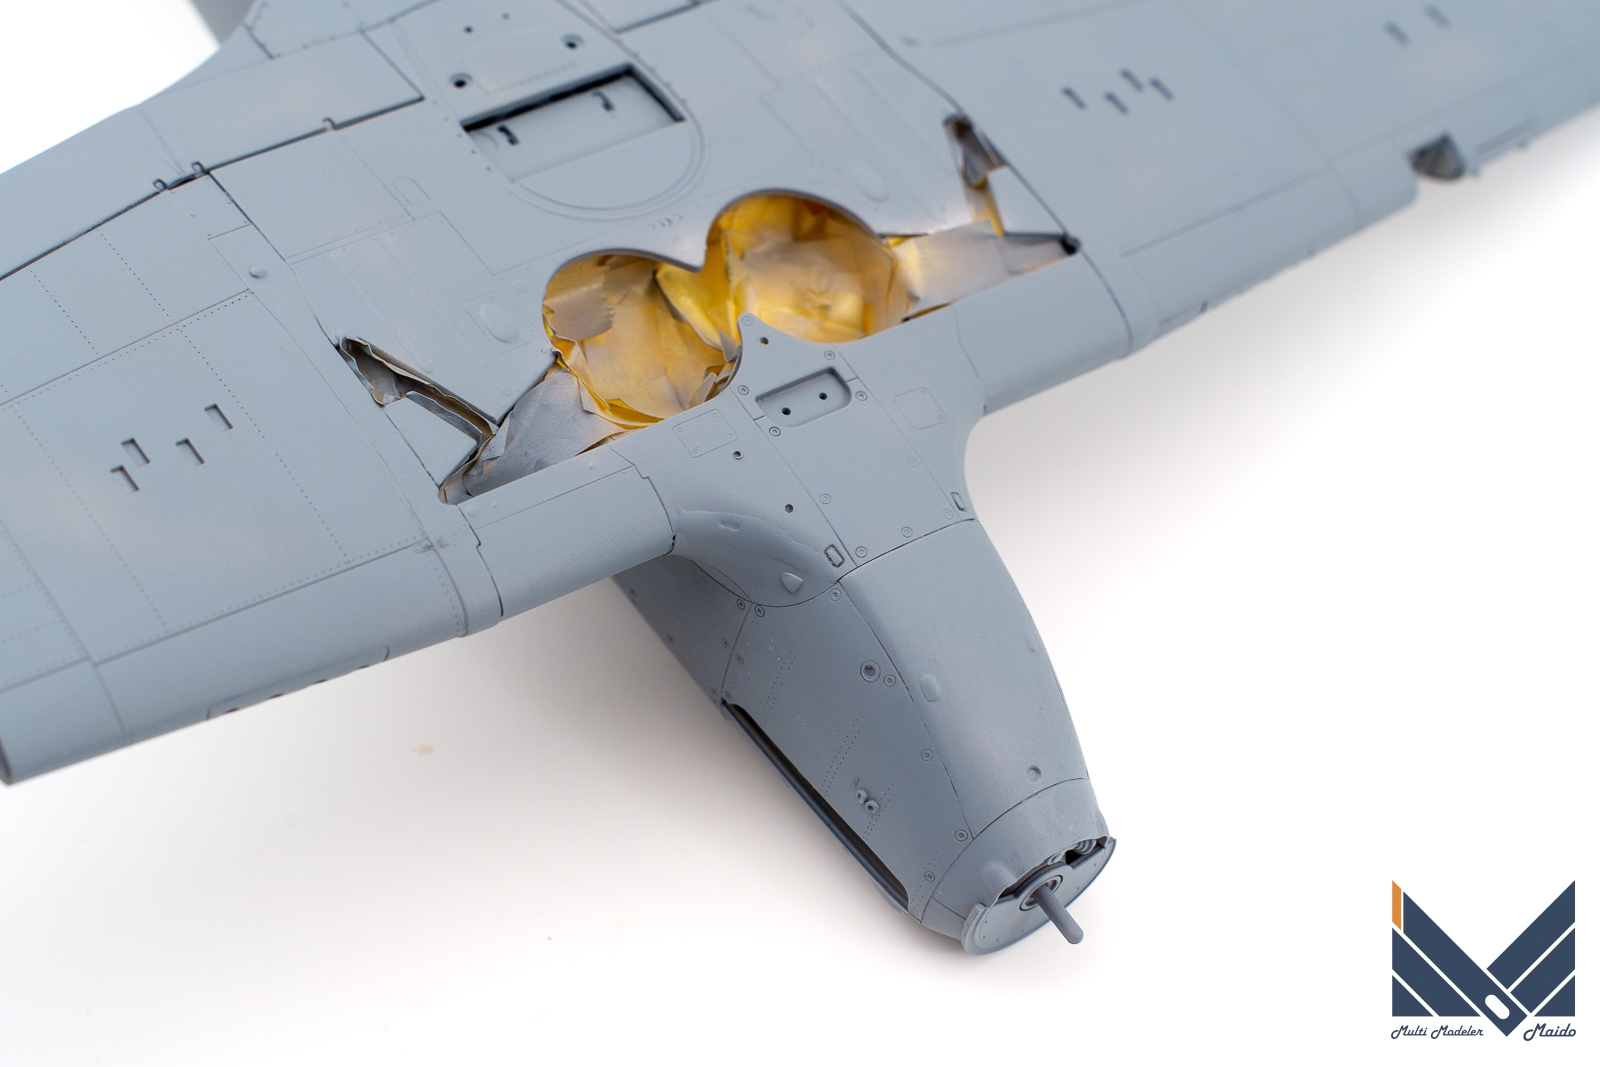
イージーサンディングを使った部分に少し段差があるのでサンディングして処理しておきます。
There is a slight step in the part where easy sanding was used, so sand it and process it.
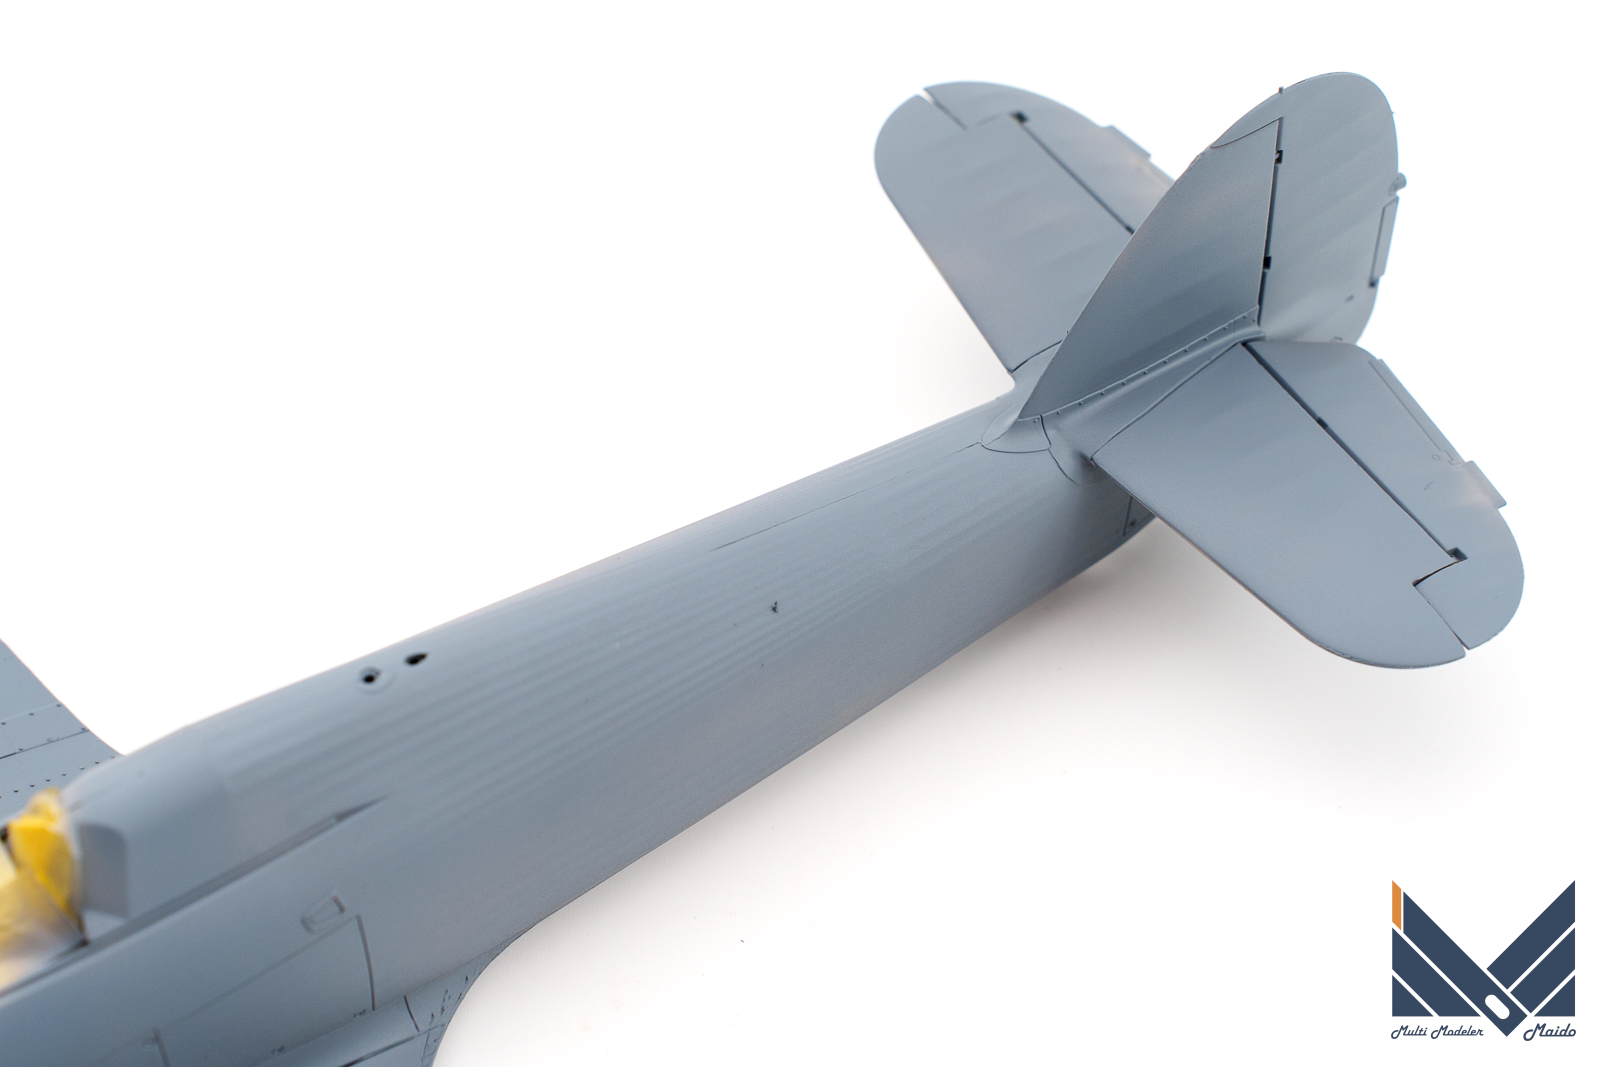
合わせ目が消えていないので、ラッカーパテを塗ってからサンディングして処理しておきます。
Since the seams have not disappeared, apply lacquer putty and then sand them.
投稿者プロフィール

-
模型好き。カメラ好き。各模型雑誌で掲載多数。
艦船模型、飛行機模型、AFV模型などプラモデル全般の制作代行も承っております。「お問い合わせ」からご連絡ください。製作代行ご案内のページは現在概要のみを公開しておりますが、2025年6月現在納期はご相談になりますが、制作代行可能です
 製作代行について(β版)2024年4月6日詳細な製作代行などはのちに追加しますが、お問い合わせのあった方の最初のご案内メールの定型文を記しておきます。製作依頼の流れ1 キットに入っているパーツのみでの制作は、定価×6を基本価格としております。 キットをお送りいただ...
最新の投稿
 キャラクター模型完成品2025年12月23日バンダイ 1/1700 EXモデル ジオン公国軽巡洋艦ムサイ 完成品
 お知らせ2025年11月8日プレオープン記念キャンペーンのお知らせ
 お知らせ2025年11月8日プリントサービス プレオープンのお知らせ
 製作記アーカイブ2025年11月5日製作記はYouTubeへ移行しました

コメント