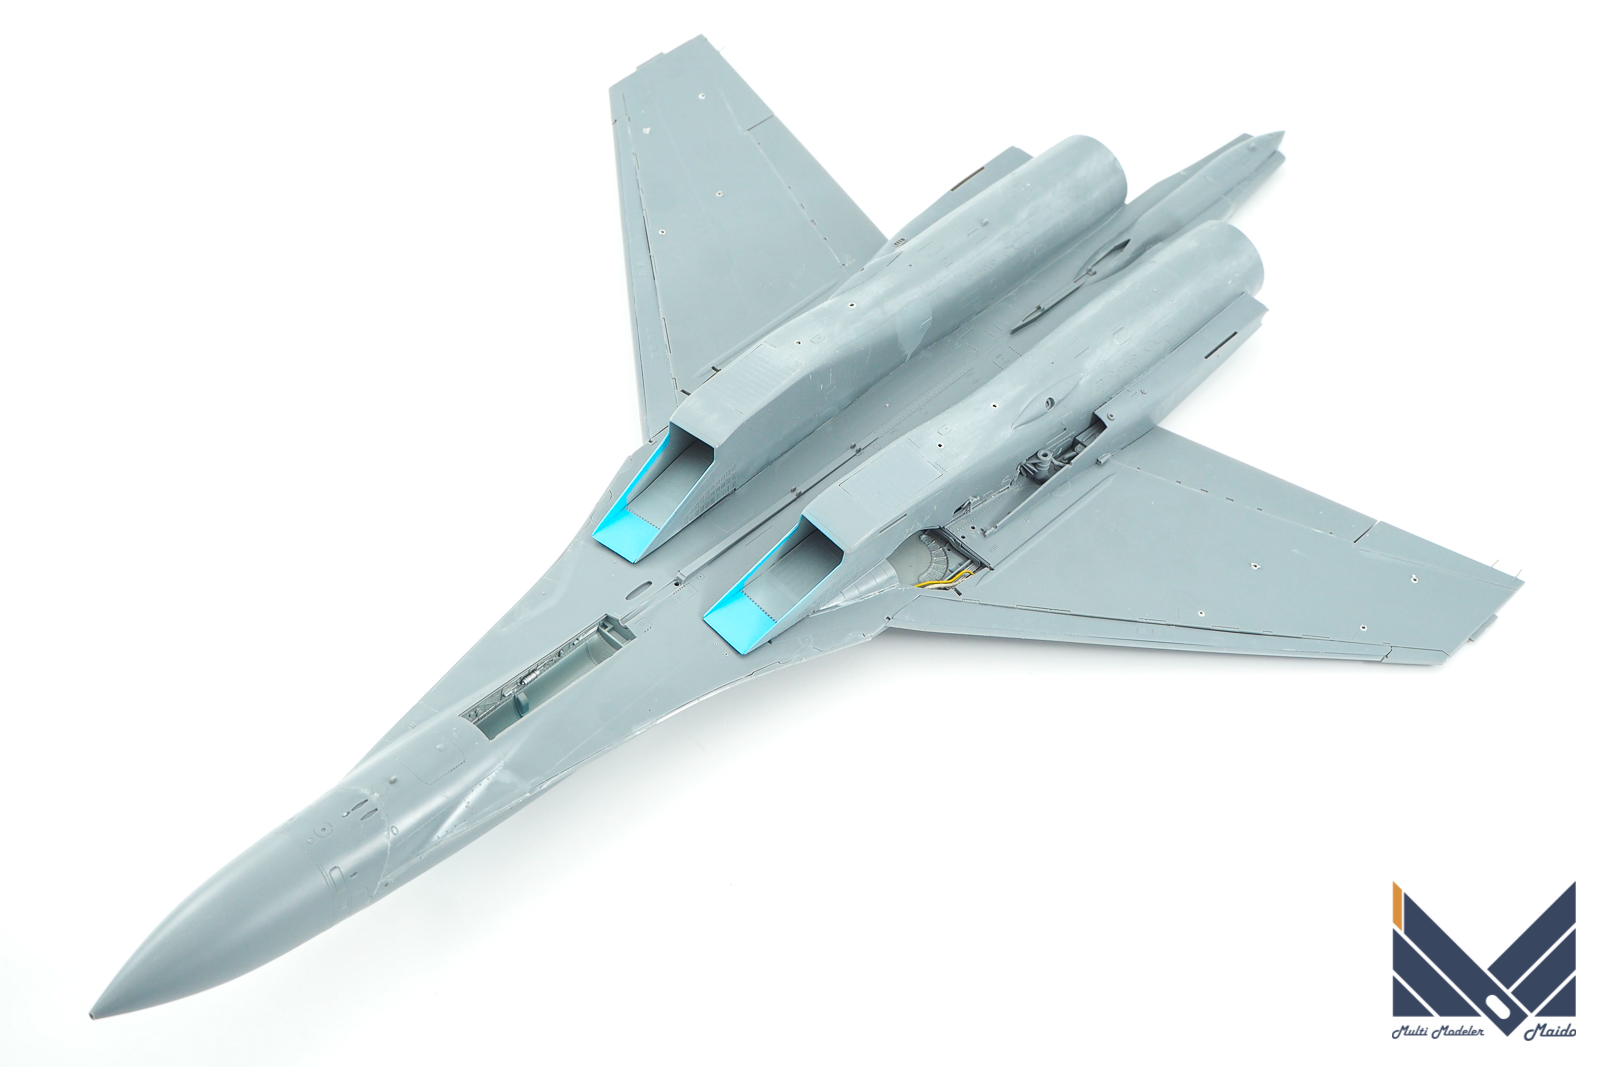
主要部分を接着し、表面処理を行いました
The main parts were glued and surface treated.
インテイク内を先に塗装します。塗分けは実機写真を参考にしました。
Paint the inside of the intake first. I referred to the actual photo for the painting.
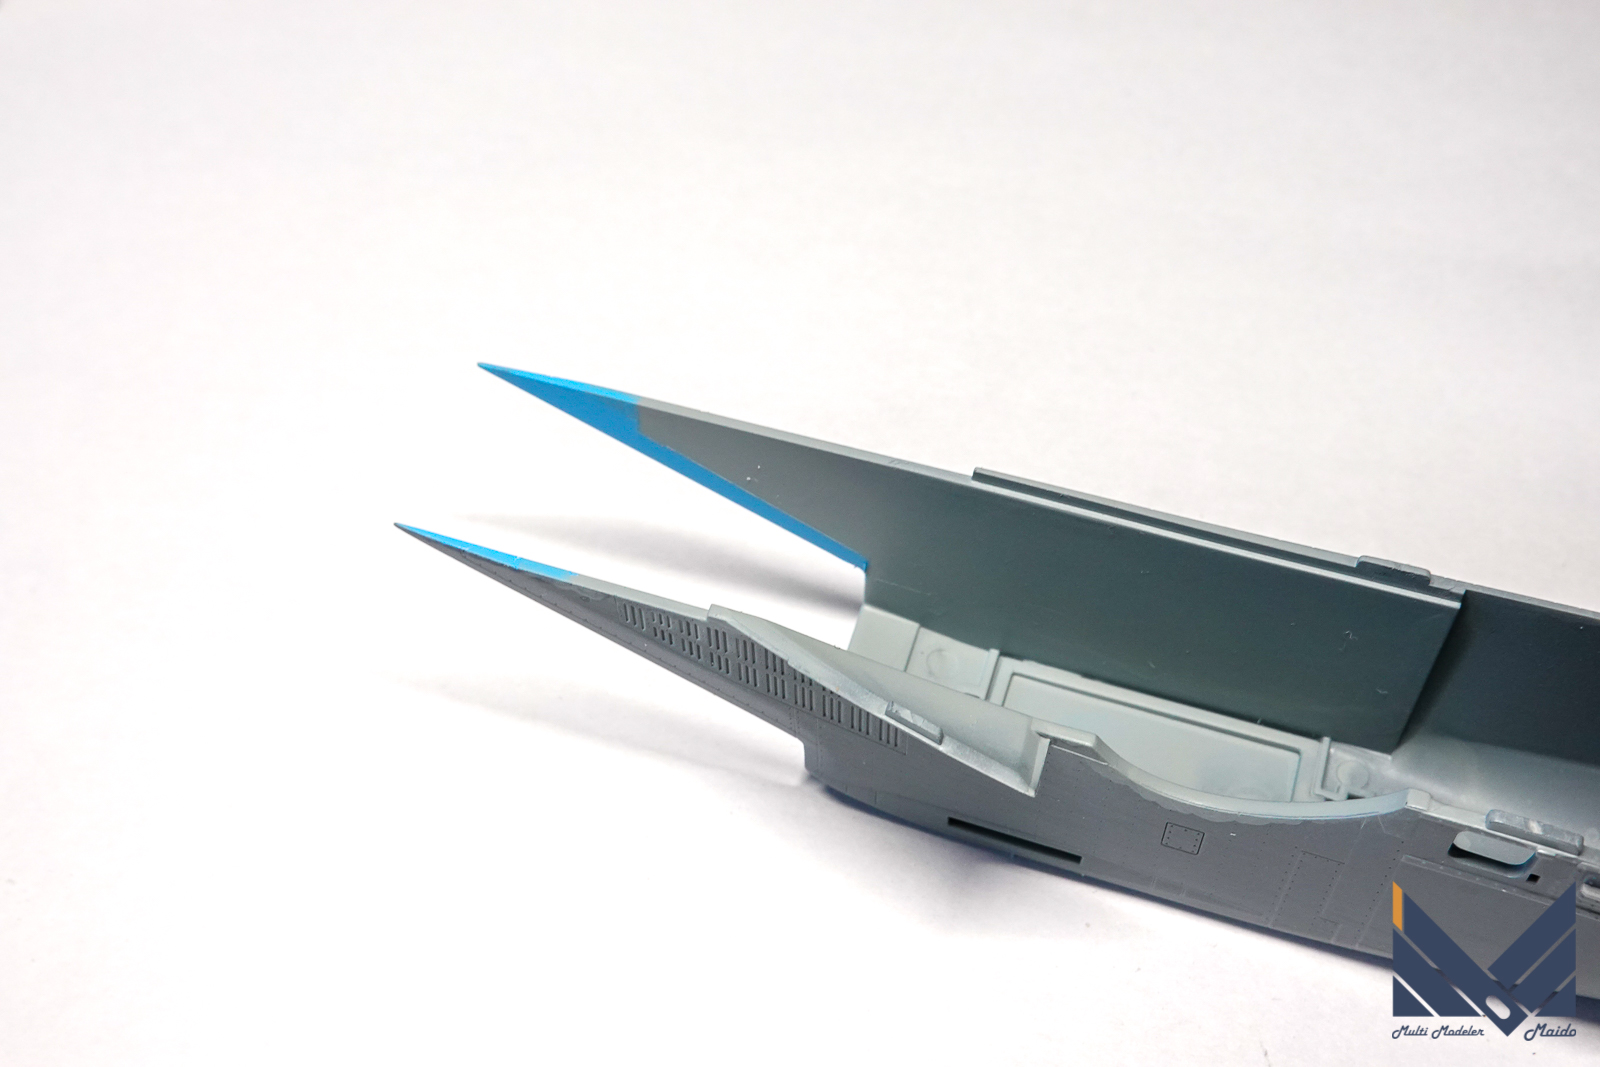
内部はMrカラー334、下面色がMrカラー323です。
The inside is Mr color 334, and the bottom color is Mr color 323.
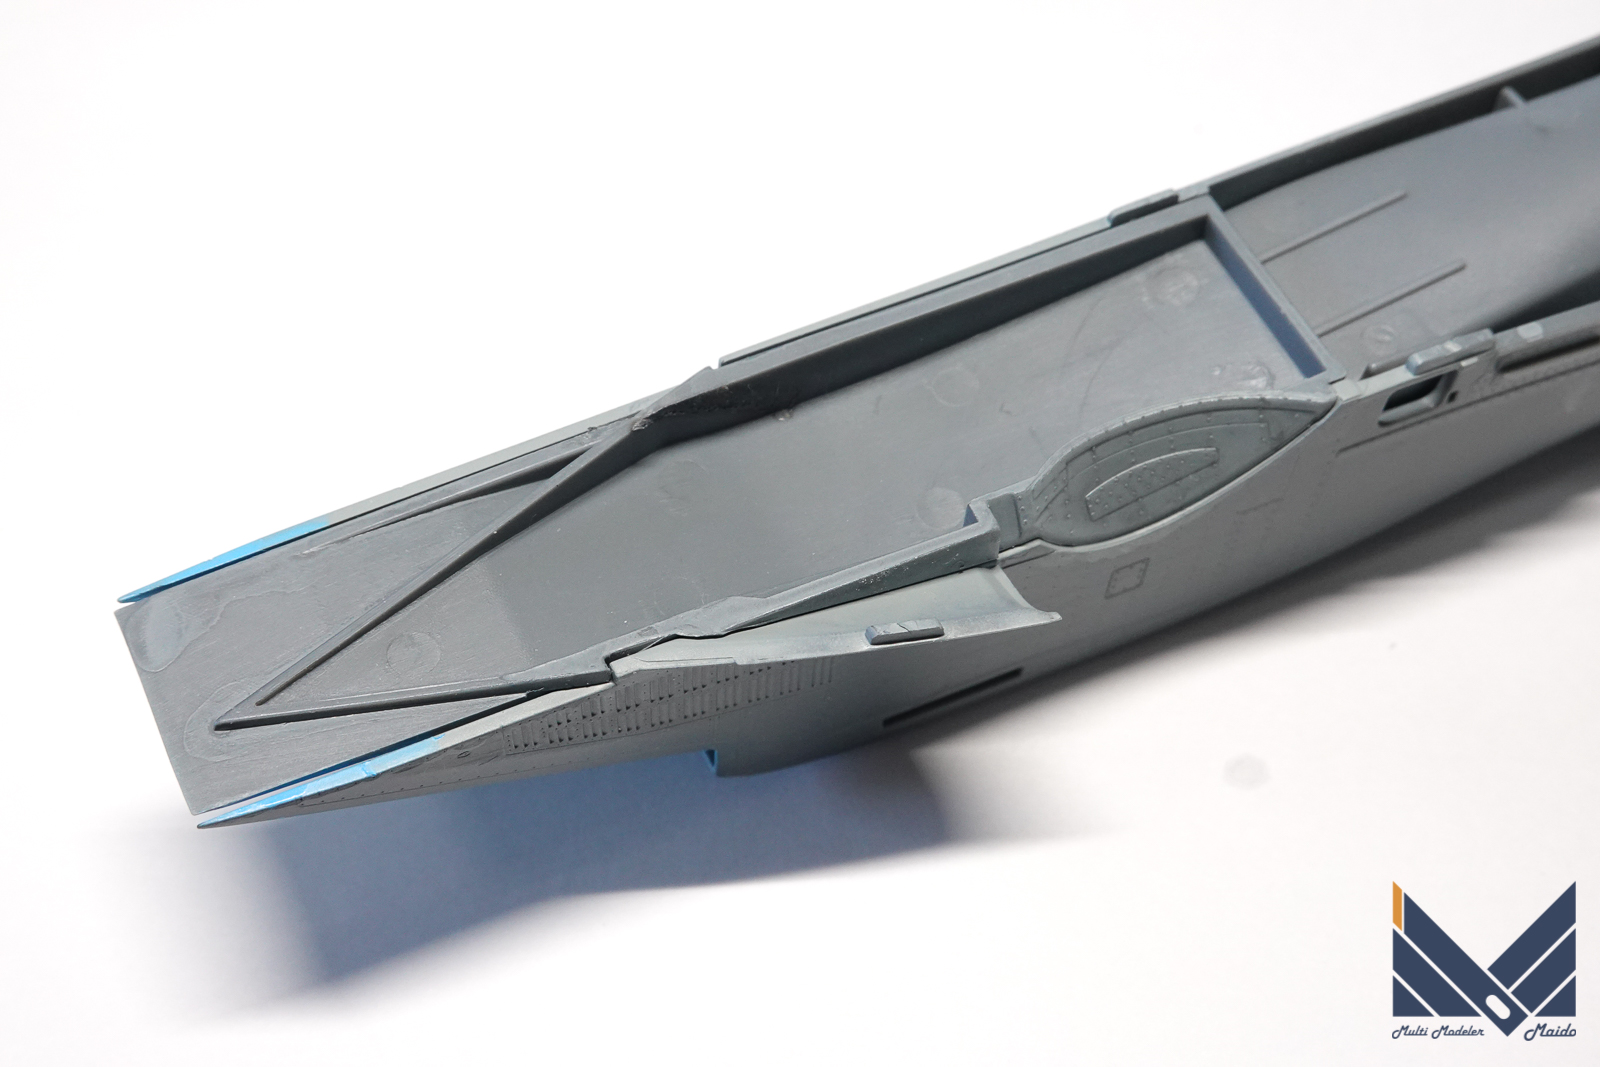
インテイクの上部も接着します。
Glue the top of the intake as well.
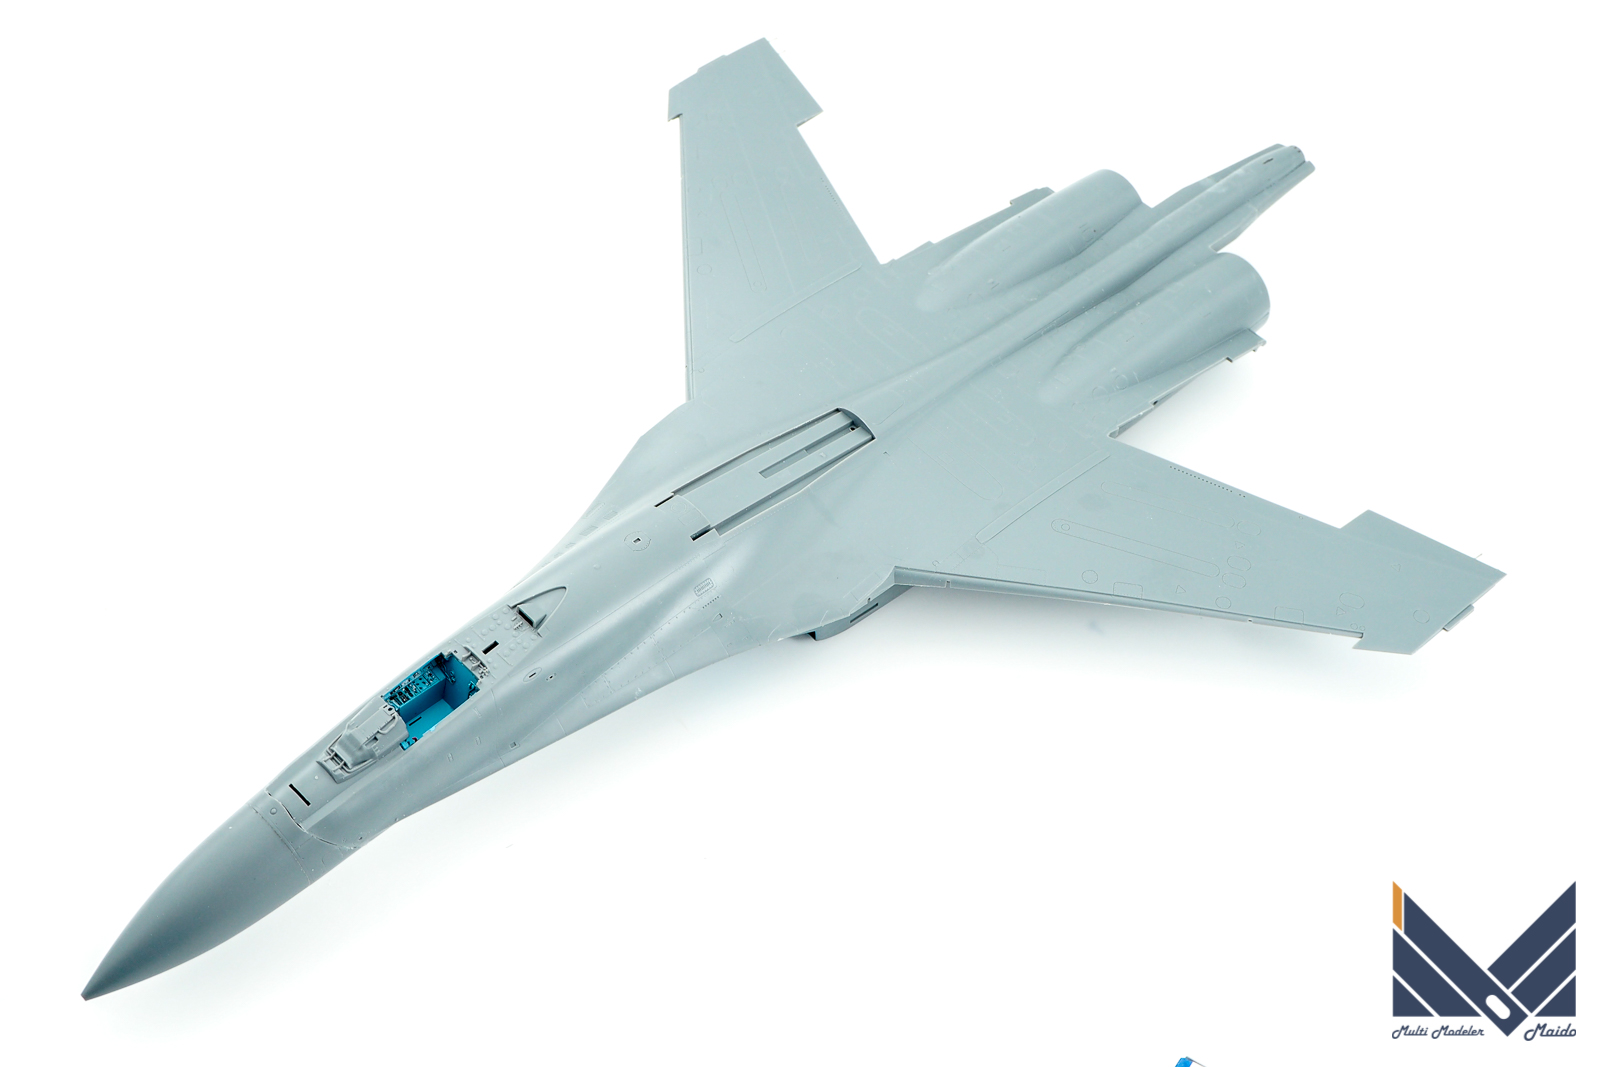
主要部の接着が完了です。さらにスラットやフラップなどを接着していきます
Adhesion of the main part is completed. Furthermore, we will glue slats and flaps.
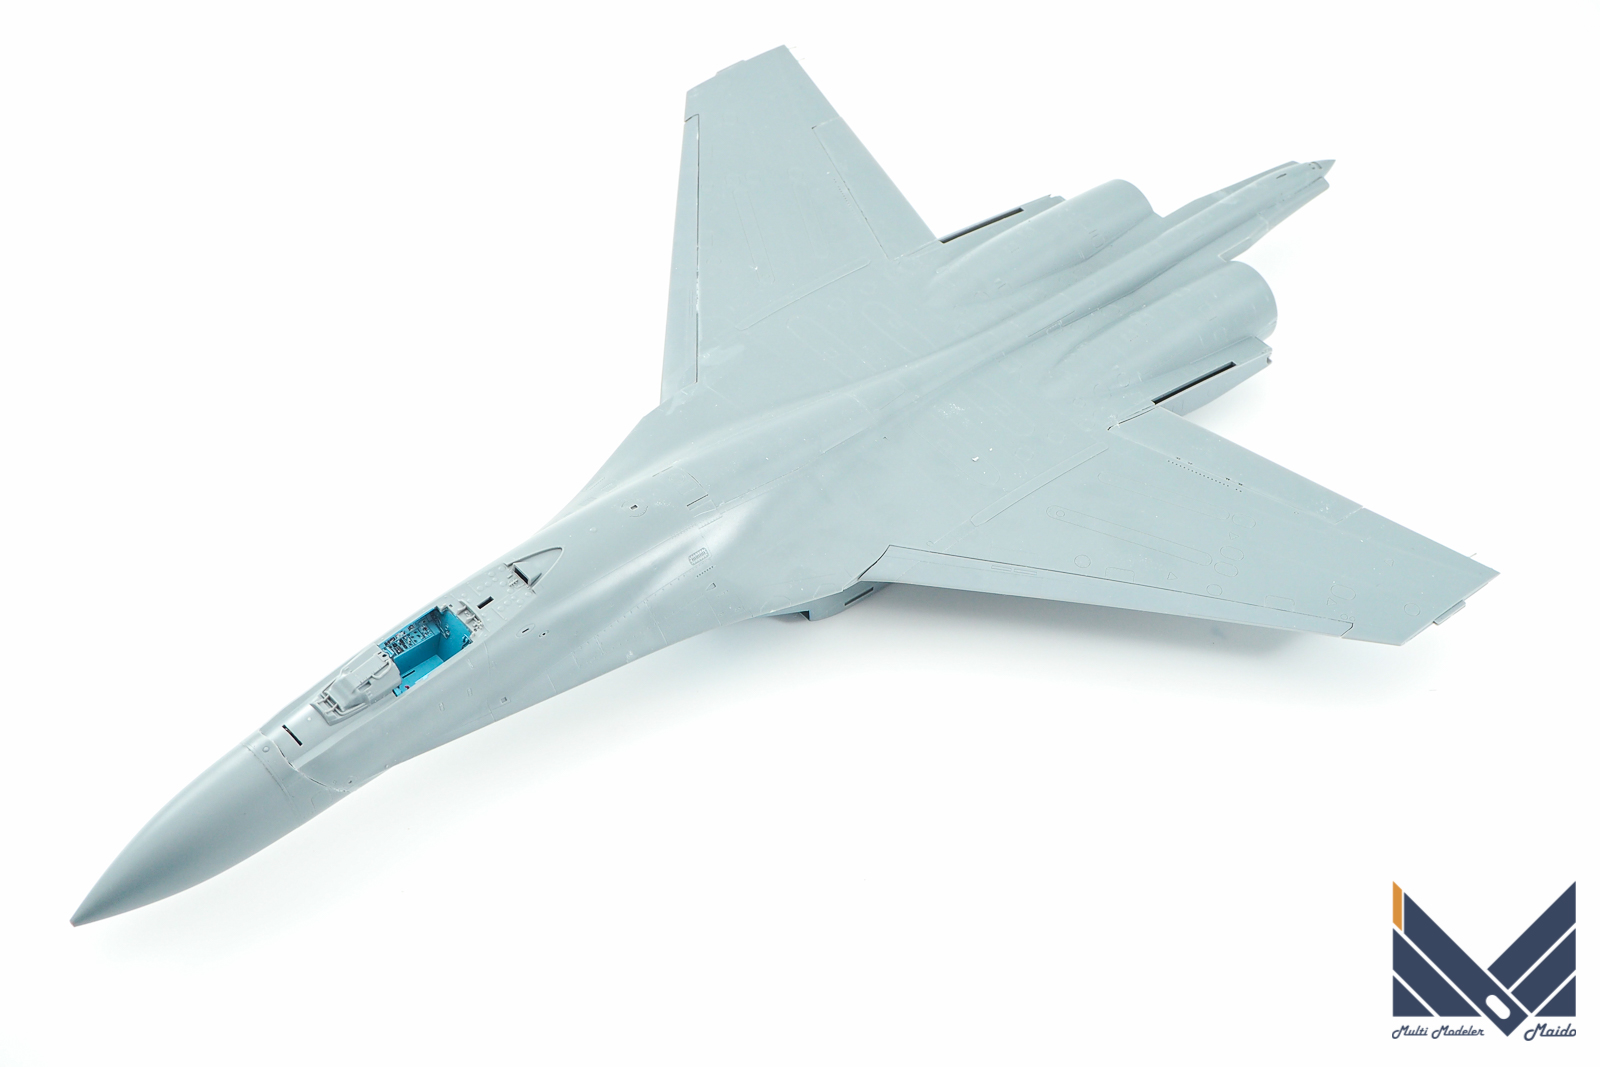
このキットは消したくなる合わせ目が極端に少ないので、実にスムーズに工作を進めることができます。
This kit has extremely few seams that you want to erase, so you can work very smoothly.
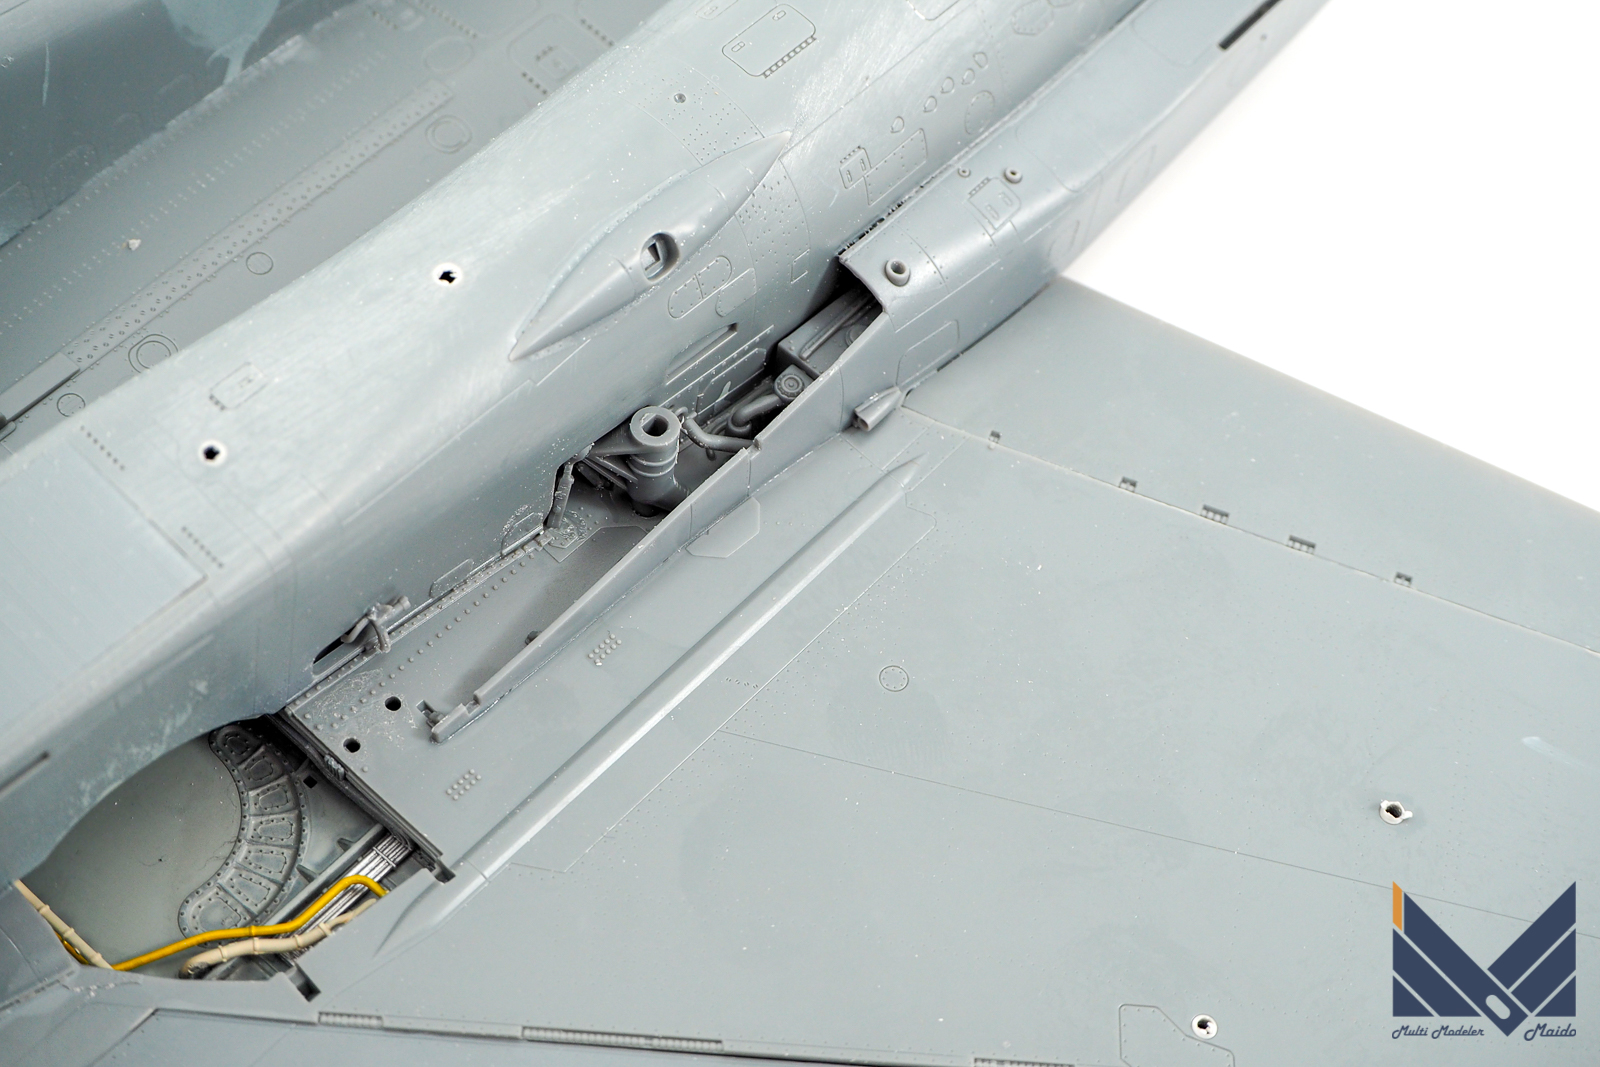
足回りは作りやすさを担保した上で実に精密にできています。
The undercarriage is made with great precision while ensuring ease of making.
いったん洗浄してから、本体の基本塗装に移ります
投稿者プロフィール
-
模型好き。カメラ好き。各模型雑誌で掲載多数。
艦船模型、飛行機模型、AFV模型などプラモデル全般の制作代行も承っております。「お問い合わせ」からご連絡ください。製作代行ご案内のページは現在概要のみを公開しておりますが、2025年6月現在納期はご相談になりますが、制作代行可能です
 製作代行について(β版)2024年4月6日詳細な製作代行などはのちに追加しますが、お問い合わせのあった方の最初のご案内メールの定型文を記しておきます。製作依頼の流れ1 キットに入っているパーツのみでの制作は、定価×6を基本価格としております。 キットをお送りいただ...
最新の投稿
 キャラクター模型完成品2025年12月23日バンダイ 1/1700 EXモデル ジオン公国軽巡洋艦ムサイ 完成品
 お知らせ2025年11月8日プレオープン記念キャンペーンのお知らせ
 お知らせ2025年11月8日プリントサービス プレオープンのお知らせ
 製作記アーカイブ2025年11月5日製作記はYouTubeへ移行しました

コメント