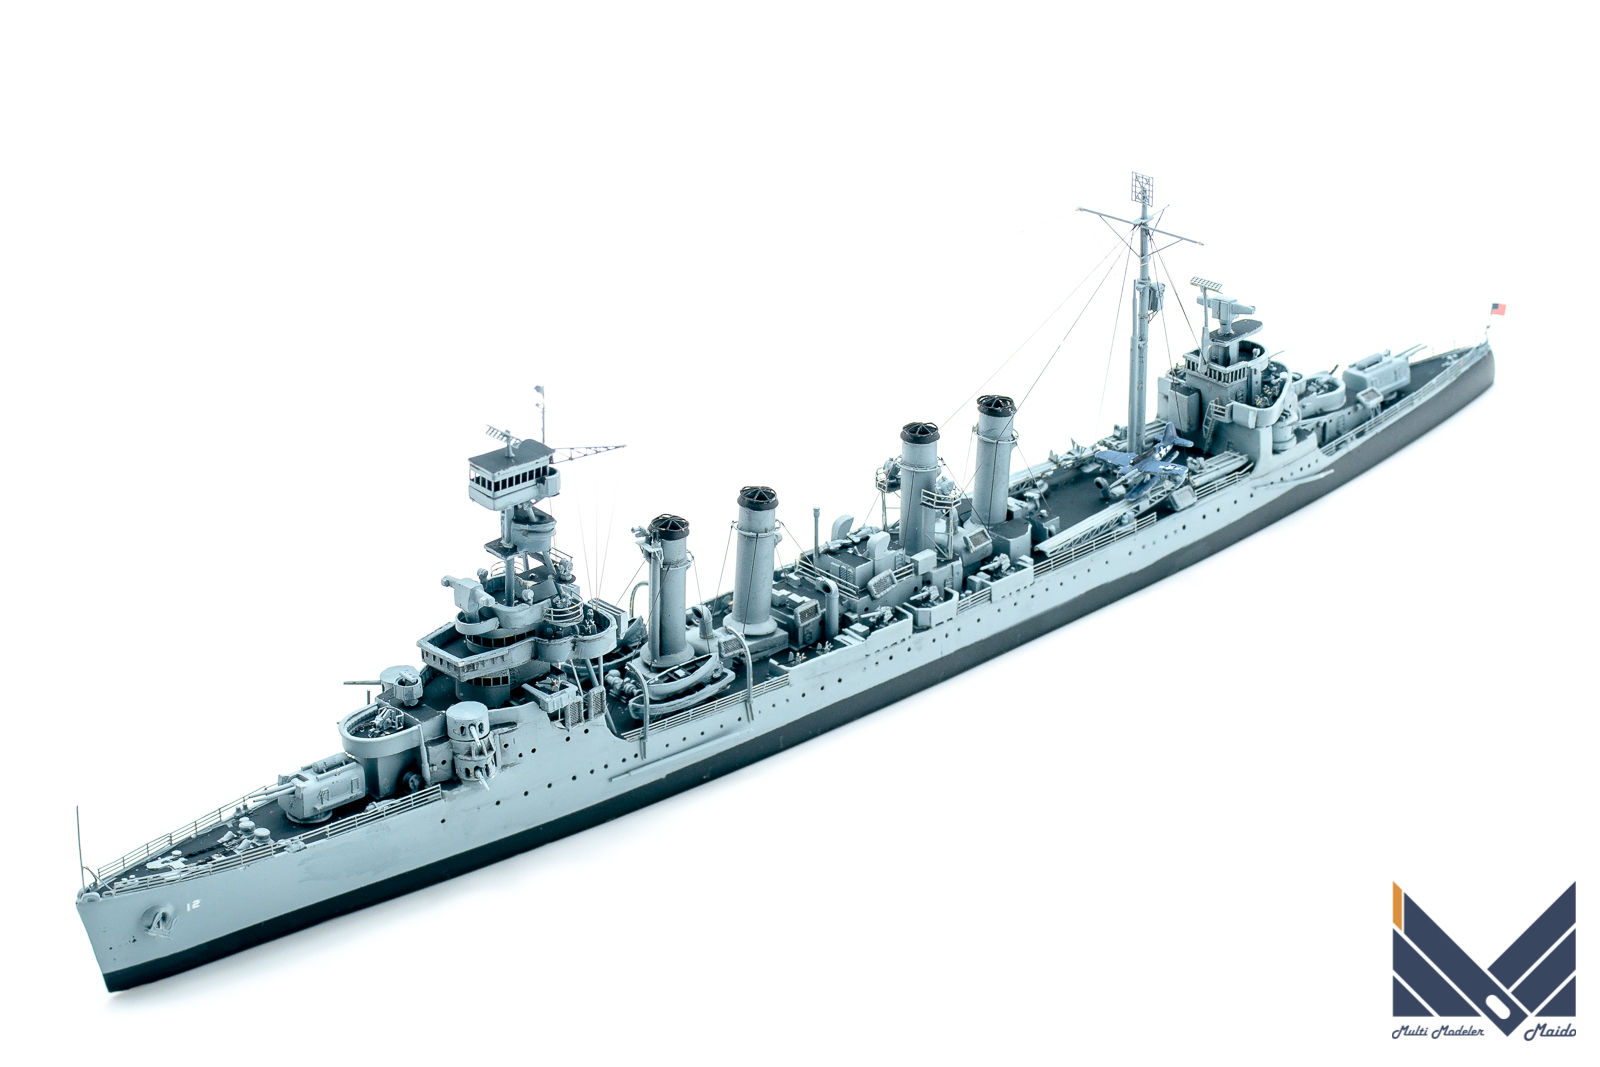
キット紹介でも少し触れましたが、このキットをウォーターラインモデルに改造します。キットには黒帯と船体色の塗分けライン(喫水線とは異なります)がありますが、その4㎜ほど下で全体をカットします。エッチングソーやタミヤのモデリングソーで切り離す方法もありますが、比較的直線を出しやすいと判断してスジ彫り用工具で彫りこんで切断する方法を取りました。
As I mentioned a little in the kit introduction, I will remodel this kit into a waterline model. The kit has a black belt and a hull color coloring line (different from the water line), but cut the whole about 4 mm below that. There is also a method of separating with an etching saw or a Tamiya modeling saw, but I decided that it was relatively easy to make a straight line, so I took the method of carving with a streak carving tool and cutting.
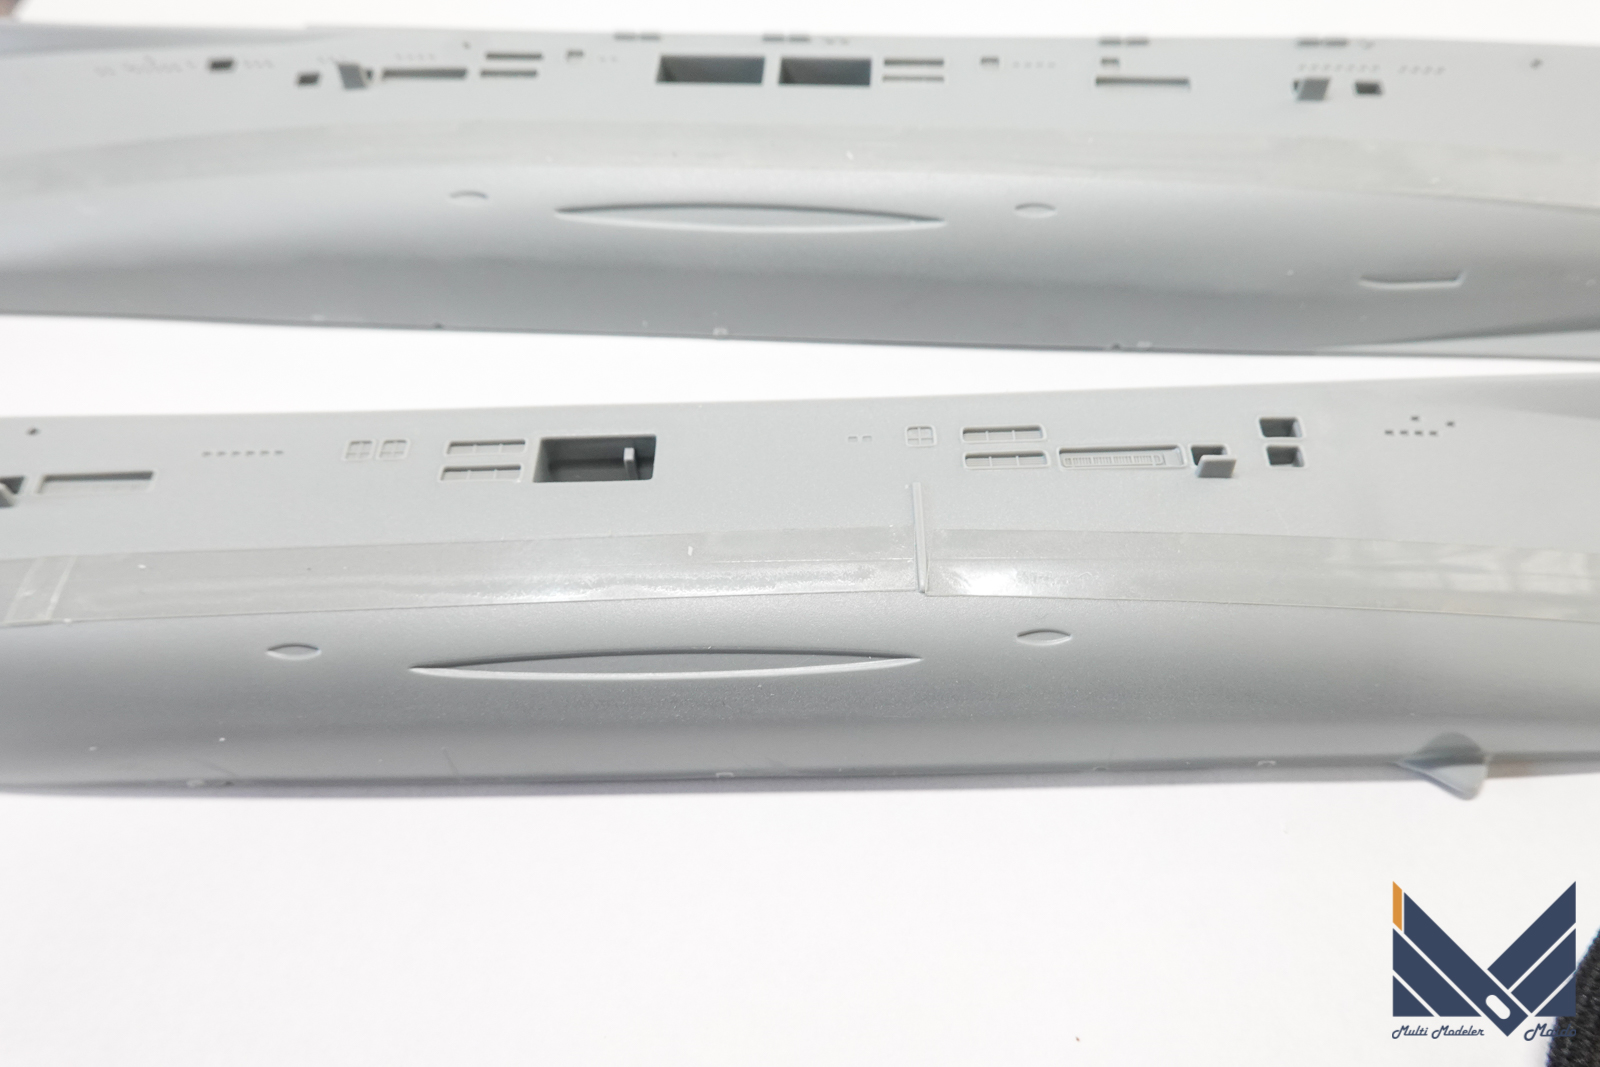
まず、ガイドテープを貼ります。透明のガイドテープだと塗分けラインが見えて便利です。
First, attach the guide tape. A transparent guide tape is convenient because you can see the separate lines.
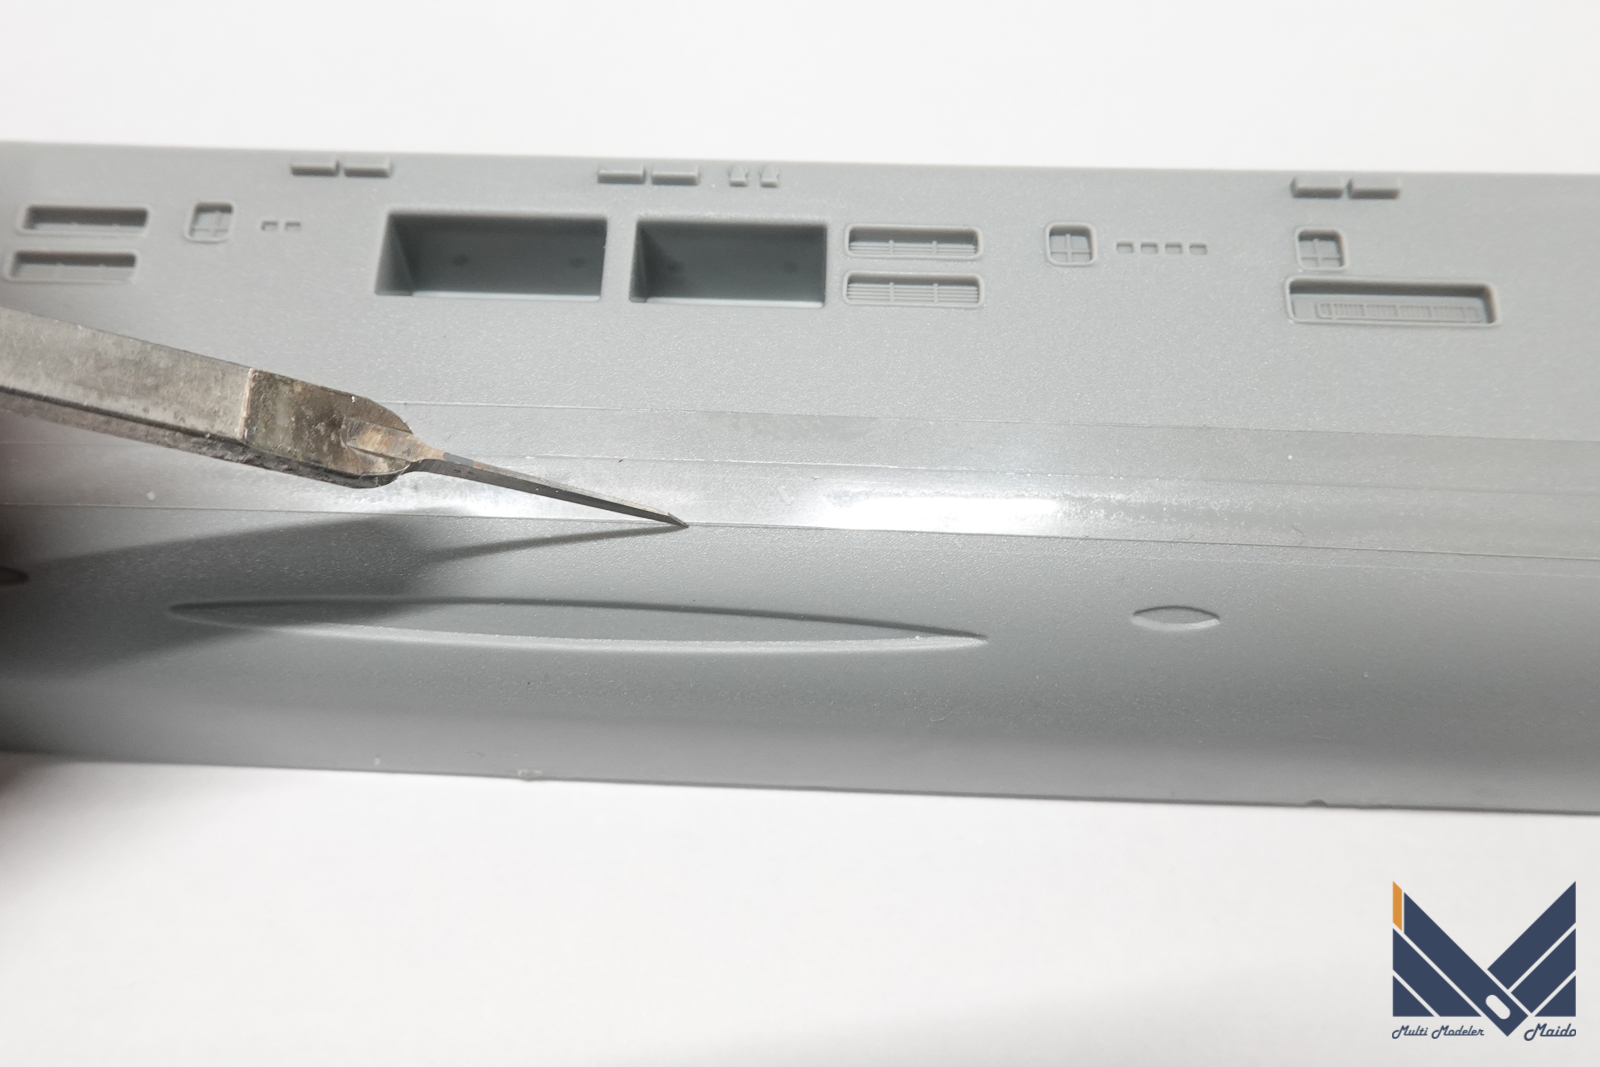
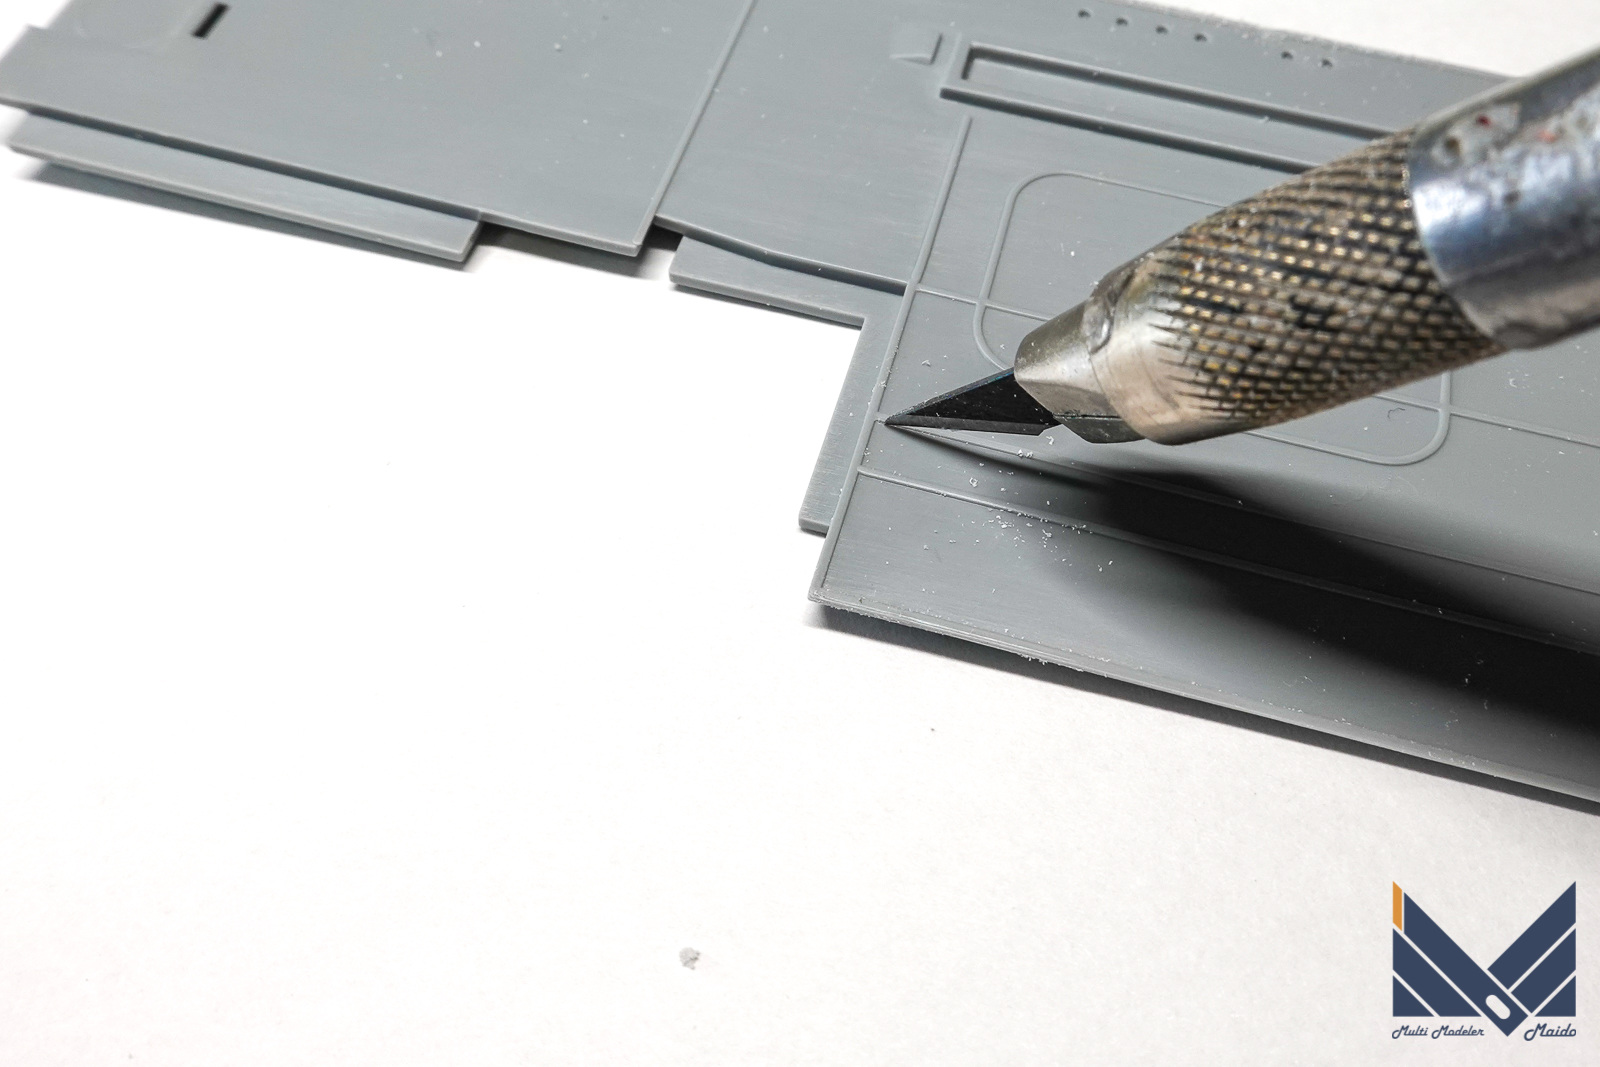
スジボリ堂のBMCタガネで最初は軽く彫り込んでいきます。
At first, I will lightly carve it with the BMC chisel of Sujibori-do.
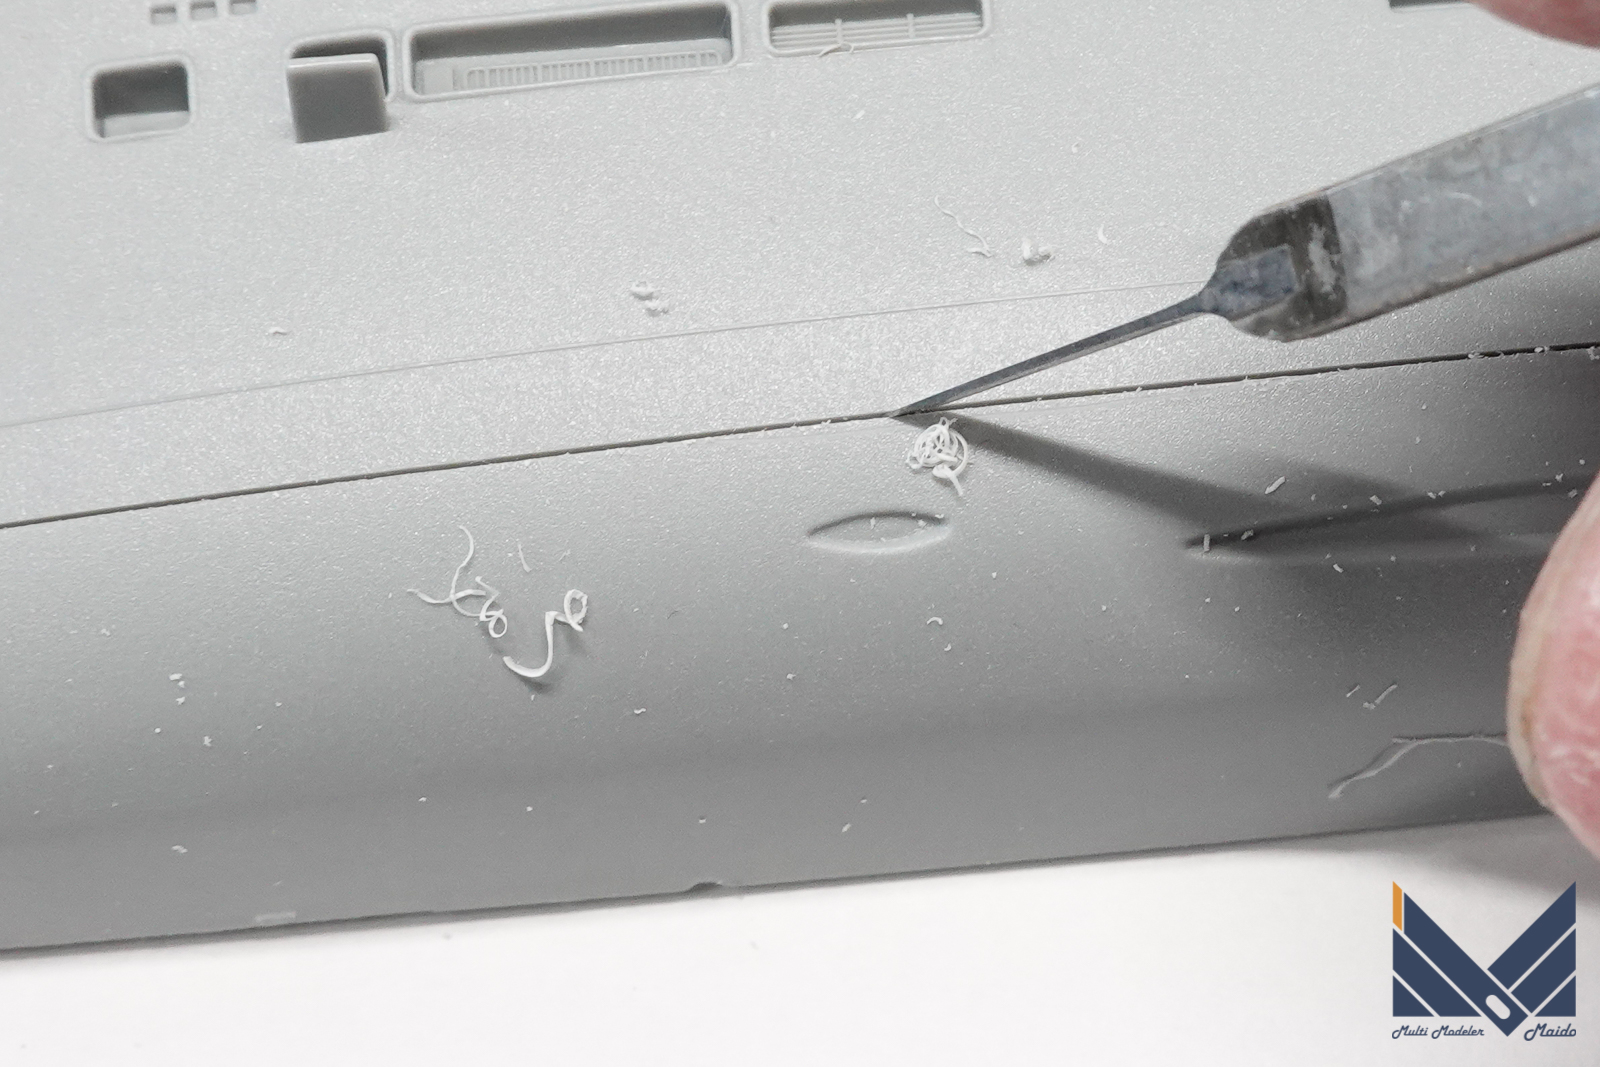
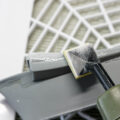
これ位まで彫り込めたらガイドテープを剥がして更に彫りこんでいきます。
After engraving to this extent, remove the guide tape and engrave further.
投稿者プロフィール
-
模型好き。カメラ好き。各模型雑誌で掲載多数。
艦船模型、飛行機模型、AFV模型などプラモデル全般の制作代行も承っております。「お問い合わせ」からご連絡ください。製作代行ご案内のページは現在概要のみを公開しておりますが、2025年6月現在納期はご相談になりますが、制作代行可能です
 製作代行について(β版)2024年4月6日詳細な製作代行などはのちに追加しますが、お問い合わせのあった方の最初のご案内メールの定型文を記しておきます。製作依頼の流れ1 キットに入っているパーツのみでの制作は、定価×6を基本価格としております。 キットをお送りいただ...
最新の投稿
 キャラクター模型完成品2025年12月23日バンダイ 1/1700 EXモデル ジオン公国軽巡洋艦ムサイ 完成品
 お知らせ2025年11月8日プレオープン記念キャンペーンのお知らせ
 お知らせ2025年11月8日プリントサービス プレオープンのお知らせ
 製作記アーカイブ2025年11月5日製作記はYouTubeへ移行しました
コメント