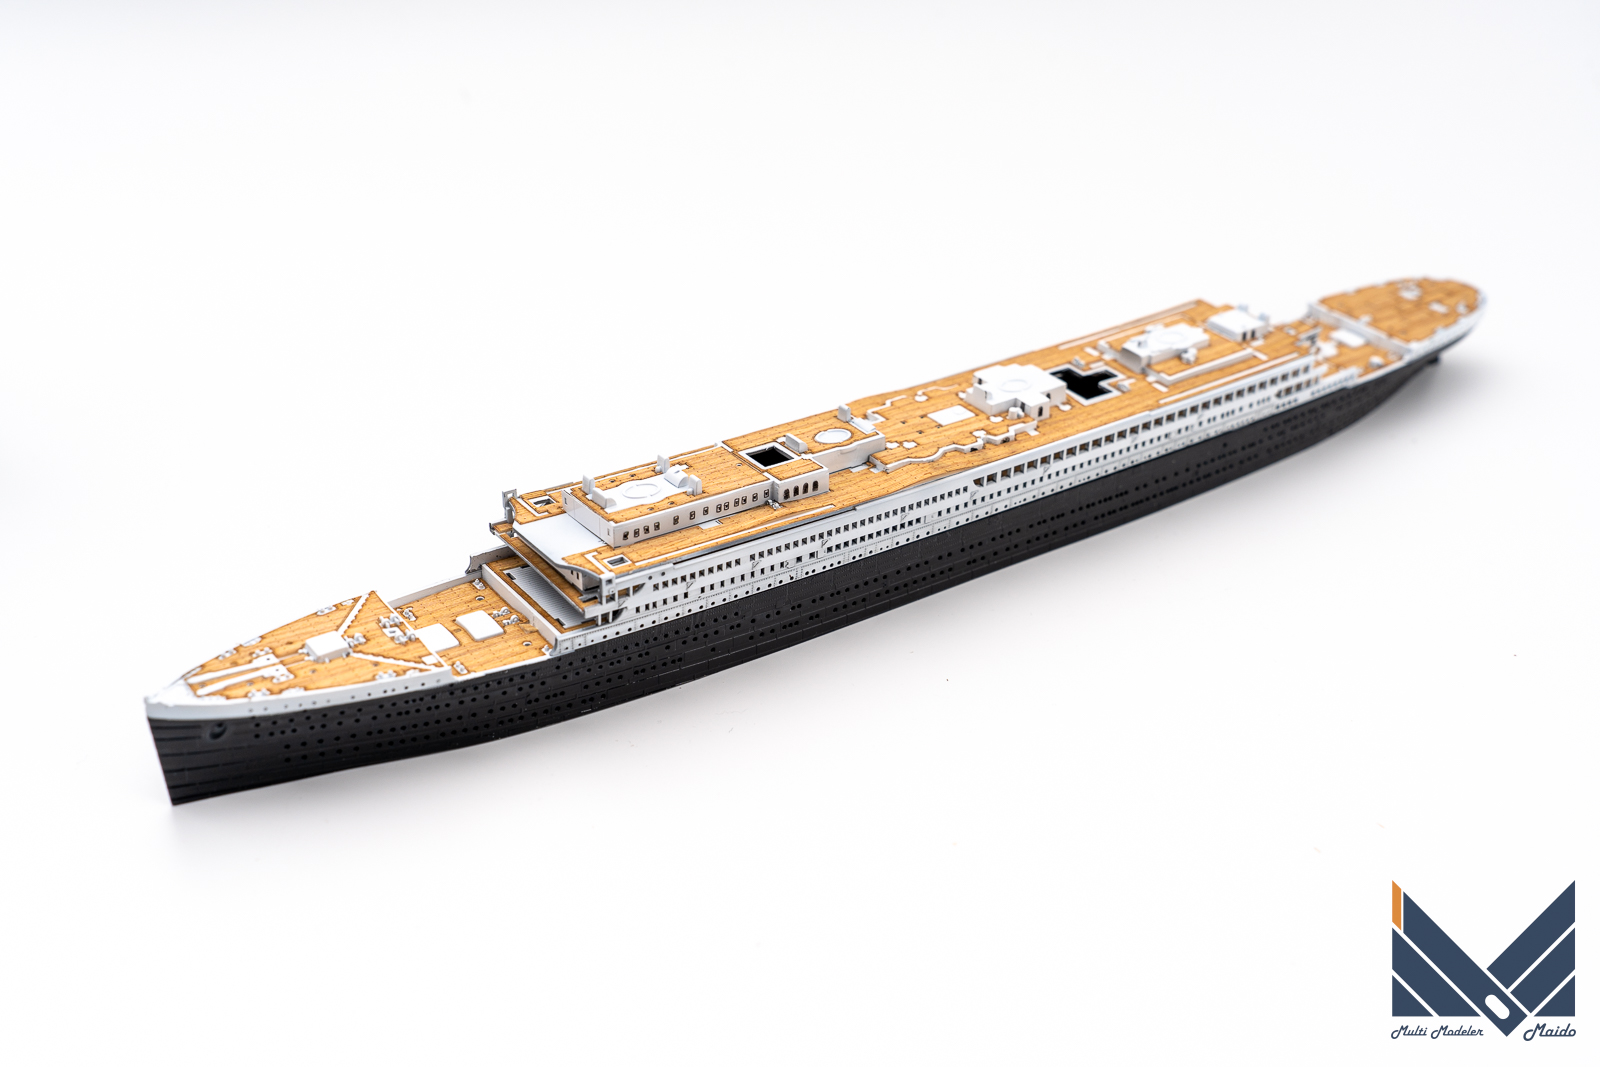
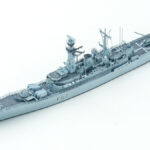
主要部が完成したので、配線テストを行いました。概ね問題ないのですが、手順を検討した結果、ここでケース固定を行う事にしました。
With the main part completed, I did a wiring test. There is generally no problem, but as a result of examining the procedure, I decided to fix the case here.
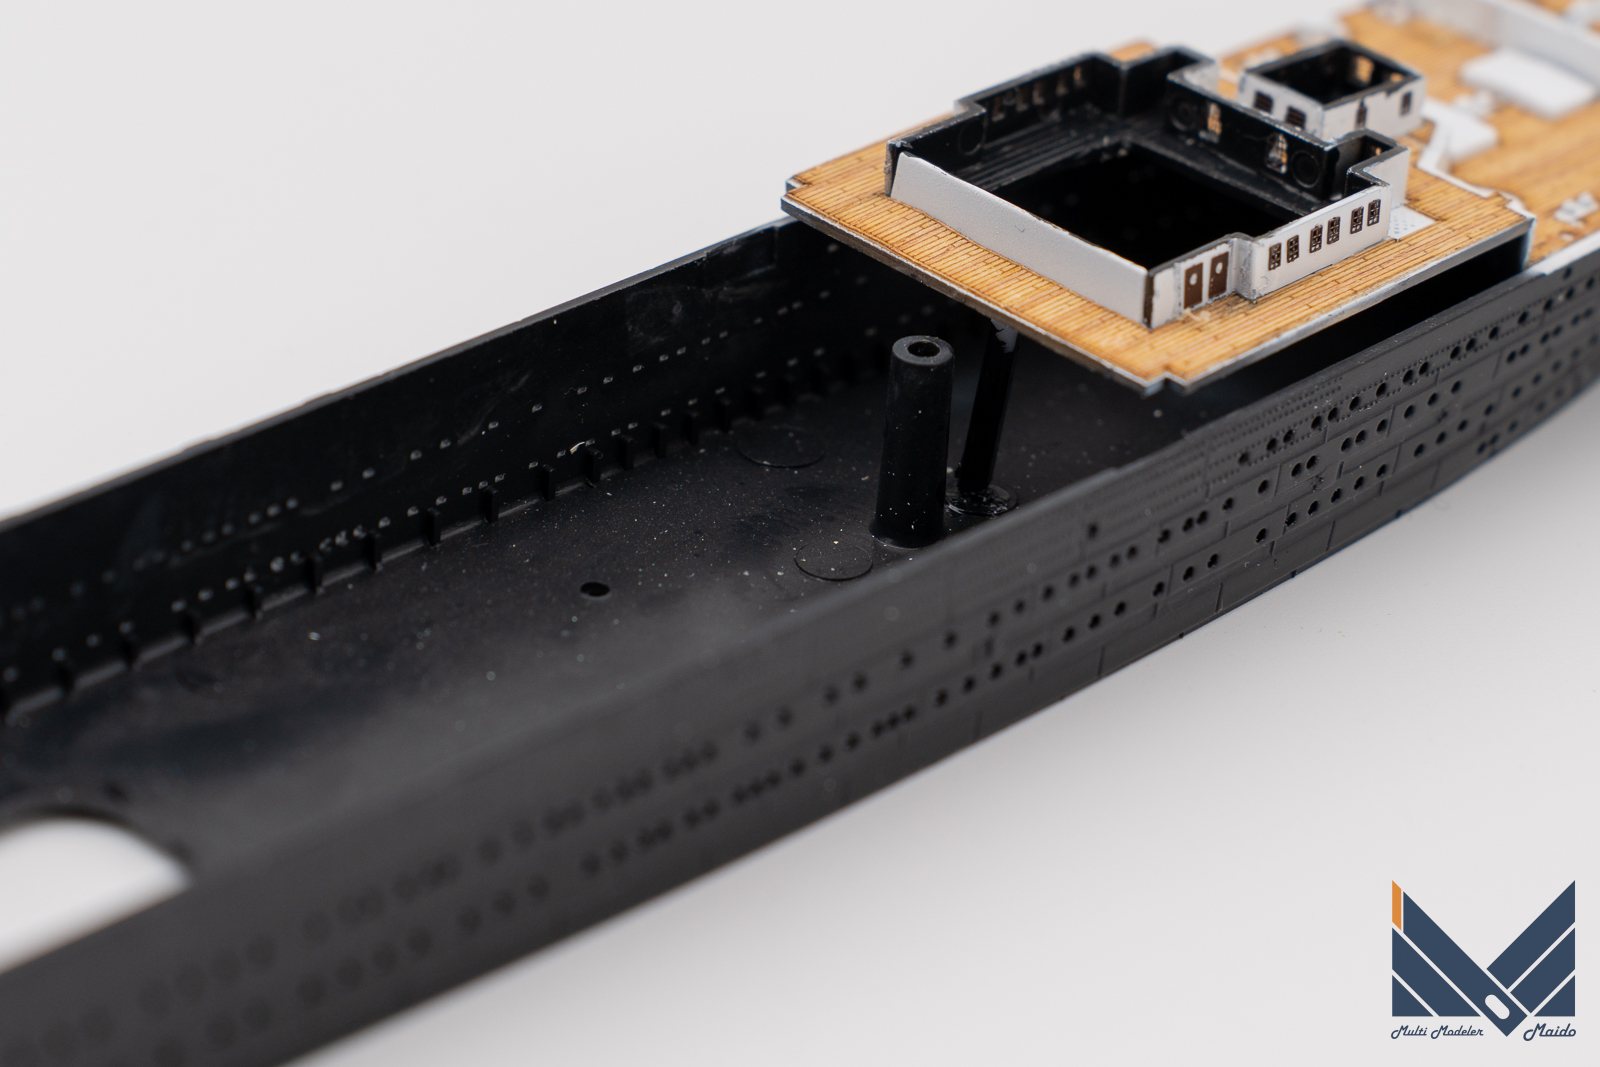
また、甲板が落ち込んでしまうので、補強用のプラ棒を内部に接着しました
Also, since the deck is depressed, I glued a plastic bar inside for reinforcement.
電源確保をどうするか
今回外部電源LEDユニットを使用したので寿命などはほとんど気にする必要がないのですが、電池とACアダプター両方で運用を考えました。アクリルケースの下部に電源を配置するとなるとかさ上げが必要になります。
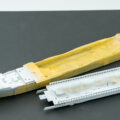
アクリルケースはあくりめいとさんのを使うとしてどうやって電源分をかさ上げするか迷った挙句、家具用のインシュレーター?を見つけたので、4個~8個使ってかさ上げすることにしました。表面に貫通する側のナットの飾りつけはまだ未定ですが、とりあえずはこの方法にします。
Since I used an external power supply LED unit this time, I didn’t have to worry about the life of the unit, but I thought about operating with both batteries and an AC adapter. If you place the power supply at the bottom of the acrylic case, you will need to raise it.
As for the acrylic case, I used Mr. Akurimate’s. I found , so I decided to use 4 to 8 to raise it. The decoration of the nut on the side that penetrates the surface has not been decided yet, but for the time being, I will use this method.
投稿者プロフィール

-
模型好き。カメラ好き。各模型雑誌で掲載多数。
艦船模型、飛行機模型、AFV模型などプラモデル全般の制作代行も承っております。「お問い合わせ」からご連絡ください。製作代行ご案内のページは現在概要のみを公開しておりますが、2025年6月現在納期はご相談になりますが、制作代行可能です
 製作代行について(β版)2024年4月6日詳細な製作代行などはのちに追加しますが、お問い合わせのあった方の最初のご案内メールの定型文を記しておきます。製作依頼の流れ1 キットに入っているパーツのみでの制作は、定価×6を基本価格としております。 キットをお送りいただ...maidoworks.com2024.04.06

コメント