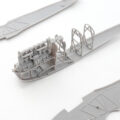
ローデン 1/48 ユンカースD1の内部の組み立て塗装と表面処理を行いました。シートはあまり見たことが無いパーツ割なので注目です。
Roden 1/48 Junkers D1 interior was assembled and painted and surface treated. The seat is a part split that I haven’t seen much, so it’s noteworthy.
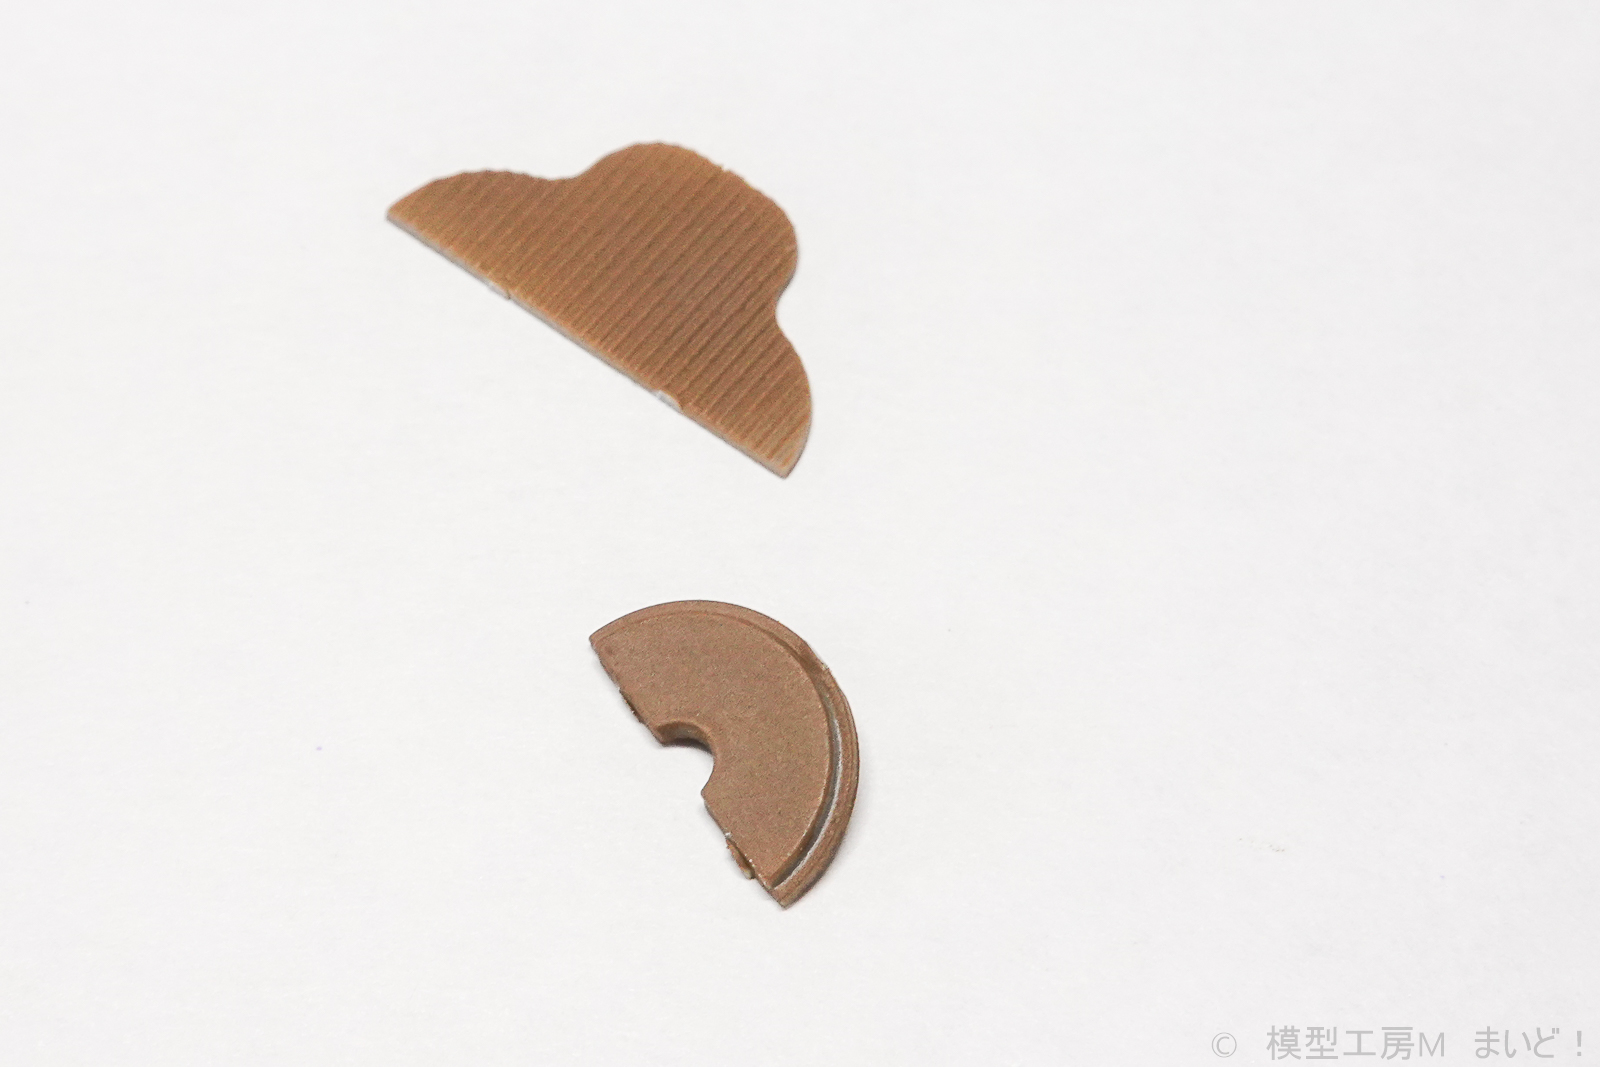
このキットで、おもしろいと思ったのがこの部分。シートはこの2パーツで再現されます。インジェクションパーツの限界で1パーツで整形すると背もたれ部分のモールドが入らないか、極端な抜きテーパーが必要になります。背もたれ部分を半円状ににして前後方向に抜くと抜けなくなるので、必然的に端の方にはモールドが入らなくなります。ローデンの方法は、背もたれは平面で整形しておいて、モデラーで曲げてくださいねという方法です
This part was interesting. The seat is reproduced with these two parts. If you shape it with one part at the limit of the injection parts, the mold of the backrest part will not fit or an extreme punching taper will be required. If you make the backrest part semicircular and pull it out in the front-back direction, it will not come off, so the mold will inevitably not fit toward the end. Therefore, Roden’s method is to shape the backrest with a flat surface and bend it with a modeler.
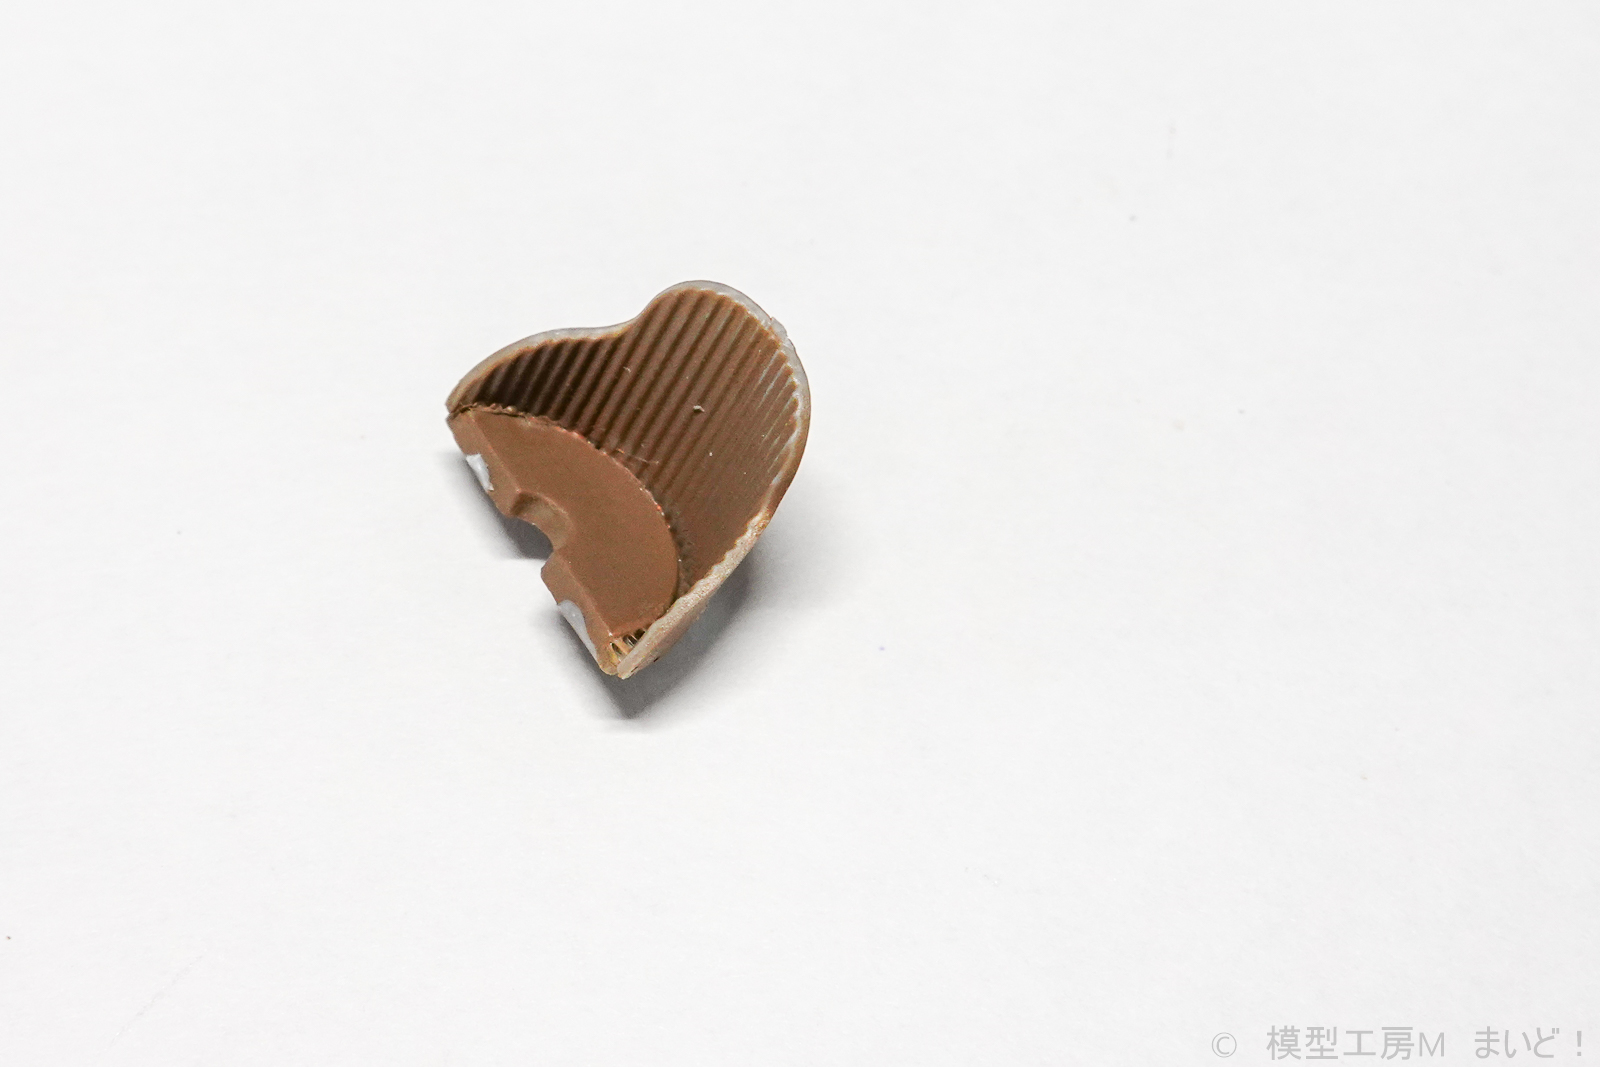
特に問題なく曲がります。スライド金型を使わないなら、結構合理的な方法ではないでしょうか?
そういえば、同じモデルズビットのM-55の脚庫は「展開図」状態でパーツを整形して曲げるという方法になっていました。このM-55の方法も合理的だと思います。
It bends without any problem. If you don’t use a slide mold, isn’t it a fairly rational method?
Speaking of which, the leg storage of the same Model’s Bit M-55 was a method of shaping and bending the parts in the “development view” state. I think this M-55 method is also rational.
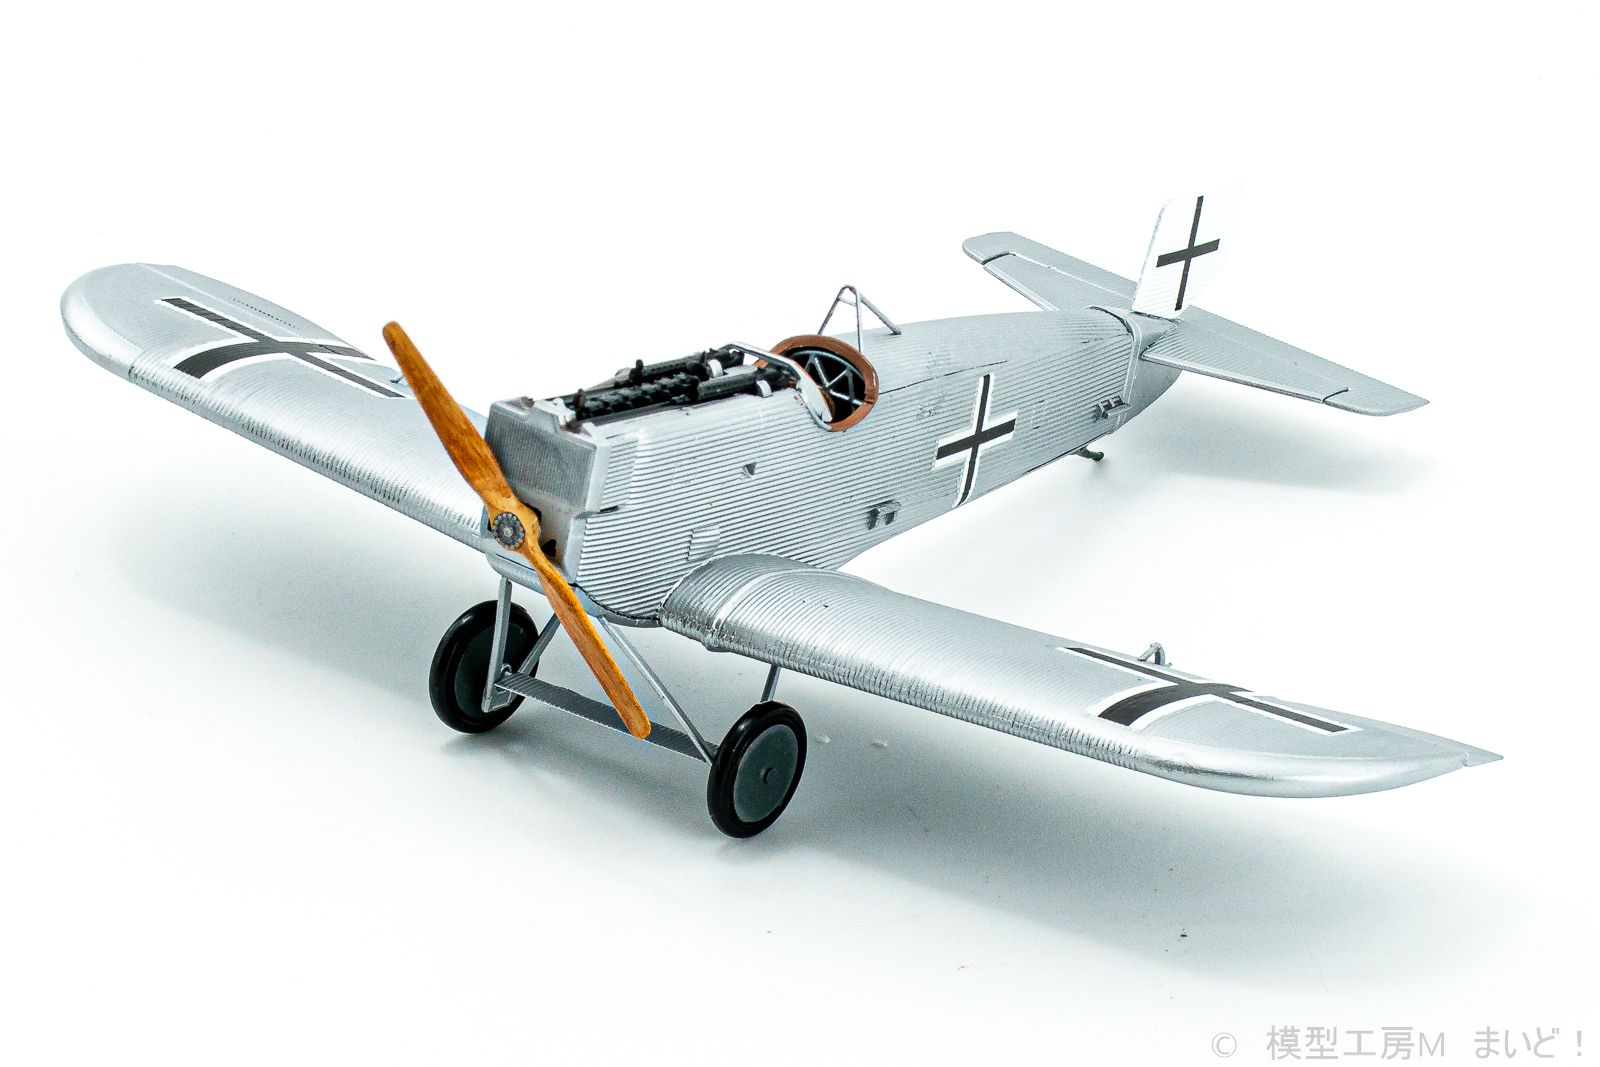
次に波状外板の合わせ目処理です。特に主翼前縁の前縁は合わせ目を消すなら難所になります。私はこうやって処理しました。
Next is the seam processing of the wavy outer panel. Especially, the leading edge of the leading edge of the main wing becomes a difficult place if the seams are erased. I handled it this way.
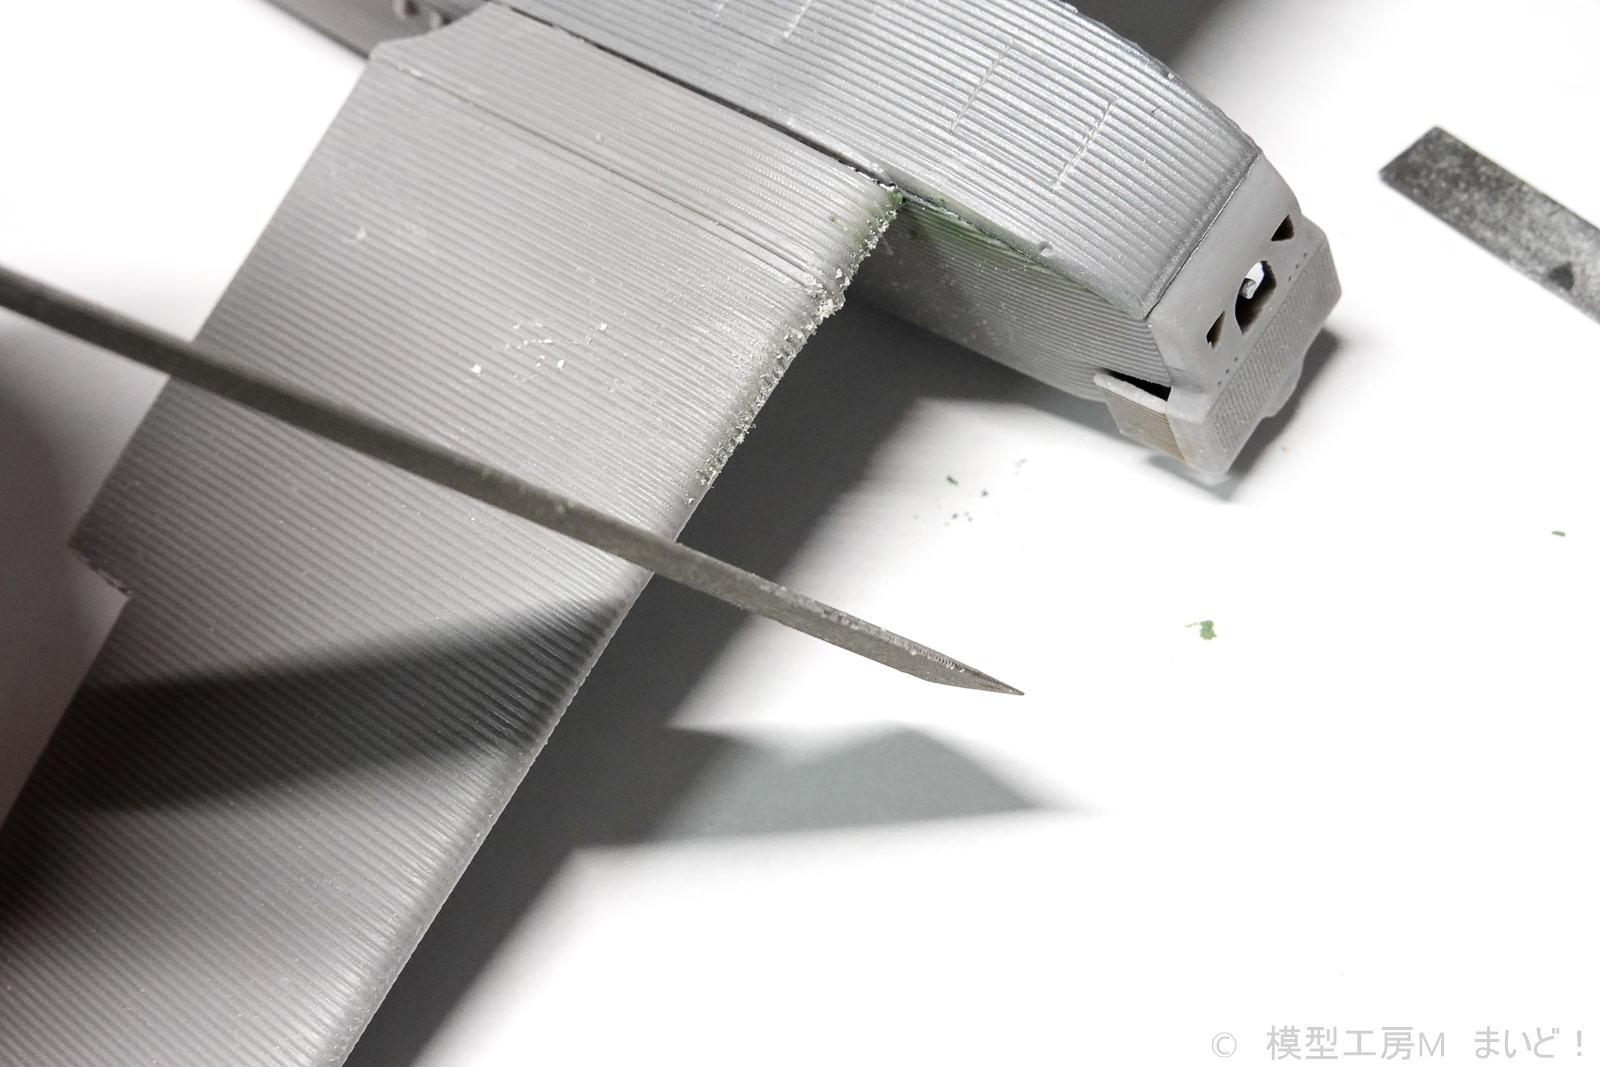
普段あまり使わない工具の「目立てヤスリ」を使用しました。波状外板の凹み部分を削って波状を再現しました。
I used a “sharpening file”, a tool that I don’t use often. The wavy shape was reproduced by scraping the dented part of the wavy outer plate.
投稿者プロフィール

-
模型好き。カメラ好き。各模型雑誌で掲載多数。
艦船模型、飛行機模型、AFV模型などプラモデル全般の制作代行も承っております。「お問い合わせ」からご連絡ください。製作代行ご案内のページは現在概要のみを公開しておりますが、2025年6月現在納期はご相談になりますが、制作代行可能です
 製作代行について(β版)2024年4月6日詳細な製作代行などはのちに追加しますが、お問い合わせのあった方の最初のご案内メールの定型文を記しておきます。製作依頼の流れ1 キットに入っているパーツのみでの制作は、定価×6を基本価格としております。 キットをお送りいただ...
最新の投稿
 キャラクター模型完成品2025年12月23日バンダイ 1/1700 EXモデル ジオン公国軽巡洋艦ムサイ 完成品
 お知らせ2025年11月8日プレオープン記念キャンペーンのお知らせ
 お知らせ2025年11月8日プリントサービス プレオープンのお知らせ
 製作記アーカイブ2025年11月5日製作記はYouTubeへ移行しました
コメント