前回に引き続きデカールを貼っていきます
I will continue to put decals from the last time
1セットでは足りず
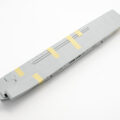
サンコーマークの白線デカールは1セットでは足りなかったので、もう一つ買いました
One set of Sanko Mark white decals wasn’t enough, so I bought another one.
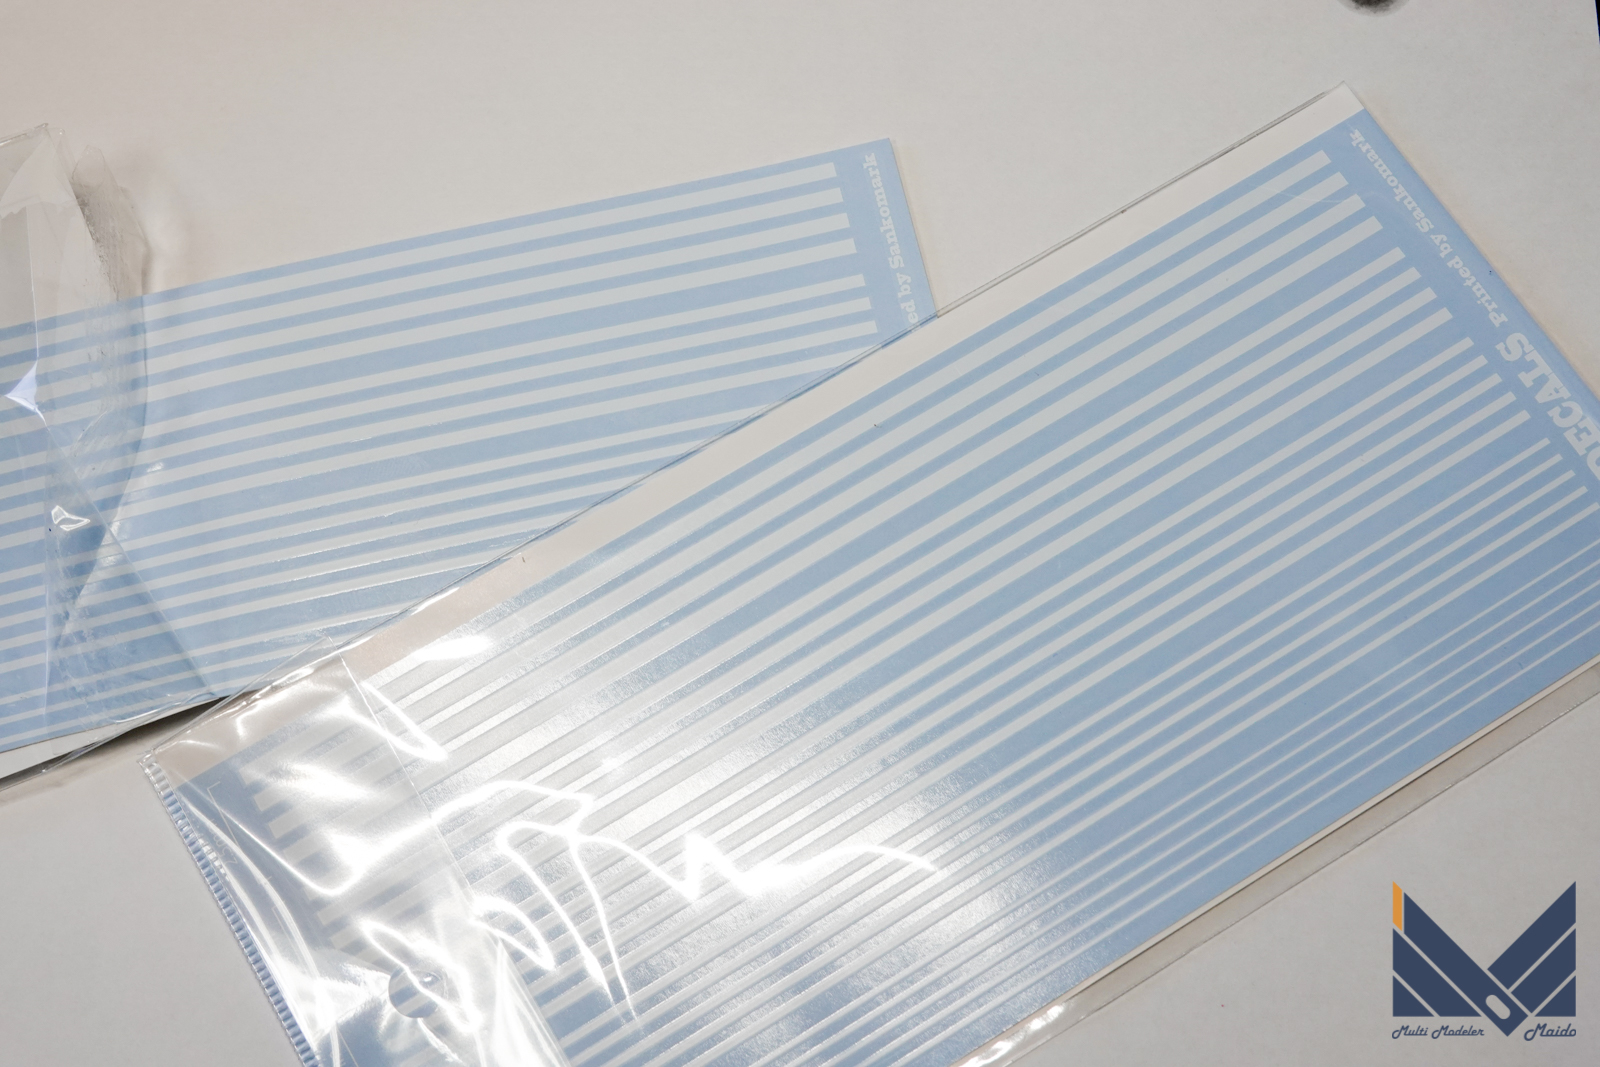
サンコーマークの配慮
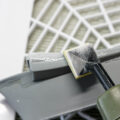
この白線デカールは地味な部分で大変感心しました。通常この手のデカールは透明のニス部が白線の両脇にあります。ニス部がほぼ無いとか、ニスを剥がすデカールもありますが、両脇にニスがあるのがお一般的です。ニスが極端に少ない場合は直線に貼りにくいという欠点がありますから、ニス部がある事は欠点とも言えません。
I was impressed with the structure of this white line decal. Normally, decals of this type have transparent varnishes on both sides of the white line. There are almost no varnish parts, and there are decals that peel off the varnish, but it is common to have varnish on both sides. If the amount of varnish is extremely small, it has the disadvantage that it is difficult to apply it in a straight line, so having a varnish is not a drawback.
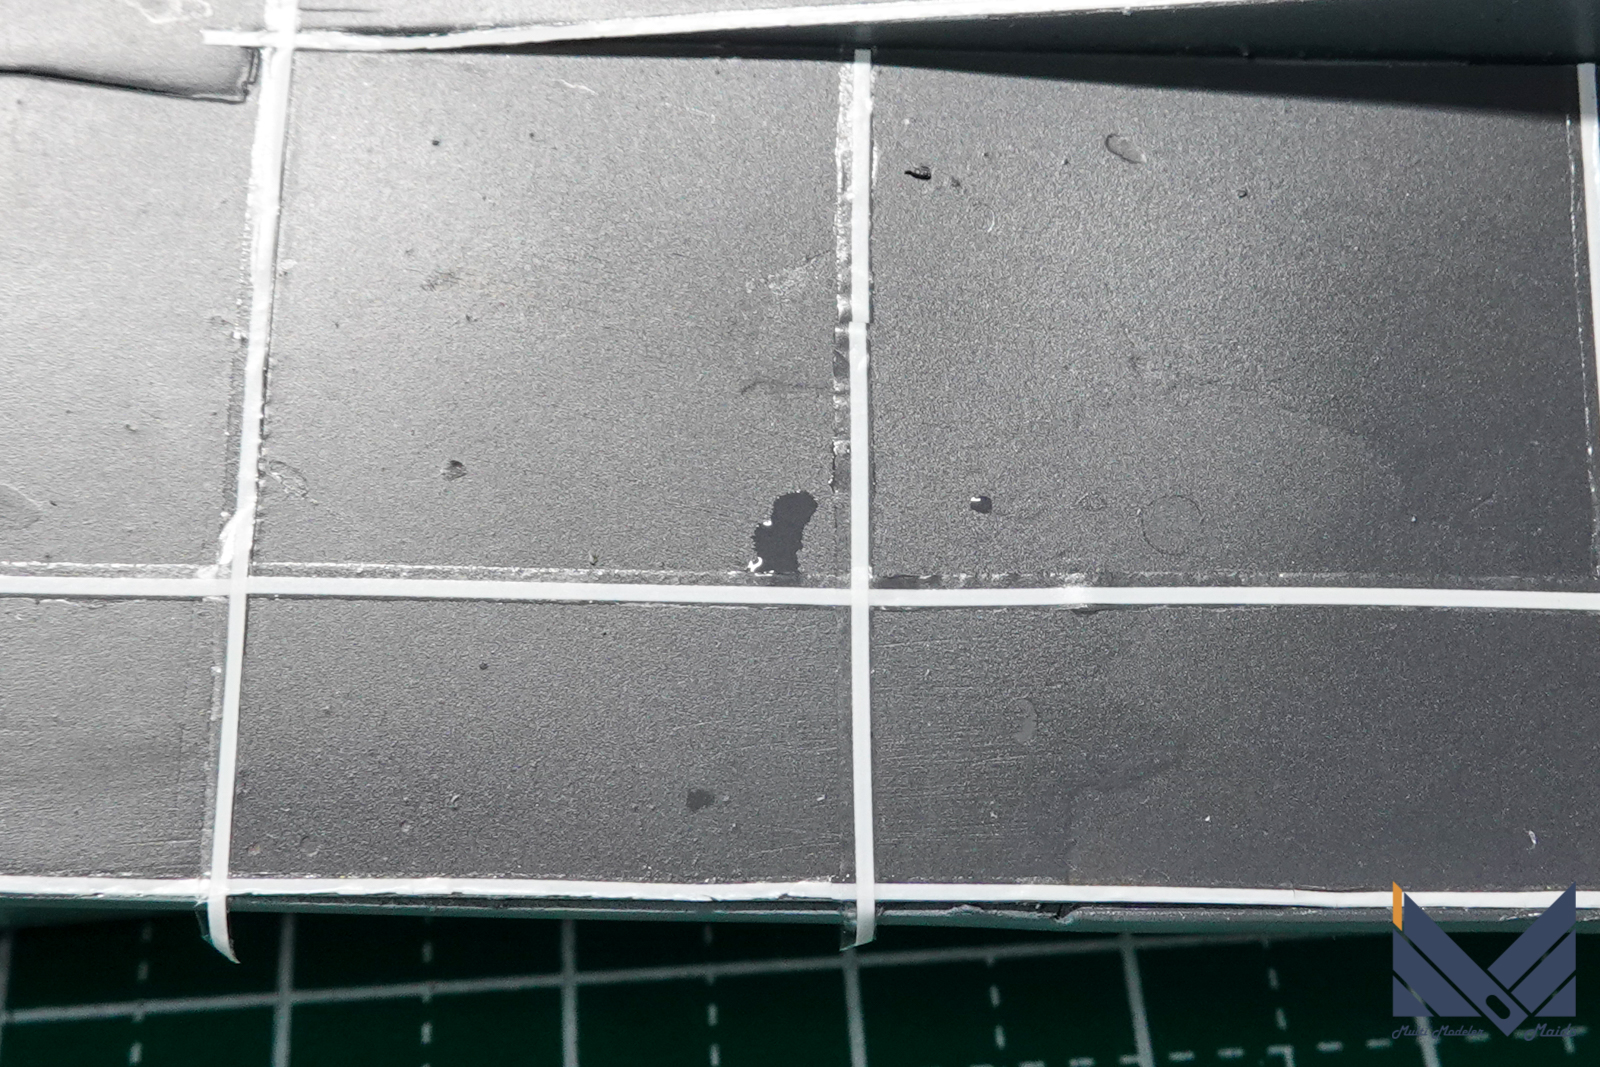
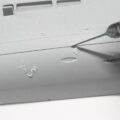
このサンコーマークの白線デカールもニスがありますが、片側はほぼニスが無い方式になっています。タミヤ版の1/72 F-35Bのデカール(脚庫ドアの際に貼る部分がある)も良く似た方式で、とても親切な方法だと思いました。
The white line decal of this Sanko mark also has varnish, but one side has almost no varnish. The Tamiya version of the 1/72 F-35B decal (there is a part to be attached to the leg storage door) is a similar method, and I thought it was a very kind method.
主要部デカール貼り完了
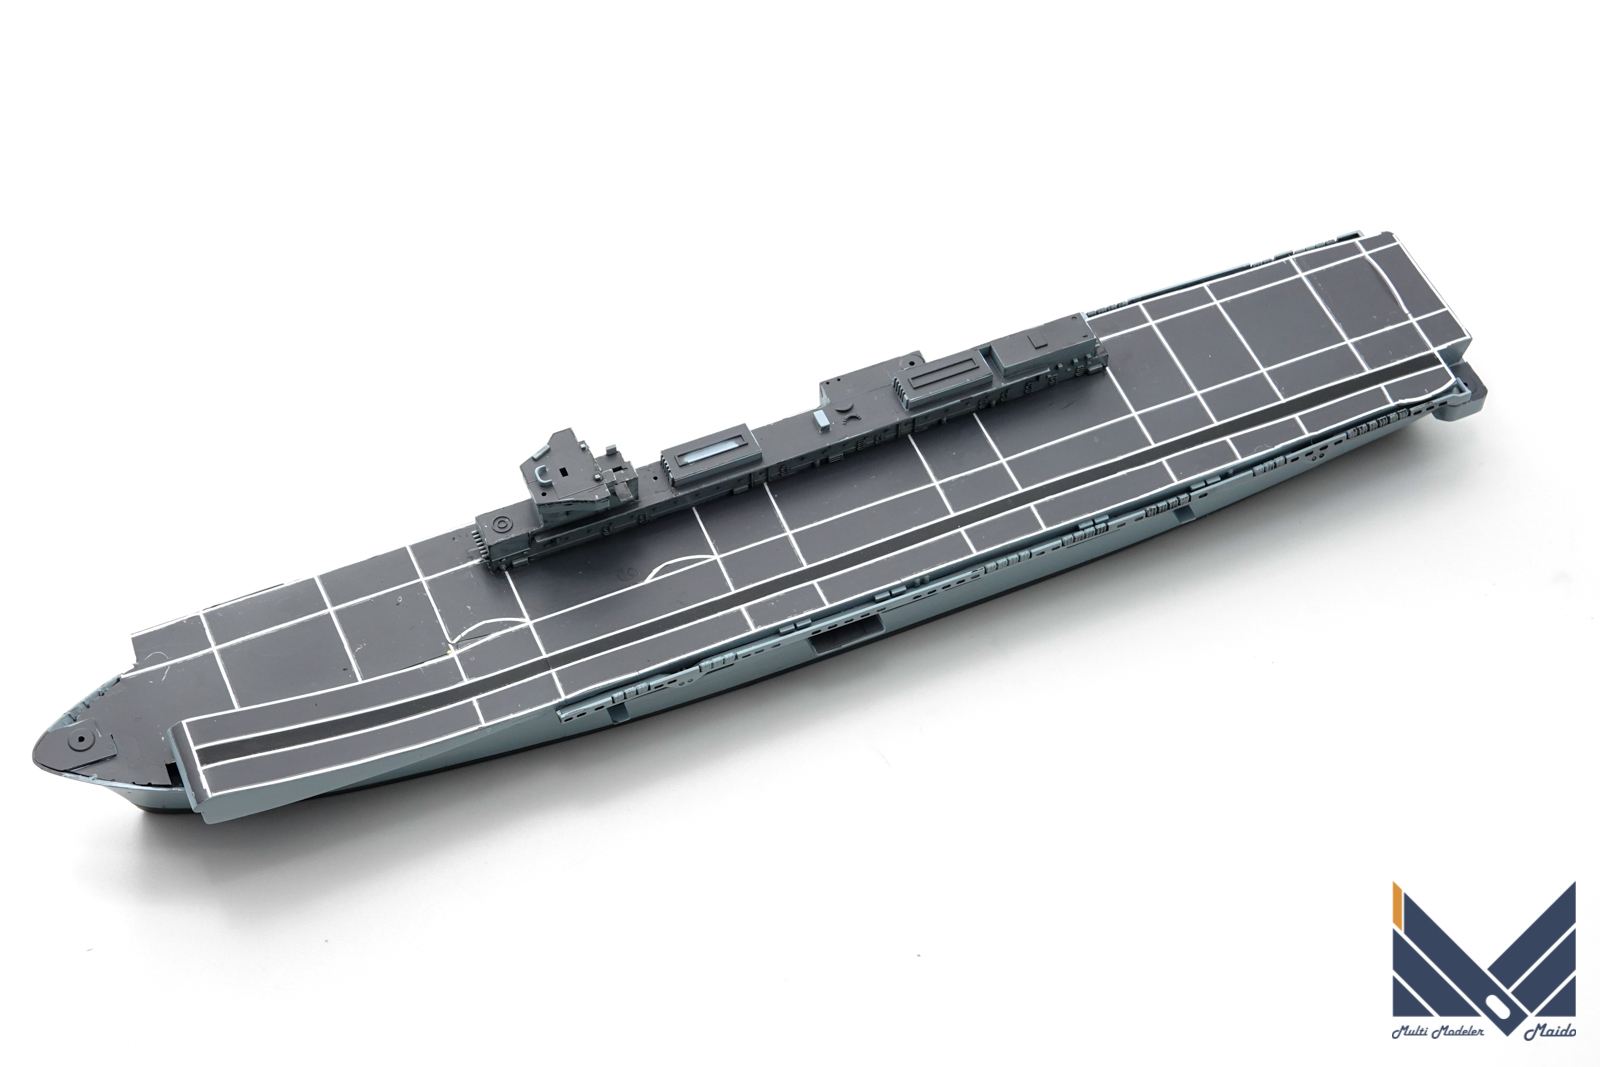
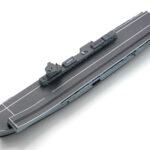
これで白線の切り替えが完了しました、この後元々のキットのデカールを貼りつつ、残りのパーツを作ります。
This completes the switching of the white line, after which I will make the remaining parts while pasting the decal of the original kit.
投稿者プロフィール

-
模型好き。カメラ好き。各模型雑誌で掲載多数。
艦船模型、飛行機模型、AFV模型などプラモデル全般の制作代行も承っております。「お問い合わせ」からご連絡ください。製作代行ご案内のページは現在概要のみを公開しておりますが、2025年6月現在納期はご相談になりますが、制作代行可能です
 製作代行について(β版)2024年4月6日詳細な製作代行などはのちに追加しますが、お問い合わせのあった方の最初のご案内メールの定型文を記しておきます。製作依頼の流れ1 キットに入っているパーツのみでの制作は、定価×6を基本価格としております。 キットをお送りいただ...
最新の投稿
 キャラクター模型完成品2025年12月23日バンダイ 1/1700 EXモデル ジオン公国軽巡洋艦ムサイ 完成品
 お知らせ2025年11月8日プレオープン記念キャンペーンのお知らせ
 お知らせ2025年11月8日プリントサービス プレオープンのお知らせ
 製作記アーカイブ2025年11月5日製作記はYouTubeへ移行しました
コメント