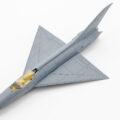
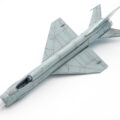
A&Aの1/72 Ye-2を製作します。
キットレビューはこちらに

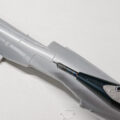
まずはスジ彫りを彫りなおす
まずは浅いスジボ彫りを彫りなおします。
First, re-carve a shallow streak carving.
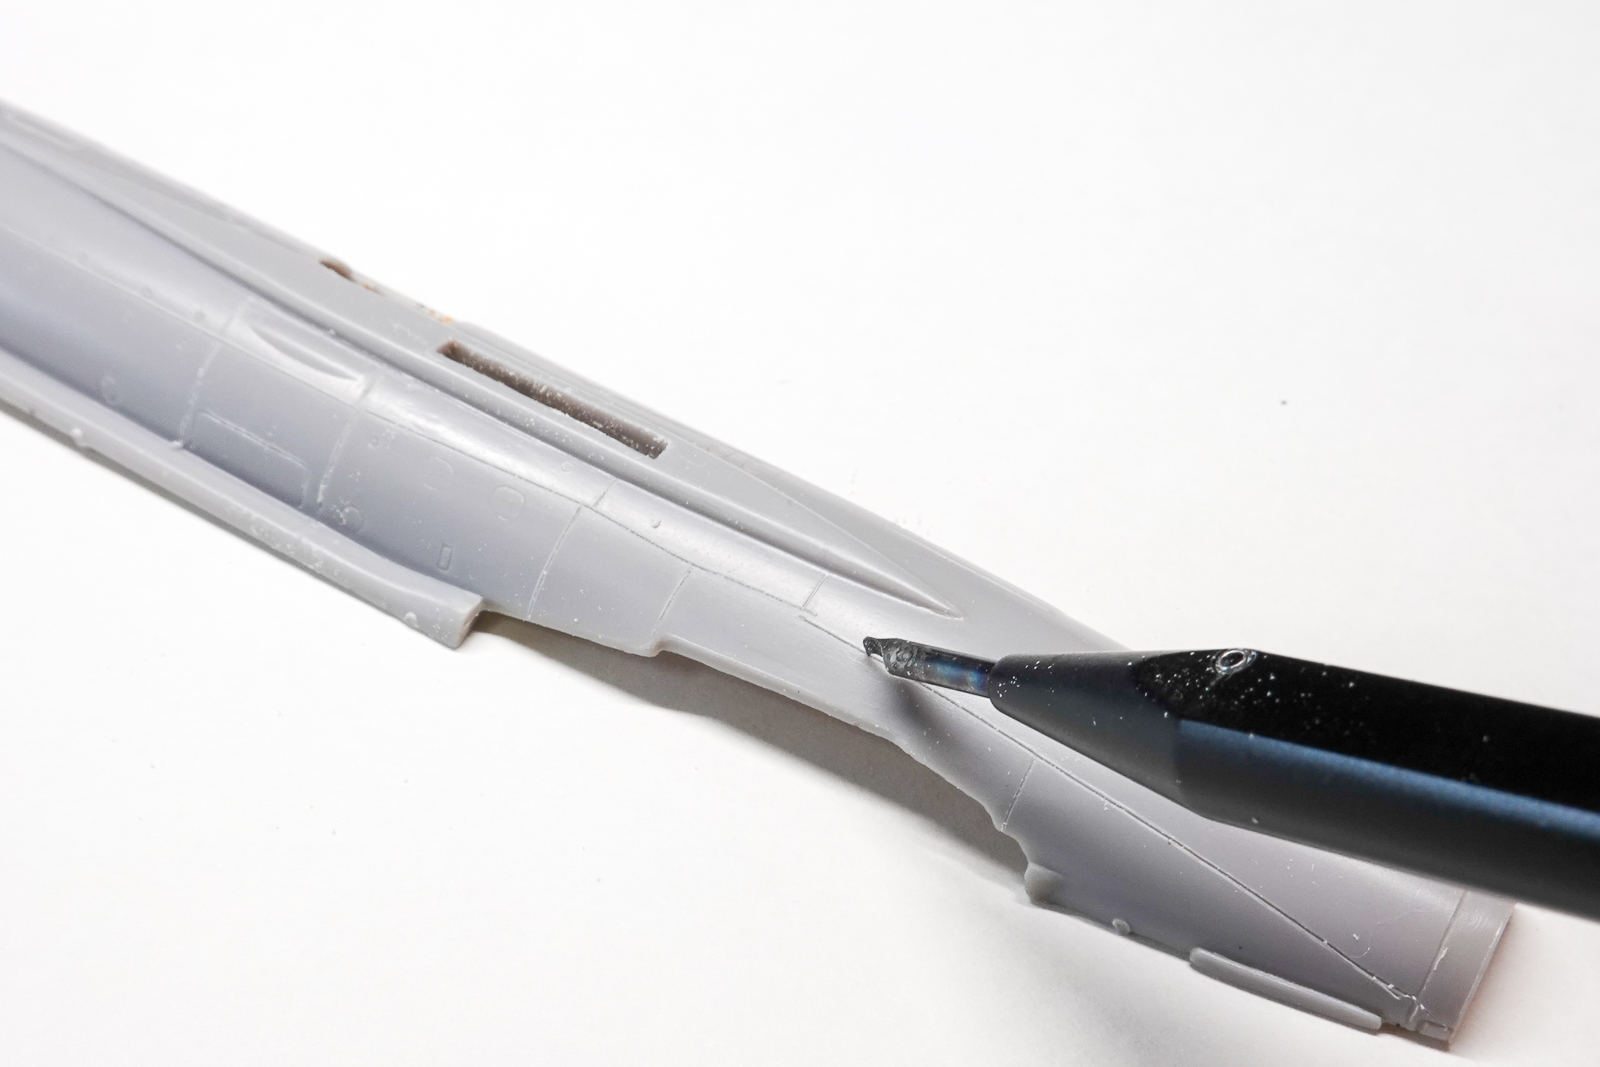
0.15㎜のラインチゼルで彫りなおしておきます。接着後に彫りなおす方法もありますが。このキットのように全面彫り直しを行うなら接着前に彫りなおした方が楽です。
Re-engrave with a 0.15 mm line chisel. There is also a way to re-engrave after gluing. If you want to re-engrave the entire surface like this kit, it is easier to re-engrave before gluing.
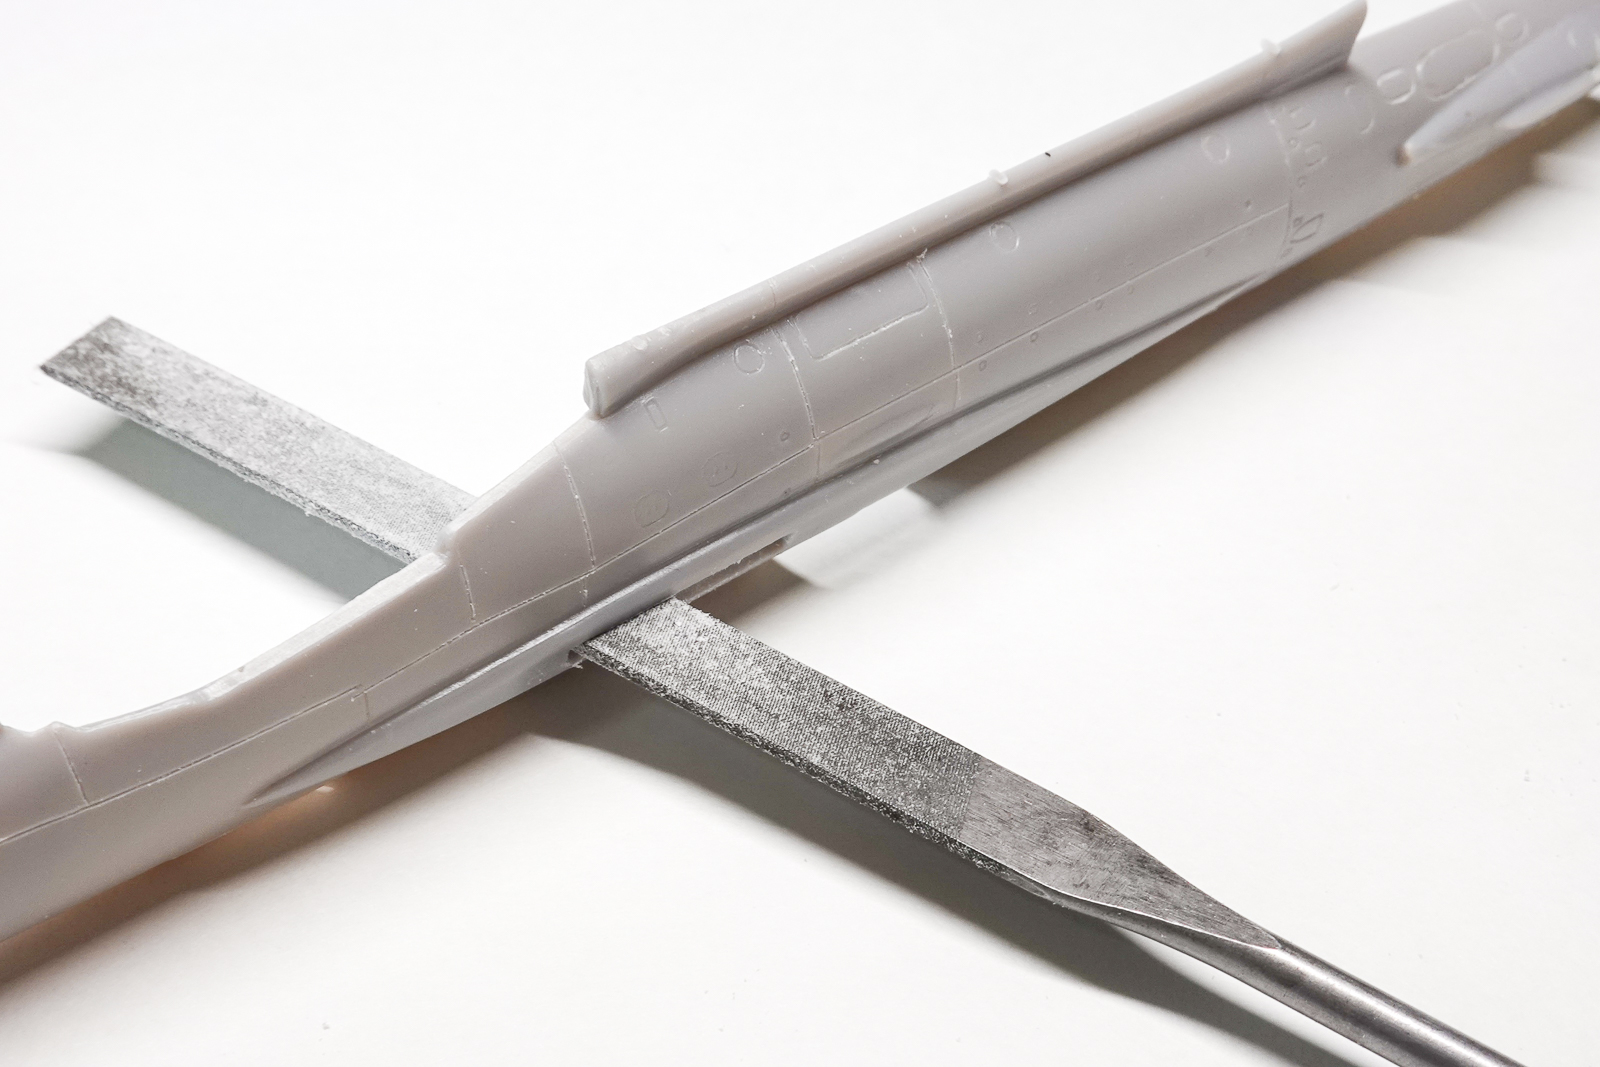
主翼の差し込み口はバリがかなり残っているので、金属ヤスリで整形しておきます。主翼側もかなり削らないと入りません。
There are a lot of burrs left on the wing insertion port, so shape it with a metal file. You can’t enter it unless you sharpen the main wing side.
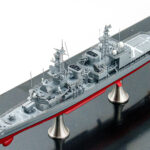
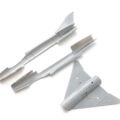
飛行状態用ナットを取り付け
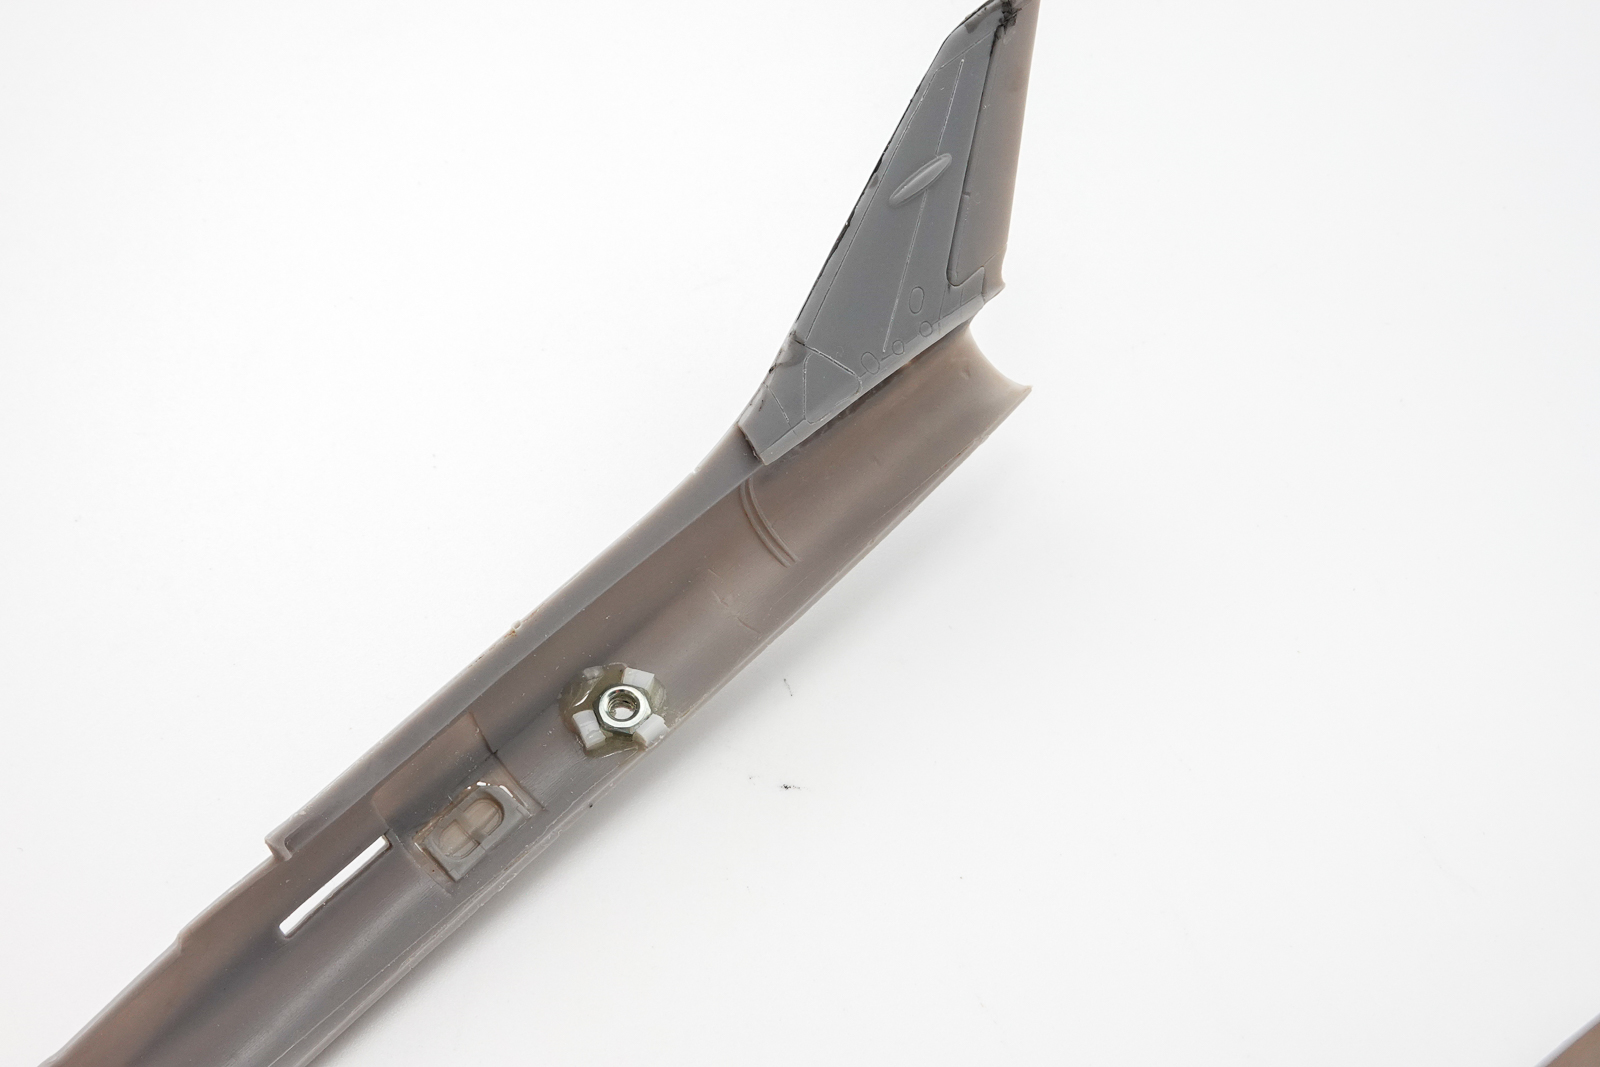
Ye-2も飛行状態で制作します。本来胴体の下部にナットを固定したいのですが、胴体下部が主翼と一体のYe-4とは構造が異なるので、斜め下にナットを取り付けました。
Ye-2 will also be produced in flight. Originally I wanted to fix the nut to the lower part of the fuselage, but since the structure is different from the Ye-4 where the lower part of the fuselage is integrated with the main wing, I installed the nut diagonally below.
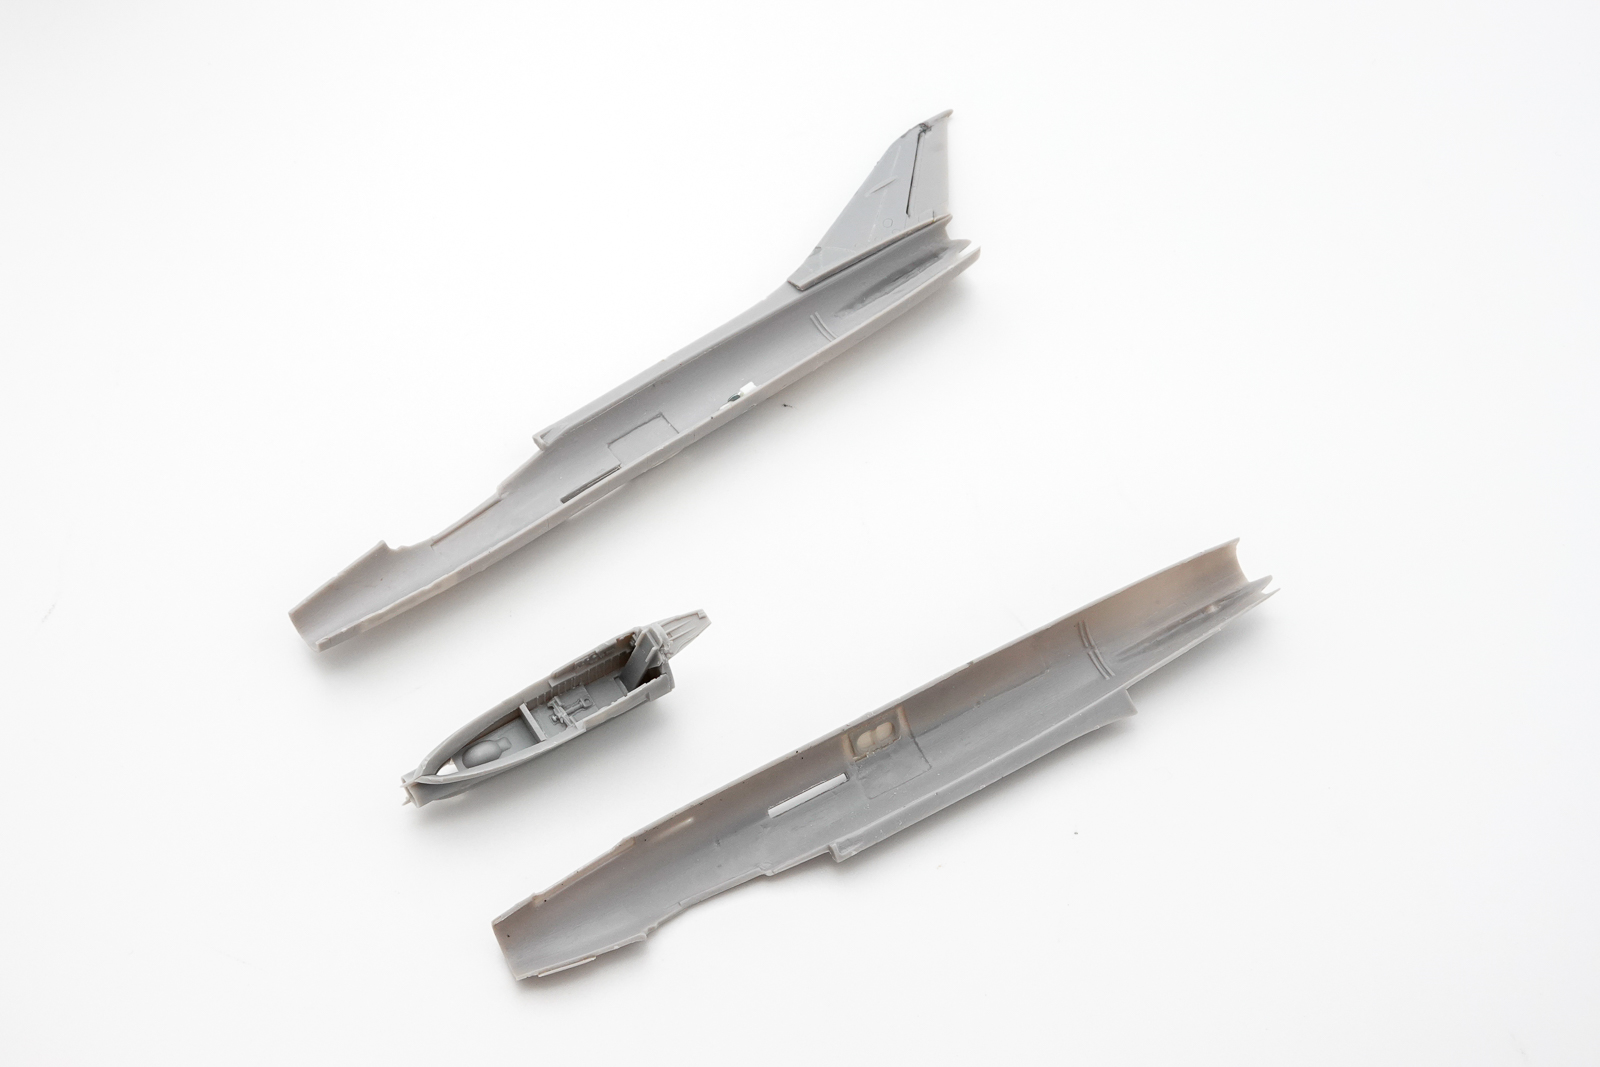
この後エンジン・コクピットを塗装してから胴体を接着します。
After this, paint the engine and cockpit, and then glue the fuselage.
投稿者プロフィール

-
模型好き。カメラ好き。各模型雑誌で掲載多数。
艦船模型、飛行機模型、AFV模型などプラモデル全般の制作代行も承っております。「お問い合わせ」からご連絡ください。製作代行ご案内のページは現在概要のみを公開しておりますが、2025年6月現在納期はご相談になりますが、制作代行可能です
 製作代行について(β版)2024年4月6日詳細な製作代行などはのちに追加しますが、お問い合わせのあった方の最初のご案内メールの定型文を記しておきます。製作依頼の流れ1 キットに入っているパーツのみでの制作は、定価×6を基本価格としております。 キットをお送りいただ...maidoworks.com2024.04.06
コメント