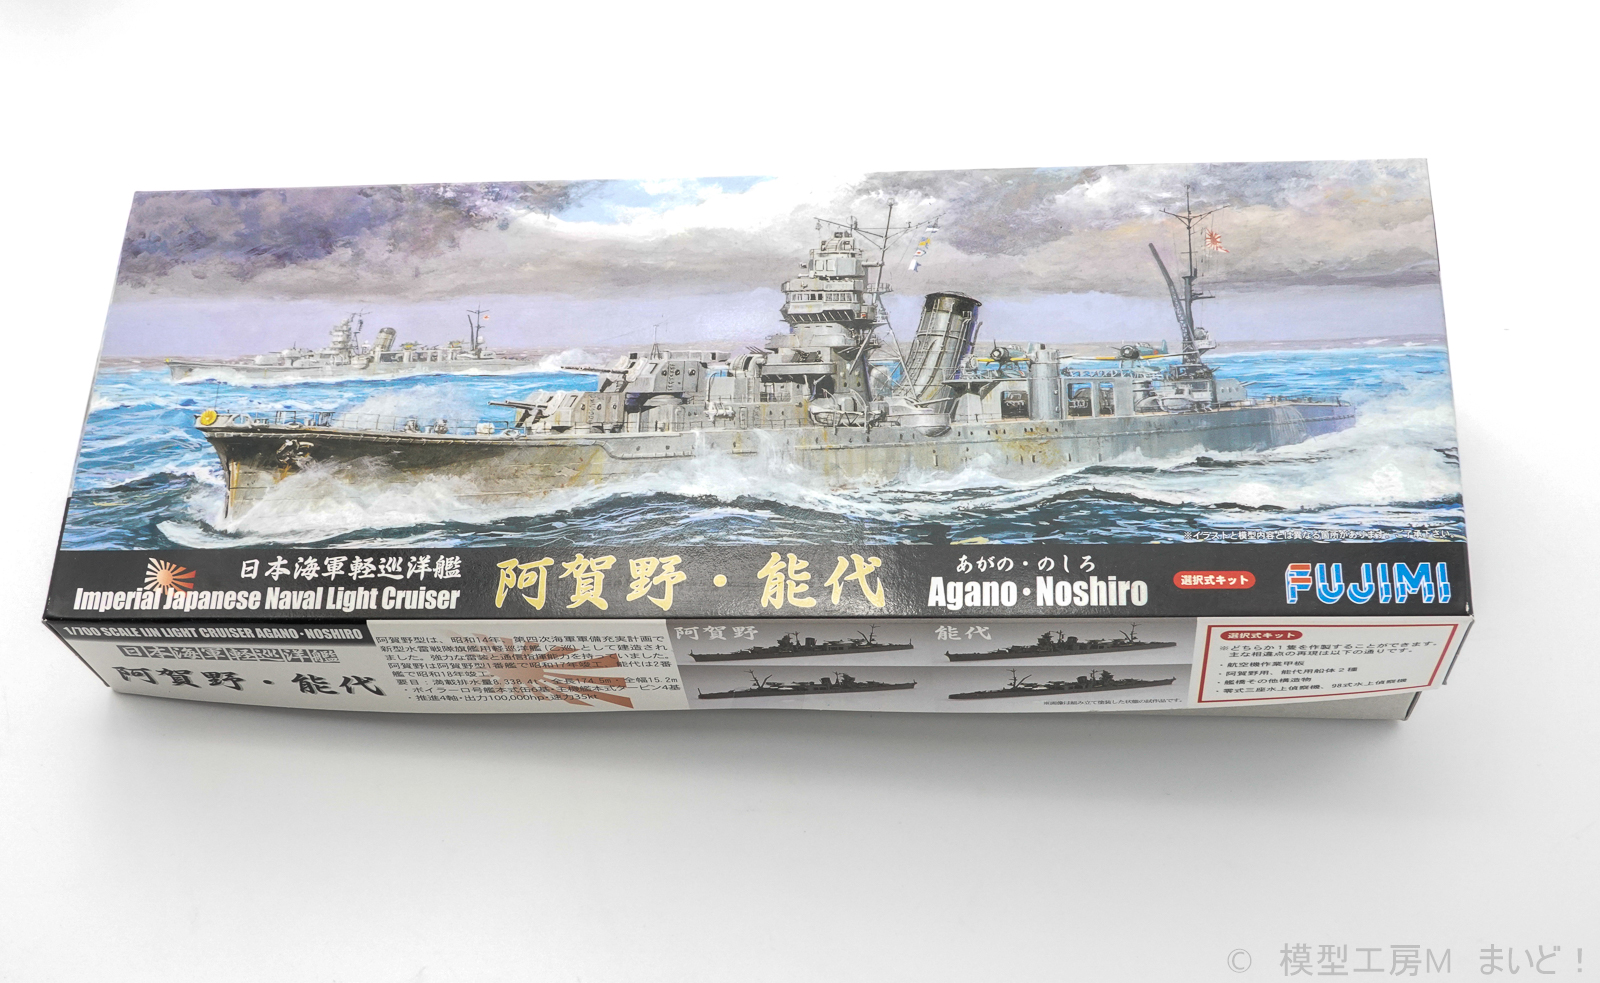
前回のキット紹介に続いて最初に船体の工作塗装を行います。
Following the kit review, we will first paint the hull.
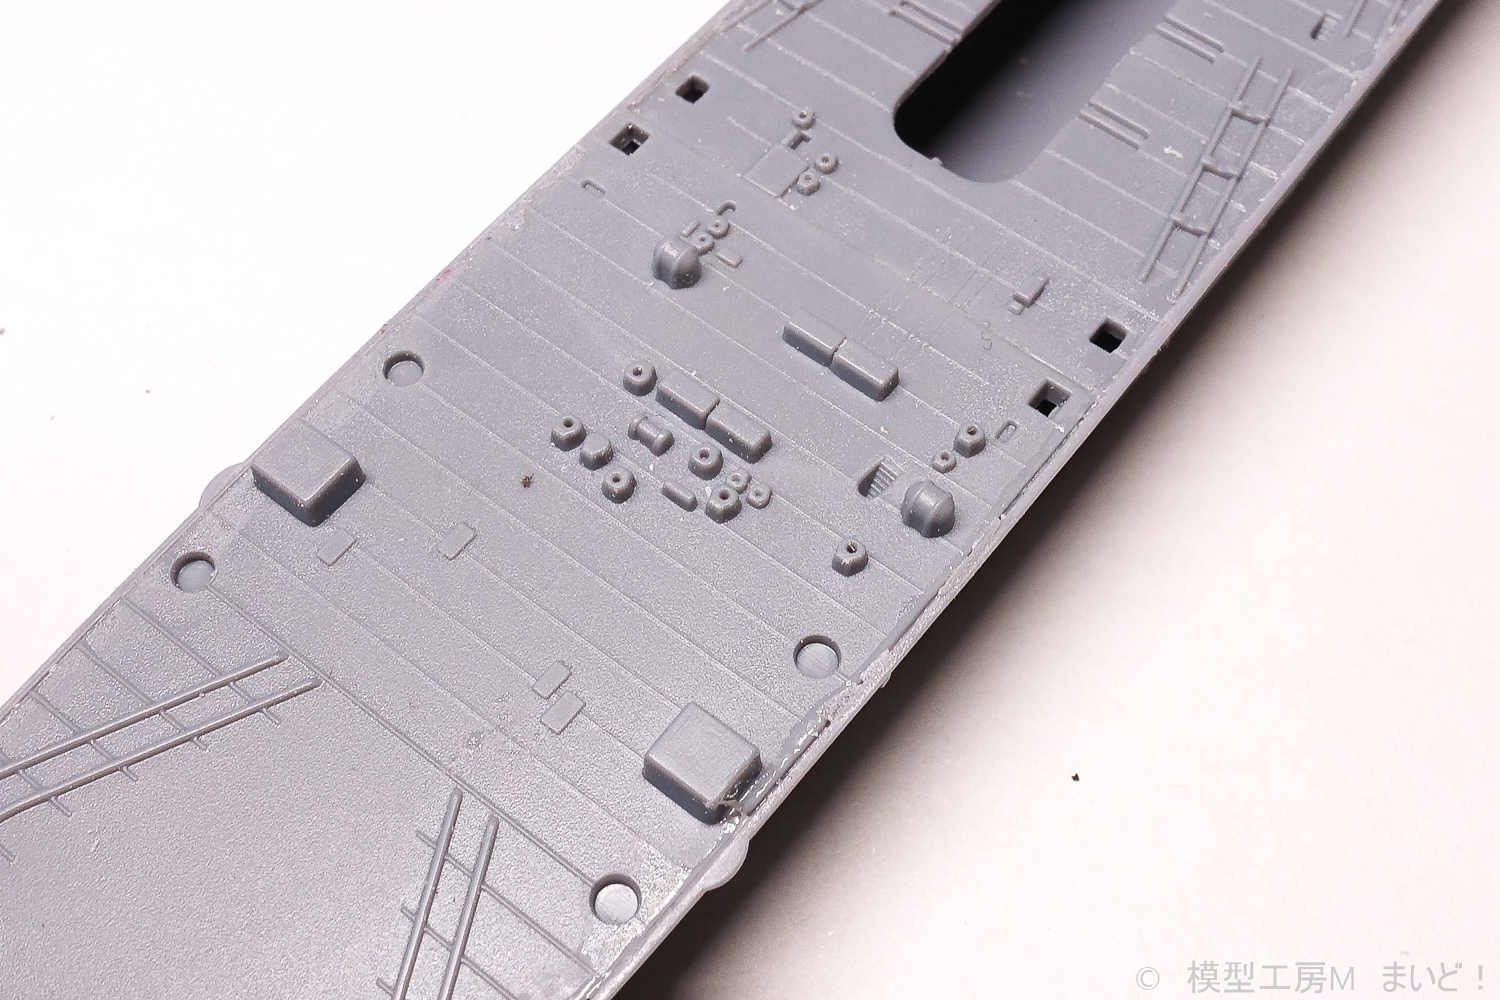
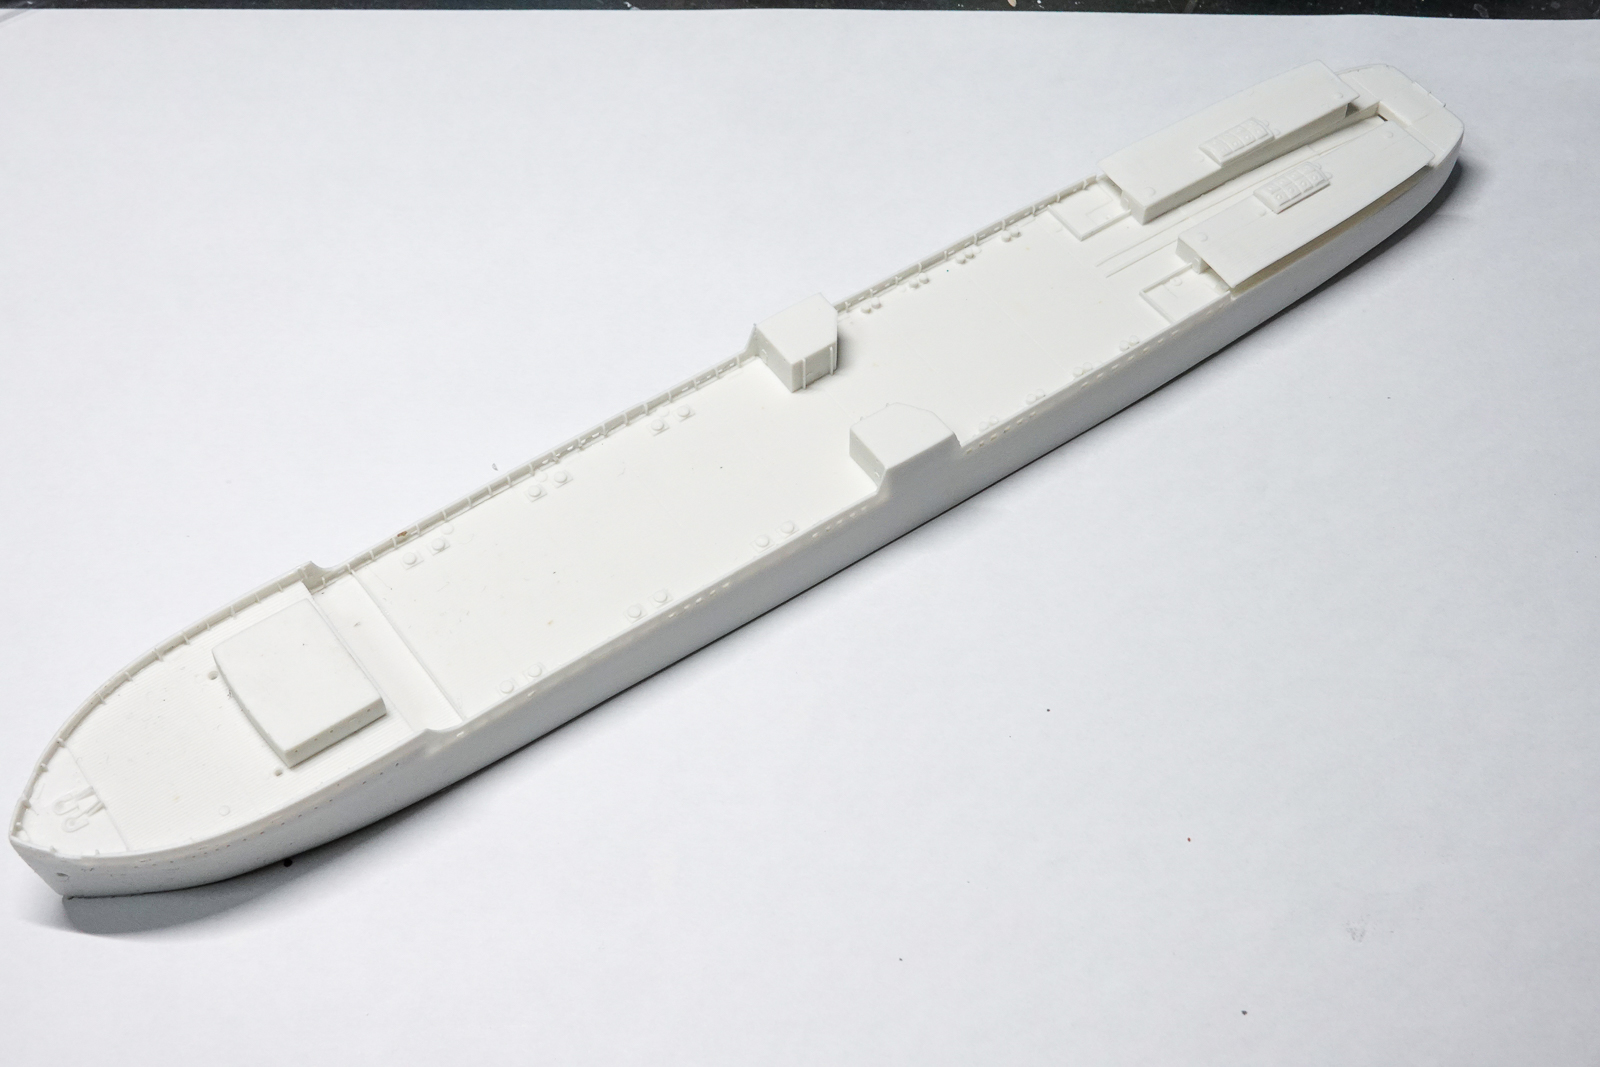
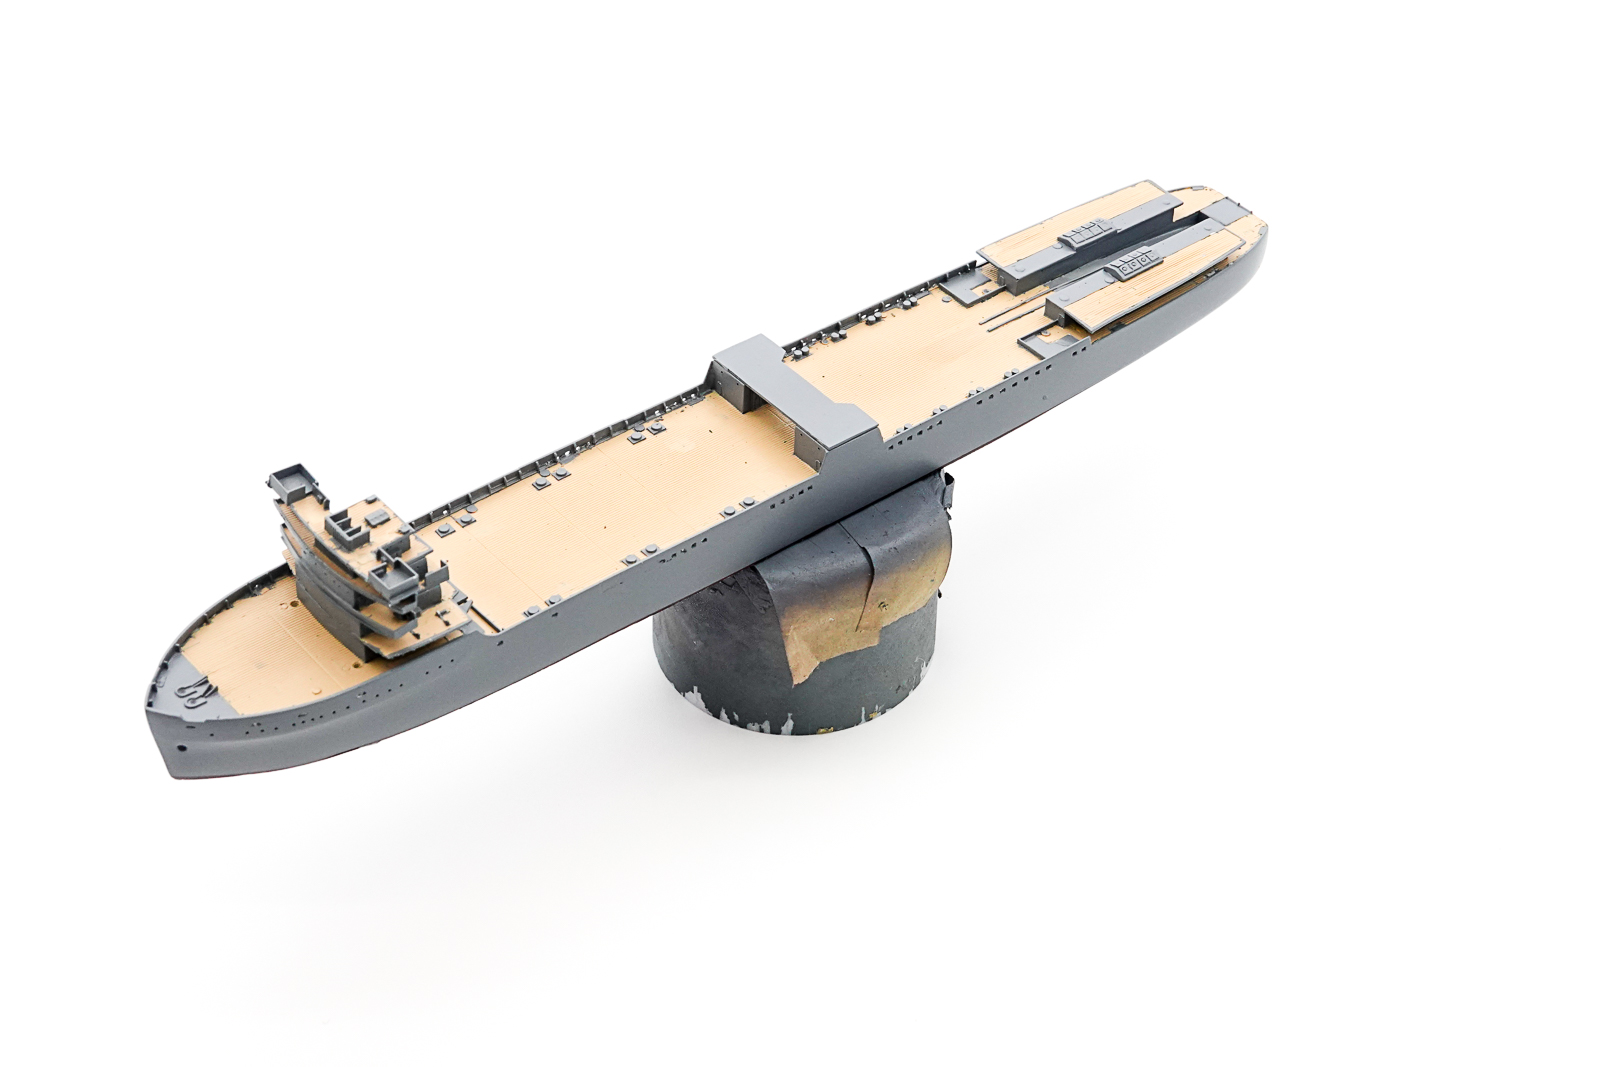
まずは艦底パーツ内にナットを固定します。その後で、船体パーツを組み立てます。パーツの合いもかなり良いので、特に問題に無く組立できました。
First, fix the nut inside the bottom part of the ship. After that, assemble the hull parts. The fit of the parts is also quite good, so I was able to assemble without any problems
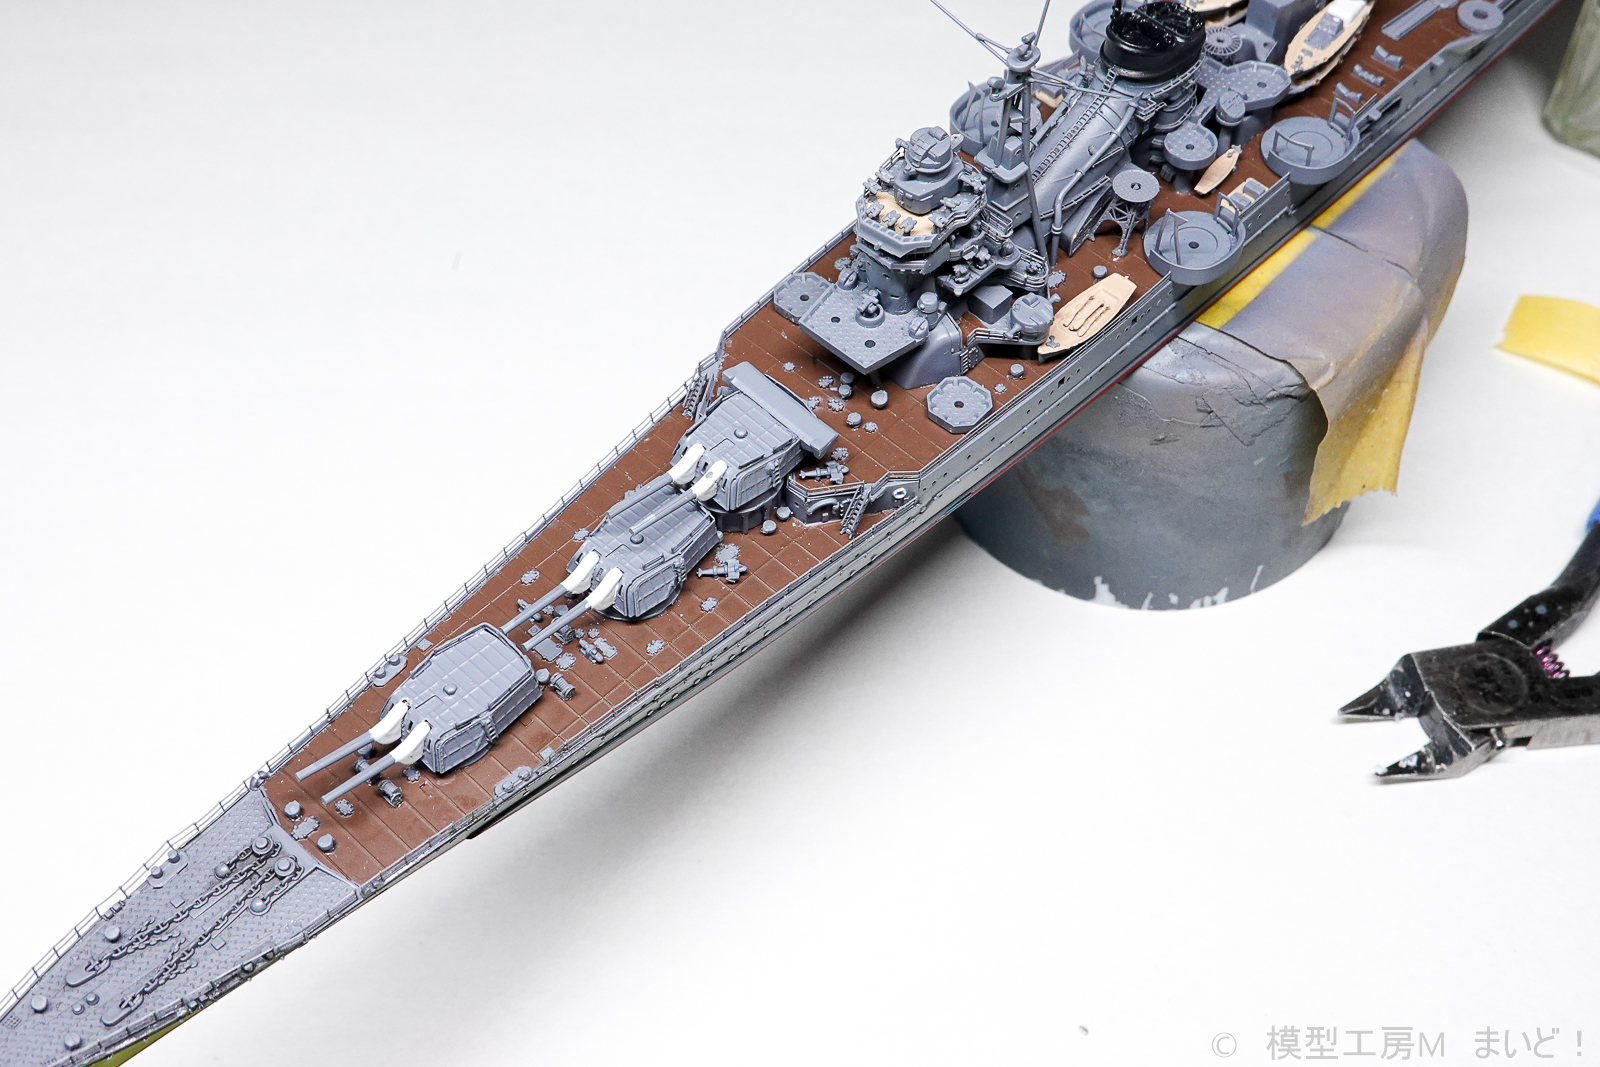
高角砲砲座は船体との合わせ目を消したかったので先に接着してあります。ホーサーリールはエッチングに交換するので予めカットしておきます。
The anti-aircraft turret was glued first because I wanted to remove the seams with the hull. The hawser reel will be replaced with etching, so cut it in advance.
甲板のマスキングは前回のヴァンガードのマスキングがあまりにも辛かったのもあって、楽できる部分は楽しようと、市販のマスキングシートを使用しました
As for the masking of the deck, the masking of the previous Vanguard was too difficult, so I used a commercially available masking sheet to make the parts that can be easily done easy.
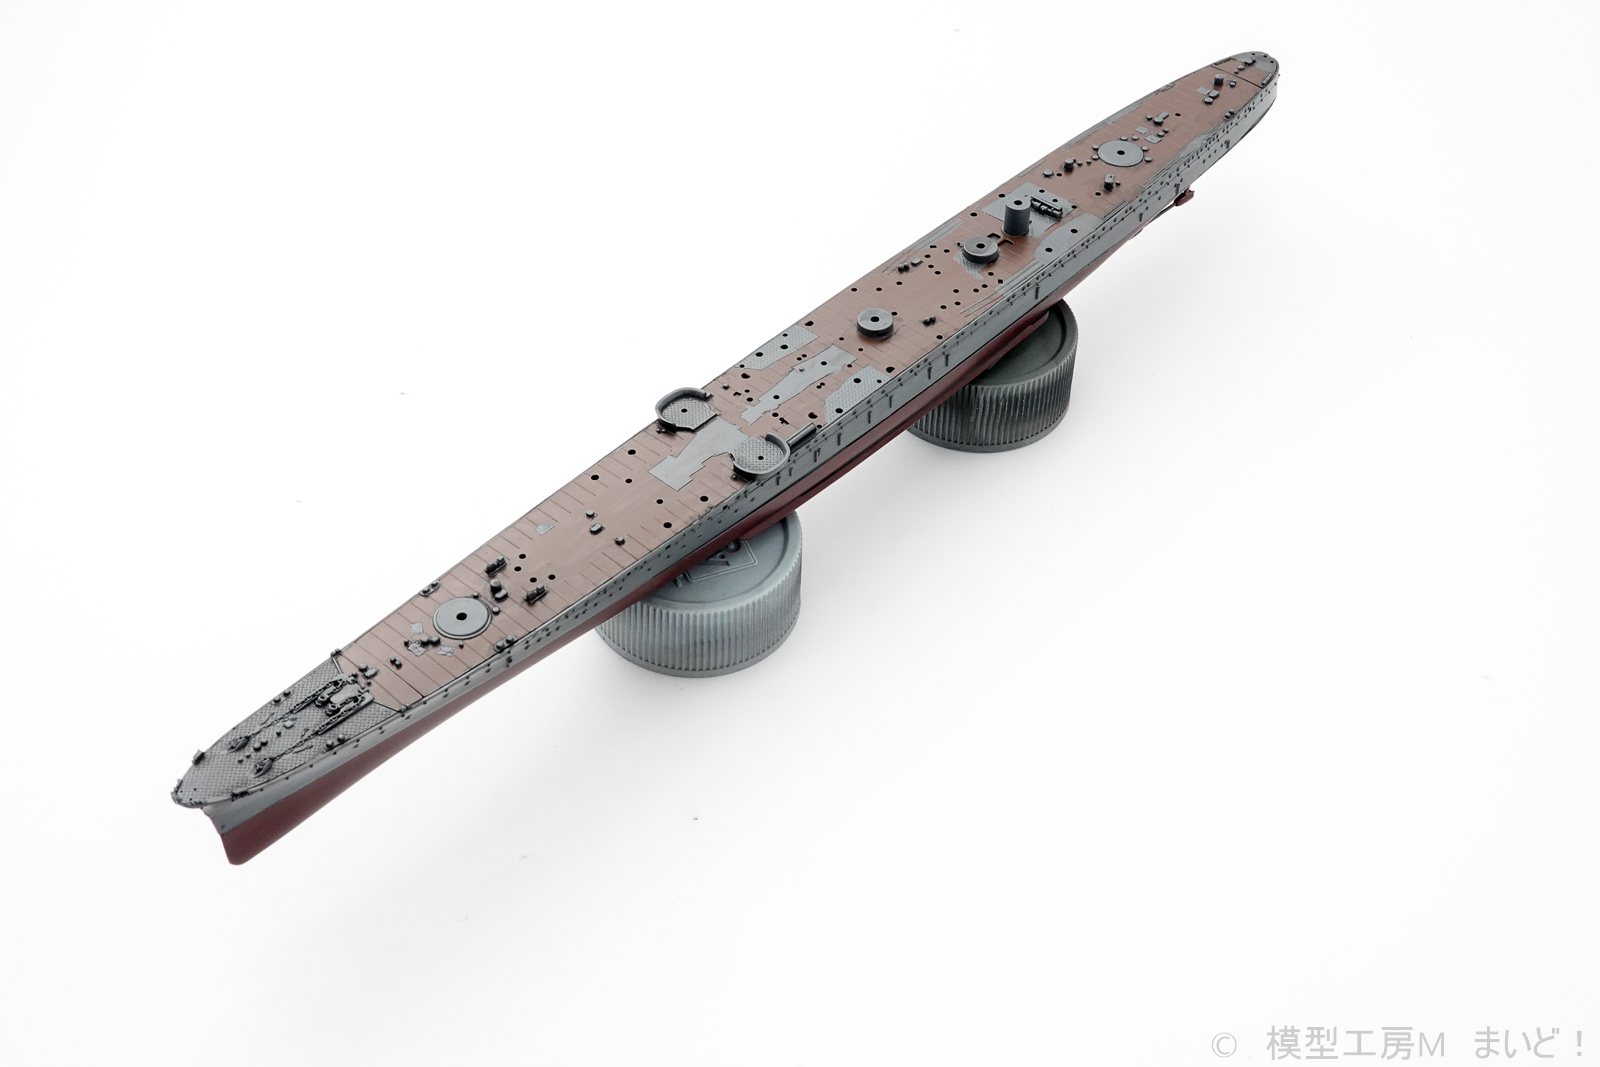
リノリウム色はタミヤの瓶入りラッカー塗料のリノリウム、軍艦色はタミヤの瓶入りラッカー塗料の佐世保海軍工廠色、艦底はMrカラーの艦底色です。
The linorium color is Tamiya’s bottled lacquer paint linorium, the warship color is Tamiya’s bottled lacquer paint Sasebo Navy arsenal color, and the ship bottom is Mr color ship bottom color.
投稿者プロフィール

-
模型好き。カメラ好き。各模型雑誌で掲載多数。
艦船模型、飛行機模型、AFV模型などプラモデル全般の制作代行も承っております。「お問い合わせ」からご連絡ください。製作代行ご案内のページは現在概要のみを公開しておりますが、2025年6月現在納期はご相談になりますが、制作代行可能です
 製作代行について(β版)2024年4月6日詳細な製作代行などはのちに追加しますが、お問い合わせのあった方の最初のご案内メールの定型文を記しておきます。製作依頼の流れ1 キットに入っているパーツのみでの制作は、定価×6を基本価格としております。 キットをお送りいただ...maidoworks.com2024.04.06
コメント